Lights, Camera, AI: How to Generate Professional Film Shots with Artificial Intelligence (Part 1)
Transform your storyboards into cinematic magic using the latest AI video generation tools
Lights, Camera, AI: How to Generate Professional Film Shots with Artificial Intelligence (Part 1)
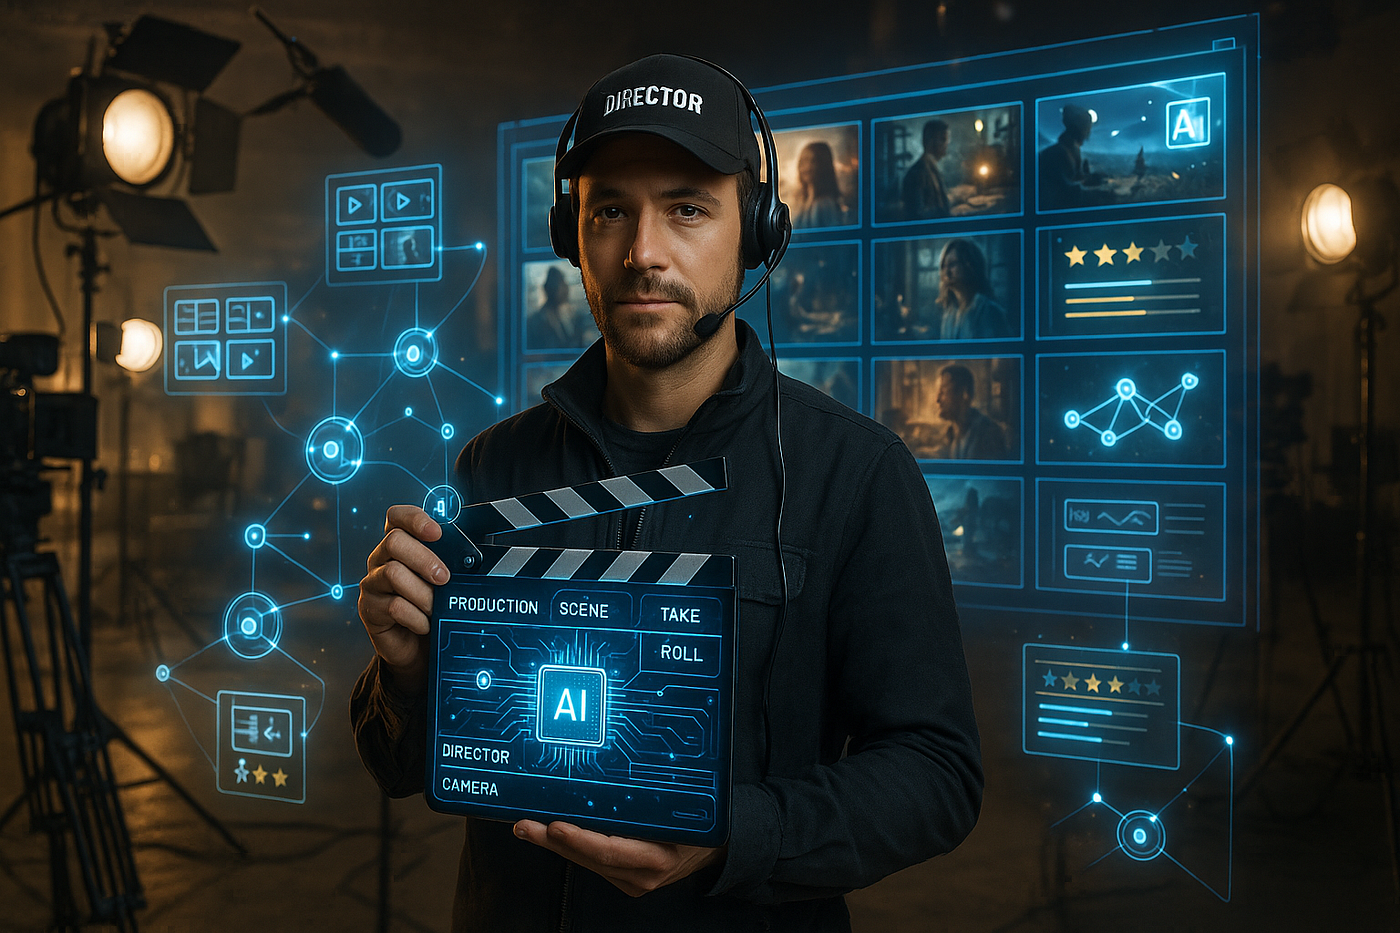
all images generated with gpt-image-1, video generated with Veo3
Transform your storyboards into cinematic magic using the latest AI video generation tools
Ever dreamed of directing Hollywood-quality films without the Hollywood budget? You’re about to discover how AI is making that dream a reality.
You’ve crafted the perfect script. Your storyboards are visually stunning. Now comes the moment every filmmaker dreams of — calling “Action!”
But here’s the twist: instead of managing actors, lighting crews, and expensive equipment, you’re about to direct an AI model to bring your vision to life.
Welcome to the future of filmmaking, where artificial intelligence doesn’t just assist — it creates. In this two-part guide, you’ll discover how to generate professional-quality film shots using AI, complete with practical workflows, pro techniques, and insider tips that will transform your storytelling process forever.
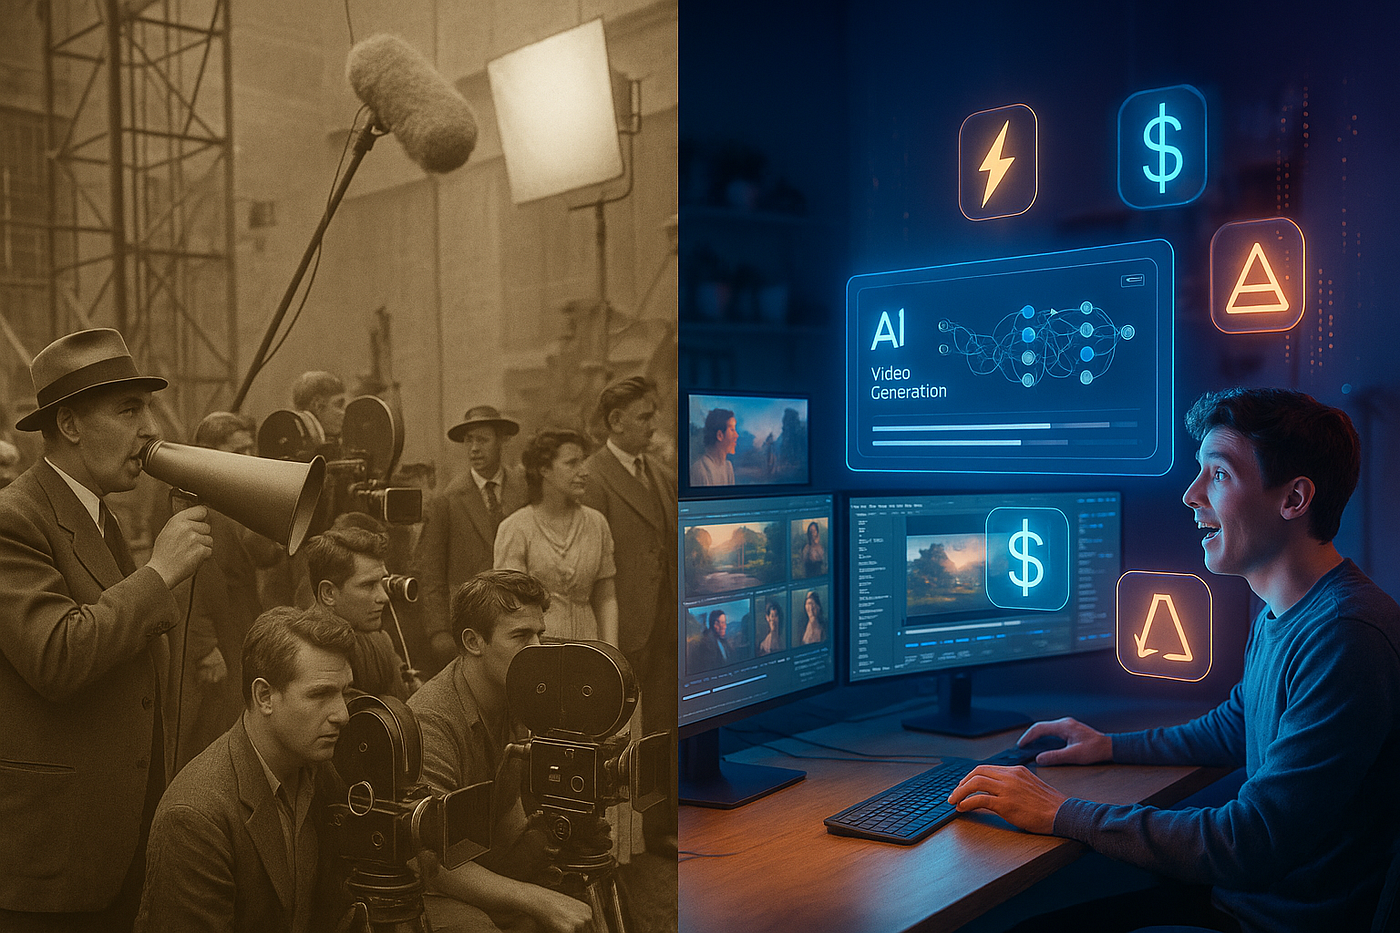
The AI Video Revolution is Here
The landscape has changed dramatically.
Just two years ago, AI-generated video was clunky and unrealistic. Today, we have models creating footage so convincing that audiences can’t tell the difference.
The question isn’t whether AI will revolutionize filmmaking — it’s whether you’ll be part of the revolution or left behind.
Here’s what’s possible right now:
- Generate cinematic shots in minutes, not hours
- Create impossible camera movements without expensive rigs
- Shoot in locations that don’t exist
- Direct virtual actors with perfect consistency
- Produce professional content at a fraction of traditional costs
But like any powerful tool, AI video generation requires skill, strategy, and the right approach.
Let’s dive in.
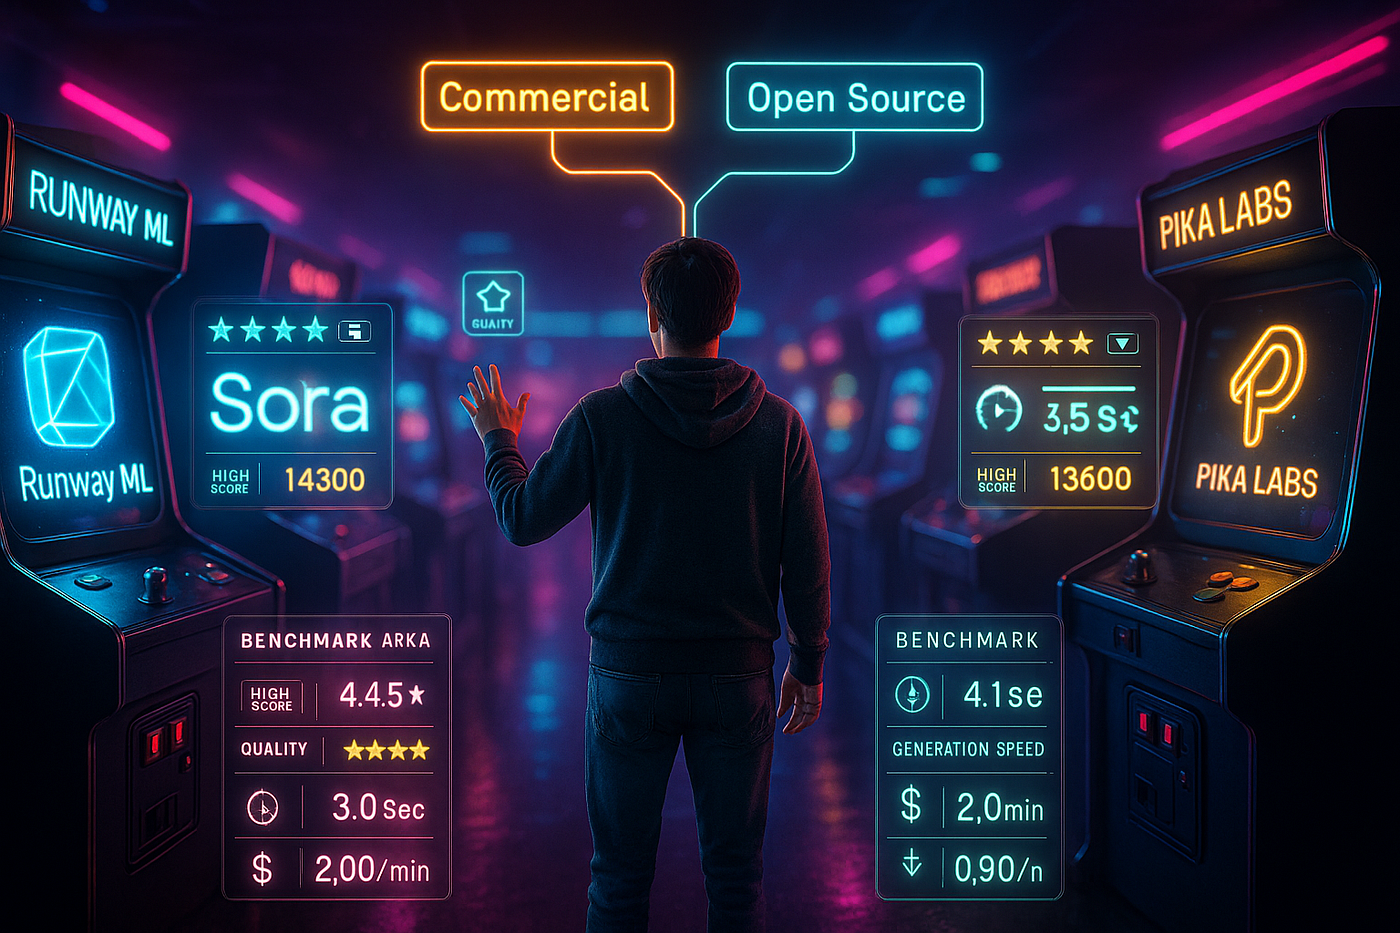
Choosing Your AI Arsenal: The Model Selection Game
Before you can start generating shots, you need to pick the right AI model. With new platforms launching almost daily, this choice can feel overwhelming.
But here’s a pro tip: let the benchmarks do the work for you.
The Benchmark Advantage
The AI community has solved the model comparison problem through evaluation benchmarks. These are standardized tests that measure everything from subject consistency to camera movement quality.
Think of them as the IMDb ratings for AI models.
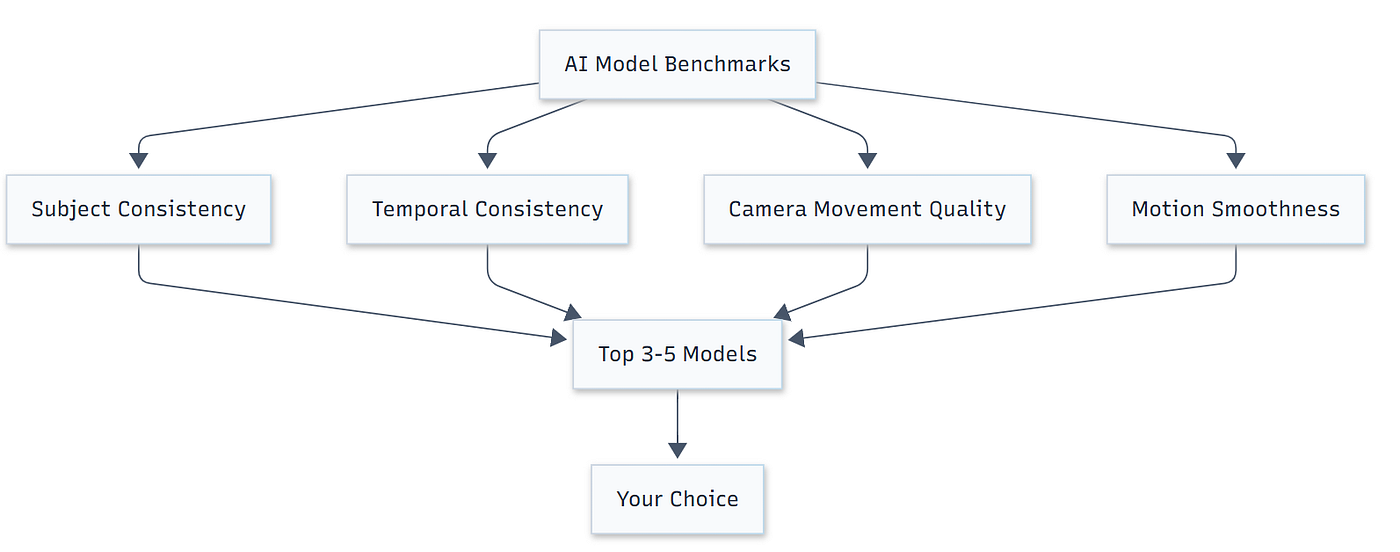
Key benchmark categories to watch:
- Subject/Background Consistency — Does your character stay the same throughout?
- Temporal Consistency — Do objects move naturally between frames?
- Camera Movement — How smooth are pans, tilts, and zooms?
- Motion Smoothness — Are actions fluid or jerky?
Pro tip: Focus on the top 3–5 models in any benchmark. If your preferred model (like Runway ML’s Gen-3) ranks well, you’re good to go. Don’t overthink it — all top-tier models can produce professional results.
Commercial vs. Open Source: The Great Divide
Your model choice typically comes down to two paths:
Commercial Platforms (Runway ML, Sora)
- User-friendly interfaces
- Built-in editing tools
- Higher cost per generation
- Limited customization
Open-Source Models (via fal.ai, Replicate)
- Lower cost (around $0.06 for images, $0.50 for 5-second videos)
- More control over parameters
- Requires technical setup
- Bleeding-edge features first
My recommendation? Start with a commercial platform to learn the ropes, then experiment with open-source options as you scale up production.
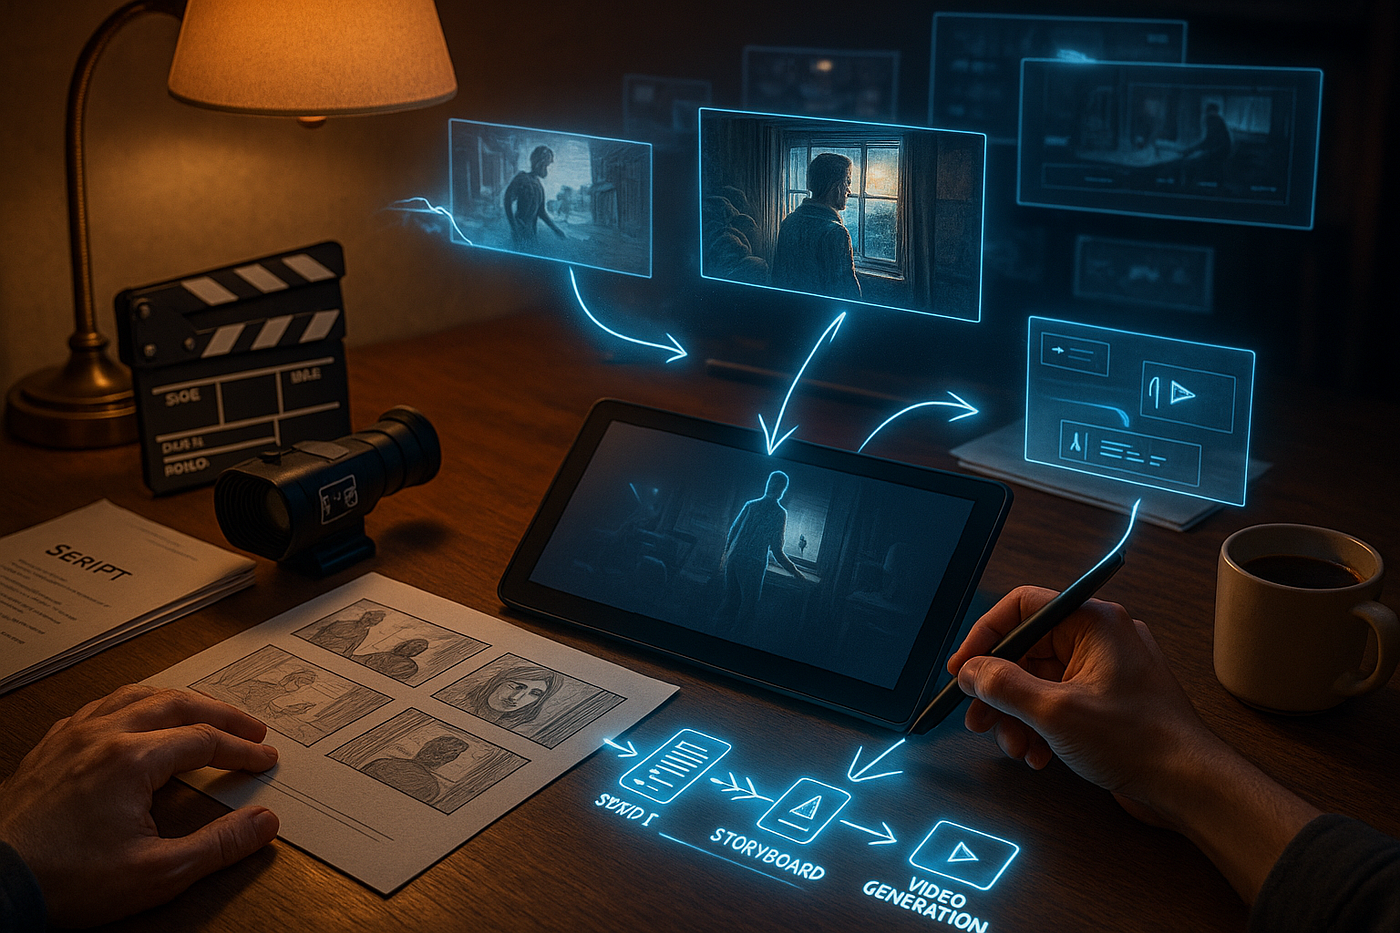
From Storyboard to Shot: Your First AI Direction
Now for the magic moment — converting your carefully crafted storyboards into moving footage.
This process follows a specific workflow that professional AI filmmakers have refined through trial and error.
The Professional Workflow
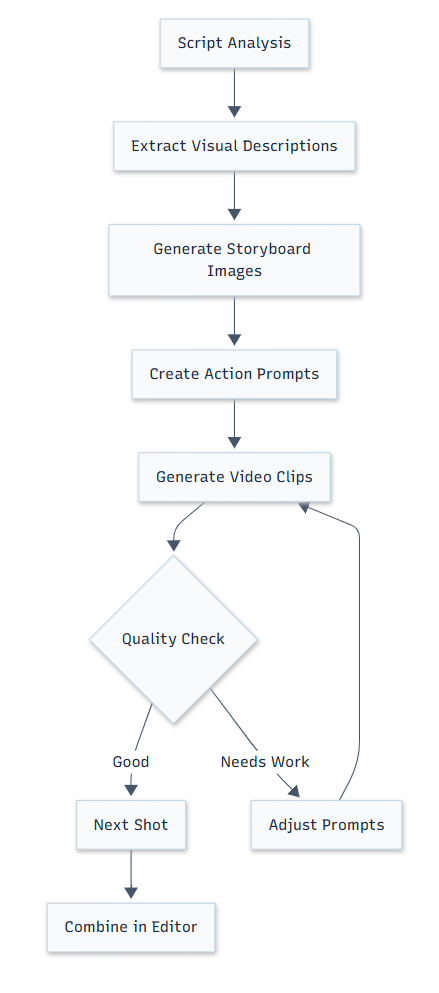
Step 1: Extract the Action
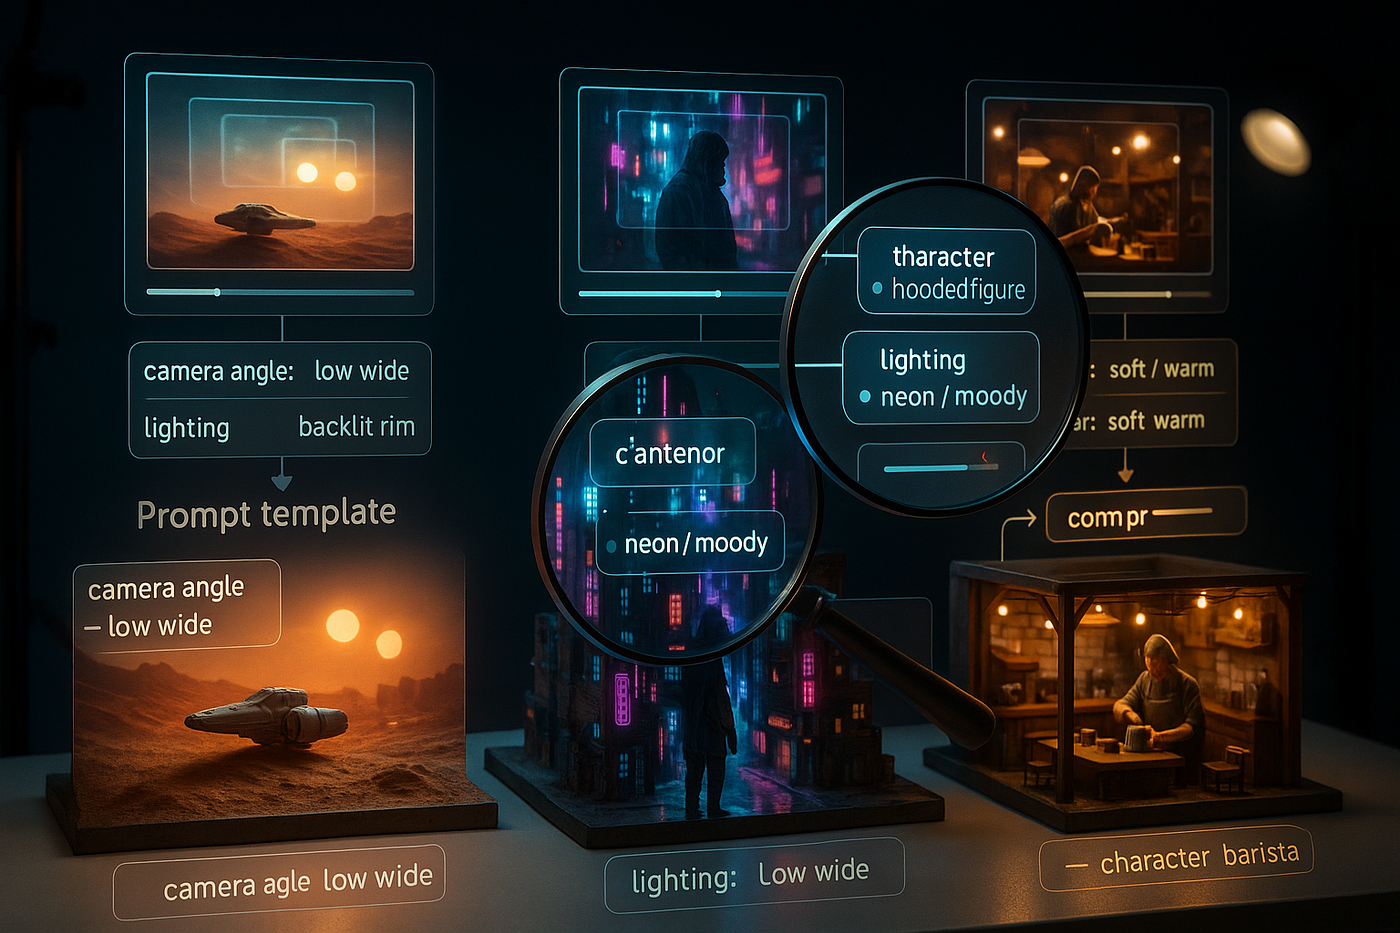
Before generating any video, you need to separate the visual elements from the action elements. Here’s a prompt template that works consistently:
VISUAL DESCRIPTION TEMPLATE:
Cinematic, [shot type]: [detailed scene description with lighting, style,
and directorial influences].
Character: [name with detailed physical description in brackets].
Setting: [environment details]
Lighting: [soft-key lighting or specified style]
Style: [vivid colors, muted tones, etc.]
Director influence: [in the style of director X]
ACTION DESCRIPTION TEMPLATE:
[Character actions] + [camera movement] + [background activity]
Example: "Character adjusts equipment while camera dollies in slowly,
wind creates subtle environmental movement"
Real-World Shot Generation Examples
Let’s see these templates in action with specific examples you can use immediately:
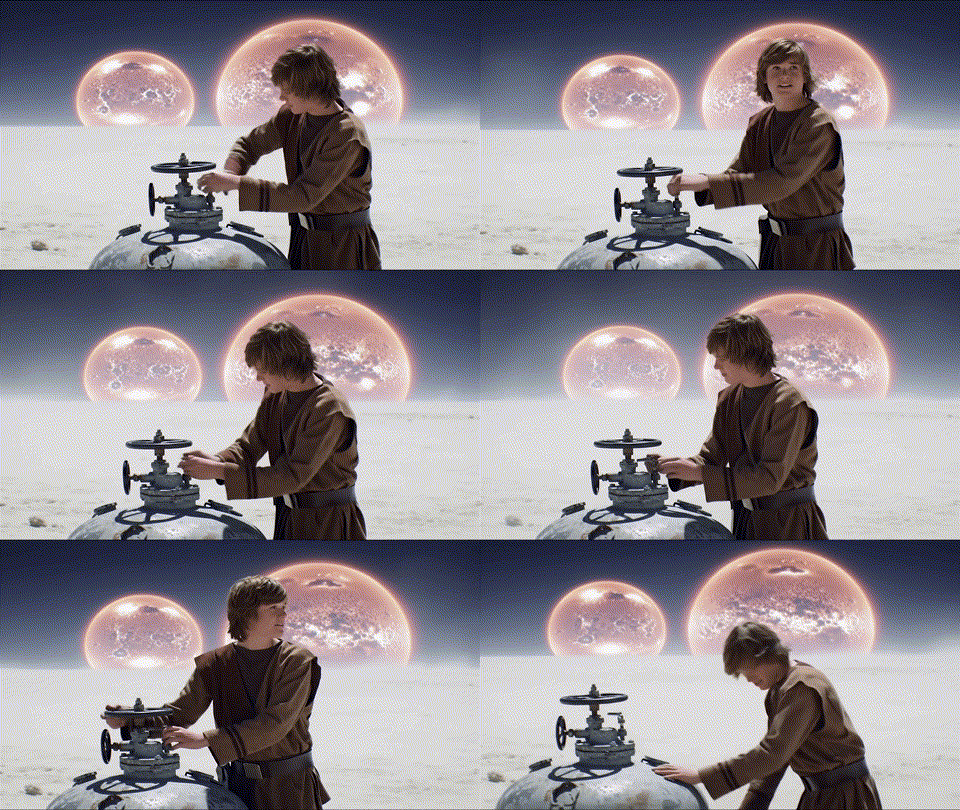
Example 1: Desert Survivor Scene
VISUAL DESCRIPTION:
Cinematic, medium shot: A vast death-white desert wasteland stretches
endlessly under the oppressive heat of two huge twin suns. Bart Flywalker
[a farm boy with heroic aspirations who looks much younger than his eighteen
years; shaggy hair and baggy tunic give him the air of a simple but lovable
lad with a prize-winning smile] adjusts valves on a large battered moisture
vaporator protruding from the desert floor. Soft-key lighting, vivid colors,
in the style of director George Lucas.
ACTION DESCRIPTION:
Bart works diligently on the vaporator, camera dollies in slowly to focus
on his determined actions as a light wind whips at him, creating subtle sand
movement in the background.
Result: A professional-looking shot that feels like it belongs in a Star Wars film, complete with character consistency and atmospheric details.
Example 2: Cyberpunk City Chase
VISUAL DESCRIPTION:
Cinematic, tracking shot: Neon-drenched alleyway in a futuristic cityscape
at night, rain reflecting colorful holographic advertisements on wet asphalt.
Maya Chen [a determined cybernetic detective in her thirties with short black
hair, wearing a dark leather coat and glowing neural interface behind her
left ear] runs through the narrow passage between towering skyscrapers.
Dramatic lighting with cyan and magenta neon highlights, dark muted colors
with vivid neon accents, in the style of director Ridley Scott.
ACTION DESCRIPTION:
Maya sprints through the alley, camera tracks behind her at shoulder height,
holographic ads flicker and spark, steam rises from manholes, distant traffic
creates depth and movement.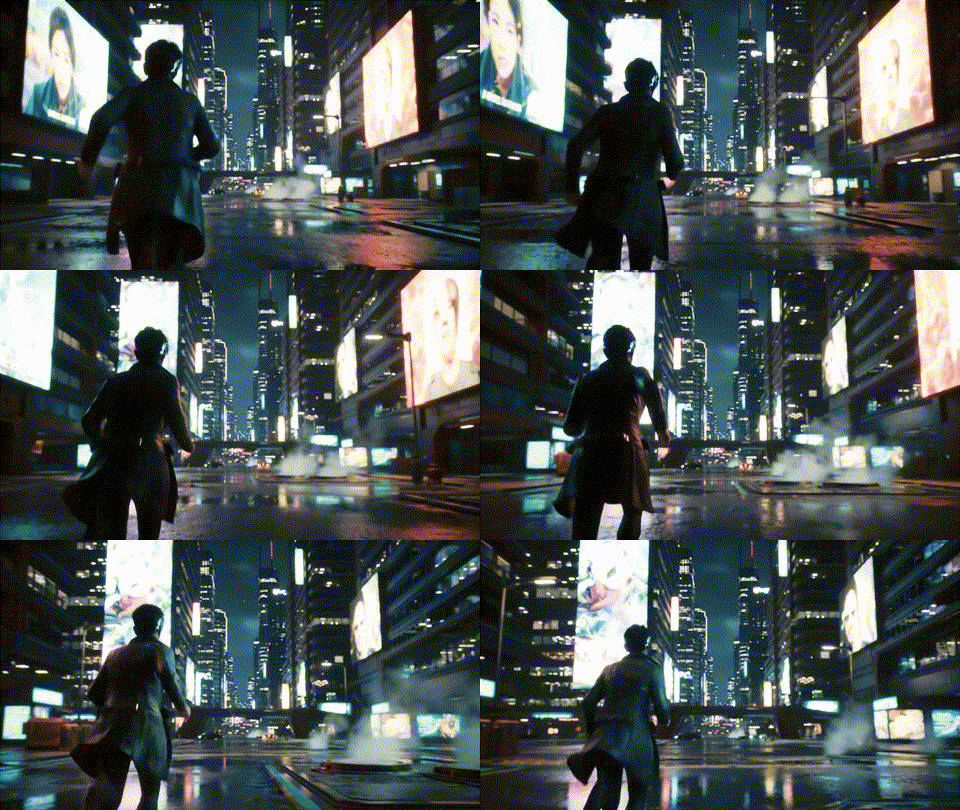
Example 3: Intimate Dialogue Scene
VISUAL DESCRIPTION:
Cinematic, close-up shot: Warm coffee shop interior with soft window light
filtering through vintage curtains. Sarah Mitchell [woman in her late twenties
with auburn hair tied in a messy bun, wearing a cream-colored sweater,
expressive green eyes showing vulnerability] sits across from an unseen
conversation partner at a small wooden table. Natural lighting, warm golden
tones, in the style of director Nancy Meyers.
ACTION DESCRIPTION:
Sarah leans forward slightly, her hands wrapped around a ceramic mug, camera
holds steady on her face as she processes emotional news, steam rises gently
from the coffee.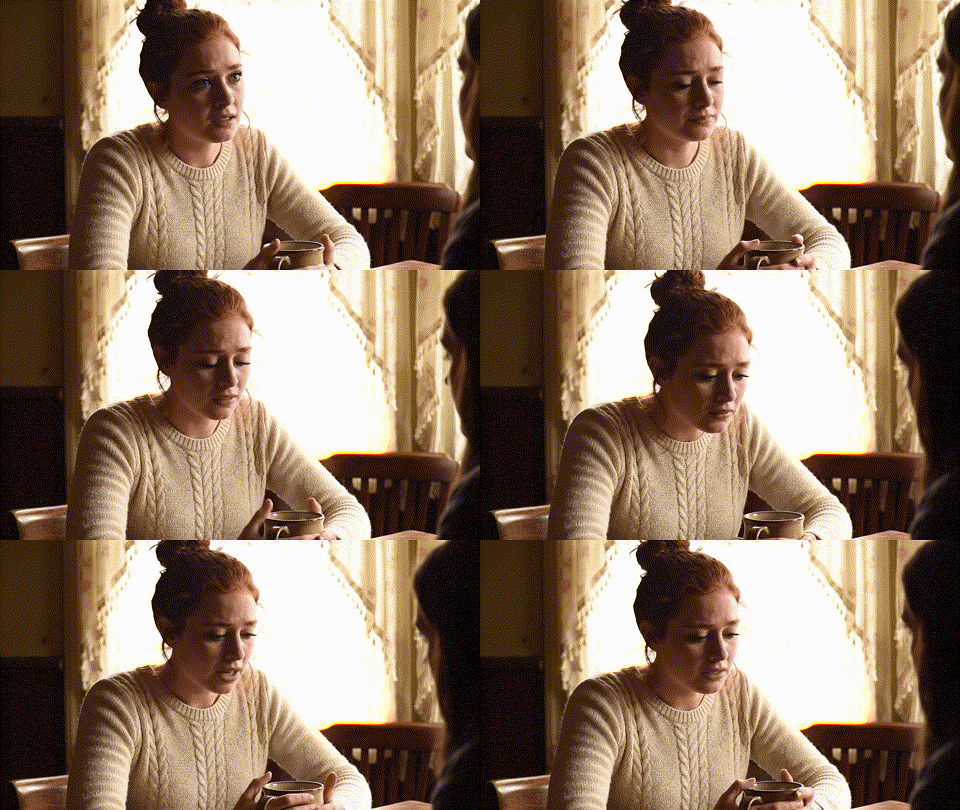
Step 2: Generate Your First Frame
This storyboard image becomes your foundation. Every professional AI filmmaker knows this golden rule: your first frame determines everything that follows.
Spend time getting it right.
Essential first-frame elements:
- Clear character positioning
- Proper lighting setup
- Background elements that support the story
- Composition that allows for intended camera movement
Step 3: The Generation Process
Here’s the step-by-step process I use for every shot:
- Upload your storyboard image to your chosen AI video platform
- Paste your action description as the prompt
- Set duration (start with 5–10 seconds max)
- Generate and evaluate
- Iterate if needed (usually 2–3 attempts get you there)
Pro tip: Don’t generate all shots at once. Create and review each shot individually, making adjustments as needed. This saves time and money in the long run.
Quality Control: Making It Cinema-Ready
Raw AI footage rarely meets professional standards. Here’s how to elevate your output:
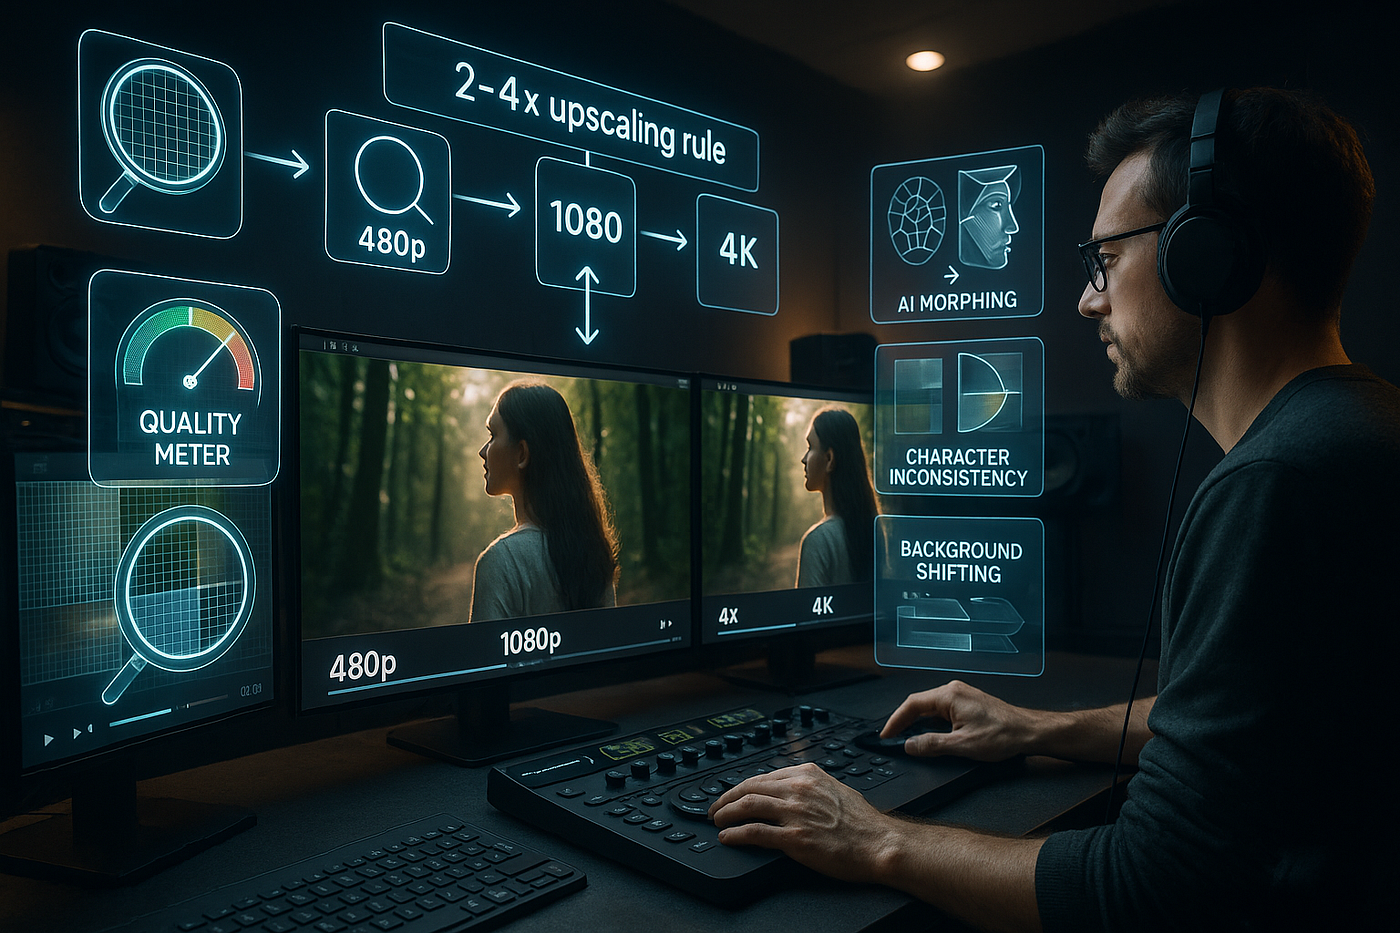
Resolution Strategy
The 2–4x Rule: You can typically upscale footage 2–4 times without artifacts. This means:
- 480p generation → 1080p final (2x upscale)
- 720p generation → 4K final (4x upscale)
- 1080p generation → 4K final (2x upscale)
Professional workflow:
- Generate at the highest resolution your model supports
- Edit all footage at generated resolution
- Upscale final edited sequence (not individual clips)
- Color correct and add finishing touches
Common Quality Issues & Solutions
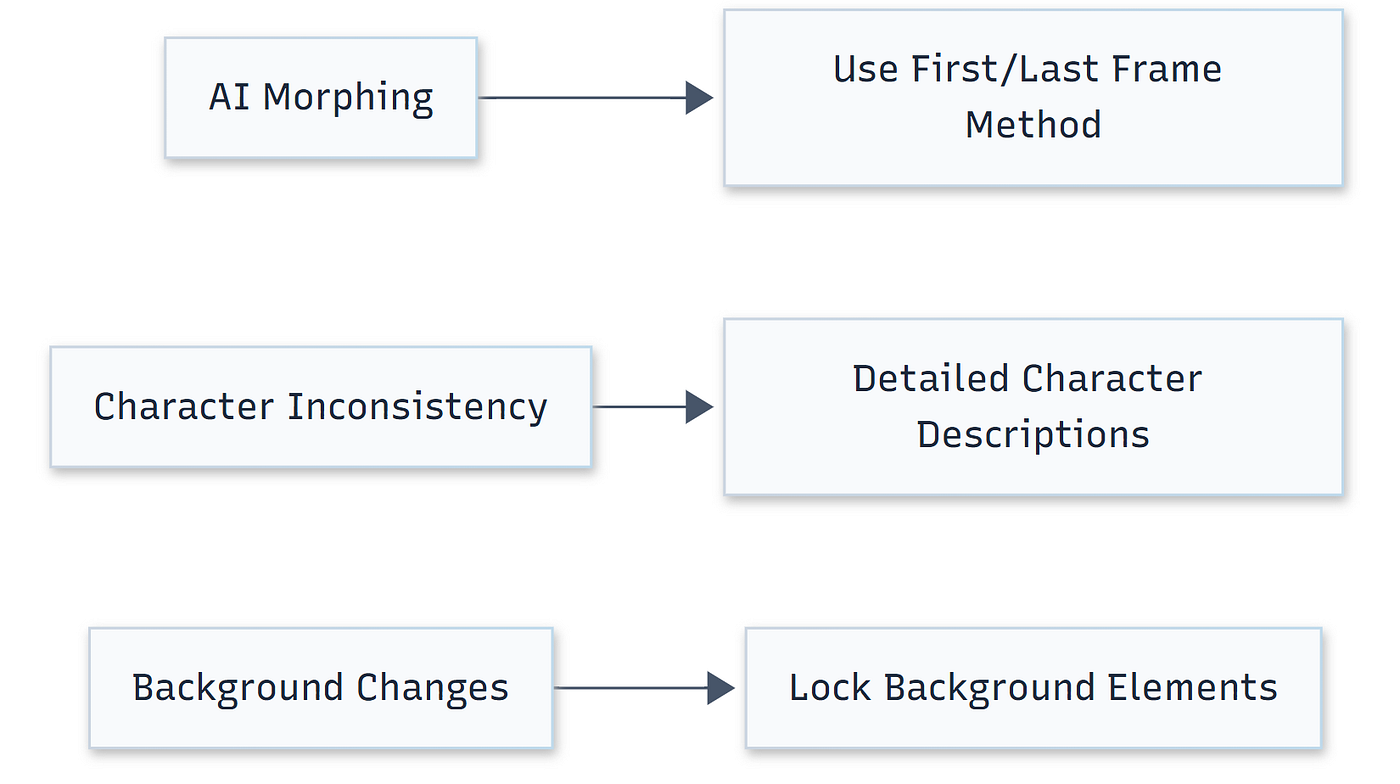
Problem: AI Morphing
- Solution: Use first/last frame method (covered in Part 2)
- Prevention: Keep camera movements simple and gradual
Problem: Character Inconsistency
- Solution: Use character reference images throughout
- Prevention: Detailed character descriptions in every prompt
Problem: Background Changes
- Solution: Lock background elements in prompts
- Prevention: Start with wide establishing shots
Tools of the Trade: Your AI Filmmaking Toolkit
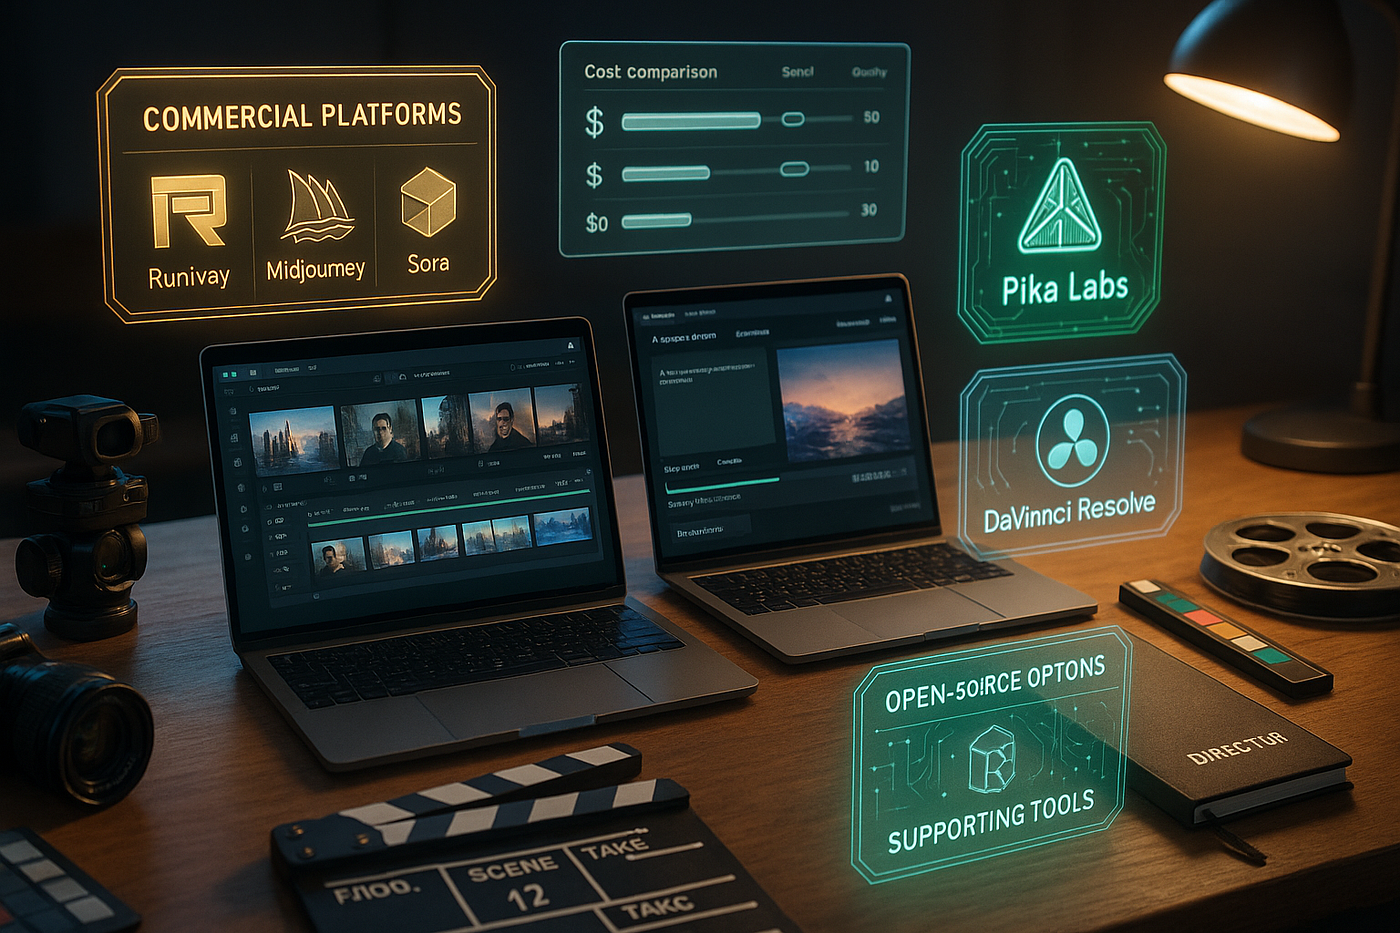
Commercial Platforms:
- Veo3 — Excellent for beginners, quickly generate full shots.
- Runway ML — Industry standard, great for beginners
- Sora — Cutting-edge quality when available
- Pika Labs — Good balance of features and cost
Open-Source Options:
- fal.ai — Hosts multiple models, cost-effective
- Replicate — Developer-friendly, latest models
- ComfyUI — Ultimate control, steep learning curve
Supporting Tools:
- Midjourney — Best storyboard generation
- Photoshop/GIMP — Image editing and frame manipulation
- DaVinci Resolve — Professional video editing (free)
- Topaz Video AI — Professional upscaling
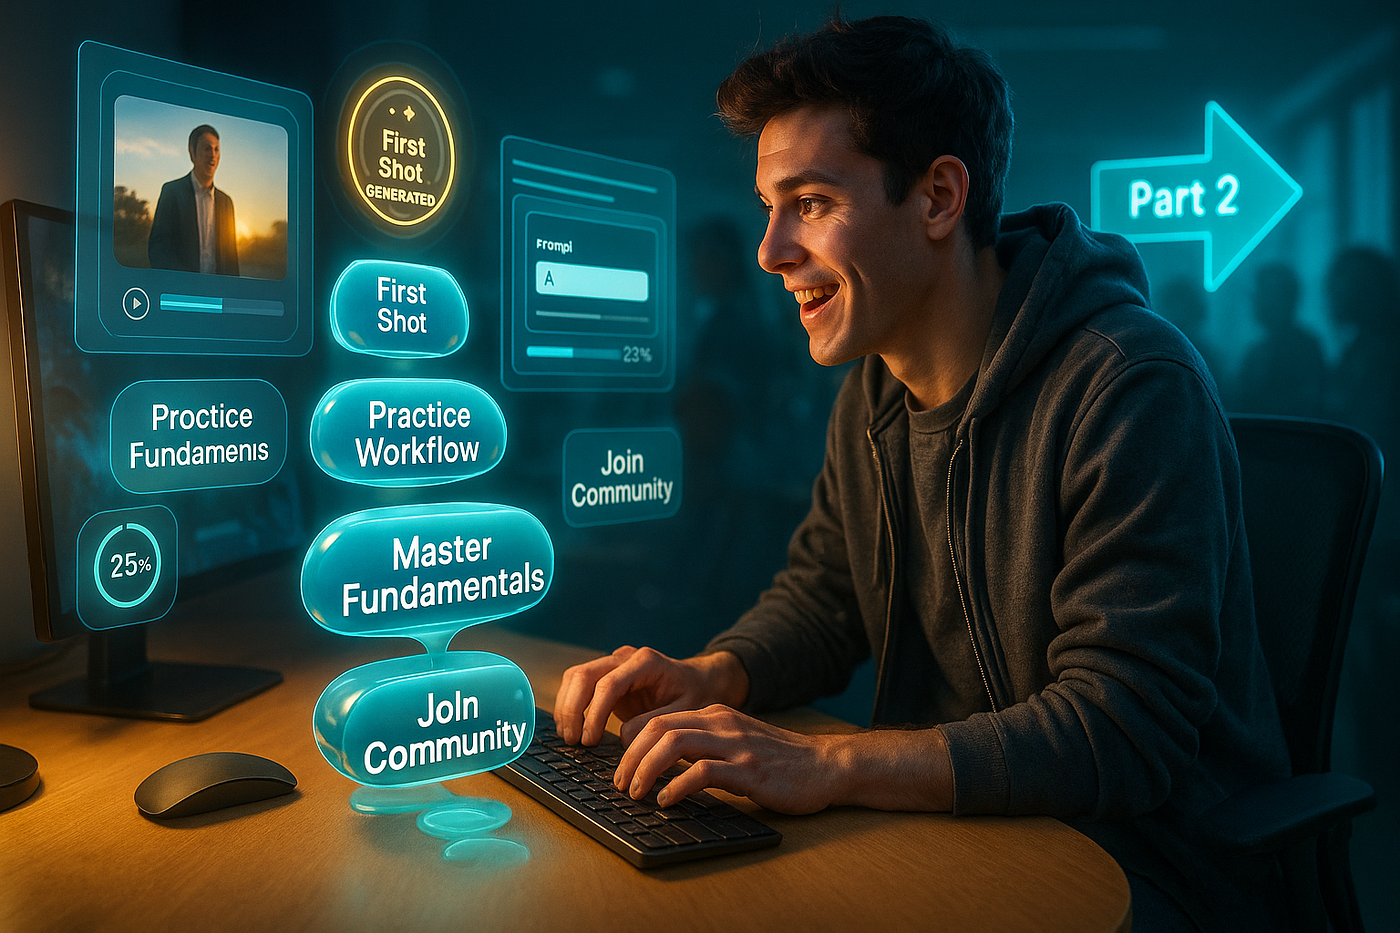
Your First Steps Into AI Filmmaking
Ready to start generating your first AI film shots? Here’s your action plan:
- Choose a platform — Start with Runway ML if you’re unsure
- Practice the basic workflow — Generate 3–5 test shots using the templates above
- Master the fundamentals — Focus on character consistency and prompt structure
- Join the community — Connect with other AI filmmakers online
The basics we’ve covered in Part 1 will get you generating professional-looking shots. But there’s so much more to discover.
In Part 2, we’ll dive deep into:
- Advanced directing techniques for Hollywood-level shots
- The First & Last Frame Method for perfect camera movements
- Creating seamless continuous scenes
- Professional troubleshooting guides
- Shot-specific templates for every scenario
The future of filmmaking is in your hands. Every day you wait, someone else is using these tools to tell stories that captivate audiences worldwide.
Your unique vision, combined with AI’s limitless possibilities, could create the next breakthrough in cinema.
Ready to take your AI filmmaking to the next level? Part 2 reveals the advanced techniques that separate amateur AI filmmakers from professionals. Don’t miss it!
What story will you tell first? Share your initial AI filmmaking experiments in the comments below — the community loves seeing new creators embrace this technology!
메타데이터
- post_id
- 800cec8aacfc
- slug
- lights-camera-ai-how-to-generate-professional-film-shots-with-artificial-intelligence-part-1-800cec8aacfc
- url
- https://medium.com/@Micheal-Lanham/lights-camera-ai-how-to-generate-professional-film-shots-with-artificial-intelligence-part-1-800cec8aacfc
- canonical_url
- https://medium.com/@Micheal-Lanham/lights-camera-ai-how-to-generate-professional-film-shots-with-artificial-intelligence-part-1-800cec8aacfc
- author_url
- https://medium.com/@Micheal-Lanham
- status
- ok
- fetched_at
- 2026-06-22 17:31:34