Lesson 8: Namespaces — Organizing Your Cluster
Now we’ll learn something you’ll use every day in real Kubernetes clusters.
Lesson 8: Namespaces — Organizing Your Cluster
Now we’ll learn something you’ll use every day in real Kubernetes clusters.
Until now, everything we’ve created has gone into the default namespace. But what if multiple teams share the same cluster?
That’s where Namespaces come in.
Learning Objectives
By the end of this lesson, you’ll understand:
- What a Namespace is.
- Why Namespaces exist.
- The default Namespaces in Kubernetes.
- How to create and use your own Namespace.
- How to switch between Namespaces.
The Problem
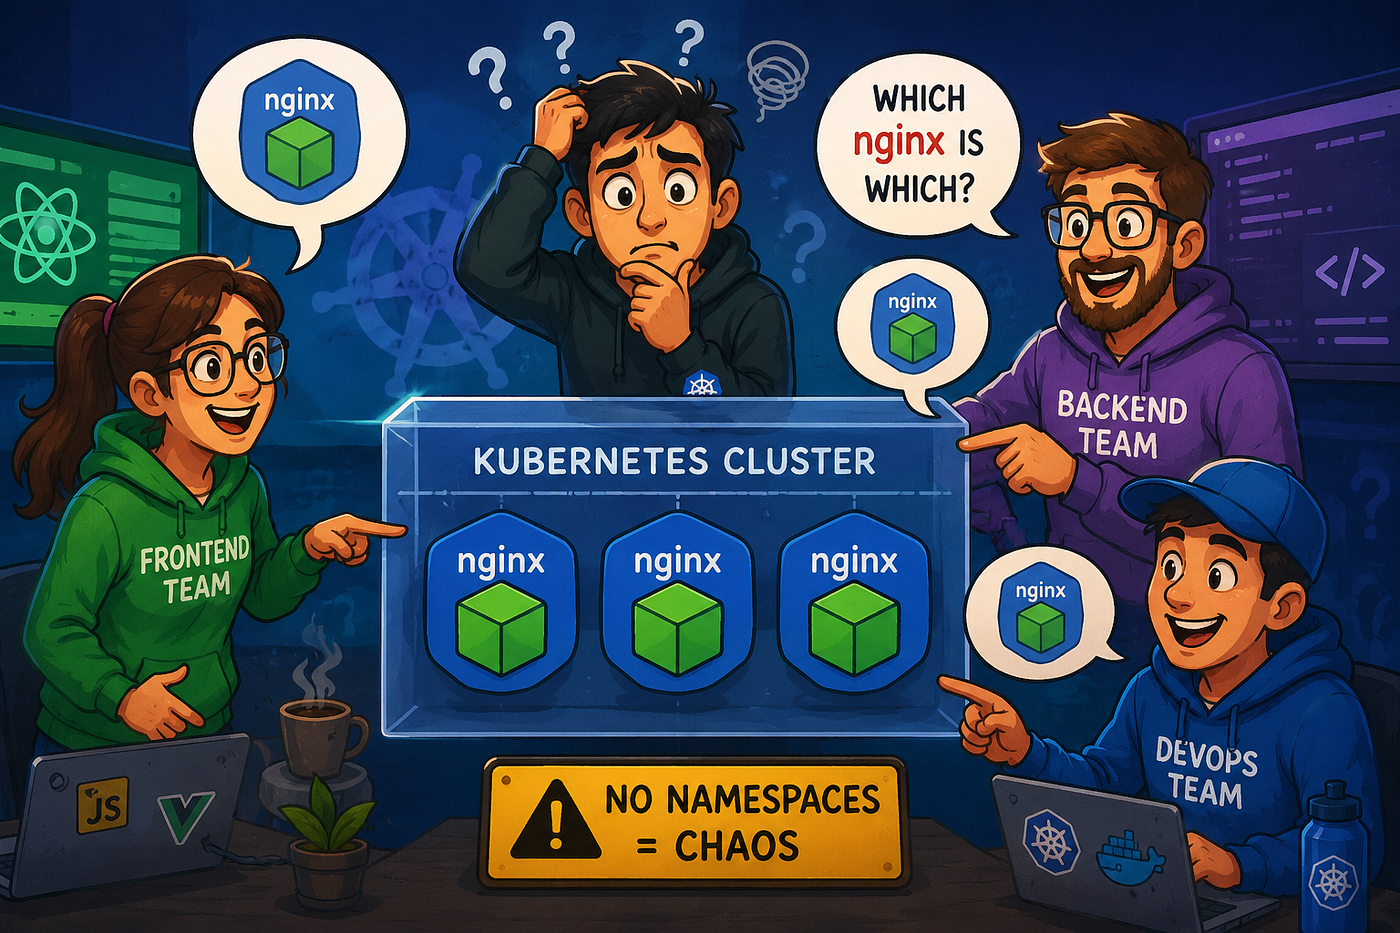
Imagine your company has one Kubernetes cluster.
Three teams use it:
- Frontend Team
- Backend Team
- DevOps Team
All three create a Deployment named:
nginxWithout Namespaces:
Clusternginx
nginx
nginxWhich one is which?
You can’t have three Deployments with the same name in the same namespace.
Real-Life Analogy
Think of your computer.

The file name is the same.
No problem.
Why?
Because they’re in different folders.
A Namespace is like a folder inside your Kubernetes cluster.
What is a Namespace?
A Namespace is a logical partition inside a Kubernetes cluster.
It lets multiple teams or applications share the same cluster without resource name conflicts.
Kubernetes Cluster
│
├── default
│     ├── nginx
│     └── mysql
│
├── dev
│     └── nginx
│
├── production
│     └── nginx
│
└── kube-system
      └── CoreDNS
Notice that nginx exists in both default, dev, and production.
That’s allowed because they are different Namespaces.
Check Existing Namespaces
Run:
kubectl get namespacesor
kubectl get nsExample:
NAME              STATUS   AGE
default           Active   2d
kube-node-lease   Active   2d
kube-public       Active   2d
kube-system       Active   2d
Understanding the Default Namespaces
1. default
Everything you’ve created so far has gone here.
If you don’t specify a namespace, Kubernetes uses default.
2. kube-system
Contains internal Kubernetes components.
Examples:
- CoreDNS
- kube-proxy
- Metrics Server (if installed)
Check them:
kubectl get pods -n kube-systemYou’ll see several system Pods.
Don’t delete anything here.
3. kube-public
Contains resources that can be publicly readable within the cluster.
Most beginners won’t interact with it often.
4. kube-node-lease
Used internally by Kubernetes so nodes can report they’re still alive.
Again, you usually don’t manage this directly.
Create Your First Namespace
Run:
kubectl create namespace devOutput:
namespace/dev createdVerify:
kubectl get nsNow you’ll see:
default
dev
kube-system
...
Deploy an Application into the Namespace
Create an Nginx Deployment in the dev namespace:
kubectl create deployment nginx --image=nginx -n devNotice the -n (or --namespace) flag.
Now check:
kubectl get deploymentsOutput:
No resources found in default namespace.Why?
Because you created it in dev, not default.
View Resources in Another Namespace
Run:
kubectl get deployments -n devNow you’ll see:
NAME
nginx
The same applies to Pods:
kubectl get pods -n devCan the Same Name Exist?
Let’s create another Deployment in the default namespace:
kubectl create deployment nginx --image=nginxNow you have:
default Namespace

nginx
and
dev Namespace

nginx
No conflict.
Because Namespaces isolate resource names.
Create a Namespace Using YAML
Create namespace.yaml:
apiVersion: v1
kind: Namespace

metadata:
  name: testing
Apply it:
kubectl apply -f namespace.yamlVerify:
kubectl get nsSet the Default Namespace
Typing -n dev every time gets repetitive.
You can change the current context:
kubectl config set-context --current --namespace=devNow run:
kubectl get podsWithout specifying -n.
It will automatically show resources from the dev namespace.
To switch back:
kubectl config set-context --current --namespace=defaultDelete a Namespace
Delete the namespace:
kubectl delete namespace testingor
kubectl delete ns testingImportant: Deleting a Namespace deletes all resources inside it.
Architecture
Kubernetes Cluster
│
├── default
│     ├── Deployment
│     ├── Pod
│     └── Service
│
├── dev
│     ├── Deployment
│     ├── Pod
│     └── Service
│
└── production
      ├── Deployment
      ├── Pod
      └── Service
Think of Namespaces as separate workspaces within the same cluster.
Commands Learned Today
List Namespaces:
kubectl get nsCreate a Namespace:
kubectl create namespace devCreate a Deployment in a Namespace:
kubectl create deployment nginx --image=nginx -n devView Pods in a Namespace:
kubectl get pods -n devView Deployments in a Namespace:
kubectl get deployments -n devSwitch the default Namespace:
kubectl config set-context --current --namespace=devDelete a Namespace:
kubectl delete ns testingMini Challenge
- List all Namespaces:
kubectl get ns
-
Create a Namespace named
dev. -
Deploy Nginx into
dev:
kubectl create deployment nginx --image=nginx -n dev
- Verify:
kubectl get deployments -n devkubectl get pods -n dev
-
Create another Nginx Deployment in the
defaultnamespace. -
Compare:
kubectl get deploymentskubectl get deployments -n dev
-
Create a Namespace called
testingusing a YAML manifest. -
Delete the
testingNamespace.
Interview Questions
1. What is a Namespace?
A Namespace is a logical partition within a Kubernetes cluster that groups and isolates resources.
2. Why do we use Namespaces?
To organize resources, avoid naming conflicts, and separate environments or teams sharing the same cluster.
3. What happens if you don’t specify a Namespace?
Kubernetes places the resource in the default namespace.
4. Can two Deployments have the same name?
Yes, if they are in different Namespaces. Within the same Namespace, resource names must be unique.
Lesson 8 Summary
- Namespaces logically organize resources inside a Kubernetes cluster.
defaultis used when no namespace is specified.kube-systemcontains Kubernetes' own components.- The same resource name can exist in different Namespaces.
- Use
-n <namespace>to work with a specific Namespace, or change your current context to avoid repeating it.
메타데이터
- post_id
- 8054d7dee993
- slug
- lesson-8-namespaces-organizing-your-cluster-8054d7dee993
- url
- https://medium.com/@kunalparkhade/lesson-8-namespaces-organizing-your-cluster-8054d7dee993
- canonical_url
- https://medium.com/@kunalparkhade/lesson-8-namespaces-organizing-your-cluster-8054d7dee993
- author_url
- https://medium.com/@kunalparkhade
- status
- ok
- fetched_at
- 2026-08-08 16:57:38