🧪 The One YAML File to Rule Them All: Creating and Using .yml Environments in Anaconda Like a Pro
Whether you’re diving into data science, machine learning, or just playing with Python like it’s LEGO, managing environments is a…
🧪 The One YAML File to Rule Them All: Creating and Using .yml Environments in Anaconda Like a Pro
Whether you’re diving into data science, machine learning, or just playing with Python like it’s LEGO, managing environments is a non-negotiable skill. And if you’re rolling with Anaconda (bless your smart soul), the .yml file is your secret weapon to version-lock and time-travel-proof your project setup.
Tired of “works on my machine” drama? YAML is here to save your code’s social life.
In this post, we’re gonna go full detective mode on:
What the heck is a
.ymlfile?
How to create one for your conda environment 🔧
How to use it to recreate environments like a magician 🪄
Real-world tips to avoid rookie mistakes 🚨
🧠 First Things First: What Even Is a .yml File?
A YAML (Yet Another Markup Language) file is basically a clean, human-readable format used for configuration. When you use it with Anaconda, it becomes a neat blueprint for all the packages, dependencies, and Python version that your project needs.
Think of it as your environment’s passport: it has all the info you need to recreate your digital lab anywhere, anytime. Share it, version control it, worship it (okay maybe not that far, but you get the vibe).
🔥 Step 1: Create Your Dream Environment (Manually)
Before you can export a .yml, you gotta have a conda environment worth exporting.
Let’s say you’re working on a spicy ML project.
conda create -n spicy-ml-env python=3.10Activate it like a boss:
conda activate spicy-ml-envThen install the cool kids:
conda install numpy pandas scikit-learn matplotlib seaborn
pip install xgboost
Yes, pip works inside conda. They finally get along. ✌️
📦 Step 2: Export That Environment to .yml
Once you’ve got your dream setup, time to make a .yml file you can treasure forever (or until dependencies break again 😅).
conda env export --from-history > environment.ymlThis will create an environment.yml file with only the packages you installed explicitly — super clean, no unnecessary clutter from system packages.
Or, if you want everything including sub-dependencies (some people like it messy):
conda env export > environment_full.yml🔍 Pro Tip:
Stick with --from-history unless you have a reason to replicate everything down to the dust particles. Keeps things simpler and less error-prone when sharing with teammates.
🧙♂️ Step 3: Create an Environment FROM a .yml File
So your future self (or unlucky teammate) finds this .yml file in a repo.
To spin up the exact same environment:
conda env create -f environment.ymlBoom. Like you teleported back to when the project worked.
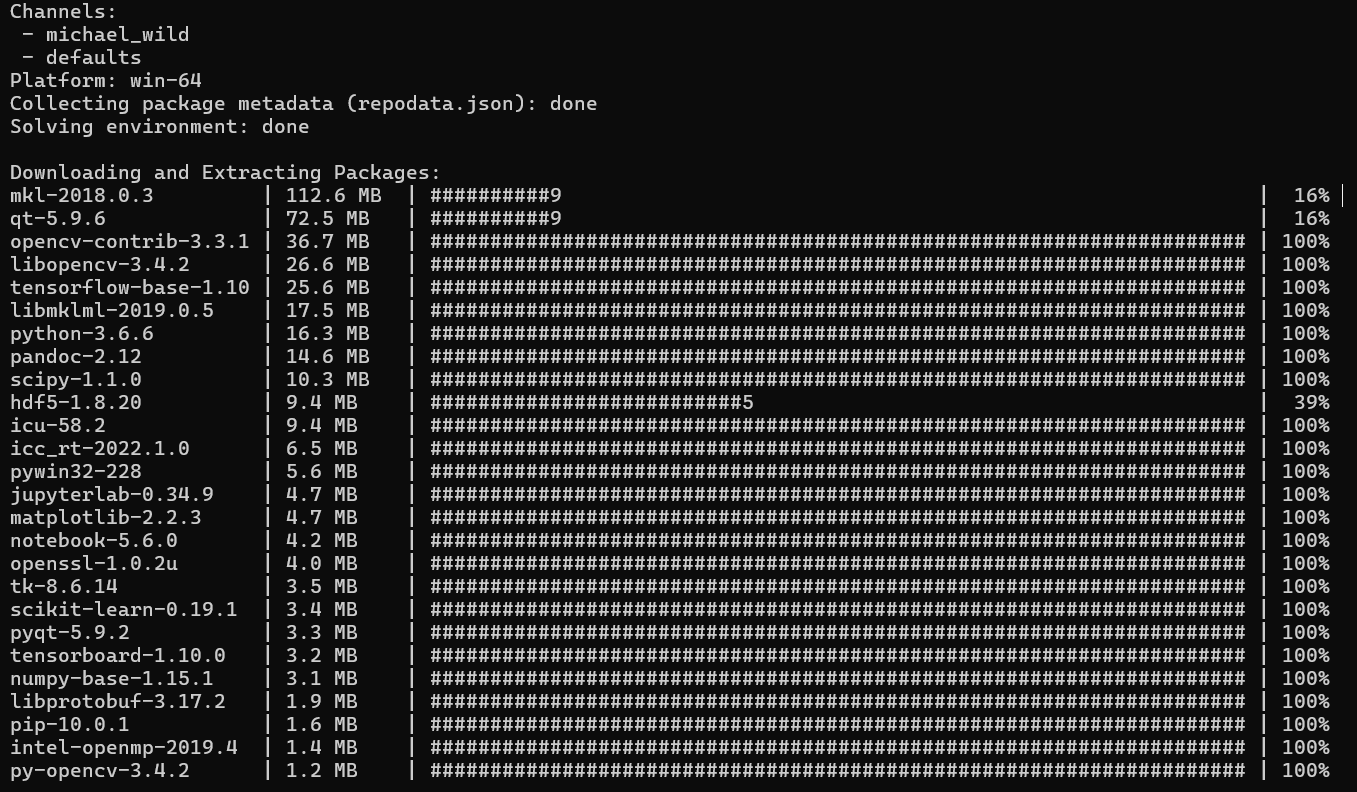
By default, it’ll use the name inside the .yml file. Want to override it?
conda env create -f environment.yml -n new-cool-nameOnce it’s done cooking, activate it:
conda activate new-cool-name🤖 Quick Sample environment.yml
Here’s what a lean and mean .yml might look like:
name: spicy-ml-env
channels:
  - defaults
  - conda-forge
dependencies:
  - python=3.10
  - numpy
  - pandas
  - scikit-learn
  - matplotlib
  - seaborn
  - pip
  - pip:
      - xgboost
Look at that. Beautiful. Minimal. Precise. Kinda like writing poetry for your GPU.
🚨 Common Mistakes (And How to Dodge Them)
- Mismatch in Python versions: If your
.ymlsays Python 3.11 but you try it on a system that defaults to 3.8 — chaos ensues. Always specify the version. - Forgetting pip-installed packages: If you don’t include
pip:in your.yml, some packages may ghost you. Add them manually if needed. - Using
--fullexport when not needed: It bloats the.ymland can include OS-specific packages that don’t work across platforms. Use--from-historyfor cleaner, portable files. - Trying to update environments created from
.ymlwithconda update: Just delete and recreate the env if you’re sharing. Don’t try to do patchwork upgrades.
🌱 Bonus: Update an Existing Env with a YAML
If your env is already there and you just wanna add from a newer .yml:
conda env update -f environment.ymlUse this carefully — it tries to merge changes, but things can go sideways if versions mismatch badly.
💾 Version Control Your environment.yml
Add your .yml to your Git repo like a responsible dev. This makes it 10x easier for future-you and your team to keep working in sync.
# In .gitignore, ignore the full env files
environment_full.yml
Stick to versioning the lean one.
🚀 Wrapping Up
That little environment.yml is more powerful than it looks. It’s your project’s skeleton key. Use it right, and you’ll:
✅ Avoid version hell ✅ Collaborate like a champ ✅ Sleep better knowing your env is reproducible
YAML isn’t glamorous, but it is game-changing.
So go forth, YAML warrior. May your dependencies always resolve and your environments always activate on the first try 🙏.
💬 Got questions, horror stories, or victory dances to share? Drop them in the comments! Or ping me — I love talking environments, config files, and the weird joys of reproducible setups.
메타데이터
- post_id
- 80624ef4e8c8
- slug
- the-one-yaml-file-to-rule-them-all-creating-and-using-yml-environments-in-anaconda-like-a-pro-80624ef4e8c8
- url
- https://medium.com/@aniketbakre1291/the-one-yaml-file-to-rule-them-all-creating-and-using-yml-environments-in-anaconda-like-a-pro-80624ef4e8c8
- canonical_url
- https://medium.com/@aniketbakre1291/the-one-yaml-file-to-rule-them-all-creating-and-using-yml-environments-in-anaconda-like-a-pro-80624ef4e8c8
- author_url
- https://medium.com/@aniketbakre1291
- status
- ok
- fetched_at
- 2026-06-25 07:00:49





