3D Profile Website — Build an Interactive 3D Portfolio Room with React Three Fiber
Welcome to the 3D Profile Website series!
3D Profile Website — Build an Interactive 3D Portfolio Room with React Three Fiber
Welcome to the 3D Profile Website series!
Most developer portfolios are a scrollable page: a header, a grid of projects, a contact form. They’re fine — and they all blur together. Over this series we’re going to build something a visitor remembers: a 3D room you can walk through. A desk with a monitor you click to open projects. A wall of diplomas. A TV that plays your showreel. Lights you can flip. A guided tour. All in the browser, all from scratch.
This is the opening chapter — no code yet, just the plan: what we’re building, the tools, and the road ahead.
What We’re Building
By the end you’ll have a single, cohesive scene that is your portfolio:
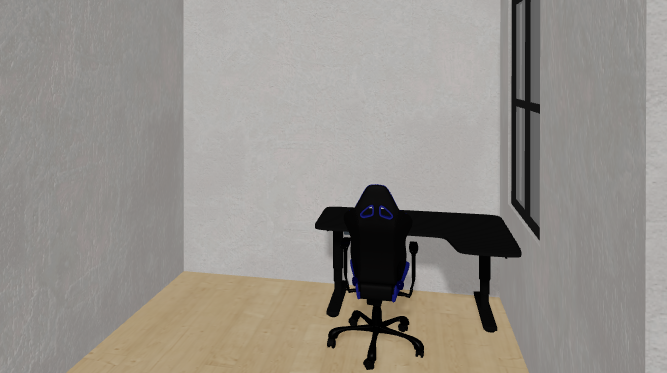
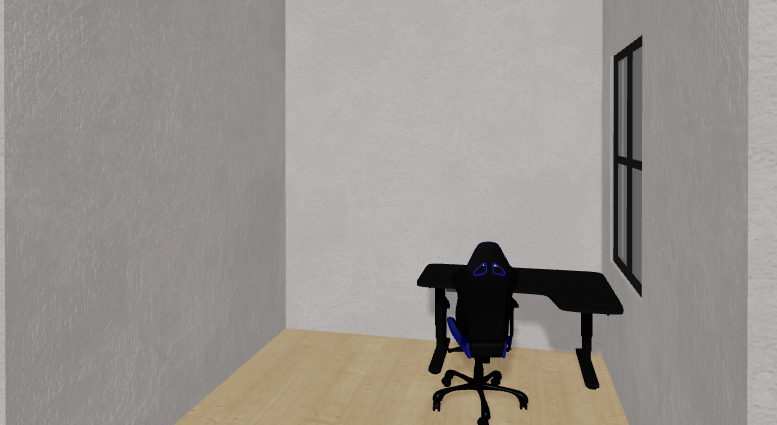
• A textured, furnished 3D room — wood floor, plaster walls, a window, a door, a ceiling, real furniture
• Interactive lighting — clickable wall switches, lamps that actually glow, automatic day/night that follows the visitor’s system theme
• A clickable desktop inside the monitor (“Hadi OS”) with project windows and a résumé timeline, plus a playable TV and a gallery wall of your credentials
• Guided navigation — a menu that flies the camera to each area, a self-running tour, and shareable deep links
• Animated characters, a clock that tells the real time, and a glowing neon sign
• Performance & mobile — a 172 MB scene cut to 44 MB, a quality tier for weaker GPUs, and a UI that fits a phone
• Polish — procedural sound effects, a branded loading screen, micro-interactions, and a real deployment with a social-share card
It starts as an empty black <Canvas>. It ends as a room with the lights on, behind a public URL.
The Tools
We keep the stack small and modern: React + TypeScript + Vite for the shell and a fast dev loop; React Three Fiber to write Three.js as React components; drei for the helper belt (useGLTF, Html, CameraControls, Environment, and more); @react-three/postprocessing for Bloom so lights glow; zustand for state that works both inside and outside the 3D canvas; and Three.js underneath when we need it directly.
No prior 3D experience required. If you’re comfortable with React, you can follow along — Part 1 starts from npm create vite and explains every new concept as it appears.
The Journey Ahead
Thirteen parts, each focused, each building on the last, grouped into three acts.
Act I — Build the Room
-
Textures, Walls With Holes & a Reflective Window — PBR textures and ExtrudeGeometry walls that cut their own openings.
-
Furniture & Animation — load GLB models with gltfjsx, tame their scale, add a loader.
-
Doors, Ceilings & HDRI Light — a real door, a ceiling, and environment lighting that casts shadows.
Act II — Make It Live
-
Interactive Lighting — a lighting store, clickable switches, glowing lamps, day/night, Bloom.
-
Make It Personal — a reusable photo frame, a gallery wall, and a clickable YouTube TV.
-
Bring It to Life — animated characters, a real-time clock, and a neon sign.
-
Make It Navigable — a camera menu, animated view presets, and clickable 3D objects.
-
Make It Interactive — a desktop inside the monitor, hover tooltips, an auto tour, and deep links.
Act III — Ship It
-
Make It Fast — audit and compress; 172 MB down to 44 MB with no visible quality loss.
-
Make It Mobile — a reactive media-query hook, an automatic quality tier, a responsive menu.
-
Make It Delightful — procedural audio, a branded loading screen, and micro-interactions.
-
Ship It — a production build, deployment with cache headers, and full SEO + a social-share card.
How the Series Works
Follow in order — each part assumes the one before it, and the room grows step by step. Every part ends with a link to its branch on GitHub, so you can check out the exact state for that step. And it’s honest about the hard parts: where a choice bit us — a model that mangled under compression, a camera that escaped the room, eyes on the back of an avatar’s head — the tutorial tells you what went wrong and why, not just the clean final answer.
The goal isn’t just “a 3D scene.” It’s a finished, fast, navigable product you can confidently put on a résumé — and that looks intentional the moment someone shares the link.
What’s Next (Part 1)
Enough planning. In Part 1 we scaffold the project, drop in a <Canvas>, and build the first room — a floor, walls, a box, two lights, and orbit controls — so by the end you’re already spinning a 3D scene in the browser.
Let’s build something people remember.
Source Code
The complete project lives on GitHub (github.com/myoxine/3d-profile); each part has its code on a matching partN branch.
메타데이터
- post_id
- 84bf92d8578b
- slug
- 3d-profile-website-build-an-interactive-3d-portfolio-room-with-react-three-fiber-84bf92d8578b
- url
- https://medium.com/@hadish19/3d-profile-website-build-an-interactive-3d-portfolio-room-with-react-three-fiber-84bf92d8578b
- canonical_url
- https://medium.com/@hadish19/3d-profile-website-build-an-interactive-3d-portfolio-room-with-react-three-fiber-84bf92d8578b
- author_url
- https://medium.com/@hadish19
- status
- ok
- fetched_at
- 2026-07-10 22:46:24