INTRODUCTION
I kept on my exploration journey of Bittensor ecosystem, and I arrived at one of the most crucial steps in becoming a miner: environment…
My Journey into Bittensor Mining: Registration, Wallet Setup, and Miner Configuration
INTRODUCTION

I kept on my exploration journey of Bittensor ecosystem, and I arrived at one of the most crucial steps in becoming a miner: environment preparation, wallet creation, subnet registration and launching a miner. When I started to use it, I found the jargon to be quite intimidating; there were so many new (to me) terms like coldkeys, hotkeys, UIDs, registration, metadata, validator queries, and so on. But, step by step I got to understand how everything is connected.
In this article, I will explain what I learned, what struggles I encountered and some tips for new miners who are beginning their own miner journey on Bittensor.
Getting Ready for Mining

The first step was to install and test the Bittensor command-line interface (btcli) before running a miner. It is crucial for this tool as it enables users to build wallets, view their balances, sign up on subnets and run miner operations.
Then, it was necessary to produce two different wallet keys:
Coldkey
The coldkey is the main wallet and will store all TAO tokens. It is the source of control of funds; therefore, it should be stored securely, preferably offline if possible.
Hotkey
The hotkey is for normal miner operations. It signs requests and enables the miner to communicate with the network without revealing the coldkey.
I was given a mnemonic phrase when I created the wallet. This phrase can be used to restore access to the wallet should it be lost. This phrase is the master backup of the wallet. Secured this phrase is one of the key tasks in crypto, I learned. I kept it in a safe place off the Internet and did not take screenshots of it or save it to the cloud.
Once the wallets are created, I have verified using wallet commands, and confirmed that the balance is being displayed, before continuing.
Registering on the Subnet
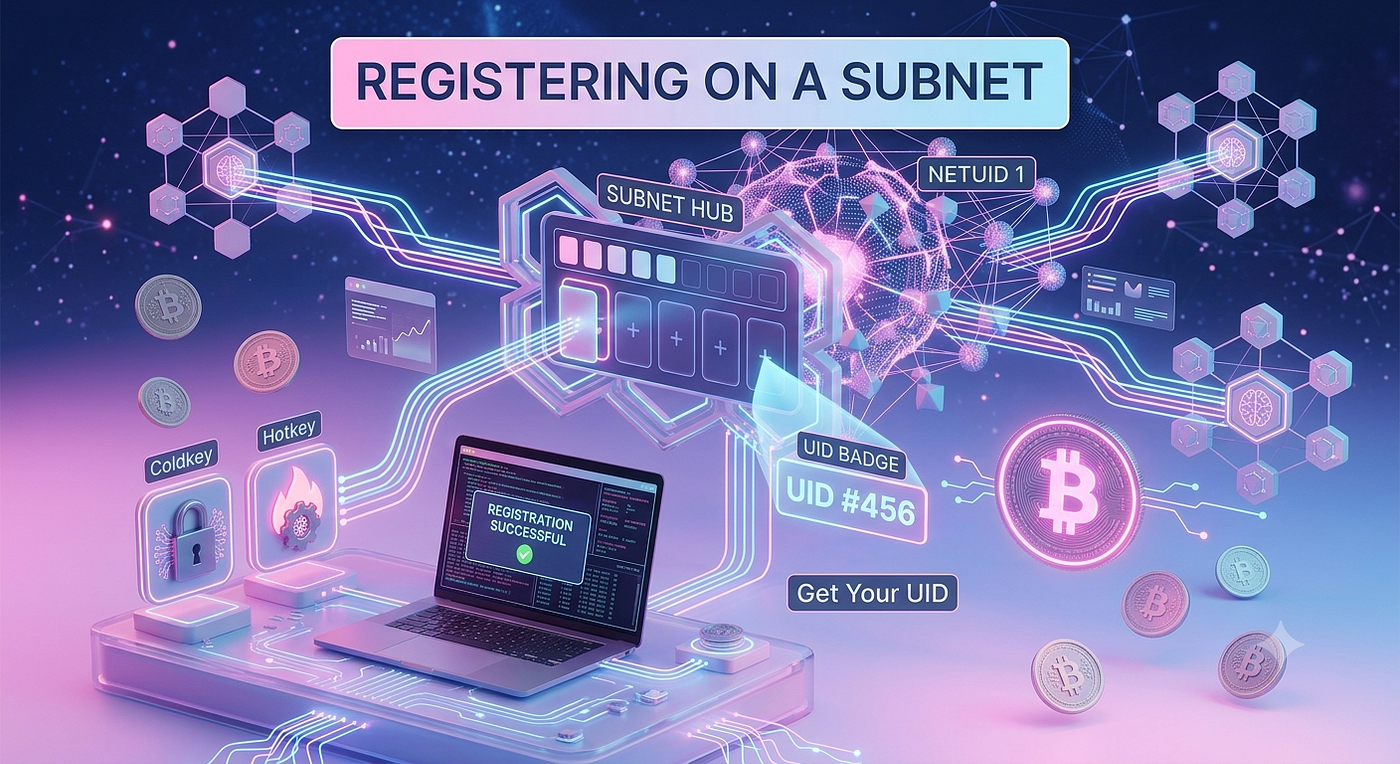
With the wallet ready and testnet TAO in the wallet, the next step was to register the hotkey on the subnet.
The primary reason for registration is to provide the miner with a distinct identity in the subnet. Once the miner registers successfully, he gets a UID (Unique identifier) which works as a slot number in the network.
I learnt that just having a wallet is not sufficient for registration. In order to be able to interact with validators and to be able to do subnet activities, a miner has to be registered.
I registered and then checked network status with the metagraph command to see that it was correctly recognized by the subnet and that a UID had been assigned to it.
It felt great when I saw my UID for the first time as it meant that my miner was now part of the network.
Launch your miner process under PM2 management pm2 start neurons/miner.py — name “netuid1-miner” — \ netuid 1 \ subtensor.network test \ wallet.name my_coldkey \ wallet.hotkey my_hotkey \ logging.debug
Miner Architecture and Configuration

The next step was to set up the miner.
This involved setting up a .env file with all the necessary configurations including wallet details, API keys, and more which are required for the miner.
Also learned about metadata registration. Metadata describes a miner’s interest in the information that the subnet would provide them. For SportsTensor, this is any sport and/or league the miner wants to cover.
Once all the things are configured, I run the miner process for the first time.
One of the most satisfying parts was seeing the logs pop up in the terminal window. The miner began to serve validator requests and tasks; the set-up was working as expected.
Problems I Faced

The process of setting up was informative but not all smooth.
The first problem I had was in the distinction of coldkeys from hotkeys. At first, both looked alike, but I later realized that it is a key element in the design to keep fund security from mining operations.
One problem was handling dependencies and environment setup. Sometimes the packages were not installed, or there were problems with the settings, and it was necessary to troubleshoot.
I also had a bit of a confusion when registering as there were several commands and some terms I didn’t know. Careful reading and checking each step helped me to avoid mistakes.
The main problem which I faced was claiming free tokens and error in faucet. The site sometimes take longer time but eventually after few attempts I could gradually claim the tokens.
The hardest thing was dealing with the mnemonic phrase. With the understanding that if I lost a phrase I would not be able to access my wallet, I realized the need for good backups.
Advice for Beginners

I would suggest that for any new Bittensor miner, you should pick up the following Bitcoin and Ethereum mining basics:
Take time reading each step, do not hurry up on set up. Always keep a copy of mnemonic phrase offline. NEVER PROVIDE PRIVATE KEYS, WALLET FILES OR RECOVERY PHRASES. Check for correctness before taking action. Keep coldkey safe, do not use it directly on mining servers. Test prioritized above all else, on testnet before mainnet. Don’t ignore error messages and logs. Make sure to take note of the instructions used to make troubleshooting easier in the future.
Above all, do not despair if it does not work right away. There are configuration problems which can be overcome with patience and a careful check of the error messages.
Conclusion

I gained a better insight into the decentralized AI infrastructure and blockchain coordination by setting up a Bittensor miner. The process from wallet creation to securing mnemonic phrases, registering on a subnet, and mining, among others, highlighted the inner workings of the network.
The process was challenging and had a learning curve, but it was very rewarding. Knowing that the miner had obtained a UID and registered the metadata, and observed that the validator queries arrived, it was considered that the miner was active in the ecosystem.
The most important thing to keep in mind is to be patient, read the documentation carefully, and always remember to keep security in mind when getting started. Setting up a Bittensor miner is a great hands-on experience in AI and decentralized network participation, provided you are prepared and have the right mindset.
Thanks to HackQuest x Bittensor community, Abhirup Banerjee sir and all the people involved in making this learning journey possible! 🚀
메타데이터
- post_id
- 85e6b366f35d
- slug
- my-journey-into-bittensor-mining-registration-wallet-setup-and-miner-configuration-85e6b366f35d
- url
- https://medium.com/@shrijadatta01/my-journey-into-bittensor-mining-registration-wallet-setup-and-miner-configuration-85e6b366f35d
- canonical_url
- https://medium.com/@shrijadatta01/my-journey-into-bittensor-mining-registration-wallet-setup-and-miner-configuration-85e6b366f35d
- author_url
- https://medium.com/@shrijadatta01
- status
- ok
- fetched_at
- 2026-07-09 15:12:33