How to Install an Illuminated Acura MDX Emblem
Let’s look at the numbers first. The Acura MDX isn’t some niche vehicle — it’s a major player on American roads. MDX sales regularly top…
How to Install an Illuminated Acura MDX Emblem
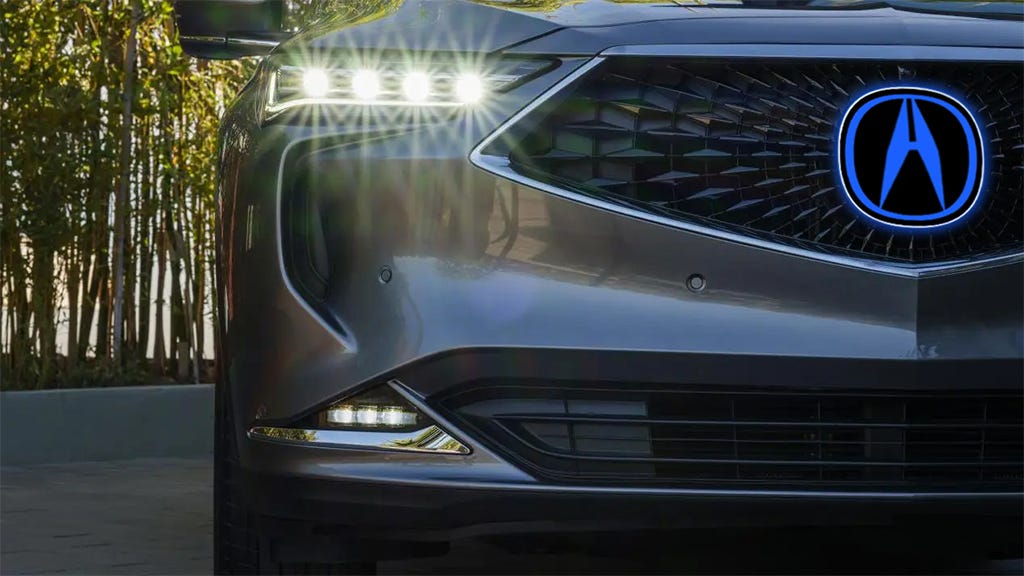
Let’s look at the numbers first. The Acura MDX isn’t some niche vehicle — it’s a major player on American roads. MDX sales regularly top 6,300 units in a strong sales month, and Acura truck sales as a whole have topped 100,000 annually in recent years.. That’s a whole lot of drivers looking for ways to make their SUV stand out. Naturally, the first place many owners start is with the front of the car, and the front emblem is the undeniable focal point of the grille.
According to aftermarket sites, illuminated emblems and badges are a rising trend in automotive customization. They’re described as “a cost-effective yet eye-catching modification, significantly altering your ride’s aesthetics without draining your bank account”. So, it’s a relatively low-cost way to get a very personalized, high-end look.
From there, owner discussions highlight the strong demand for this specific modification. In the forums, many owners are actively searching for illuminated logo options to modernize and add a custom glow to their ride. Beyond just the emblem, MDX owners are known for diving into full lighting setups, from upgraded cabin LEDs (which can be 2X-4X brighter than stock) to OEM-style welcome lights, all to enhance the look and feel of their vehicle.
The Acura Integra’s OEM Precedent
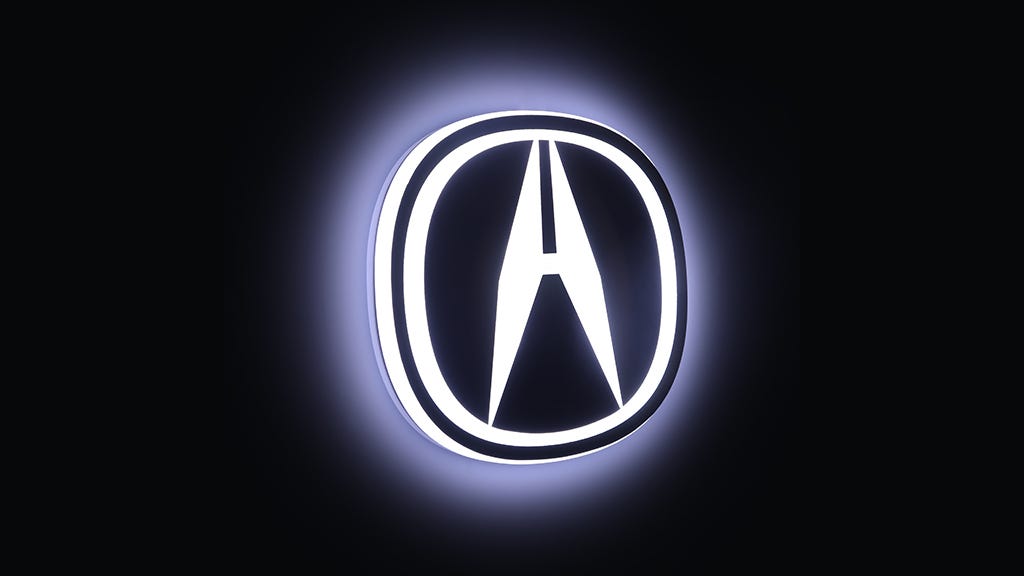
It’s worth noting that Acura has offered an illuminated front “A” emblem as an official factory accessory for the 2023–2025 Integra. This shows the brand itself is embracing the illuminated look. While a factory MDX version isn’t widely available, the Integra part’s existence strongly suggests that Acura sees illuminated badging as a legitimate styling upgrade, adding credibility to the aftermarket options for MDX owners.
How to Install an Illuminated Acura MDX Emblem
Installing an illuminated emblem is a weekend-friendly DIY project. The specific steps can vary slightly depending on your MDX model year and the emblem kit you choose. Below is a general guide that covers the key stages, from removing the old badge to making the final electrical connections. The total process can take anywhere from one to three hours, depending on your familiarity with basic wiring and trim removal.
⚠️ A Critical Pre-Installation Check
Before you buy anything, you absolutely need to check a few things. This isn’t just about fitment.
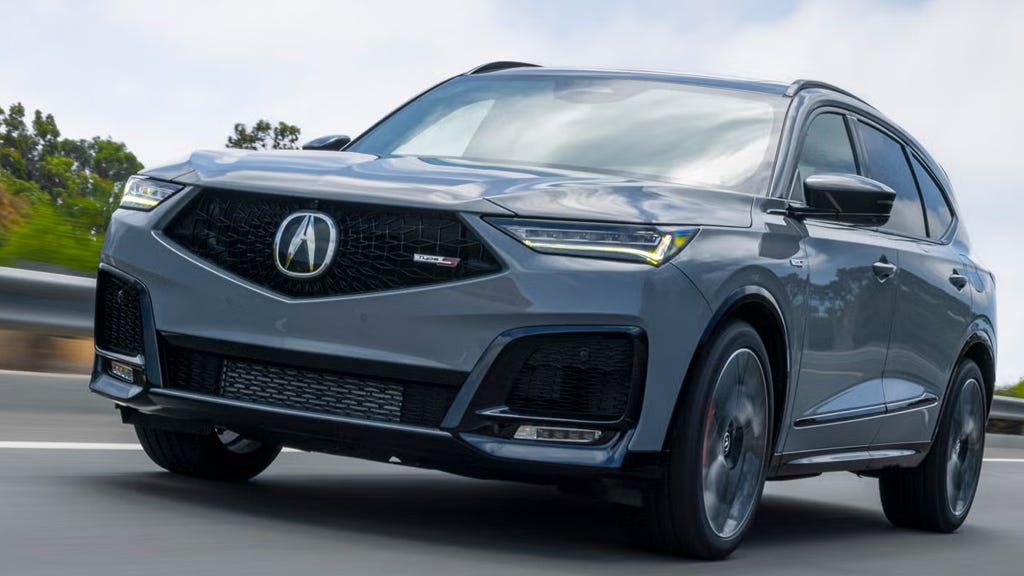
1. Do you have radar behind your emblem? Many newer Acura MDX models (and especially the 2022+ models) have important radar sensors mounted directly behind the front emblem. These sensors are critical for safety features like adaptive cruise control. Aftermarket illuminated emblems that require wiring and metal backing can severely interfere with the radar’s function, triggering warning lights and disabling these safety systems.
Pro Tip: If your MDX has radar cruise control, do not attempt to install an illuminated aftermarket emblem over it. Instead, focus your lighting upgrades on other areas where you can’t interfere with safety systems (interior ambient lighting, door sill plates, rear badging, etc.). Your safety is more important than a glowing logo.
2. Do you have a clear path for wiring? Your chosen LED emblem needs to connect to a 12V power source. Most aftermarket kits require you to tap into your car’s 12V system, meaning you will need to thread the emblem’s wiring from the grille back into the engine bay. Some installations may require you to drill a small, discreet hole in the grille or behind the emblem mounting area for the wires to pass through. Assess this before you order.
Step 1: Remove the Factory Emblem
Most factory emblems are held on by strong double-sided automotive tape.
Mark the spot: Before removing the old emblem, use painter’s tape to mask off a perfect outline around it. This will serve as your guide for positioning the new one.
Heat it up: Gently warm the emblem with a hair dryer or heat gun (on a low setting) to soften the adhesive.
Cut through the tape: Use strong fishing line or dental floss to “saw” through the softened adhesive behind the emblem. Work slowly to avoid scratching the paint.
Clean the surface: Remove any remaining tape and adhesive residue thoroughly with isopropyl alcohol or a dedicated adhesive remover. The surface must be perfectly clean for the new emblem’s adhesive to bond properly.
Step 2: Connect the Power (The Electrical Step)
This is the most important step. You’ll need to run wires from the back of your new emblem to a 12-volt power source.
Run the wires: Thread the emblem’s wiring harness from its mounting location, through a safe path in the grille and into the engine bay. Use zip ties to secure the wires away from hot or moving parts.
Find a 12V source: The easiest point is often to tap into your car’s parking light circuit. Using a multimeter, find the wire that receives 12 volts when you turn on your parking lights or headlights.
Make the connection: Use a reliable posi-tap or T-tap connector to splice your emblem’s positive (usually red) wire into this wire. Connect the negative (black) wire to a clean, unpainted metal point on your vehicle’s chassis for a solid ground.
If you’re not comfortable with automotive wiring, don’t guess. A local car audio or customization shop can handle this small job for a very reasonable fee.
Step 3: Mount Your New Illuminated Emblem
Do a final test: Before you mount anything, reconnect your battery (if disconnected) and turn on the circuit you tapped into to confirm your new emblem lights up. Once confirmed, disconnect it again to continue.
Peel and stick: Remove the adhesive backing from your new illuminated emblem.
Press it in place: Following your painter’s tape outline, carefully align and press the emblem firmly onto the cleaned surface. Hold it with steady pressure for at least 60 seconds to ensure a strong bond.
For hardwired and multi-color kits: If your emblem has additional hardware, like a separate control box for RGB colors or a relay, find a safe, weather-protected spot in the engine bay to mount it. Secure it with zip ties or double-sided tape and connect it according to the specific kit’s instructions.
Light It Up
An illuminated Acura emblem is one of those mods that instantly sets your MDX apart, giving it a custom, modern look that turns heads. The install is straightforward if you’re comfortable with basic wiring, but it’s a small job for a pro if you’d rather not dive into your car’s electrical system.
The key is to do your prep work, make a plan for the wires, and always consider the location of any crucial sensors before you start. If all is clear, this is a great way to light up your drive.
메타데이터
- post_id
- 8a129477a232
- slug
- how-to-install-an-illuminated-acura-mdx-emblem-8a129477a232
- url
- https://medium.com/@aoonuauto/how-to-install-an-illuminated-acura-mdx-emblem-8a129477a232
- canonical_url
- https://medium.com/@aoonuauto/how-to-install-an-illuminated-acura-mdx-emblem-8a129477a232
- author_url
- https://medium.com/@aoonuauto
- status
- ok
- fetched_at
- 2026-06-12 07:40:50