Cloud Academy Lab Walkthrough: Kubernetes Pod Design for Application Developers Definition Basics
Kubernetes is at the heart of modern cloud-native application deployment, and understanding Pod design is one of the most essential skills…
Cloud Academy Lab Walkthrough: Kubernetes Pod Design for Application Developers Definition Basics
Kubernetes is at the heart of modern cloud-native application deployment, and understanding Pod design is one of the most essential skills for developers building in the ecosystem. In this Cloud Academy lab, titled “Kubernetes Pod Design for Application Developers: Definition Basics”, I explored the foundational concepts of Pods the smallest deployable unit in Kubernetes and learned how to create, inspect, and manage them from scratch.
Connecting to the Kubernetes Cluster
Before diving into Pod configurations, the lab environment provides a multi-node Kubernetes cluster initialized with kubeadm and running on Ubuntu. The setup includes:
- A bastion node for secure SSH access
- A control-plane node
- One worker node
All resources are deployed on AWS, replicating the kind of environment seen in CNCF Kubernetes certification exams.
Steps to Connect:
- Access the browser-based terminal from the Cloud Academy lab panel.
- Log in with:
- Wait for the lab environment to show “Ready”.
- Copy the Cluster SSH command from the Cloud environment panel.
- Paste the command into your terminal to connect to the bastion node.
Once connected, confirm the nodes are ready with:
watch kubectl get nodesThis command continuously monitors node status until the worker node joins. If you see:
The connection to the server 10.0.0.100:6443 was refuseddon’t worry it simply means the API server is still initializing.
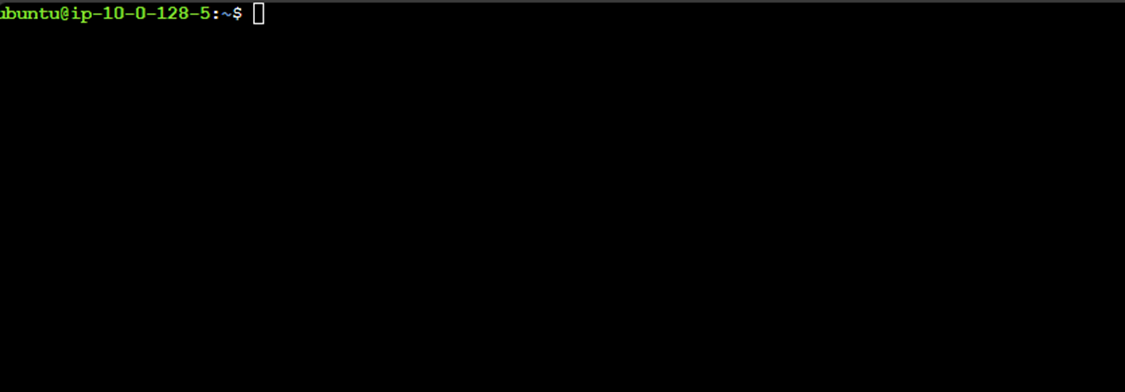
Connected to the Kubernetes master node through bastion using SSH.
Reviewing Pod Definition Basics
With access established, it’s time to understand the foundation of Kubernetes workloads — Pods.
A Pod encapsulates one or more containers that share the same network namespace, allowing them to communicate easily through localhost. While it’s generally recommended to deploy Pods through higher-level controllers like Deployments, creating a simple Pod manually provides valuable insight into how Kubernetes objects are defined.
Step 1: Create a Simple Pod Manifest
Run the following command to generate a basic YAML manifest:
cat << 'EOF' > first-pod.yaml
apiVersion: v1
kind: Pod
metadata:
  name: first-pod
spec:
  containers:
  - image: httpd:2.4.38
    name: first-container
EOF
This simple Pod definition launches an Apache HTTP Server container (httpd:2.4.38). Though minimal, it includes the essential fields required to create a Pod resource.
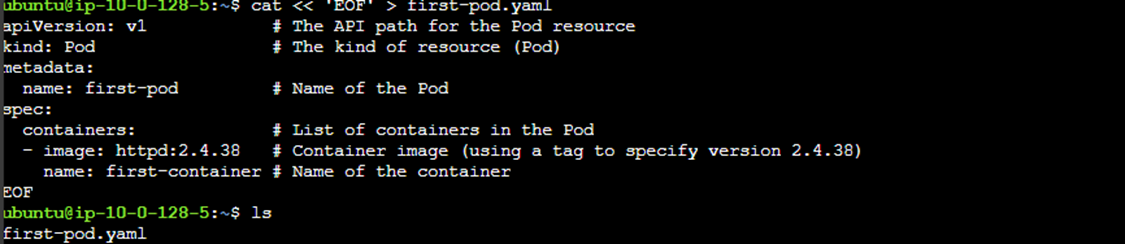
A simple Pod manifest created directly from the terminal.
Step 2: Explore Pod Specifications
To learn more about the structure of Pods and their fields, use:
kubectl explain Pod.spec | moreFor a more specific deep dive (e.g., container image details):
kubectl explain Pod.spec.containers.imageThis command helps you understand the meaning of each field — a must-know for YAML-based Kubernetes configurations.
Step 3: Create the Pod
Now apply the manifest:
kubectl create -f first-pod.yamlVerify creation with:
kubectl get podYou should see something like:
NAME         READY   STATUS    RESTARTS   AGE
first-pod    1/1     Running   0          10s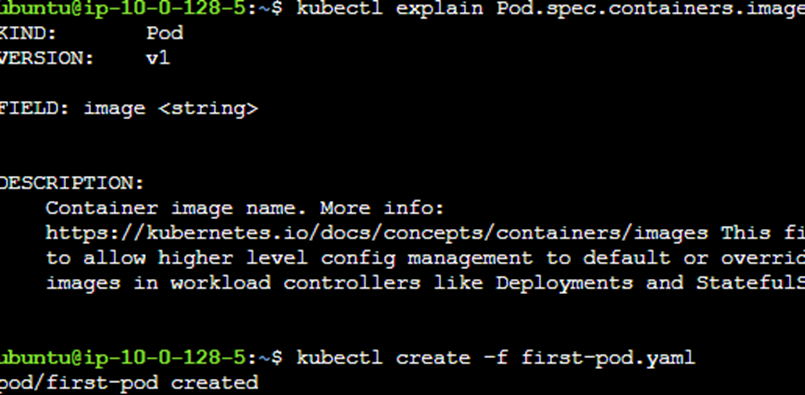
Pod successfully created and running in the cluster.
Step 4: Inspect the Pod Details
To view the complete resource configuration:
kubectl get pod first-pod -o yaml | moreKubernetes automatically adds several management-related fields such as:
uidresourceVersionstatusselfLink
These are system-generated values that help Kubernetes track and manage resources. The spec section, however, remains the part you can define to configure your Pods.
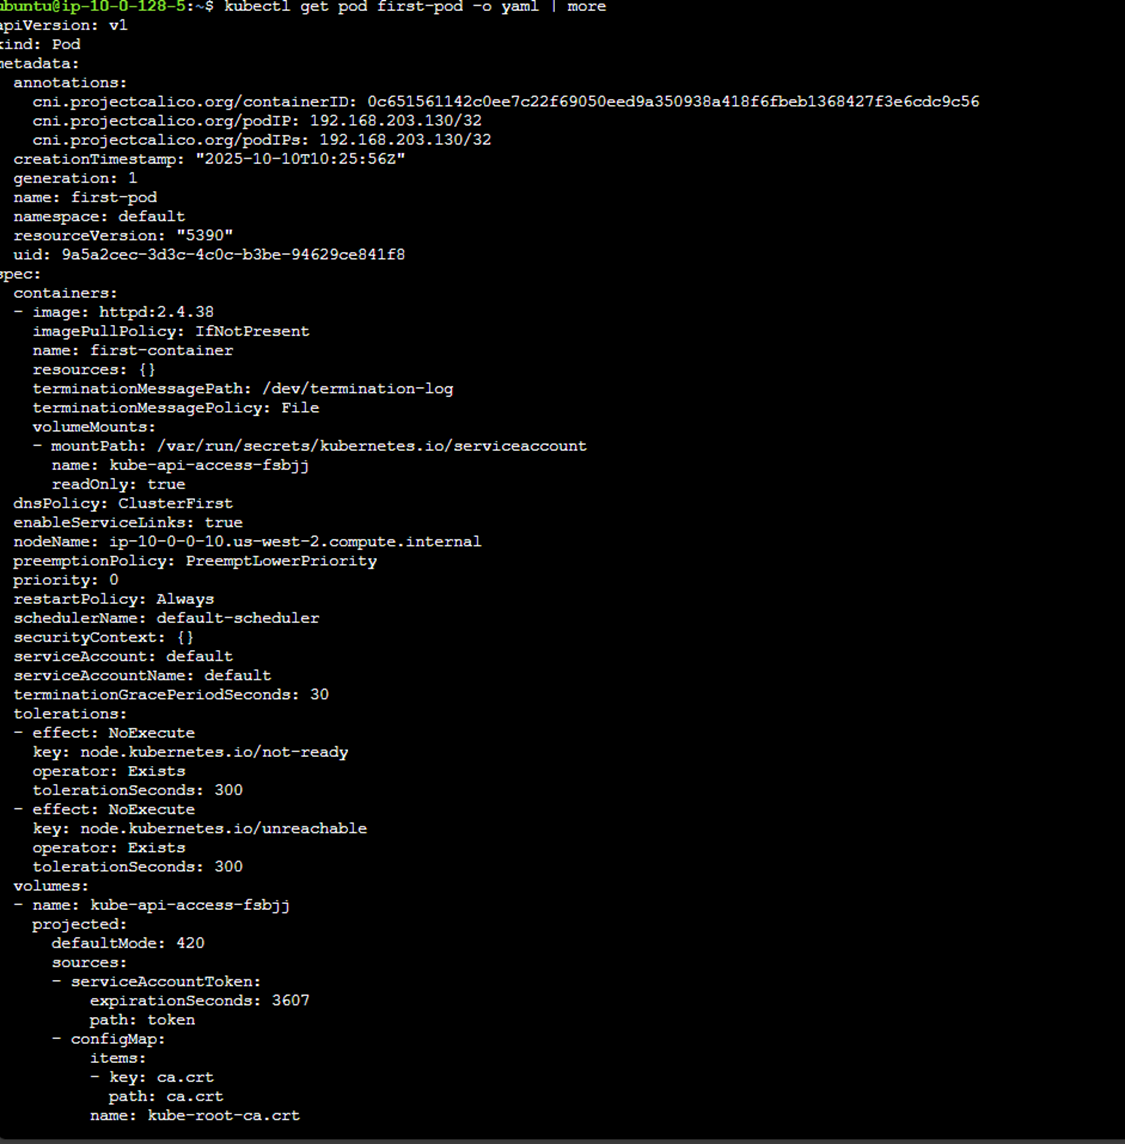
Inspecting the Pod’s YAML output to review system-generated fields.
Step 5: Delete the Pod
Once done experimenting, clean up:
kubectl delete pod first-podAlternatively, you can delete directly from the manifest file:
kubectl delete -f first-pod.yamlKey Takeaways
- Pods are the smallest deployable unit in Kubernetes, encapsulating containers and shared resources.
- Use kubectl explain to learn the structure and purpose of YAML fields.
- Even though you can create standalone Pods, it’s best practice to use Deployments or ReplicaSets for scalability and self-healing.
- Always clean up test Pods to keep your cluster organized.
Final Thoughts
This lab from Cloud Academy provided a hands-on understanding of how Pods are defined and managed within a Kubernetes cluster. From connecting to a live environment on AWS to deploying and inspecting resources, it reinforces how Kubernetes abstracts infrastructure complexity while giving developers precise control over application behavior.
For anyone aiming for Kubernetes certifications or looking to strengthen their DevOps foundation, this lab is an excellent starting point.
메타데이터
- post_id
- 8a1b05b35800
- slug
- cloud-academy-lab-walkthrough-kubernetes-pod-design-for-application-developers-definition-basics-8a1b05b35800
- url
- https://medium.com/@jukpozi/cloud-academy-lab-walkthrough-kubernetes-pod-design-for-application-developers-definition-basics-8a1b05b35800
- canonical_url
- https://medium.com/@jukpozi/cloud-academy-lab-walkthrough-kubernetes-pod-design-for-application-developers-definition-basics-8a1b05b35800
- author_url
- https://medium.com/@jukpozi
- status
- ok
- fetched_at
- 2026-06-20 20:29:01