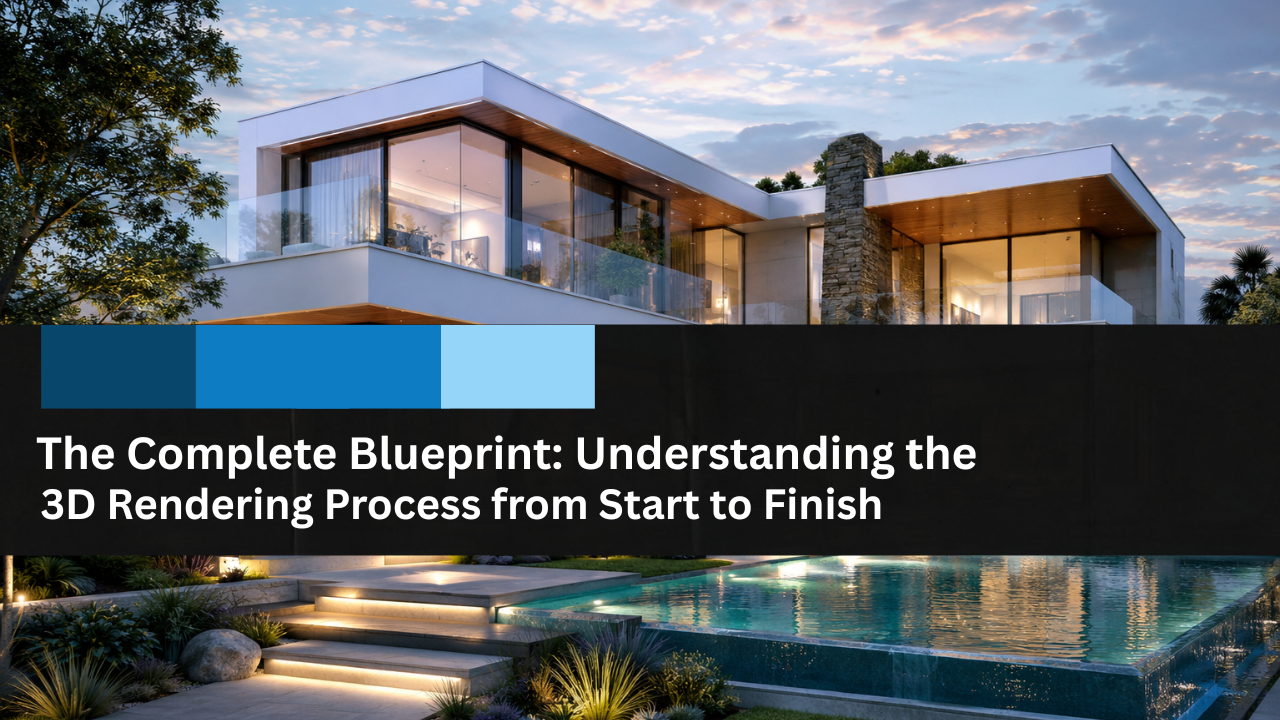
The Complete Blueprint: Understanding the 3D Rendering Process from Start to Finish
In today’s architecture, product design, and real estate sectors, seeing a project before it is physically built is a game-changer. 3D…
The Complete Blueprint: Understanding the 3D Rendering Process from Start to Finish
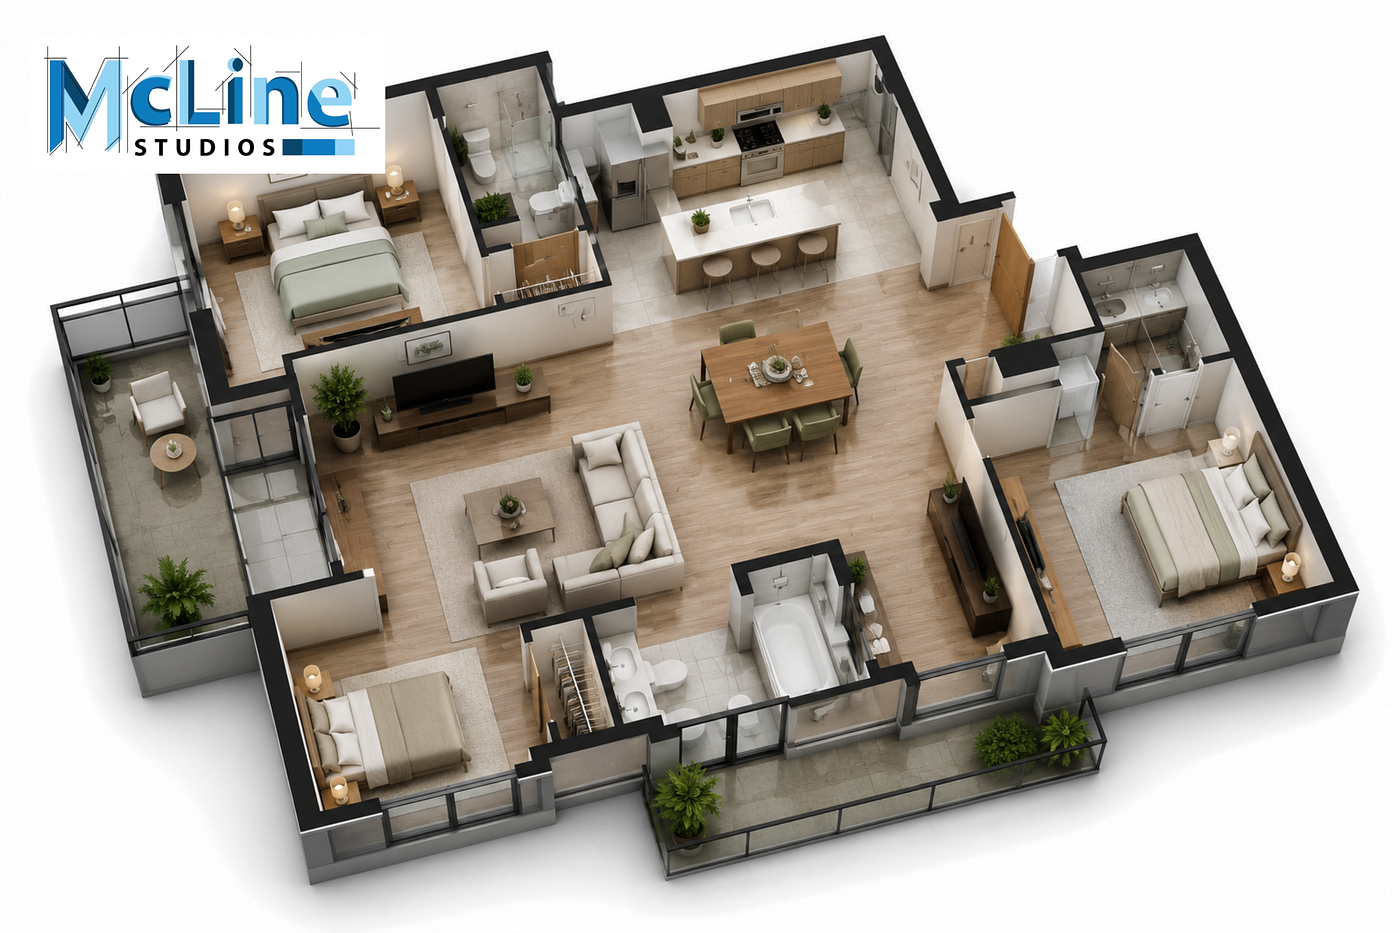
3D Architectural Rendering
In today’s architecture, product design, and real estate sectors, seeing a project before it is physically built is a game-changer. 3D rendering acts as a powerful catalyst that turns 2D plans into striking, photorealistic visuals. When designers and clients understand the sequential steps involved in this digital journey, communication improves, and the final output is much more effective.
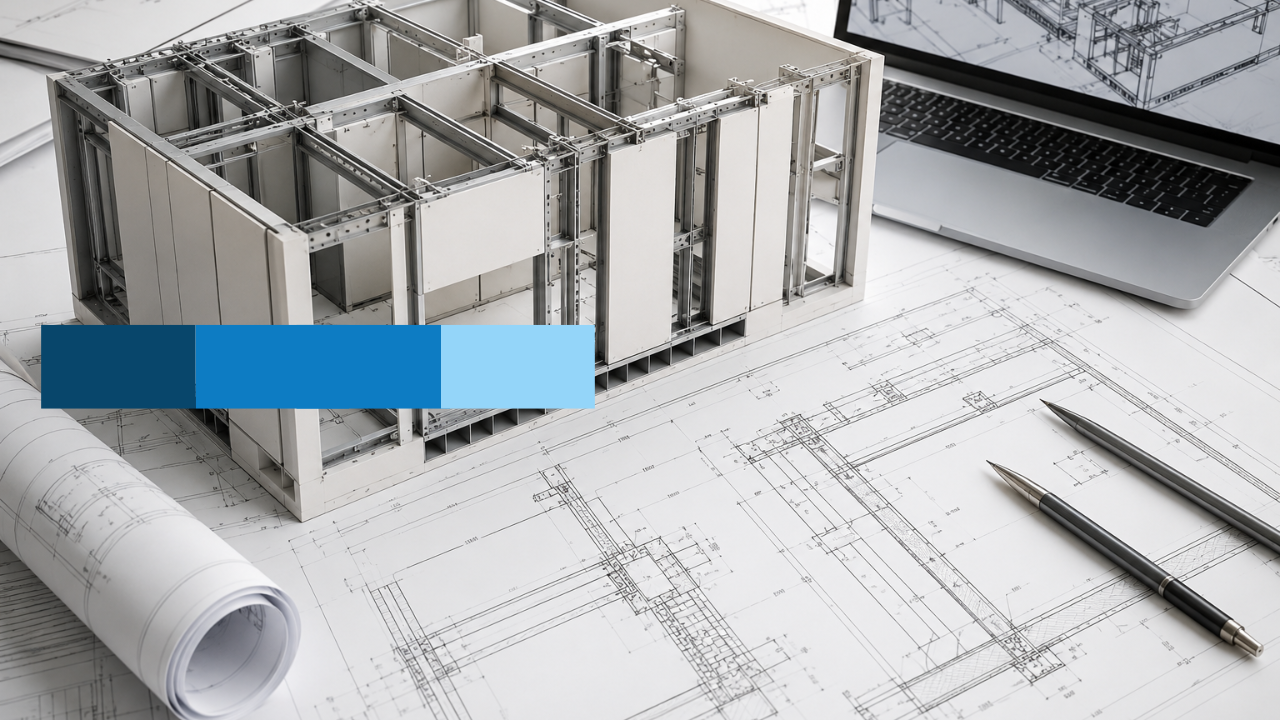
Stage 1: Constructing the Digital Skeleton Every project begins with 3D modeling, where the structural foundation is laid out. Using advanced software, visualization artists build a precise, mathematical wireframe of the proposed space or product. From the curvature of a staircase to the exact dimensions of an exterior wall, every detail is generated in a 3D workspace. Partnering with top-tier visualization experts, like the professionals at McLine Studios, guarantees that this initial geometry aligns flawlessly with your architectural plans and design intent.
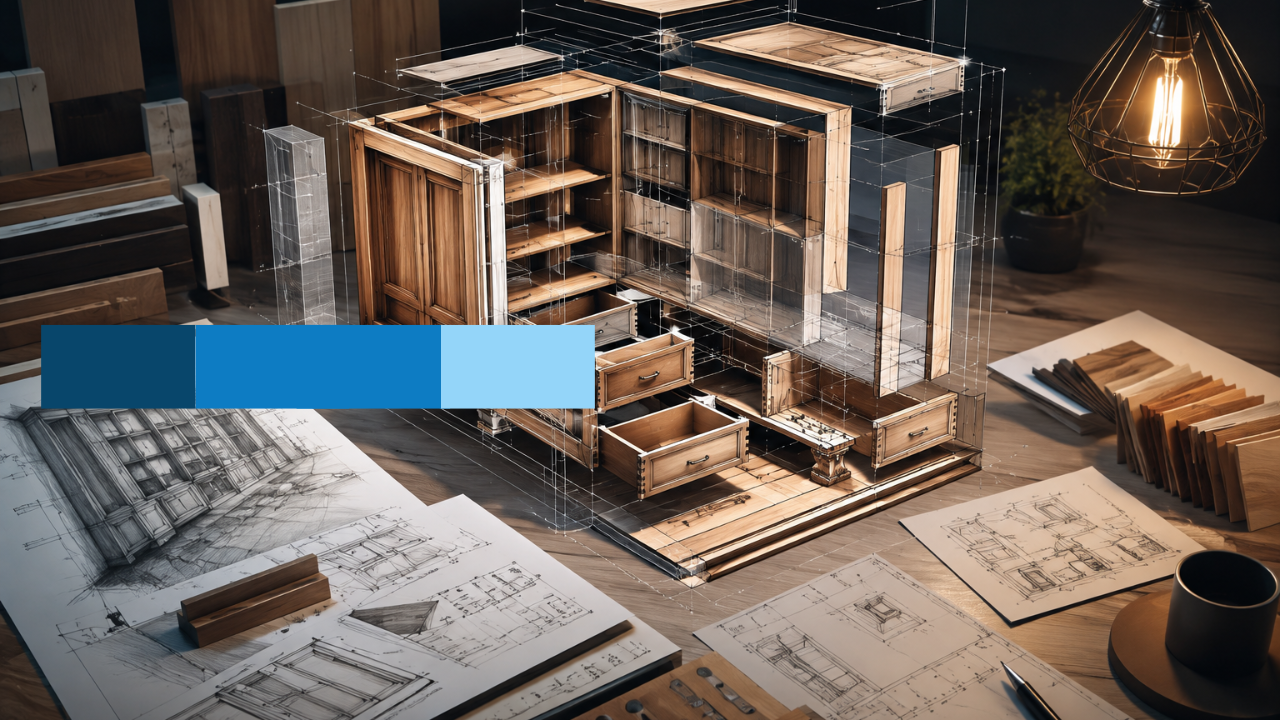
Stage 2: Applying Textures and Surfaces A wireframe alone is simply a structural guide, which is why texturing is essential. During this step, artists apply digital materials to the bare geometry. They manipulate specific attributes such as the gloss of a marble countertop, the rough grain of reclaimed wood, or the clear reflection of a windowpane. This process dictates how surfaces will behave under light, ensuring the artificial structures look undeniably real.
Stage 3: Orchestrating the Illumination Lighting is the secret ingredient that transforms a flat image into an immersive environment. By simulating real-world physics, artists dictate the mood and atmosphere of the rendering. Whether the goal is to showcase a cozy, dimly lit living room or a vibrant, sunlit office facade, carefully positioned digital lights create accurate shadows, highlights, and depth to maximize visual impact.
Stage 4: Image Generation and Post-Processing The final hurdle is the actual rendering, where the software crunches the data, combining geometry, textures, and lighting into a single high-resolution image. Once the raw render is finished, post-production begins. This involves fine-tuning color grading and seamlessly integrating lifestyle elements like trees, vehicles, skies, and pedestrians. For a deeper understanding of how these creative steps merge to produce breathtaking visual narratives, consider exploring professional 3D rendering services dedicated to elevating ambitious design concepts.
Grasping this start-to-finish workflow empowers you to navigate the creative pipeline smoothly, ultimately yielding spectacular imagery that grabs the attention of future buyers, clients, and investors.
메타데이터
- post_id
- 94afa033f034
- slug
- the-complete-blueprint-understanding-the-3d-rendering-process-from-start-to-finish-94afa033f034
- url
- https://medium.com/@ethanclark1002/the-complete-blueprint-understanding-the-3d-rendering-process-from-start-to-finish-94afa033f034
- canonical_url
- https://medium.com/@ethanclark1002/the-complete-blueprint-understanding-the-3d-rendering-process-from-start-to-finish-94afa033f034
- author_url
- https://medium.com/@ethanclark1002
- status
- ok
- fetched_at
- 2026-08-16 14:59:41