Cleaning and Restoration of the Amiga 600 Case
If you’ve been following my series about rescuing the Amiga 600 from the basement, you already know this machine hasn’t had an easy life…
Cleaning and Restoration of the Amiga 600 Case
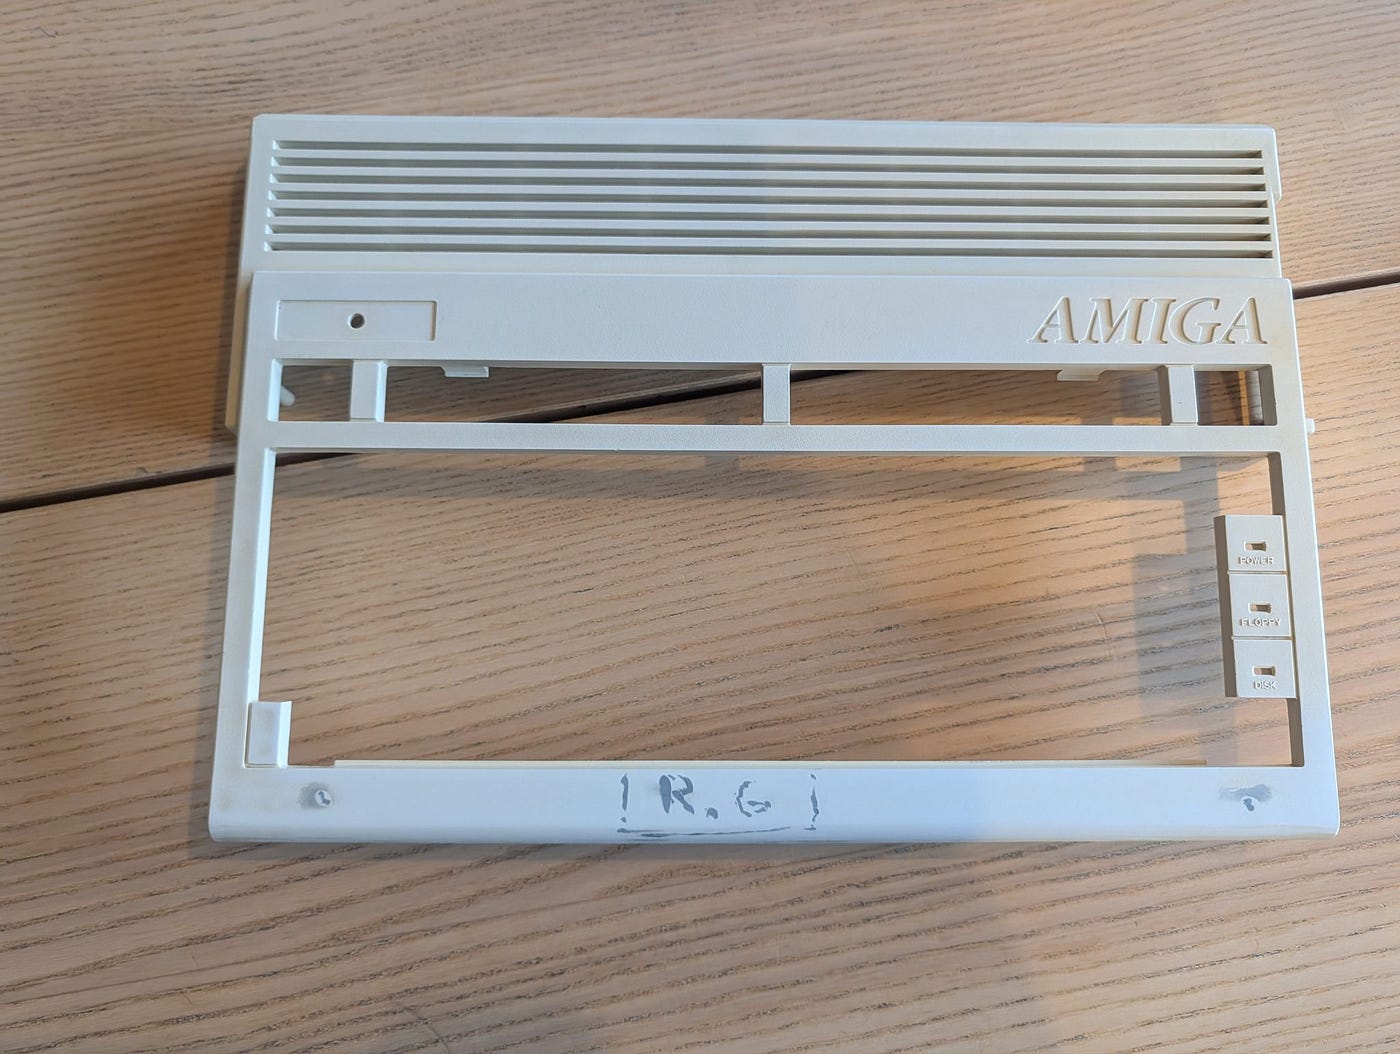
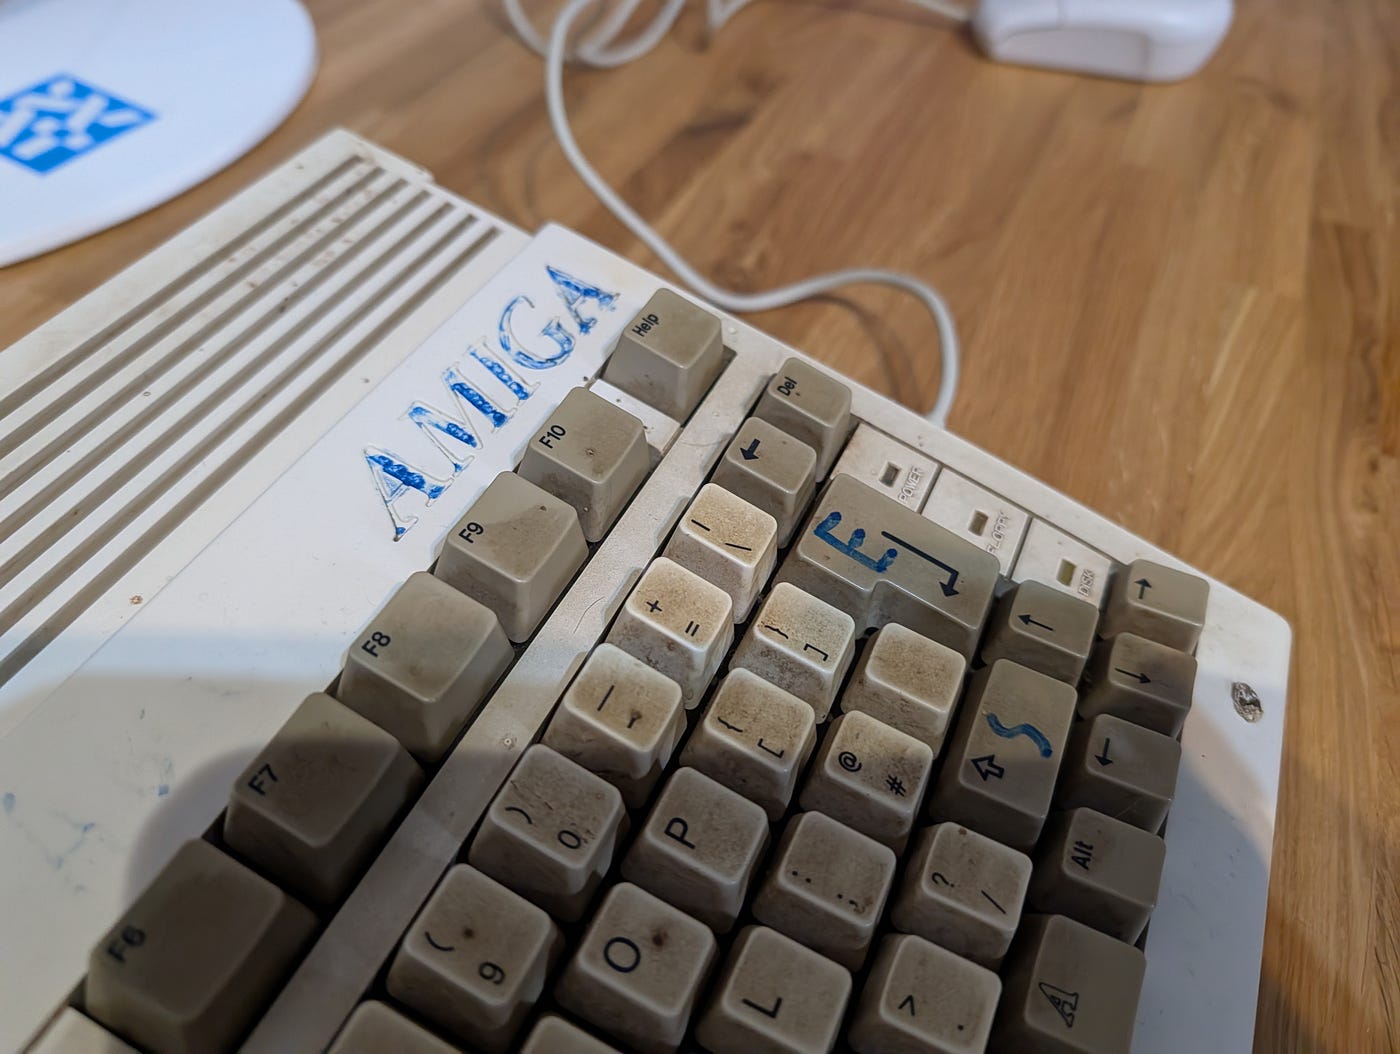
If you’ve been following my series about rescuing the Amiga 600 from the basement, you already know this machine hasn’t had an easy life. In the previous post we tackled taking it apart and giving it an initial wash. Today we’re stepping it up a notch — time for putty, paint, and some UV treatment. The case was in a woeful state, full of holes and scratches left by previous owners, so I knew I had a long road ahead.
Operation “Logo” and Diving into Strong Smells
I started with something gentle — removing the Commodore logo. I didn’t want to destroy it, so I used an ordinary hairdryer to soften the old glue. Then all I had to do was push the badge out from under the special hole. Success! The metal got a little bent, but nothing that couldn’t be straightened back out.
The real fun began with the putty work. The holes in the case were massive. I mixed up some two-component Bumper Fix putty and… realized that in my “professional” workshop, I didn’t have a single spatula. Improvisation time! The stench from the mixture was so intense it made my head spin. I slathered it on thick, knowing I could always even everything out with a sander.
Sanding and the First Disappointment
Once that stinky stuff hardened, I broke out the oscillating sander. I started with 220-grit paper to remove the excess, finishing with 600-grit. Under my fingers, it felt perfectly smooth — even the engraved initials “RG” vanished. I thought I was done, but the first coat of primer brought me crashing back to reality.
Primer has this magical property: it reveals every last tiny imperfection. My “perfect” sanding job turned out to be pretty lacking — you could still see microscopic scratches and shadows from old battle scars. I had to order some one-component (1K) putty, fix things up, and sand it all down again, this time much more carefully. Retro-restoration really teaches you patience, no kidding.
Whitening the Keys: Retro Dentistry, Basically
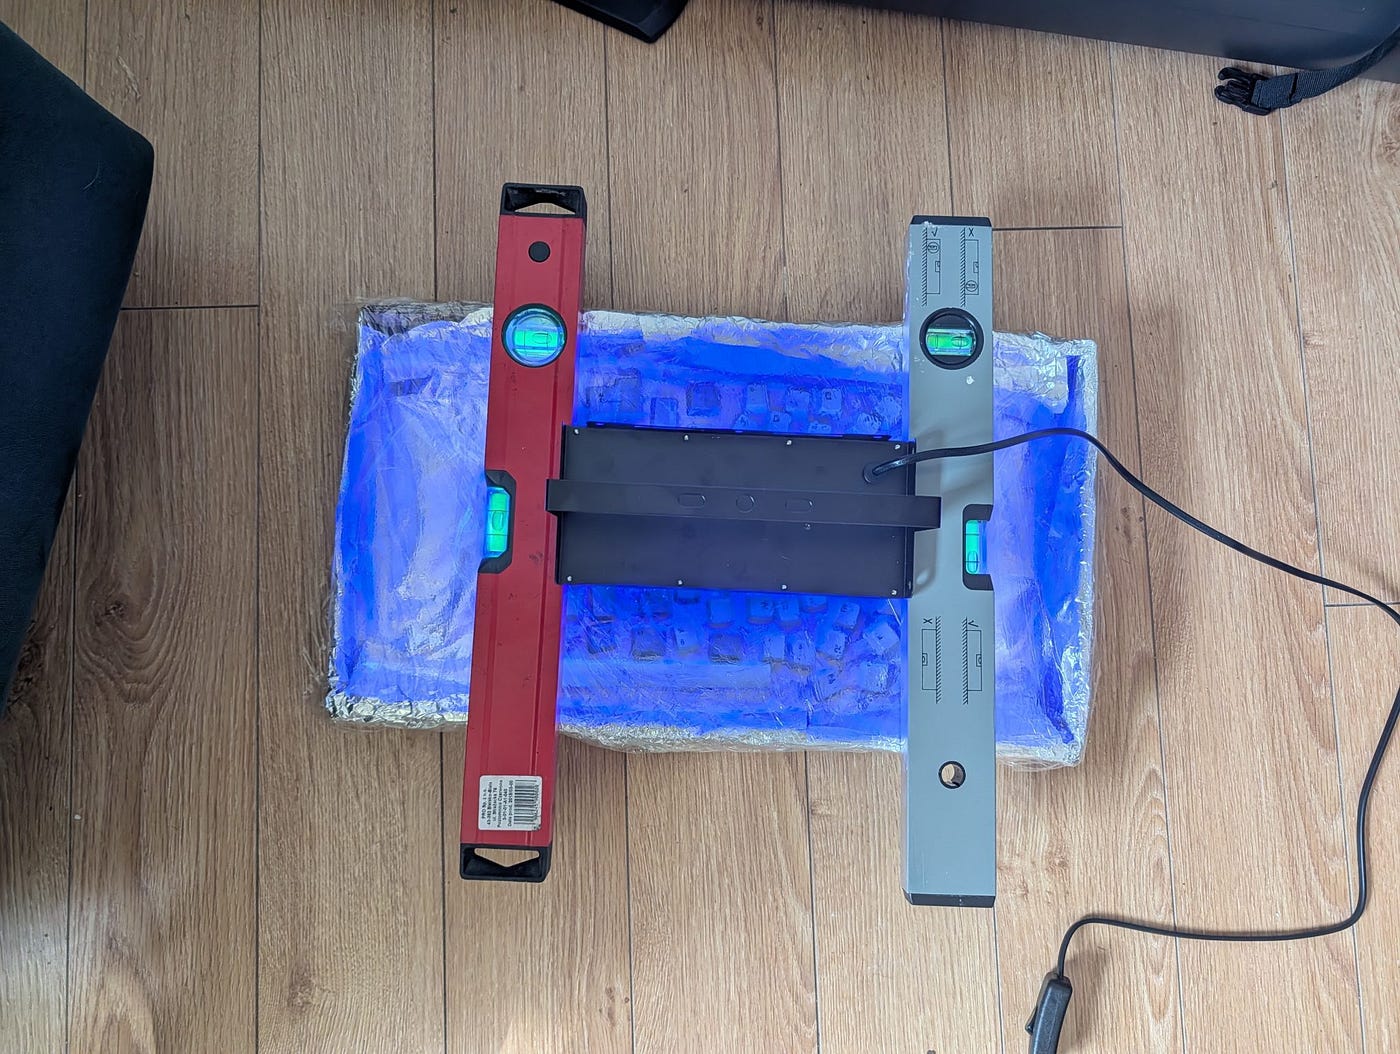
While the case was drying, I moved on to the keyboard. The keys were as yellow as… well, let’s just say really old teeth. I decided to use the Retrobright method: I bought some 12% cream peroxide and a dedicated UV lamp.
I built a makeshift tray out of cardboard lined with aluminum foil (shiny side in!) so the UV light would bounce off every wall. Brushing each key with the mixture is an insanely tedious job — after just five minutes, my back was yelling at me. Getting old isn’t much fun, but for the Amiga, I’m willing to suffer. I wrapped the whole thing in cling film (on the second try — first time everything shifted), and left it under the lamp for a full six hours.
The Final Color and the Grand Finale
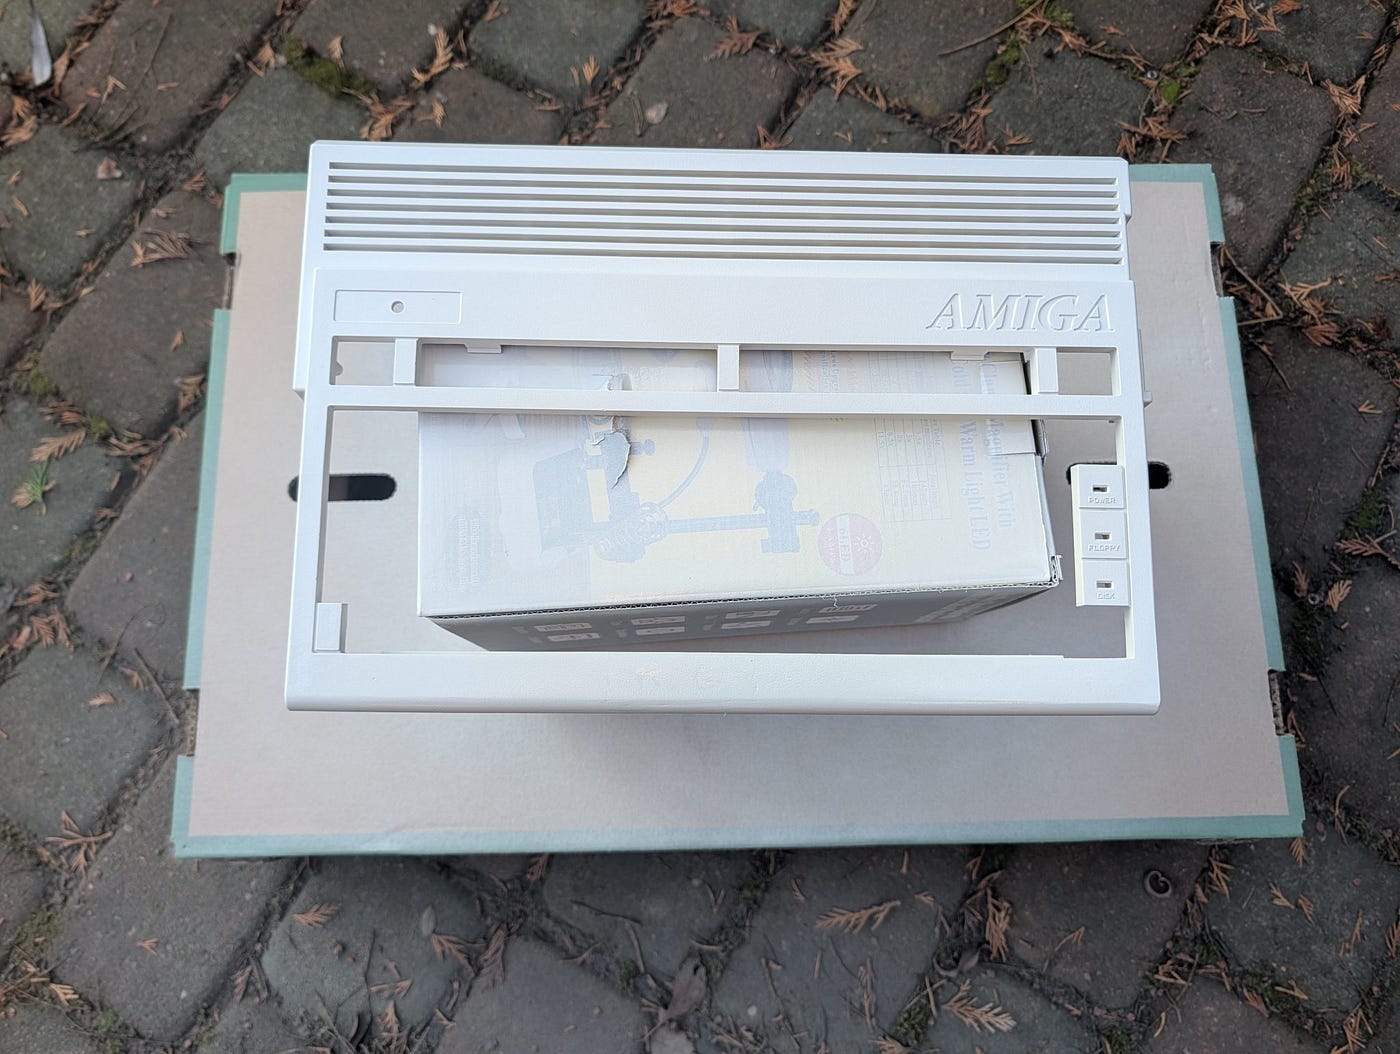
Meanwhile, the case got its final colors. I went with a matte acrylic paint in RAL 9002, which nicely matches the original light plastic shade of the Amiga. To finish, I protected everything with a clear matte lacquer to prevent the paint from rubbing off with use.
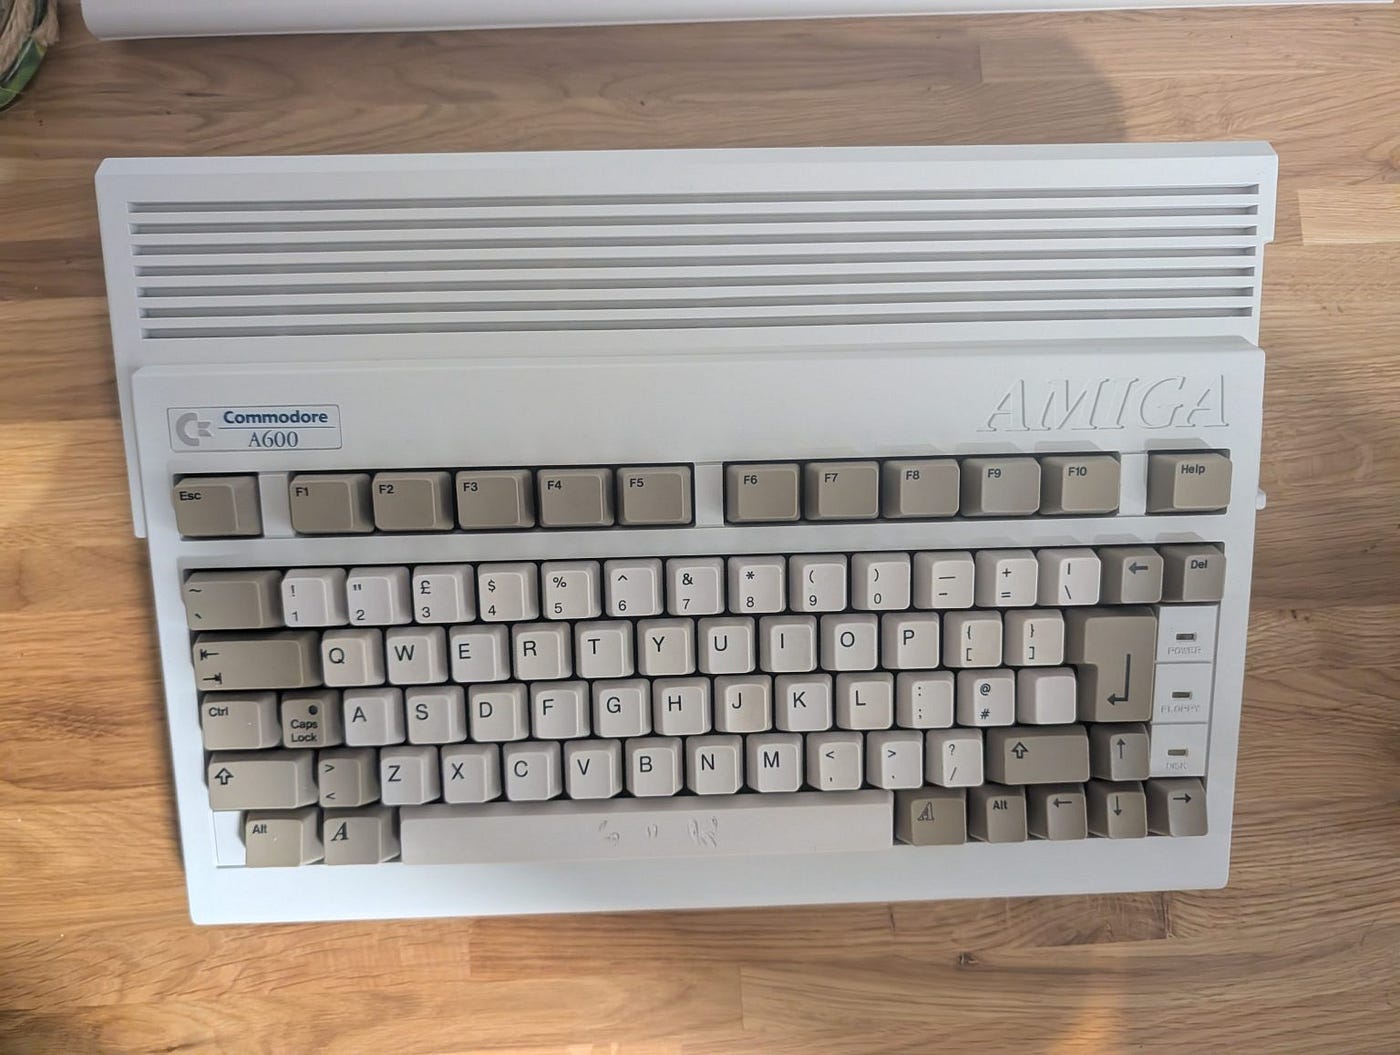
When the keys came out of their “tanning salon,” all they needed was a quick wash and dry. The result? Maybe not store-new perfect, but the difference is night and day. I put everything back together, added one missing key, and… I couldn’t believe my own eyes. From a scratched-up, yellowed chunk of plastic from the basement emerged a beautiful Amiga 600.
What’s Next?
The case now looks proud, but there’s still trouble lurking inside. The electronics are crying out for help. I mentioned earlier, the motherboard is being moody and throwing errors. The capacitors are begging for mercy, so the next step will be learning SMD soldering and launching a big operation on my old Friend’s heart. Fingers crossed!
Let me know in the comments what you think about repainting a case. Are you die-hard original-plastic-only purists, or do you agree that sometimes putty and a new coat of paint is the only way?
Here you can check out a video showing the full restoration process:
[embed]
메타데이터
- post_id
- 9fef2cdcc7d1
- slug
- cleaning-and-restoration-of-the-amiga-600-case-9fef2cdcc7d1
- url
- https://medium.com/@RetroModernDev/cleaning-and-restoration-of-the-amiga-600-case-9fef2cdcc7d1
- canonical_url
- https://medium.com/@RetroModernDev/cleaning-and-restoration-of-the-amiga-600-case-9fef2cdcc7d1
- author_url
- https://medium.com/@RetroModernDev
- status
- ok
- fetched_at
- 2026-06-22 12:55:45