Manually Installing Windows 11 on a USB Drive
This guide covers the manual process of installing Windows 11 onto a USB drive with full file persistence. It is written for a technically…
Manually Installing Windows 11 on a USB Drive
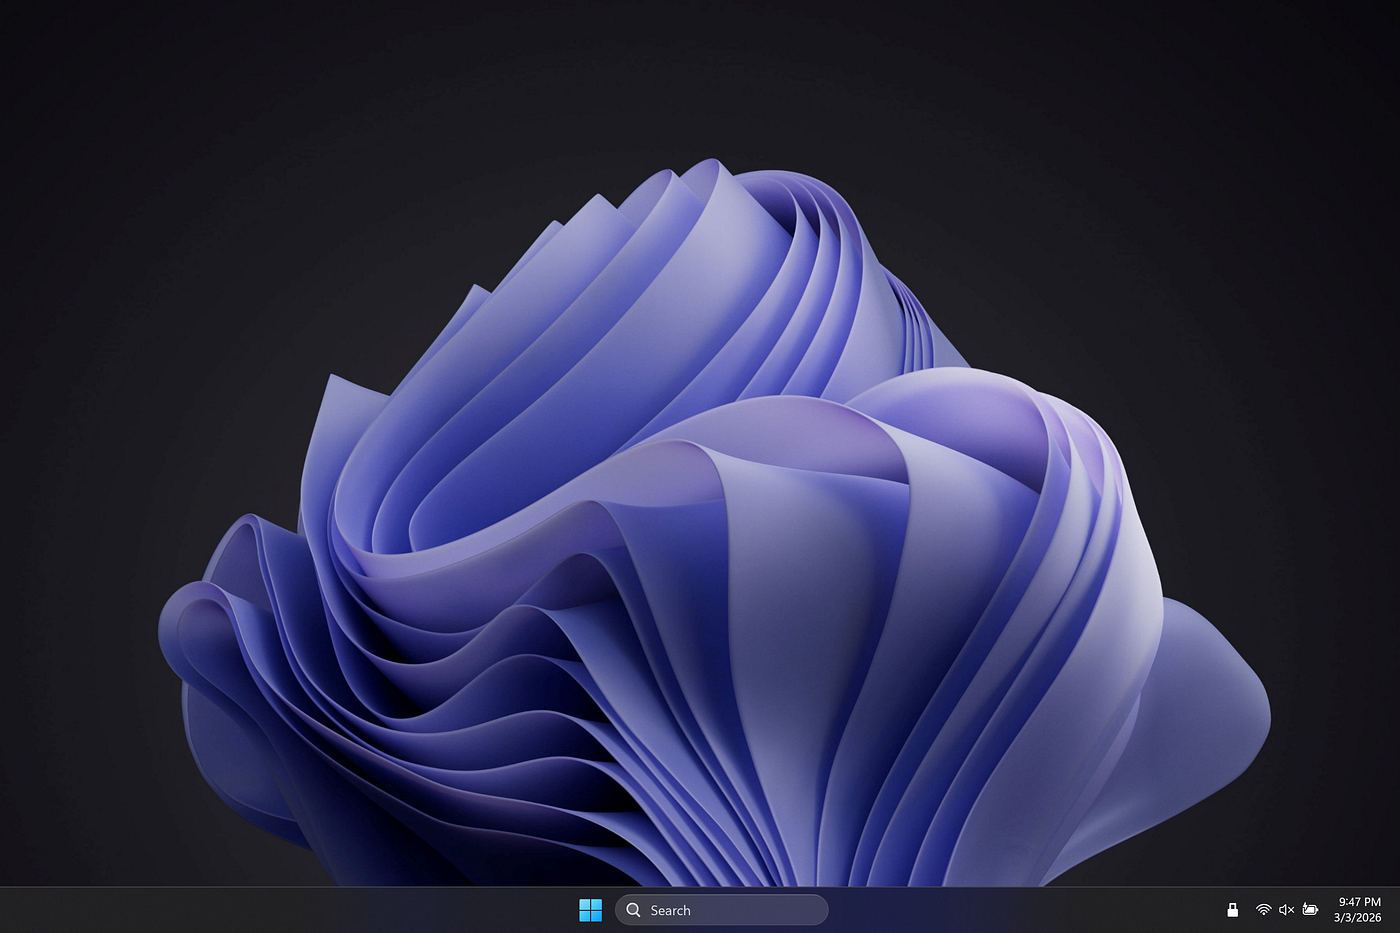
Windows 11 running from a USB drive
This guide covers the manual process of installing Windows 11 onto a USB drive with full file persistence. It is written for a technically experienced audience; basic concepts such as partitioning, and UEFI firmware will not be explained in depth.
Disclaimer: Microsoft explicitly blocks Windows 11 installation to USB-connected drives at the installer binary itself. Performance will also be measurably degraded compared to an internal drive, as USB bandwidth and latency are not optimized for OS workloads. Boot compatibility is also contingent on your firmware configuration, which is outside the scope of this article.
Hardware Requirements
For a USB Windows installation it is crucial that your target USB is capable of transferring data fast enough to keep up with Windows, otherwise operations will feel sluggish. At minimum you want USB 3.0. Below qualifies the performance of various USB versions.
- Unusable: USB 2.0
- Minimum: USB 3.0 / 3.2 Gen 1
- Acceptable: USB 3.1 / 3.2 Gen 2
- Ideal: USB 4 / Thunderbolt
For storage capacity, 64 GB is a functional minimum. I used a 256 GB USB 3.2 Gen 2 drive.
You will also need a secondary USB drive (~16 GB) to use as installation media.
Why Third-Party Tools Tend to Fail
Before getting into the manual process it is important to understand automated third-party tools; and why I found them inadequate for what I needed.
- Windows To Go was deprecated in Windows 10 2004 and is not supported in Windows 11 at all.
- Rufus previously supported Windows To Go style installs but this functionality has been discontinued.
- Hasleo WinToUSB appears functional but creates drives that only boot via Legacy/CSM BIOS. On UEFI-only firmware, what my laptop has, this is useless.
The only reliable method that I have found is to bypass the installation wizard entirely and use DISM to apply the Windows image directly to the target drive.
Creating Installation Media
Download the Windows 11 multi-edition ISO from Microsoft’s website. Flash it to your secondary USB using Rufus (Windows) or Balena Etcher (Linux/macOS). Default settings are fine. The secondary USB will only be used for the tools present in the WinPE. For those interested, WinPE (Windows Preinstallation Environment) is a lightweight version of Windows that runs in the hosts RAM and contains basic utilities needed to install Windows.
Boot into the installation media. When the Windows 11 setup wizard appears, do not proceed through it. Instead open a command prompt with Shift + F10. At this point you should plug in your target USB if you have not already.
Partitioning the Target Drive
Inside the command prompt, use diskpart to partition the target USB. The drive must be GPT, MBR is incompatible with UEFI boot.
diskpart
list disk
select disk X
clean
convert gpt

create partition efi size=512
format fs=fat32 quick label="EFI"
assign letter=S
create partition primary
format fs=ntfs quick label="Windows"
assign letter=W
exitWarning: clean will irrecoverably destroy all data on the selected disk. Verify the correct disk number from list disk before proceeding. You may cross reference the disk by size.
512 MB may be overkill. The UEFI specification requires a minimum of 100 MB but extra headroom avoids issues with multiple bootloader entries
Locating the Installation Image
Modern Windows 11 ISOs should ship with a file called install.esd . This file is crucial for installing Windows 11 as it contains Windows images stored using single-instance compression; these images can then be decompressed to create the filesystem for various editions. It is important that you locate install.esd .
dir C:\sources\install.esdWinPE assigned my installer USB the drive letter C: . However drive letters are assigned dynamically and unpredictably. So it is possible your installation USB may be on D:, E: or even F: .
Selecting a Windows Edition
Unsurprisingly, the multi-edition ISO contains multiple editions within itself. You must query the available editions and note the index of your target edition:
dism /get-wiminfo /wimfile:C:\sources\install.esdChange /wimfile: as needed
Applying the Image and Writing the Bootloader
Apply the selected image to the Windows partition:
dism /apply-image /imagefile:C:\sources\install.esd /index:1 /applydir:W:\Change /index:1 and /imagefile:C as needed.
Once complete, write the UEFI bootloader to the EFI partition:
bcdboot W:\Windows /s S: /f UEFIThen reboot:
wpeutil rebootSelect the target USB from your firmware’s boot menu to continue the Windows 11 setup.
Post-Installation Notes
Reboot loops during setup: Windows performs several reboots during initial setup. On some machines the firmware will not automatically boot the USB on subsequent reboots, resulting in a black screen. If this happens, force a shutdown by holding the power button and manually select the USB from the boot menu again.
BitLocker: I do not advise enabling BitLocker on this drive. The USB cannot bind to the motherboard’s TPM, meaning the encryption key cannot be automatically unsealed on boot. Every boot would require manual key entry.
메타데이터
- post_id
- a24dc043cbae
- slug
- manually-installing-windows-11-on-a-usb-drive-a24dc043cbae
- url
- https://medium.com/@Null0Fish/manually-installing-windows-11-on-a-usb-drive-a24dc043cbae
- canonical_url
- https://medium.com/@Null0Fish/manually-installing-windows-11-on-a-usb-drive-a24dc043cbae
- author_url
- https://medium.com/@Null0Fish
- status
- ok
- fetched_at
- 2026-06-21 12:17:11


