I Learned There Isn’t Just One Way to Convert an External Drive to APFS
When I first looked into converting an external hard drive to APFS, I assumed it would be a simple one-click process.
I Learned There Isn’t Just One Way to Convert an External Drive to APFS
When I first looked into converting an external hard drive to APFS, I assumed it would be a simple one-click process.
It wasn’t.
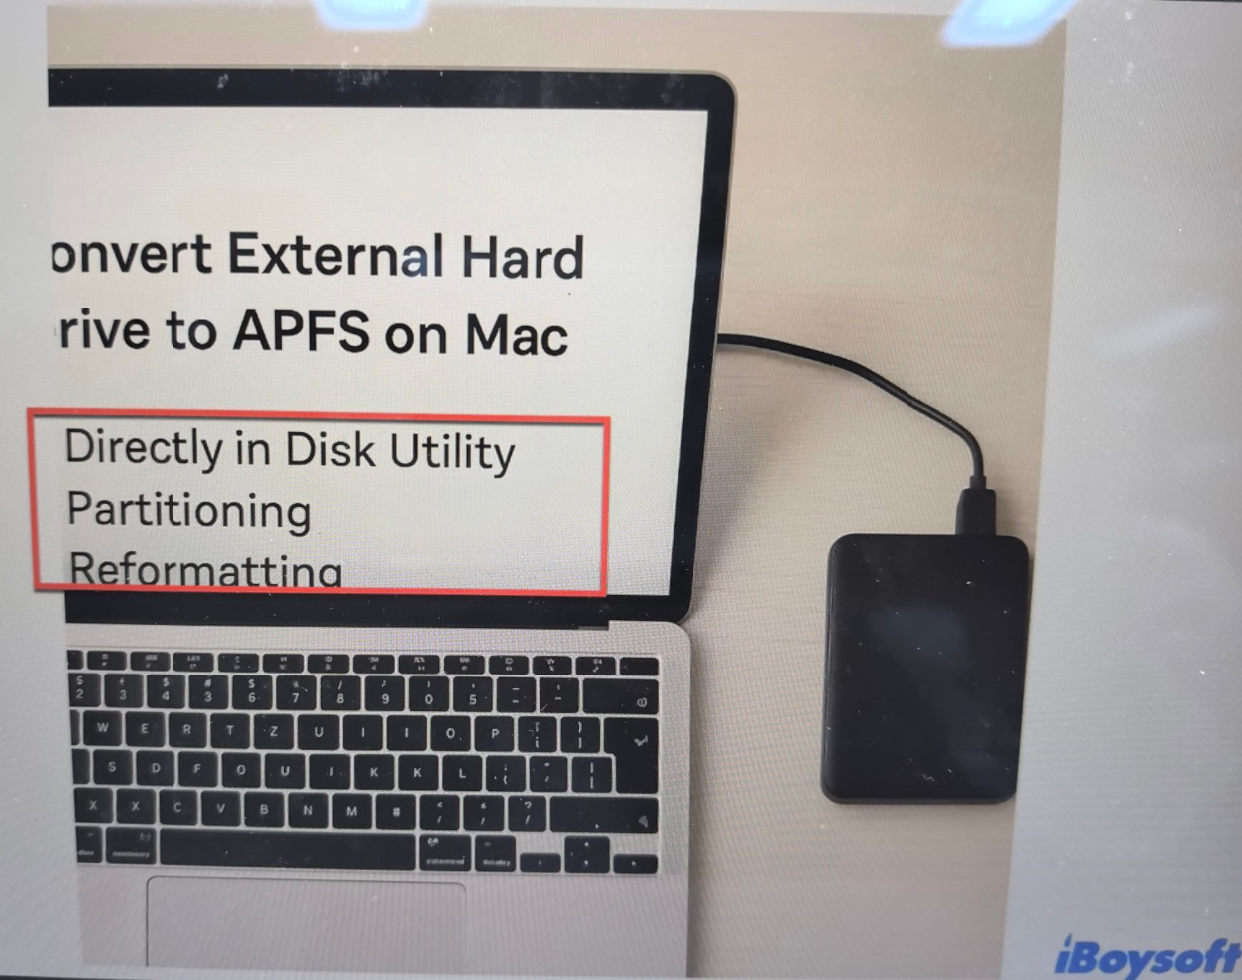
The method depends entirely on the drive’s current file system. Some drives can be converted without losing data, while others require repartitioning or a complete erase.
Understanding that distinction can save you a lot of frustration — and potentially your files.
More details, please click: How to Convert an External Hard Drive to APFS on Mac
Why People Want APFS on External Drives
APFS (Apple File System) has been Apple’s default file system since macOS High Sierra.
It’s designed specifically for modern Macs and SSDs, offering features such as:
- Faster file operations
- Better space management
- Native encryption support
- Snapshot capabilities
- Improved reliability compared to older Mac file systems
If you primarily use a drive with macOS, moving it to APFS often makes sense.
The catch is that the path to APFS depends on what format the drive is currently using.
Before Changing Anything, Back Up Your Data
One lesson I’ve learned from disk management tasks is that “should be safe” and “is safe” are not the same thing.
Even when a conversion method is designed to preserve data, unexpected interruptions, drive issues, or simple mistakes can still cause problems.
Before modifying any drive:
- Back up important files
- Verify the backup is accessible
- Make sure the drive is healthy
- Confirm your Mac is running macOS High Sierra or later
If the drive contains data you can’t afford to lose, creating a complete disk clone is even safer than copying individual files.
This may feel excessive until the one time something goes wrong.
Method 1: Convert Mac OS Extended to APFS Without Erasing
This is the easiest scenario.
If your external drive is currently formatted as Mac OS Extended (Journaled) — also known as HFS+ — macOS includes a built-in conversion option.
The biggest advantage is that the process is designed to preserve existing data.
How to check the drive format
Open:
Finder → Applications → Utilities → Disk Utility
Select the drive and review the file system shown in the information panel.
If it displays Mac OS Extended (Journaled), you’re in luck.
Converting the drive
- Open Disk Utility.
- Choose View > Show All Devices.
- Select the HFS+ volume.
- Control-click the volume.
- Choose Convert to APFS.
- Confirm the conversion.
Once completed, the volume will use APFS without requiring a full reformat.
When this method works best
This approach is ideal for:
- Existing Mac-only drives
- HFS+ formatted external SSDs
- Users who want to preserve current files
It’s also the closest thing to a true “conversion” process that macOS offers.
Method 2: Move an exFAT or FAT32 Drive Toward APFS
Things become more complicated with exFAT and FAT32.
Unlike HFS+, these formats don’t offer a direct Convert to APFS option in Disk Utility.
That’s because exFAT and FAT32 were designed for cross-platform compatibility rather than Apple’s ecosystem.
If you decide to move an exFAT drive to APFS, you’re also giving up native Windows compatibility.
That’s an important trade-off many users overlook.
The partitioning approach
One way to transition is by creating a Mac-compatible partition and then converting it.
The general workflow is:
- Open Disk Utility.
- Choose View > Show All Devices.
- Select the physical drive.
- Choose Partition.
- Confirm the drive uses GUID Partition Map.
- Create a Mac OS Extended partition.
- Apply the changes.
- Convert that partition to APFS.
The exact process varies depending on how the drive is currently structured, but the key idea is that exFAT cannot be directly converted the same way HFS+ can.
Before you switch from exFAT
Ask yourself one question:
Will this drive ever need to connect to Windows again?
If the answer is yes, keeping exFAT may actually be the better choice.
APFS is excellent for Mac workflows, but it’s not a universal file system.
Method 3: Reformat an NTFS Drive as APFS
NTFS is where many people get stuck.
Windows uses NTFS by default, and macOS can read NTFS drives out of the box.
Writing to them is another story.
Because macOS doesn’t fully support NTFS, you can’t simply convert an NTFS volume to APFS using Disk Utility.
Reformatting is typically required.
What reformatting means
Reformatting completely erases the drive.
Every file, folder, and partition on the disk is removed.
That’s why backing up first is essential.
Reformatting through Disk Utility
The process is straightforward:
- Connect the drive.
- Open Disk Utility.
- Choose View > Show All Devices.
- Select the physical drive.
- Click Erase.
- Choose APFS as the format.
- Confirm the erase operation.
Once complete, the drive becomes an APFS volume ready for use with macOS.
Reformatting through Terminal
Advanced users can also use Terminal.
The workflow typically involves:
- Listing connected disks
- Identifying the correct disk identifier
- Running a diskutil erase command
While Terminal offers more control, it also increases the chance of selecting the wrong drive.
For most people, Disk Utility is the safer option.
A Decision Framework for Choosing the Right Method
When I compare these approaches, the decision comes down to the drive’s current format.
If the drive is HFS+
Use Disk Utility’s built-in conversion feature.
This is the simplest route and usually preserves existing data.
If the drive is exFAT or FAT32
Decide whether you still need Windows compatibility.
If you don’t, partitioning and migrating to APFS can make sense.
If the drive is NTFS
Prepare for a reformat.
There isn’t a practical built-in conversion path from NTFS to APFS.
If you still need the drive to work seamlessly with Windows, keeping NTFS and using a compatible NTFS solution on macOS may be the better long-term choice.
The Bigger Lesson: Choose the File System for the Way You Work
The most common mistake I see is choosing the wrong conversion method.
It’s choosing the wrong file system.
APFS is excellent if your workflow revolves around macOS.
But if the drive frequently moves between Windows and Mac, converting everything to APFS may create more inconvenience than it solves.
Before changing any disk format, think about where that drive will spend most of its life — not just where it’s connected today.
If you’re planning a storage upgrade or reorganizing external drives, that single decision often matters more than the conversion process itself.
메타데이터
- post_id
- a8adeef9366c
- slug
- i-learned-there-isnt-just-one-way-to-convert-an-external-drive-to-apfs-a8adeef9366c
- url
- https://medium.com/@hy05122004/i-learned-there-isnt-just-one-way-to-convert-an-external-drive-to-apfs-a8adeef9366c
- canonical_url
- https://medium.com/@hy05122004/i-learned-there-isnt-just-one-way-to-convert-an-external-drive-to-apfs-a8adeef9366c
- author_url
- https://medium.com/@hy05122004
- status
- ok
- fetched_at
- 2026-07-09 22:56:59