Install CUDA 12.4 onto Ubuntu 22.04 for Nvidia GPU
In this guide, we will systematically walk through the process of installing CUDA 12.4 on an Ubuntu 22.04 system equipped with an Nvidia…
Install CUDA 12.4 onto Ubuntu 22.04 for Nvidia GPU
In this guide, we will systematically walk through the process of installing CUDA 12.4 on an Ubuntu 22.04 system equipped with an Nvidia GPU. CUDA, or Compute Unified Device Architecture, is a powerful parallel computing platform developed by Nvidia to enhance performance in computing-intensive applications. This article will also cover the installation of essential software components such as the Nvidia driver, CUDA Toolkit, cuDNN for deep learning, and PyTorch for building neural networks. By following this guide, readers will gain hands-on experience in setting up a robust environment for GPU-accelerated computing.
Overview
In this article, we will work through the installation on how to setup CUDA 12.4 onto a Ubuntu 22.04 with Nvidia GPU. If you don’t already have Ubuntu 22.04 yet, please follow below link for details.
Note: We are using a testing server for this article. My local server name is rogserver and local username is roguser. Please replace those to your local hostname and local username.
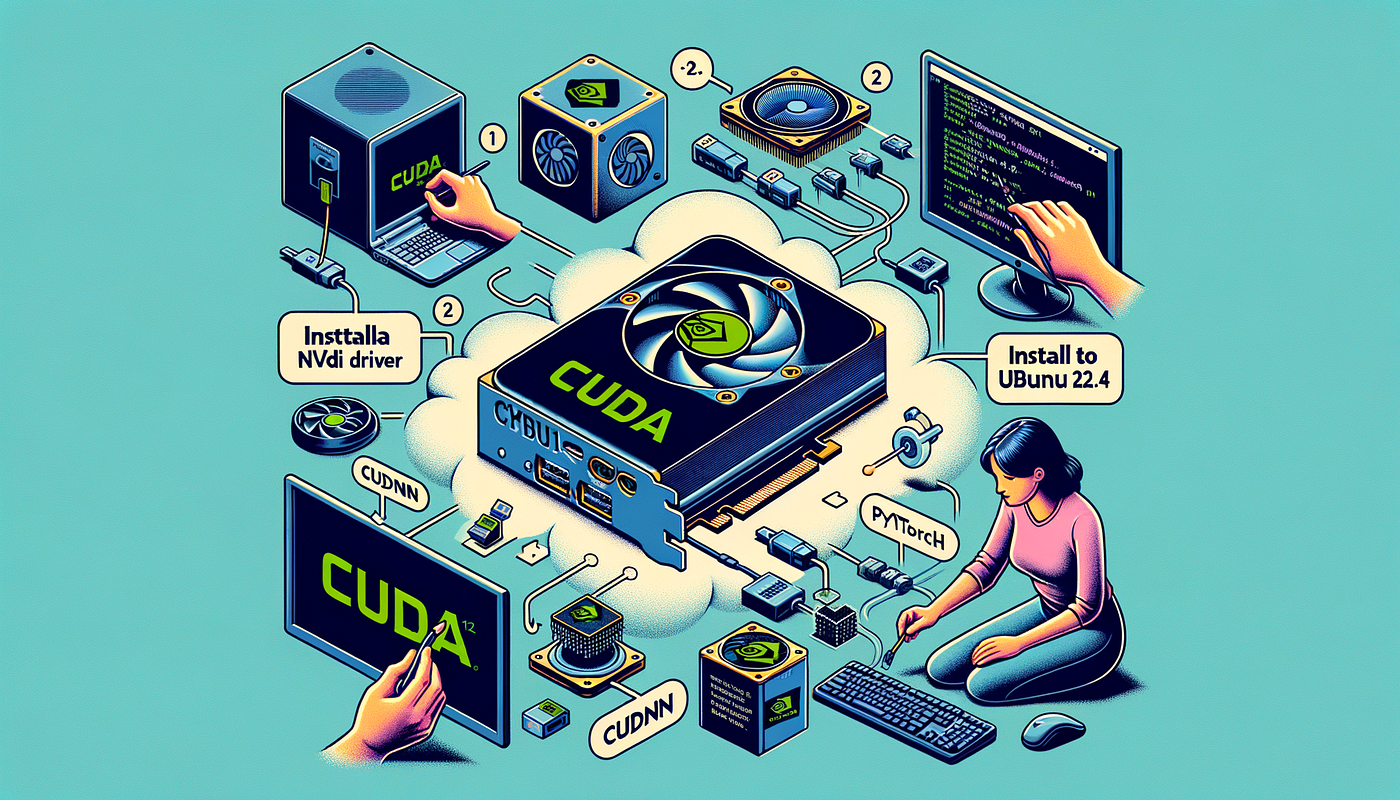
Before we start installation, let’s first go through what we are going to install here:
- Nvidia Driver — This is the hardware driver from Nvidia. Find out your graphic card model before the installation.
- CUDA Toolkit — The CUDA Toolkit is provided by Nvidia. It contains libraries, compilers, development tools and samples, CUDA runtime, etc. in a GPU-accelerated environment.
- cuDNN — Nvidia cuDNN stands on CUDA Deep Neural Network. It is a highly tuned GPU-accelerated library for DNN computation.
- PyTorch — PyTorch is a open source framework for building deep learning models commonly used in LLM (Large Language Model). It is written in Python ad relatively easy to use.
Plan the installation
It is always recommended to plan your installation before putting hands wet. Not like a gaming PC, the latest driver and libraries are not good choice for an AI-based setup due to the dependencies libaraies and their versions. Unless you build from source codes, it is less likely the latest version of CUDA works well.
To identify correct version of Nvidia driver and CUDA toolkit, we use below link:
You could find the version table as below:

This gives us basic idea that CUDA 12.4 requires driver package from 550 ~ 570.
Install Nvidia Driver
Since Ubuntu prebuild Nvidia driver package, so it is always recommended to use the built-in package when possible. Now, let’s find what are available from ubuntu-drivers:
roguser@rogserver:~$ sudo ubuntu-drivers --gpgpu list
This is gpgpu mode
ERROR:root:aplay command not found
nvidia-driver-535-open, (kernel modules provided by linux-modules-nvidia-535-open-generic)
nvidia-driver-545, (kernel modules provided by nvidia-dkms-545)
nvidia-driver-535, (kernel modules provided by linux-modules-nvidia-535-generic)
nvidia-driver-545-open, (kernel modules provided by nvidia-dkms-545-open)
nvidia-driver-550-open, (kernel modules provided by linux-modules-nvidia-550-open-generic)
nvidia-driver-550, (kernel modules provided by linux-modules-nvidia-550-generic)
nvidia-driver-470-server, (kernel modules provided by linux-modules-nvidia-470-server-generic)
nvidia-driver-535-server, (kernel modules provided by linux-modules-nvidia-535-server-generic)
nvidia-driver-535-server-open, (kernel modules provided by linux-modules-nvidia-535-server-open-generic)
nvidia-driver-470, (kernel modules provided by linux-modules-nvidia-470-generic)
roguser@rogserver:~$
So, only nvidia-driver-550-open and nvidia-driver-550 fulfills the range of 550 ~ 570.
The difference between packages without “-open”, and with “-open”, are:
- The driver packages without “‑open” (for example, nvidia-driver‑550) include the traditional proprietary (closed‑source) kernel modules supplied by NVIDIA.
- The “‑open” versions (for example, nvidia-driver‑550‑open) include kernel modules that have been open‑sourced by NVIDIA under a GPL-compatible license. This means that while the user‑space parts of the driver remain proprietary, the kernel module is open source, which can lead to better integration with the Linux kernel, ease of maintenance, and potentially improved compatibility with kernel updates.
In summary, if you choose the “‑open” driver, you are using an NVIDIA driver that has the kernel module open‑sourced, as opposed to the traditional closed‑source kernel module. The choice may affect factors such as kernel integration and long‑term maintainability, but both should provide similar performance and features in terms of graphics support.
For more details regrading Ubuntu Nvidia drivers, take a look below link:
To move forward, we will use nvidia-driver-550-open.
sudo apt-get install -y nvidia-driver-550-openOnce driver installed, use nvidia-smi to verify the driver and CUDA version:
$ nvidia-smi
Fri Feb 14 20:43:36 2025
+-----------------------------------------------------------------------------------------+
| NVIDIA-SMI 550.120                Driver Version: 550.120        CUDA Version: 12.4     |
|-----------------------------------------+------------------------+----------------------+
| GPU  Name                 Persistence-M | Bus-Id          Disp.A | Volatile Uncorr. ECC |
| Fan  Temp   Perf          Pwr:Usage/Cap |           Memory-Usage | GPU-Util  Compute M. |
|                                         |                        |               MIG M. |
|=========================================+========================+======================|
|   0  NVIDIA GeForce RTX 3090        Off |   00000000:0A:00.0 Off |                  N/A |
|  0%   33C    P8             30W /  420W |       2MiB /  24576MiB |      0%      Default |
|                                         |                        |                  N/A |
+-----------------------------------------+------------------------+----------------------+

+-----------------------------------------------------------------------------------------+
| Processes:                                                                              |
|  GPU   GI   CI        PID   Type   Process name                              GPU Memory |
|        ID   ID                                                               Usage      |
|=========================================================================================|
|  No running processes found                                                             |
+-----------------------------------------------------------------------------------------+
If you got below error, especially happens when upgrade from older driver, just reboot your host.
$ nvidia-smi
Failed to initialize NVML: Driver/library version mismatch
NVML library version: 550.120
If a reboot isn’t feasible, you can manually reload the NVIDIA kernel module (make sure no GUI or processes are using the GPU):
# Stop the display manager (this will close your graphical session). For example, if you're using LightDM:
sudo service lightdm stop

# Unload the NVIDIA modules:
sudo rmmod nvidia_uvm
sudo rmmod nvidia_drm
sudo rmmod nvidia

# Reload the NVIDIA module:
sudo modprobe nvidia

# Restart your display manager:
sudo service lightdm start

# Then try running nvidia-smi again.
Install CUDA Toolkit
The CUDA Toolkit is a comprehensive suite of development tools provided by NVIDIA for building applications that leverage CUDA for parallel computing on NVIDIA GPUs. It includes a range of resources, such as libraries, compiler utilities, debugging tools, and sample codes, designed to simplify the development process. The toolkit enables developers to write, debug, and optimize code that harnesses the power of GPU acceleration, making it suitable for tasks involving high-performance computing, machine learning, and complex simulations. By offering a robust set of functionalities and documentation, the CUDA Toolkit empowers developers to maximize the computational capabilities of their NVIDIA hardware.
The CUDA Toolkit 12.4 could be found at below link:
[embed]CUDA Toolkit 12.4 Downloads Edit descriptiondeveloper.nvidia.com
wget https://developer.download.nvidia.com/compute/cuda/repos/ubuntu2204/x86_64/cuda-ubuntu2204.pin
sudo mv cuda-ubuntu2204.pin /etc/apt/preferences.d/cuda-repository-pin-600
wget https://developer.download.nvidia.com/compute/cuda/12.4.0/local_installers/cuda-repo-ubuntu2204-12-4-local_12.4.0-550.54.14-1_amd64.deb
sudo dpkg -i cuda-repo-ubuntu2204-12-4-local_12.4.0-550.54.14-1_amd64.deb
sudo cp /var/cuda-repo-ubuntu2204-12-4-local/cuda-*-keyring.gpg /usr/share/keyrings/
sudo apt-get update
sudo apt-get -y install cuda-toolkit-12-4
Install cuDNN
cuDNN (CUDA Deep Neural Network library) is a GPU-accelerated library developed by NVIDIA specifically for deep learning applications. It offers highly optimized routines for standard deep learning operations, such as convolutions, activation functions, pooling, and normalization, enabling developers to create and train neural networks more efficiently. cuDNN is designed to work seamlessly with popular deep learning frameworks, such as TensorFlow and PyTorch, providing significant performance improvements when utilizing NVIDIA GPUs. By leveraging cuDNN, developers can reduce training time and enhance the overall efficiency of their deep learning models, facilitating the development of advanced AI applications
.cuDNN installation package could be found at below website. It requires a login user for downloads. If you don’t have registered user, you could register one. It is free.
[embed]cuDNN 9.7.1 Downloads Edit descriptiondeveloper.nvidia.com
Follow the instruction to finish the installation:
wget https://developer.download.nvidia.com/compute/cudnn/9.7.1/local_installers/cudnn-local-repo-ubuntu2204-9.7.1_1.0-1_amd64.deb
sudo dpkg -i cudnn-local-repo-ubuntu2204-9.7.1_1.0-1_amd64.deb
sudo cp /var/cudnn-local-repo-ubuntu2204-9.7.1/cudnn-*-keyring.gpg /usr/share/keyrings/
sudo apt-get update
sudo apt-get -y install cudnn

sudo apt-get -y install cudnn-cuda-12
Clean up
sudo apt autoremove
rm *.deb

export LD_LIBRARY_PATH=/usr/local/cuda-12.4/lib64${LD_LIBRARY_PATH:+:${LD_LIBRARY_PATH}}
export PATH=/usr/local/cuda-12.4/bin${PATH:+:${PATH}}
Test PyTorch with CUDA 12.4
Now, let’s setup Python virtual environment, and test CUDA with Python.
Install pre-required packages
sudo apt-get install python3-pip
sudo apt install python3.10-venv
Setup Python Virtual Environment
python3 -m venv ~/test/torch251-cu124-venv
source ~/test/torch251-cu124-venv/bin/activate
Install PyTorch
pip install --upgrade --force-reinstall --no-cache-dir torch==2.5.1 torchaudio torchvision triton --index-url https://download.pytorch.org/whl/cu124Test
Let’s first print out the information:
$ python -c "import sys; print(f'Python Version: {sys.version}'); import torch; print(f'Torch Version: {torch.__version__}'); print(f'CUDA available? {torch.cuda.is_available()}'); print(f'GPU Name: {torch.cuda.get_device_name(0)}'); print(f'GPU Memroy: {round(torch.cuda.get_device_properties(0).total_memory / 1024 / 1024 / 1024)} GB')"Python Version: 3.10.12 (main, Jan 17 2025, 14:35:34) [GCC 11.4.0]
Torch Version: 2.5.1+cu124
CUDA available? True
GPU Name: NVIDIA GeForce RTX 3090
GPU Memroy: 23 GBNext, we will run a short test to generate and display tensors using Pytorch.
$ python
Python 3.10.12 (main, Jan 17 2025, 14:35:34) [GCC 11.4.0] on linux
Type "help", "copyright", "credits" or "license" for more information.
>>> import torch
>>> x = torch.rand(5, 3)
>>> print(x)
tensor([[0.4730, 0.8510, 0.9379],
        [0.3746, 0.3402, 0.0104],
        [0.3162, 0.5297, 0.8867],
        [0.7442, 0.3839, 0.4191],
        [0.0578, 0.3556, 0.8193]])
>>> exit();
Conclusion
In conclusion, setting up CUDA 12.4 on Ubuntu 22.04 equips developers with a sophisticated toolkit to leverage the computational power of Nvidia GPUs. By following the outlined installation steps — covering the Nvidia driver, CUDA Toolkit, cuDNN, and PyTorch — users can establish a solid foundation for advanced machine learning and deep learning projects. Proper planning and understanding of compatibility among different software components are crucial for a successful installation, ultimately enhancing the productivity and efficiency of developers working in AI and high-performance computing.
Furthermore, ensuring that your environment is well-maintained through regular updates and compliance with compatibility guidelines will help resolve potential issues in the future. This proactive approach not only optimizes performance but also helps in harnessing the full capabilities of GPU technology, paving the way for innovative applications in various fields such as data science, graphics rendering, and artificial intelligence. With this setup, you are now ready to embark on your journey in GPU-accelerated development.
메타데이터
- post_id
- a8cf6568f7f9
- slug
- install-cuda-12-4-onto-ubuntu-22-04-for-nvidia-gpu-a8cf6568f7f9
- url
- https://medium.com/@mb20261/install-cuda-12-4-onto-ubuntu-22-04-for-nvidia-gpu-a8cf6568f7f9
- canonical_url
- https://medium.com/@mb20261/install-cuda-12-4-onto-ubuntu-22-04-for-nvidia-gpu-a8cf6568f7f9
- author_url
- https://medium.com/@mb20261
- status
- ok
- fetched_at
- 2026-06-26 08:21:59