Step by Step Slow Guide: Kubernetes Dashboard on Raspberry Pi Cluster (Part 2)
How to setup self-signed certificate for Kubernetes Dashboard and expose it via load-balancer
Step by Step Slow Guide: Kubernetes Dashboard on Raspberry Pi Cluster (Part 2)
How to setup self-signed certificate for Kubernetes Dashboard and expose it via load-balancer
Photo by Robert Anasch on Unsplash
In previous part we were talking about setting up Kubernetes Dashboard, and now we are going to focus on setting up Dashboard certificate and exposing it outside our cluster.
First we are going to expose our Kubernetes Dashboard via load-balancer. We will be using MetalLB. I was writing previously about how to set it up on Raspberry Pi Kubernetes cluster If you didn’t do so yet, please follow the link below
Let’s create new load-balancer service which will expose our dashboard. Create new file named kd-loadbalancer.yaml and copy the content below:
apiVersion: v1
kind: Service
metadata:
  name: kd-loadbalancer
  namespace: kubernetes-dashboard
spec:
  type: LoadBalancer
  ports:
    - port: 443
      protocol: TCP
      targetPort: 8443
  selector:
    k8s-app: kubernetes-dashboard
And apply it by running:
kubectl apply -f kd-loadbalancer.yamlAs we didn’t specify IP, let’s see what we got assigned by running
kubectl get service -n kubernetes-dashboard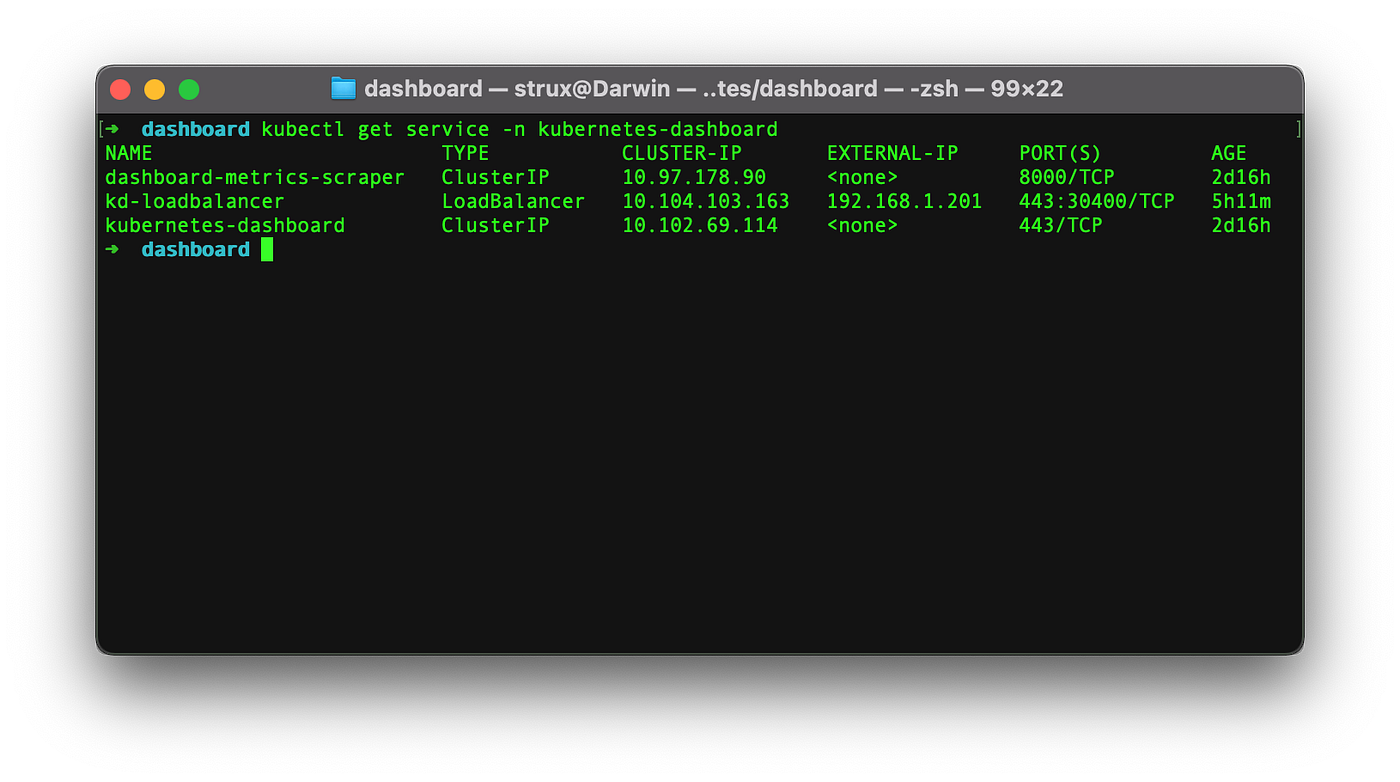
IP address of Kubernetes load-balancer
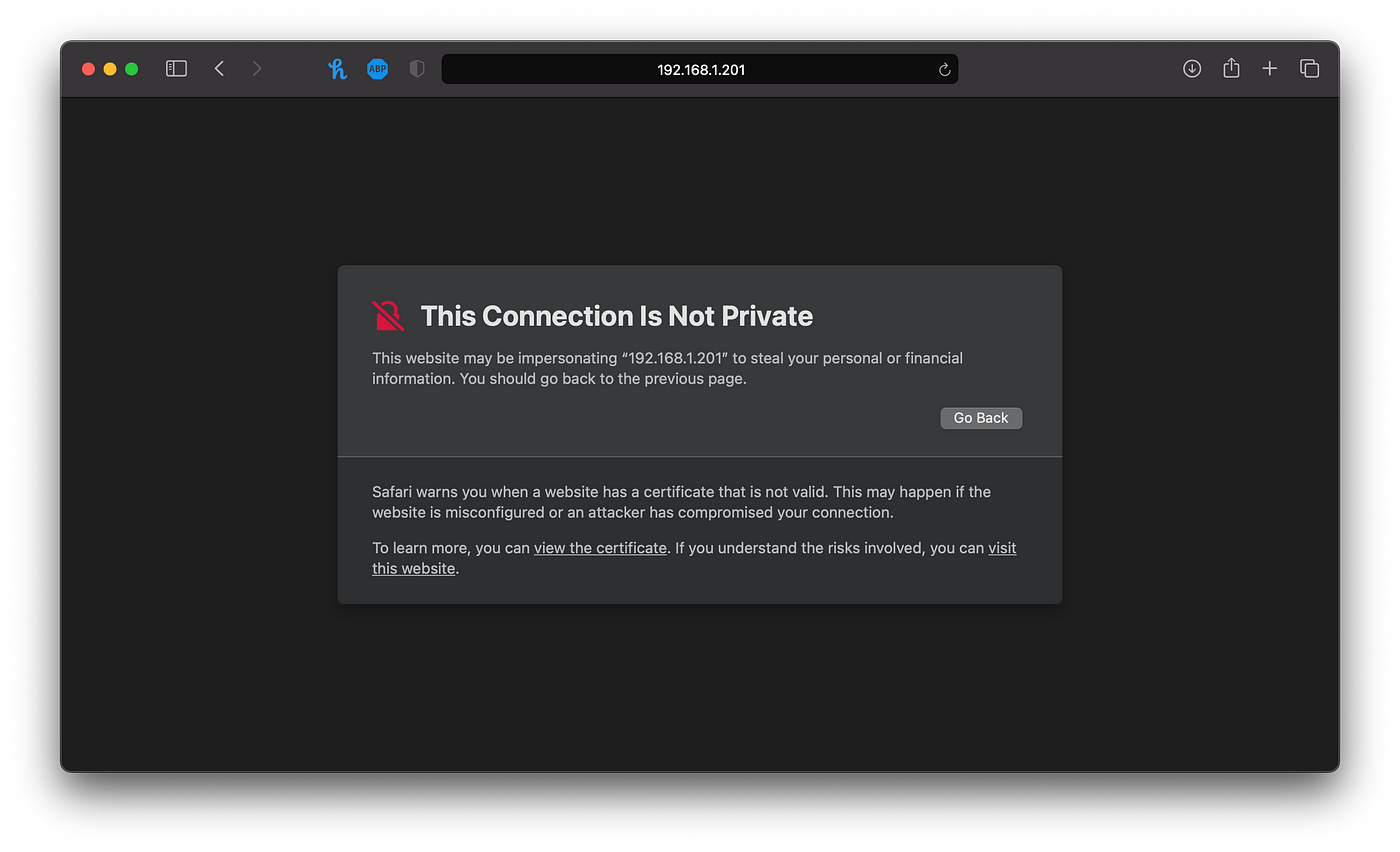
Let’s try to open Dashboard by typing into browser IP address that we got from load-balancer with HTTPS protocol https://192.168.1.201

Certificate error Safari
Chrome and Safari will reject this certificate, it will however work on FireFox, but in order to resolve this we are going to create our own self signed certificate. As our dashboard should probably never be exposed outside our internal network this will do just fine.
To make following along easyer, let’s create certs folder in our home directorymkdir ~/certs, and create our certificate files there.
openssl req -newkey rsa:4096 -x509 -sha256 -nodes -out ~/certs/dashboard.crt -keyout ~/certs/dashboard.keyKubernetes Dashboard is expecting that we will have certificate stored in secret named kubernetes-dashboard-certs, but as default one was created during our initial deployment we are going to delete it first.
kubectl delete secret kubernetes-dashboard-certs -n kubernetes-dashboard
kubectl create secret generic kubernetes-dashboard-certs --from-file=$HOME/certs -n kubernetes-dashboard
Now we are going to need to edit now original Dashboard yaml file:
nano recommended.yamland let’s change following lines:
# Change from:
      containers:
        - name: kubernetes-dashboard
          image: kubernetesui/dashboard:v2.1.0
          imagePullPolicy: Always
          ports:
            - containerPort: 8443
              protocol: TCP
          args:
            - --auto-generate-certificates
            - --namespace=kubernetes-dashboard
# To:
#Change from:
containers:
- name: kubernetes-dashboard
image: kubernetesui/dashboard:v2.1.0
imagePullPolicy: Always
ports:
- containerPort: 8443
protocol: TCP
args:
# - --auto-generate-certificates
- --tls-cert-file=/dashboard.crt
- --tls-key-file=/dashboard.key
- --namespace=kubernetes-dashboardWe are going to re-apply this yaml file to our server with:
kubectl apply -f recommended.yamlLet’s try to access now https://192.168.1.201
Self-signed certificate warning in Safari
We can confirm that we would like to proceed and accept this certificate.

Working Kubernetes Dashboard with SSL
And we have working Kubernetes Dashboard secured with our self signed SSL certificate.
I hope you enjoyed this guide. As always feel free to let me know in case of any questions or comments. I’m doing my best to reply to everyone. Till next time!
PS. I try to make these articles perfect, and I put lot of effort in them. It really motivates me seeing people like them. So if you enjoyed it, it would be awesome if you can follow me, and subscribe!
메타데이터
- post_id
- acdc8f9b5b99
- slug
- step-by-step-slow-guide-kubernetes-dashboard-on-raspberry-pi-cluster-part-2-acdc8f9b5b99
- url
- https://levelup.gitconnected.com/step-by-step-slow-guide-kubernetes-dashboard-on-raspberry-pi-cluster-part-2-acdc8f9b5b99
- canonical_url
- https://levelup.gitconnected.com/step-by-step-slow-guide-kubernetes-dashboard-on-raspberry-pi-cluster-part-2-acdc8f9b5b99
- author_url
- https://medium.com/@astrujic
- status
- ok
- fetched_at
- 2026-06-17 08:20:12