React Native Edge-to-Edge implementation in Android ≤ 14 (Non-Expo app)
React Native Edge-to-Edge implementation targeting lower android versions
React Native Edge-to-Edge implementation in Android ≤ 14 (Non-Expo app)
Hello developers,
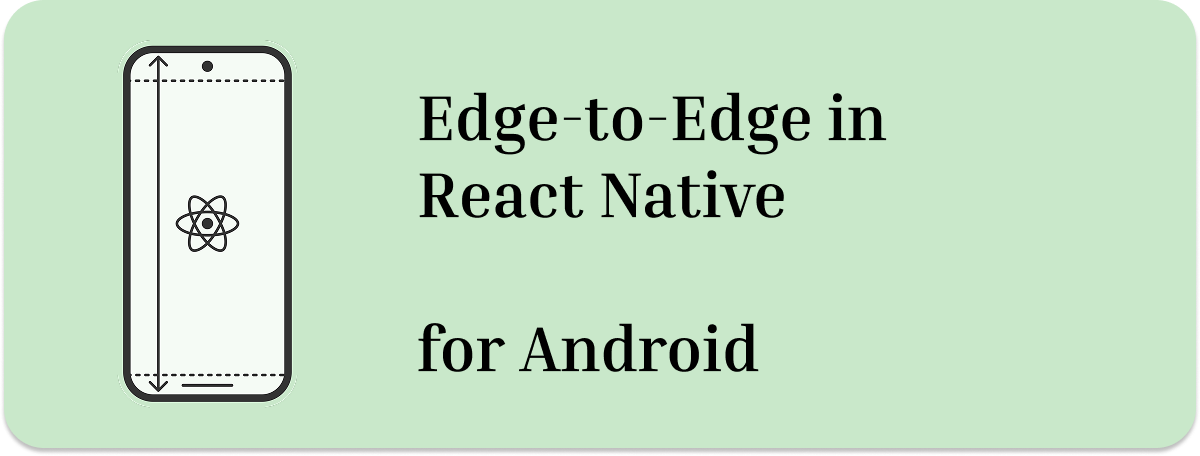
This article is about implementing Edge-to-Edge in ***React Native* apps (Non-Expo apps)** targeting Android ≤ 14 (API level 34).
Before getting started, there are a few things you need to know about the architecture of a React Native app that affects the ***Edge-to-Edge implementation in Android***.
- ReactActivity() doesn’t create a root layout by itself while initializing the app. The app we see is placed over a root layout from android itself. Therefore, android decides the behavior of the app window, the system bars(Status Bar and Navigation Bar) that are placed on the top of this root layout.
- Making the Status Bar behave as edge-to-edge is quite easy, but the problem comes when dealing with the Navigation Bar.
- In Android there are basically 3 types of Navigation : (a) Gesture Navigation (can be handled easily ), (b) Two button navigation (not used more ), (c) Three button navigation (Main Issue ) .
- So, in order to make the app edge-to-edge, the app must draw under the system bars and the system bars should be TRANSPARENT if you want to fully utilize the device frame for the UI.
- After so many trials I finally got some simple tweaks that can be applied to any device for edge-to-edge + transparent system bars.
- The method described ***here*** may not help for the implementation because React Native App ≠ Jetpack Compose App.
- We are not going to use any other libraries but if you want to install another package check this out. [ zoontek/react-native-edge-to-edge ]
So below are the suggested steps you need to follow:
Step: 1
- Check your React Native version.
- For latest version(~ 0.83.1) you will see in
android/gradle.propertiesthis line :
# Use this property to enable edge-to-edge display support.
# This allows your app to draw behind system bars for an immersive UI.
# Note: Only works with ReactActivity and should not be used with custom
# Activity.

edgeToEdgeEnabled=false- But for older versions ~ 0.78.0 ≤ (your-installed-version) ≤ 0.79.2 the above line may not be there.
- Make sure to keep it as
false, because we are going to use custom ReactActivity() ≈ CustomActivity(). - So , in the next steps you will see the simple tweaks with which you will be able to implement this feature.
Step: 2
Modify and add the below line in /android/app/build.gradle and perform a “Gradle Sync” through Android Studio.
dependencies {
    // Default code lines ...
    implementation("androidx.core:core-ktx:1.17.0")
    implementation("androidx.activity:activity-ktx:1.12.2")

    // Other codes ...
}
Step: 3
Modification in MainActivity.kt
package com.myapp

// Default imports
import com.facebook.react.ReactActivity
import com.facebook.react.ReactActivityDelegate
import com.facebook.react.defaults.DefaultNewArchitectureEntryPoint.fabricEnabled
import com.facebook.react.defaults.DefaultReactActivityDelegate

// Newly required imports
import android.graphics.Color
import android.os.Build
import android.os.Bundle
import android.view.View
import androidx.core.view.WindowCompat

class MainActivity : ReactActivity() {

  override fun getMainComponentName(): String = "MyApp"

  override fun createReactActivityDelegate(): ReactActivityDelegate =
      DefaultReactActivityDelegate(this, mainComponentName, fabricEnabled)

    // Customizing the ReactActivity()
    // Override onCreate() function for custom activity
    override fun onCreate(savedInstanceState: Bundle?) {

        super.onCreate(savedInstanceState)

        // Draws the UI beneath the System Bars, not limited to visible area only
        WindowCompat.setDecorFitsSystemWindows(window, false)

        // Enforce the System Bar colors
        window.statusBarColor = Color.TRANSPARENT
        window.navigationBarColor = Color.TRANSPARENT

        // Removes the gray translucent scrim from the background of navigation bar
        if (Build.VERSION.SDK_INT >= Build.VERSION_CODES.Q) {
            window.isNavigationBarContrastEnforced = false
        }

        // For older android versions (<= Android 10)
        @Suppress("DEPRECATION")
        window.decorView.systemUiVisibility =
            View.SYSTEM_UI_FLAG_LAYOUT_STABLE or
                    View.SYSTEM_UI_FLAG_LAYOUT_FULLSCREEN or
                    View.SYSTEM_UI_FLAG_LAYOUT_HIDE_NAVIGATION
    }
}super.onCreate(savedInstanceState)is placed at the starting of the code block, in order to prevent spalsh and app initializing issue (mainly crashes).
Step: 4
Add the below lines in android/app/src/main/res/values/styles.xml
<resources>

    <!-- Base application theme. -->
    <style name="AppTheme" parent="Theme.AppCompat.DayNight.NoActionBar">

    <!-- Customized theme as fallback-->
        <item name="android:statusBarColor">@android:color/transparent</item>
        <item name="android:navigationBarColor">@android:color/transparent</item>
        <item name="android:windowDrawsSystemBarBackgrounds">true</item>
        <item name="android:fitsSystemWindows">false</item>
        <item name="android:enforceNavigationBarContrast">false</item>

    </style>

</resources>
Step: 5
❗Important
As React Native does not create a root view by default we need to create it manually.
In App.jsx (If using *react-native-gesture-handler*)
import { GestureHandlerRootView } from 'react-native-gesture-handler';

const App = () => {
  return(
    <SafeAreaProvider>
      <GestureHandlerRootView style={[{flex: 1, backgroundColor: '#000'}]}>
        <AppContent/>
      <GestureHandlerRootView/>
    <SafeAreaProvider/>
)
}

export default App();
In the above code <GestureHandlerRootView/> acts as the root layout of the app. Now android will treat our custom root view as root layout and the ReactActivity() will behave as “Customized ReactActivity()”
In App.jsx (If not using *react-native-gesture-handler*)
import { View } from 'react-native';

const App = () => {
  return(
    <SafeAreaProvider>
      <View style={[{flex: 1, backgroundColor: '#000'}]}>
        <AppContent/>
      <View/>
    <SafeAreaProvider/>
)
}

export default App();
In the above code <View/> acts as the root layout of the app. Now android will treat our custom root view as root layout and the ReactActivity() will behave as “Customized ReactActivity()”
Step: 6
Handling the paddings for the UI
Use {useSafeAreaInsets} from react-native-safe-area-context to handle the padding as follows:
import {SafeAreaProvider, useSafeAreaInsets} from 'react-native-safe-area-context';
import { View } from 'react-native';

const App = () => {
  const insets = useSafeAreaInsets();
  return(
    <SafeAreaProvider>
      <View style={[{flex: 1, backgroundColor: '#000', paddingTop: insets.top, paddingBottom: insets.bottom,
      paddingLeft: insets.left, paddingRight: insets.right}]}>
        <AppContent/>
      <View/>
    <SafeAreaProvider/>
)
}

export default App();
For more information on inset handling check *react-native-safe-area-context*
Step: 7
With the above steps the content of the status bar will be themed as per your device theme , but if you want to use dynamic theme based on your app you have to use <StatusBar/> along with react hooks like useState() , useEffect()in your app screens as follows:
import { View, StatusBar, useColorScheme } from 'react-native';
// if you have customised theme context for your app
// import { ThemeProvider, useTheme } from 'src/contexts/ThemeContext.ts';

const HomeScreen = () => {
  const isDarkBg = useColorSceme() === 'dark'; // from system theme
  // if you have customised theme context for your app
  // const isDarkBg = useTheme();
  return(
    <>
      <StatusBar translucent backgroundColor={'transparent'} barStyle={isDarkBg? 'light-content' : 'dark-content'}/>
      <View style={[{flex: 1, backgroundColor: '#000'}]}>
      <View/>
    </>
)
}

export default HomeScreen();isDarkBgwill be defined as per your custom theme provider throughuseEffect()hook and will be set usinguseState()hook and the state will be changed as your custom theme changes or it will be set as per the device theme throughuseColorScheme.- ❗Important :
<StatusBar/>needs to be added in each of the screens or once at the root of the app else the layout may break.- If your app doesn’t have a theme toggle option or different colored screens then you can add the
<StatusBar/>option in the Root of your app i.e. inApp.jsxand set a fixed color of the status bar content as per your app color. - Else add
<StatusBar/>to each of your screen and toggle the bar content color as per the current screenbgColor. - The button color in the Three button navigation and Two button navigation will adapt automatically to the background contrast and illuminate accordingly.
Summary:
Basically we are drawing the entire android layout forcefully in the entire device screen under the system bars and handling the insets (internal paddings) through react-native-safe-area-context.
Thank you for reading the article. 😊
For any issue, improvement leave a comment below.
reactnative #edgetoedge #crossplatform #android #appdevelopment #mobileapp
메타데이터
- post_id
- b0d2bfbfc5a9
- slug
- react-native-edge-to-edge-implementation-in-android-14-non-expo-app-b0d2bfbfc5a9
- url
- https://medium.com/front-end-weekly/react-native-edge-to-edge-implementation-in-android-14-non-expo-app-b0d2bfbfc5a9
- canonical_url
- https://medium.com/front-end-weekly/react-native-edge-to-edge-implementation-in-android-14-non-expo-app-b0d2bfbfc5a9
- author_url
- https://medium.com/@iampritam21
- status
- ok
- fetched_at
- 2026-07-27 05:39:41