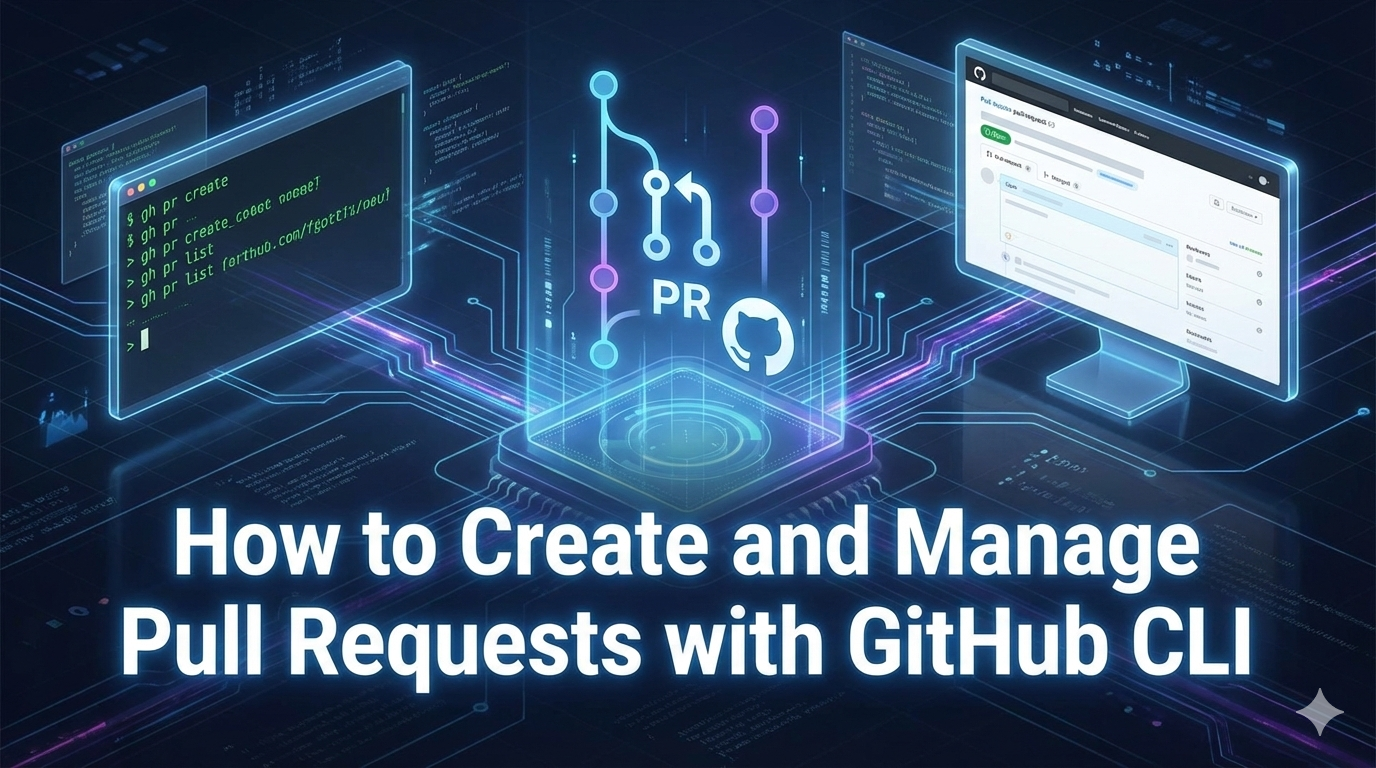
How to Create and Manage Pull Requests with GitHub CLI
Mastering Pull Requests with GitHub CLI
How to Create and Manage Pull Requests with GitHub CLI
Mastering Pull Requests with GitHub CLI
In the modern development landscape, efficient collaboration is paramount. Pull Requests (PRs) stand as a cornerstone of this collaboration, facilitating code review, discussion, and integration of changes. While the GitHub web interface provides a robust platform for managing PRs, the GitHub Command Line Interface (CLI) offers a powerful alternative, allowing developers to streamline their workflow directly from the terminal. This blog post will delve into the intricacies of creating and managing pull requests using the gh CLI, covering its comprehensive features and best practices.
The Power of the Terminal: Why GitHub CLI?
The GitHub CLI, or **gh**, is an open-source command-line tool that brings GitHub functionality to your terminal. It allows you to interact with GitHub repositories, issues, pull requests, and more, without ever leaving your command line. For pull requests, this translates to a significant boost in productivity by:
- Context Switching Reduction: Stay focused within your terminal environment, eliminating the need to switch between your code editor and a web browser.
- Automation: Easily script PR creation and management tasks, integrating them into your continuous integration/continuous deployment (CI/CD) pipelines.
- Efficiency: Perform common PR operations with concise commands, often faster than navigating through a graphical user interface.
Prerequisites and Setup
Before diving into PR management with gh, ensure you have the following set up:
- Install GitHub CLI: Download and install the
ghtool from the [official GitHub CLI documentation][1]. Installation instructions are available for various operating systems. - Authenticate: After installation, you need to authenticate your GitHub account with the CLI. Open your terminal and run:
gh auth login
Follow the on-screen prompts to complete the authentication process, which typically involves opening a browser window to authorize ghwith your GitHub account. This step establishes a secure connection, allowing the CLI to interact with your repositories on your behalf.
- Local Repository Setup: This guide assumes you are working within a local Git repository that is connected to a remote GitHub repository. If you haven’t already, clone your repository:
- Command:
git clone [https://github.com/your-username/your-repository.git](https://github.com/your-username/your-repository.git)
cd your-repository
The Core Workflow: Creating a Pull Request
The journey of a pull request typically begins with making changes in a local branch and then proposing those changes to a central repository. Here’s how ghfacilitates this process:
Step 1: Create a New Branch
It’s a best practice to work on new features or bug fixes in a dedicated branch to isolate your changes from the main codebase. Create and switch to a new branch using Git:
git checkout -b your-feature-branch-name
Choose a descriptive name for your branch that clearly indicates the purpose of your changes.
Step 2: Make and Commit Your Changes
After making your code modifications, stage and commit them to your local branch:
git add .
git commit -m “feat: Add a new feature for X functionality”
Ensure your commit message is clear, concise, and descriptive, potentially referencing related issues (e.g., Fixes #123).
Step 3: Push Your Branch to GitHub
To make your local branch and its commits available on GitHub, push it to the remote repository. The — set-upstream flag is used the first time to link your local branch to a new remote branch:
git push — set-upstream origin your-feature-branch-name
Step 4: Create the Pull Request with gh pr create
This is where the ghCLI truly shines. Once your branch is pushed, you can create a pull request directly from your terminal using the ghpr create command. This command offers both interactive and non-interactive modes.
Interactive Mode (Default):
Running gh pr create without any arguments will launch an interactive prompt, guiding you through the process of setting the title, body, reviewers, assignees, and labels for your PR. This is ideal for first-time users or when you need to carefully consider each option.
Non-Interactive Mode (with Flags):
For more experienced users or for scripting, you can specify all the necessary details directly using flags. This bypasses the interactive prompts, creating the PR immediately. Key flags include:
— title “Your PR Title”: Sets the title of the pull request.— body “Detailed description of changes”: Provides the main description for the PR. You can also use — body-file <file_path> to read the body from a file.— base main: Specifies the target branch for your changes (e.g., main, develop).— head your-feature-branch-name: Explicitly states the branch containing your changes. This is often inferred if you are on the branch you just pushed.— assignee @mention: Assigns a specific GitHub user as an assignee.— reviewer @mention: Requests a review from a specific user or team.— label “bug”, “enhancement”: Applies labels to the pull request.— project “Project Name”: Links the PR to a GitHub Project.— milestone “Milestone Name”: Associates the PR with a specific milestone.
Special Flags for gh pr create:
— draft: Creates the pull request as a draft, indicating it’s still a work in progress and not ready for review.— web: Opens the pull request creation page in your default web browser instead of creating it entirely in the terminal. This is useful if you prefer to use the web UI for final touches or complex descriptions.— fill: Automatically populates the PR title and body from your Git commit messages. If multiple commits are present, it uses the latest commit message for the title and combines previous messages for the body. This is a significant time-saver.— fill-first: Similar to — fill, but only uses the first commit message for both title and body.
Example of creating a PR with flags:
gh pr create — title “feat: Implement user authentication” — body “This PR adds user registration and login functionality.” — base main — head feature/auth — reviewer @octocat — label “enhancement”
Here’s an example gh pr create command using all available options:
gh pr create \
 — title “Add new authentication feature” \
 — body “This PR implements OAuth2 authentication. Fixes #123” \
 — base main \
 — head feature-branch \
 — assignee username1,username2 \
 — reviewer reviewer1,reviewer2 \
 — label bug,enhancement \
 — milestone “v2.0” \
 — project “Q1 Roadmap” \
 — draft \
 — no-maintainer-edit \
 — repo owner/repository
gh pr create \
- title "Add new authentication feature" \
- body "This PR implements OAuth2 authentication. Fixes #123" \
- base main \
- head feature-branch \
- assignee username1,username2 \
- reviewer reviewer1,reviewer2 \
- label bug,enhancement \
- milestone "v2.0" \
- project "Q1 Roadmap" \
- draft \
- no-maintainer-edit \
- repo owner/repositoryKey points:
- Use
— draftto create a draft PR - Use
— no-maintainer-editto prevent maintainers from editing the PR - Multiple assignees, reviewers, and labels can be comma-separated
- The
— repoflag allows you to target a different repository - You can also use
— fillto auto-populate from commit messages, or— webto open the browser instead
—
GitHub doesn’t enforce a strict “standard” list of labels, but there are common conventions that many projects follow. Here are the most widely used label categories:
Bug & Issue Types
bug— Something isn’t workingenhancement— New feature or requestfeature— New functionalitydocumentation— Documentation improvementsquestion— Further information requestedduplicate— This issue/PR already existsinvalid— This doesn’t seem rightwontfix— This will not be worked on
Priority Levels
priority: criticalpriority: highpriority: mediumpriority: low
Status Labels
good first issue— Good for newcomershelp wanted— Extra attention neededin progress— Currently being worked onblocked— Blocked by dependenciesneeds review— Awaiting review
Component/Area Labels
frontendbackendapiui/uxsecurityperformancetesting- *Note:** Each repository can define its own custom labels. You can view a repo’s labels with
gh label listand create custom ones withgh label create.
—
Managing Existing Pull Requests
Once a pull request is created, gh provides a suite of commands to manage its lifecycle, from viewing its status to merging it.
Listing Pull Requests: gh pr list
To see all open pull requests in your repository, use:
gh pr list
You can filter the list using various flags:
— state {open|closed|merged|all}: Filter by PR state.— author @me:List PRs authored by you.— assignee @me: List PRs assigned to you.— reviewer @me: List PRs where you are a requested reviewer.— label “bug”: Filter by specific labels.
Checking Status: gh pr status
This command provides a quick overview of your pull requests and those awaiting your review:
gh pr status
Viewing Details: gh pr view
To view the details of a specific pull request, including its description, comments, and status checks, use:
gh pr view <PR_NUMBER>
Replace <PR_NUMBER> with the actual pull request number. Add the — web flag to open the PR in your browser:
gh pr view <PR_NUMBER> — web
Checking Out PRs Locally: gh pr checkout
To test or review a pull request locally, you can check out its branch directly:
gh pr checkout <PR_NUMBER>
This command fetches the PR’s branch and switches your local repository to it, allowing you to examine the changes and run tests.
Reviewing PRs: gh pr review
If you are a reviewer, gh allows you to submit your review directly from the terminal:
gh pr review <PR_NUMBER> — approve — body “Looks great!”
Key options for gh pr review:
— approve: Approve the pull request.— request-changes: Request changes to the pull request.— comment: Submit a general comment without approving or requesting changes.— body “Your review comment”: Add a body to your review.
Checking CI/CD Status: gh pr checks
Before merging, it’s crucial to ensure all continuous integration (CI) checks have passed. You can view the status of these checks for a PR:
gh pr checks <PR_NUMBER>
Advanced PR Operations
The ghCLI offers several advanced commands for more complex PR management scenarios.
Editing a PR: gh pr edit
Need to change the title, body, or add/remove assignees/labels after creation? Use gh pr edit:
gh pr edit <PR_NUMBER> — title “Updated Title” — add-label “bug”
Merging a PR: gh pr merge
Once a PR is approved and all checks pass, you can merge it:
gh pr merge <PR_NUMBER>
By default, this performs a merge commit. You can specify other merge methods:
— squash: Squash and merge your commits into a single commit.— rebase: Rebase and merge your commits.
Closing and Reopening PRs: gh pr close and gh pr reopen
To close a pull request that is no longer needed:
gh pr close <PR_NUMBER>
And to reopen a previously closed PR:
gh pr reopen <PR_NUMBER>
Handling Draft PRs: gh pr ready
If you created a draft pull request, you can mark it as ready for review:
gh pr ready <PR_NUMBER>
Updating a Branch: gh pr update-branch
To update your pull request’s branch with the latest changes from the base branch:
gh pr update-branch <PR_NUMBER>
Reverting a PR: gh pr revert
If a merged PR introduces issues, you can revert it, which creates a new PR that undoes the changes:
gh pr revert <PR_NUMBER>
Adding Comments: gh pr comment
You can add general comments to a pull request:
gh pr comment <PR_NUMBER> — body “Thanks for the great work!”
Automation and Tips
The GitHub CLI truly shines when integrated into automated workflows and combined with clever aliases.
- GitHub Actions Integration: The
ghCLI is an excellent tool for scripting PR operations within GitHub Actions workflows. For instance, you can automatically create PRs for dependency updates or release branches. - Aliases: For frequently used commands, consider creating shell aliases to shorten your input. For example, alias gprc=’gh pr create — fill’.
- The — fill Flag Magic: As mentioned earlier,
— filland— fill-firstare incredibly useful for quickly generating PRs from your latest commit messages, reducing manual input.
Conclusion
The GitHub CLI transforms the way developers interact with pull requests, offering a powerful and efficient alternative to the web interface. By mastering commands like gh pr create, gh pr list, gh pr view, and gh pr review, you can significantly enhance your development workflow, staying focused within your terminal environment. Embrace the ghCLI to elevate your PR management and streamline your collaborative coding efforts.
References
[2] Create pull request from the GitHub command line — Graphite
메타데이터
- post_id
- b13dc678e0b2
- slug
- how-to-create-and-manage-pull-requests-with-github-cli-b13dc678e0b2
- url
- https://medium.com/@mdsiaofficial/how-to-create-and-manage-pull-requests-with-github-cli-b13dc678e0b2
- canonical_url
- https://medium.com/@mdsiaofficial/how-to-create-and-manage-pull-requests-with-github-cli-b13dc678e0b2
- author_url
- https://medium.com/@mdsiaofficial
- status
- ok
- fetched_at
- 2026-06-15 20:49:13