Creating a 3D printed stand for an RSA SecurID key
Various two-factor authentication sites now require the use of an RSA key. For me, it is needed to log into the MONSooN supercomputer…
Creating a 3D printed stand for an RSA SecurID key
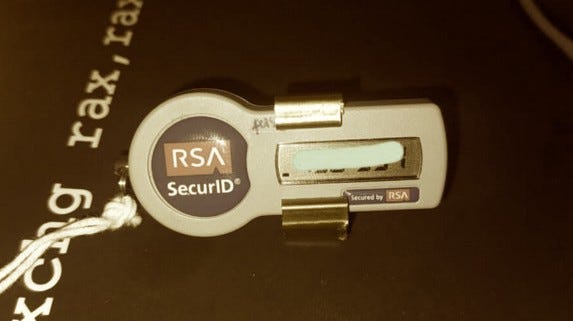
Various two-factor authentication sites now require the use of an RSA key. For me, it is needed to log into the MONSooN supercomputer. Although this is often on my desk, it is still difficult to read when flat. For this reason, I created a stand and will detail the process here.
Start by measuring your current key
We begin by measuring our key. This is done in mm and the use of calipers can produce much more accurate results than a simple rule.
The main dimensions of my RSA key are approximately 20mm x 10mm with the screen being 5mm from the top and bottom.
Since we are not creating a sleave for the entire key the length measurement is not that important.
Creating a prototype object
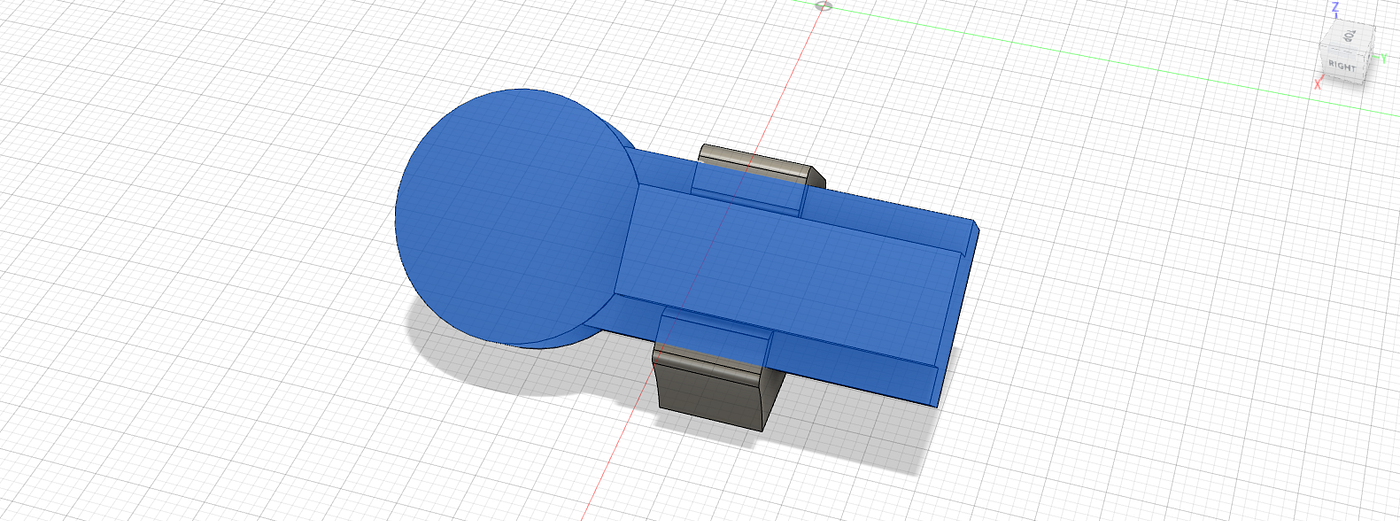
Rather than carefully designing a complex shape it is much easier to take a die-cast approach to manufacture. We simply create our keyfob in the correct dimensions and use this to ‘cut’ out the relevant shape from our design.
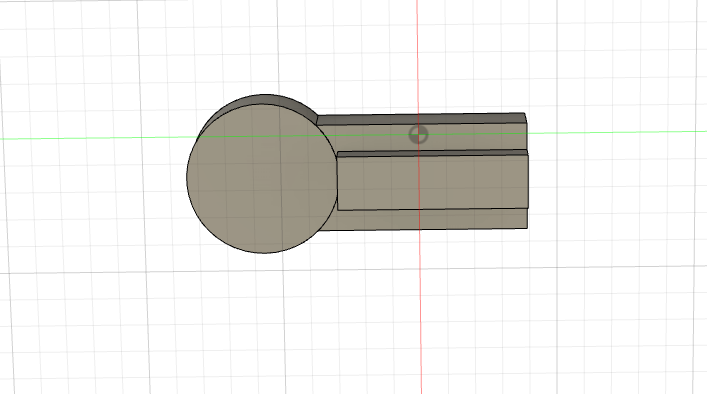
This is all to scale and the screen is extruded outwards as we do not want our stand to be obscuring it in the finished product.
Creating the Clamp
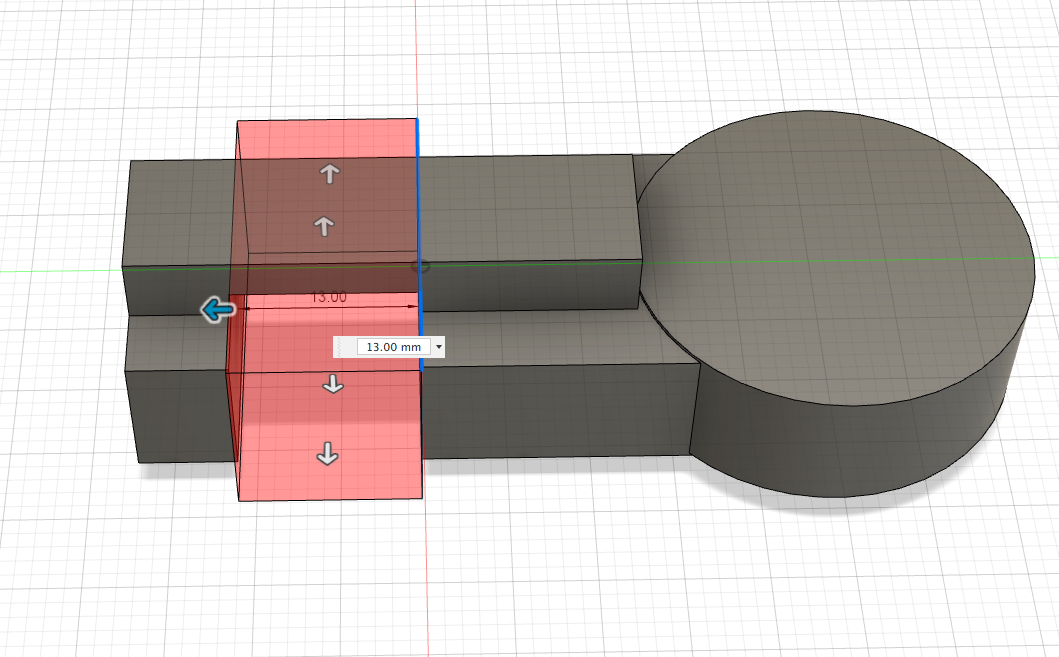
Now we have a model key, we can create the ‘clamp’ part of our stand. This is the bit that will slide over the end. To do this I created a box 2mm larger than the body.
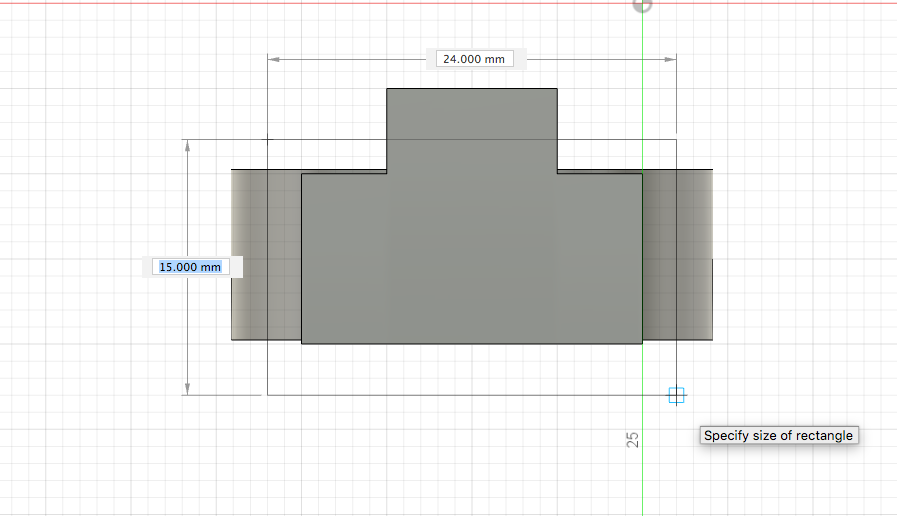
For the length, I chose 13mm as I believe that this will be long enough to serve my purpose. You can make it any length you wish.
Rotating the stand to the required angle
Next rather than calculating the precise measurements required for everything to be where we want it, we may simply change the orientation of the object in space.
Once we have done this we can create a stand body (using another box) which is perpendicular to the floor.
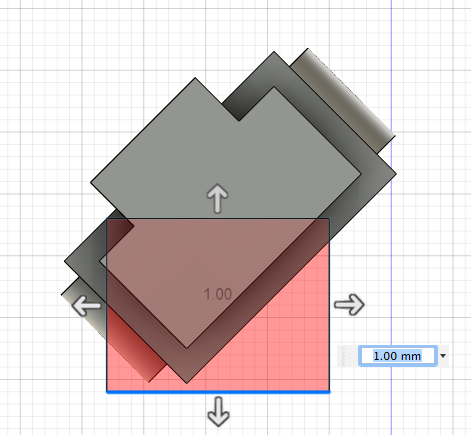
Once we are happy with the final orientation of the stand and clamp bodies, we may merge them using the modify → merge tool.
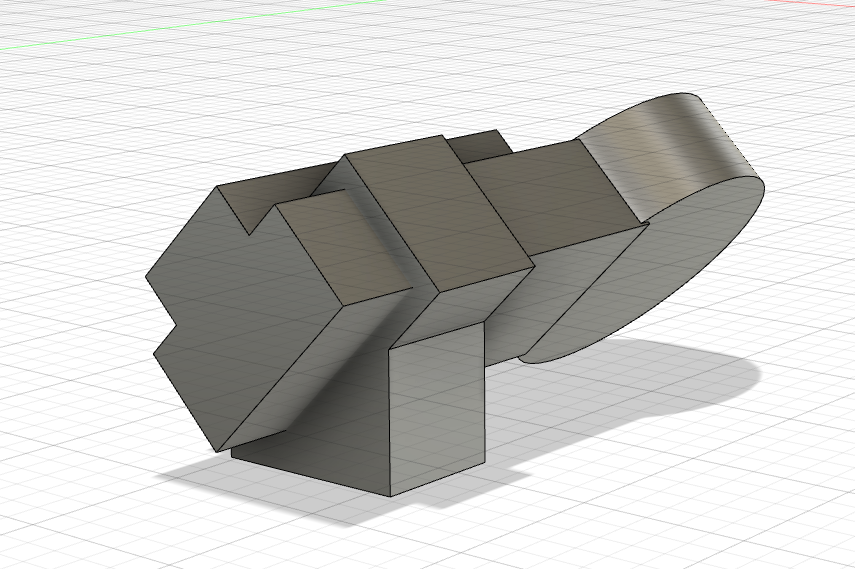
Cutting the body from the stand
The last main task is to cut the key body from the stand body, leaving us with the shape we want to print. This again is done using the merge tool. Personally I always tick the ‘save tool’ checkbox incase we may want the keyfob body again in the future.
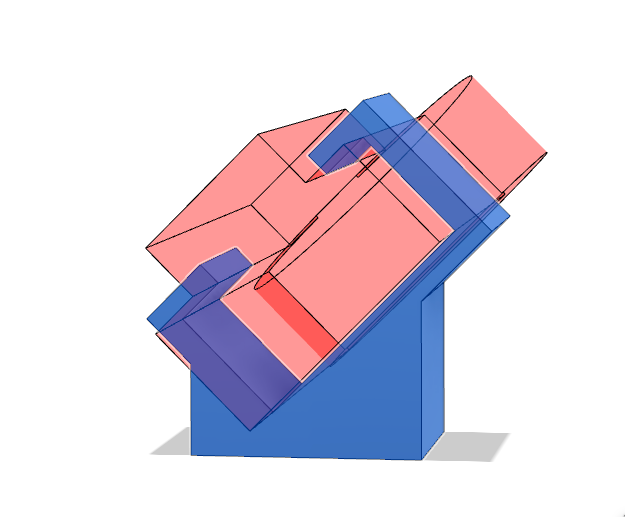
Tidying up the print
Finally, I find it is better for both aesthetics and the print if there are no sharp edges. For this, we can use the fillet tool to smooth these and produce an elegantly shaped final product.
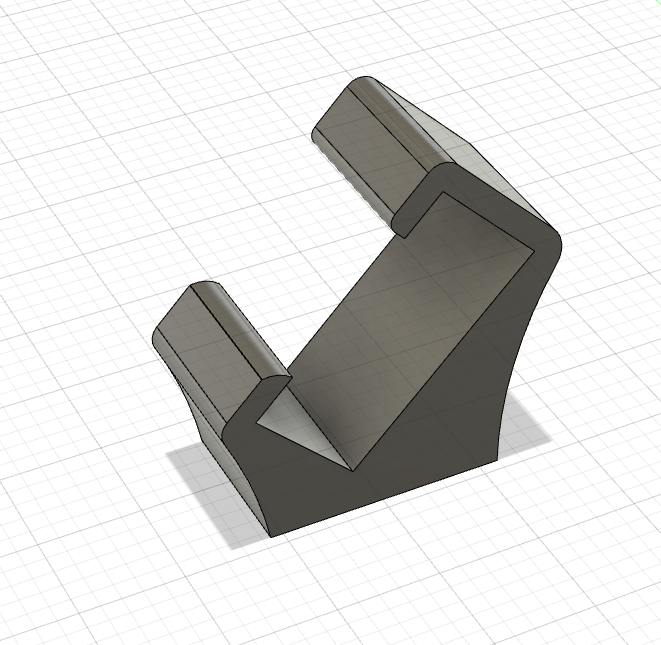
The print
And there you have it a custom made keyfob stand weighing 5g.
This does not need to be overly solid, therefore with gyroid fill at 5% it prints in about the amount of time it takes to make a cup of tea and drink it (provided your printer is pre-warmed and fully set up that is).
메타데이터
- post_id
- b1eaefb0f83
- slug
- creating-a-3d-printed-stand-for-an-rsa-securid-key-b1eaefb0f83
- url
- https://medium.com/cemac/creating-a-3d-printed-stand-for-an-rsa-securid-key-b1eaefb0f83
- canonical_url
- https://medium.com/cemac/creating-a-3d-printed-stand-for-an-rsa-securid-key-b1eaefb0f83
- author_url
- https://medium.com/@daniel-ellis
- status
- ok
- fetched_at
- 2026-06-09 21:21:26