How to Install OpenVPN 3 on Ubuntu 24.04 LTS
OpenVPN 3 is a versatile and robust VPN client that provides a secure and encrypted connection to remote networks. Whether you’re looking…
How to Install OpenVPN 3 on Ubuntu 24.04 LTS
OpenVPN 3 is a versatile and robust VPN client that provides a secure and encrypted connection to remote networks. Whether you’re looking to safeguard your internet connection or access private networks securely, OpenVPN 3 is an excellent choice for Ubuntu users.
This guide outlines the steps to install and manage OpenVPN 3 on Ubuntu 24.04 LTS.
Prerequisites
Before you begin, ensure the following:
- You have administrative privileges (sudo access) on your Ubuntu system.
- Your system is updated.
- OpenVPN configuration files (if connecting to an existing VPN).
Terminal
Open the Terminal by pressing ctrl + alt + T and run the following commands in it.
Step 1: Add OpenVPN repository key
Install the OpenVPN repository key used by the OpenVPN 3 Linux packages:
sudo mkdir -p /etc/apt/keyrings && curl -fsSL https://packages.openvpn.net/packages-repo.gpg | sudo tee /etc/apt/keyrings/openvpn.ascStep 2: Obtain the Linux distribution-specific information
Run this command to obtain the Linux distribution-specific information and assign it to the DISTRO variable for use in the next step:
DISTRO=$(lsb_release -c -s)Step 3: Add the package repository
echo "deb [signed-by=/etc/apt/keyrings/openvpn.asc] https://packages.openvpn.net/openvpn3/debian $DISTRO main" | sudo tee /etc/apt/sources.list.d/openvpn-packages.listStep 4: Update the package
Update your package list again to reflect the new repository:
sudo apt updateStep 5: Install the OpenVPN 3 package:
Install the OpenVPN 3 client using the following command:
sudo apt install openvpn3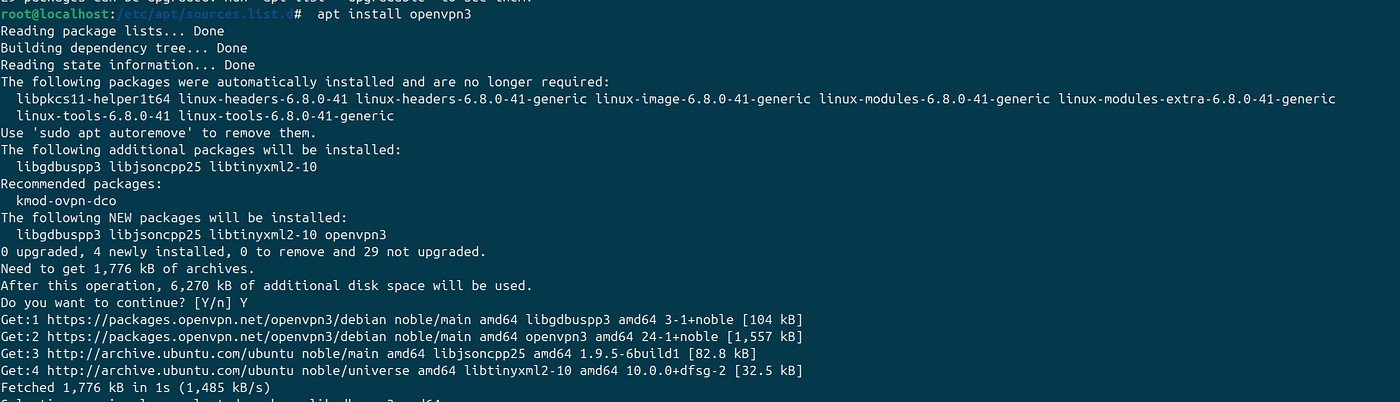
install openvpn3
To verify the installation, check the OpenVPN 3 version:
openvpn3 versionStep 6: Import a VPN Profile
Once installed, you need to import a VPN profile. A profile is typically provided by your network administrator or VPN provider. Use the following command to import it:
openvpn3 config-import --config /path/to/your-profile.ovpnReplace /path/to/your-profile.ovpn with the actual path to your .ovpn configuration file.
Step 7: Start the VPN Connection
After importing the profile, establish a secure connection:
openvpn3 session-start --config /path/to/your-profile.ovpn
Openvpn3 Session Start
Step 8: Manage VPN Connections
OpenVPN 3 offers several commands to manage connections:
- List active sessions:
openvpn3 sessions-list

openvpn3 sessions-list
- Stop a session:
openvpn3 session-manage --disconnect --session-path /path/to/session
Step 9: Verify Connection
To confirm your connection is active, check your public IP address before and after starting the VPN. Use an online service like WhatIsMyIP or run:
curl ifconfig.meTroubleshooting
If you encounter issues, review OpenVPN logs for detailed information:
openvpn3 logsConclusion
Installing and managing OpenVPN 3 on Ubuntu 24.04 LTS is straightforward, providing secure and reliable VPN connectivity. By following this guide, you can safeguard your online activities and access private networks efficiently.
메타데이터
- post_id
- b734efcf4562
- slug
- how-to-install-openvpn-3-on-ubuntu-24-04-lts-b734efcf4562
- url
- https://medium.com/@vetechno/how-to-install-openvpn-3-on-ubuntu-24-04-lts-b734efcf4562
- canonical_url
- https://medium.com/@vetechno/how-to-install-openvpn-3-on-ubuntu-24-04-lts-b734efcf4562
- author_url
- https://medium.com/@vetechno
- status
- ok
- fetched_at
- 2026-08-02 18:46:37