I Tested 2:1 vs. 3:1 Resin Ratios — Here’s Which One Actually Wins for Art
By a resin artist who made a lot of sticky mistakes so you don’t have to
I Tested 2:1 vs. 3:1 Resin Ratios — Here’s Which One Actually Wins for Art
By a resin artist who made a lot of sticky mistakes so you don’t have to
If you’ve spent any time in the resin art world, you’ve probably stared at two bottles and asked yourself: does the ratio even matter?
Short answer — yes, it really does.
I’ve been working with epoxy resin for a few years now. I’ve poured on canvases, filled moulds, mixed in everything from opaque pigments to metallic pigment to chunky glitter. And somewhere along the way, I decided to stop guessing and actually test the two most common mixing ratios side by side: 2:1 and 3:1.
Here’s everything I found out.
First, What Do These Ratios Even Mean?
When you buy **epoxy resin**, it comes in two parts — resin and hardener. The ratio tells you how much of each to mix together.
- 2:1 means 2 parts resin to 1 part hardener
- 3:1 means 3 parts resin to 1 part hardener
Both work. But they don’t work the same way — and that difference matters a lot depending on what you’re making.
My Test Setup
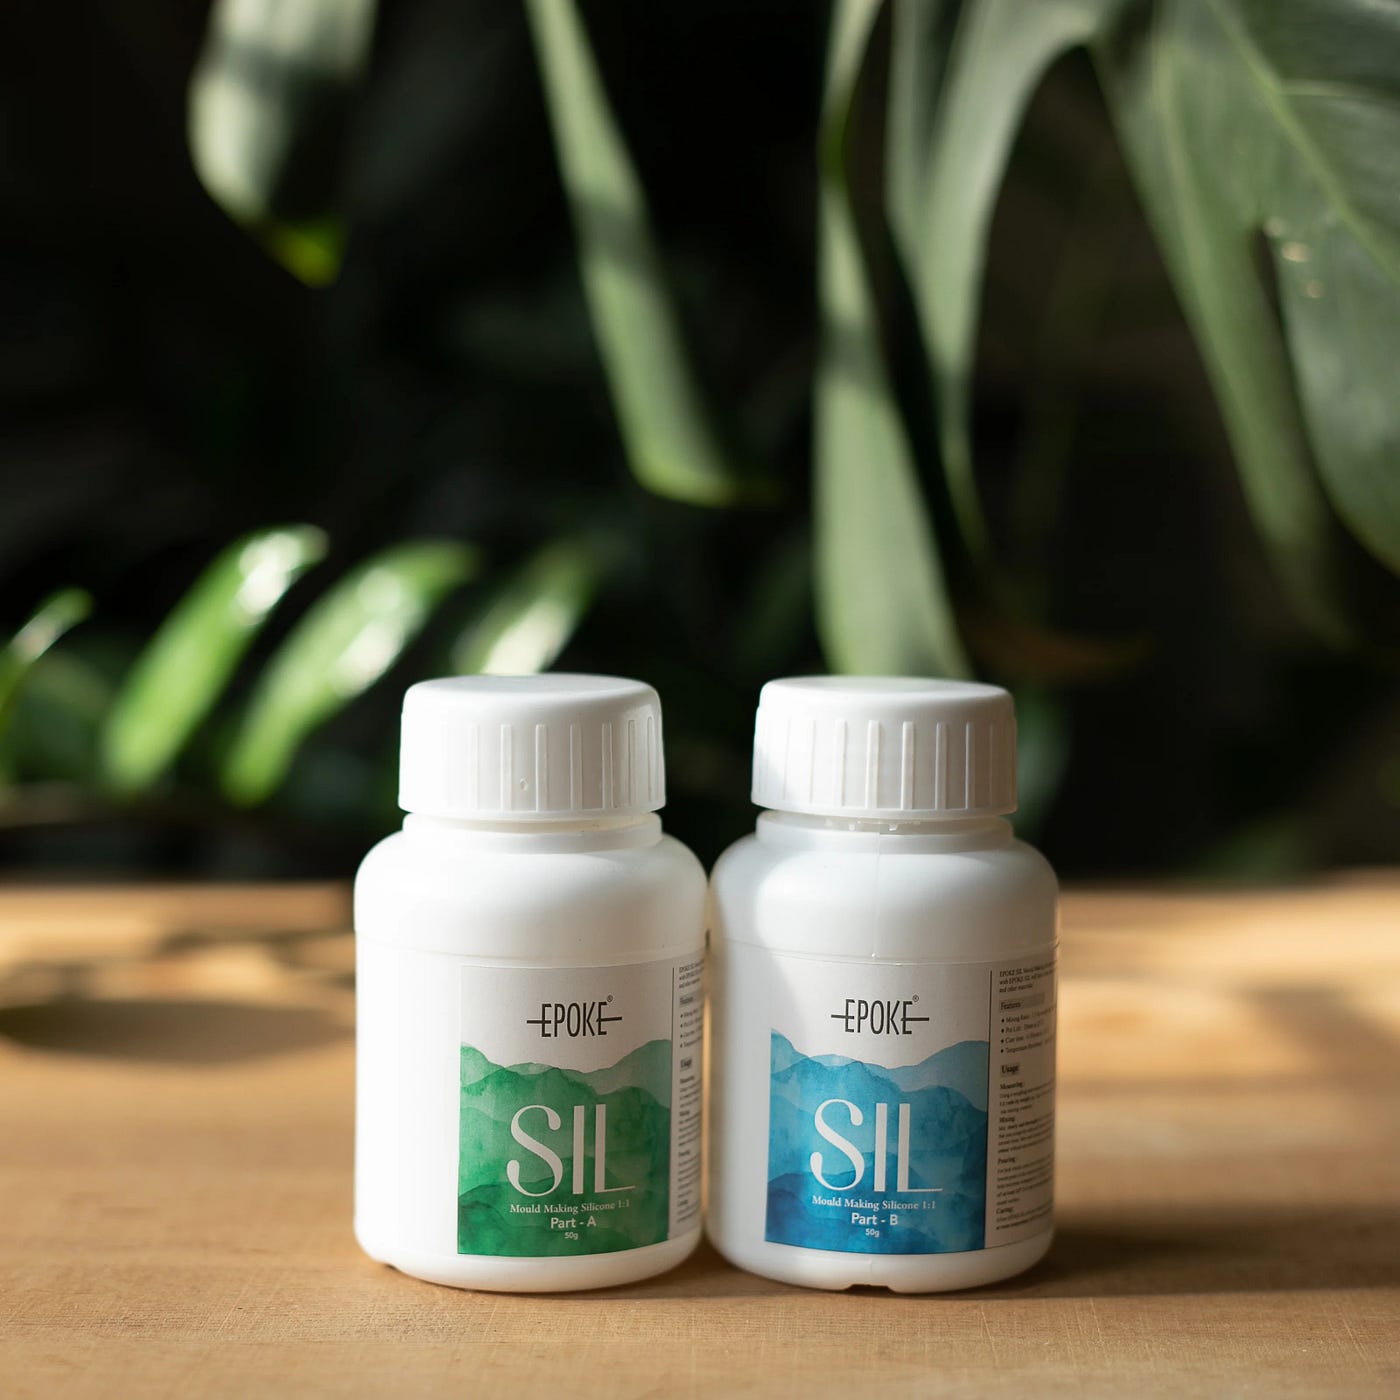
I used the same brand of art resin for both tests (from **Epokeart), same room temperature, same mixing time. I poured onto flat canvases and into a [mould making silicone kit](https://epokeart.com/collections/epoke-sil)** to compare how each ratio behaved in different shapes.
I added the same colorants to both — a mix of opaque pigments, metallic pigment, and some pigment powder in a deep blue and gold combo. On the final pour, I also dropped in some chunky glitter and crystals for resin to see how each formula held them in place.
How 2:1 Performed
The 2:1 mix was thicker right from the start. It took a bit more effort to stir, but it also gave me more working time before it started to set.
What I liked:
- Great for deep pours and thicker pieces
- Held glitter and crystals in place without them sinking too fast
- Gave a harder, more durable finish once fully cured
What I didn’t like:
- Bubbles were harder to pop — I had to use a heat gun twice
- It took longer to cure fully (around 72 hours in my conditions)
- Slightly more yellow tint compared to 3:1
If you’re making something thick or using a mould making silicone kit for 3D shapes, 2:1 is your friend. It’s the go-to ratio for many **epoxy resin manufacturer** because it cures hard and handles depth well.
How 3:1 Performed
The 3:1 mix was noticeably thinner and easier to pour. It self-levelled faster and released bubbles on its own without much help.
What I liked:
- Clearer, more water-like finish
- Better for thin coatings and top layers
- Mixed faster and more evenly with pigments — especially metallic pigment and pigment powder
- Cured in about 48 hours
What I didn’t like:
- Crystals for resin and **chunky glitter** sank faster — you have to work quickly
- Not ideal for pours thicker than 6mm at a time
- Slightly less rigid final finish
For flat art, resin paintings, and anything where clarity matters, 3:1 is hard to beat.
So Which One Is Actually Better?
Honestly? Neither one is better — they’re just built for different things.
The 2:1 ratio is great for deep moulds, thick pours, and anything that needs a hard, durable finish. It holds glitter and crystals well, but takes longer to cure and needs more help with bubbles. The 3:1 ratio is better for flat art, top coats, and anything where clarity is the priority. It self-levels beautifully, mixes smoothly with pigments, and cures faster — but your glitter and crystals will sink quicker, so you need to work fast.
If I had to pick just one for a beginner, I’d say start with 3:1 for flat resin art. It’s more forgiving, clearer, and easier to mix with colorants like **opaque pigments and pigment powder**.
Once you’re comfortable, move to 2:1 for moulds, coasters, and deeper projects.
A Few Tips That Apply to Both Ratios
- Always measure by weight, not volume. A kitchen scale makes a real difference in getting the ratio right.
- Mix slowly for at least 3–4 minutes. Rushing this step causes sticky spots.
- Add your colorants after mixing, not before.
- Use a silicone mould — demoulding is so much easier, and you get a smooth finish every time.
- Work in a warm room. Resin hates cold — it gets cloudy and takes forever to cure.
Final Thoughts
The ratio question used to stress me out. Now it’s just another tool in how I plan a pour.
If you’re shopping for supplies, look for an epoxy resin manufacturer that clearly labels the ratio and gives you a data sheet. Good **art resin** should be non-yellowing, low in fumes, and mix clean — whether it’s 2:1 or 3:1.
I’ve been using products from **Epokeart and they check all those boxes. Their resin works well with everything from basic opaque pigments to dramatic [metallic pigment](https://epokeart.com/collections/metallic-pigments) finishes, and it plays nicely with chunky glitter and [crystals for resin](https://epokeart.com/collections/stones-and-crystals)** without going cloudy.
Try both ratios at least once. Pour something small, compare the results, and let your hands figure out which one feels right for the work you want to make.
That’s the only test that really counts.
메타데이터
- post_id
- b7a04bbb5b77
- slug
- i-tested-2-1-vs-3-1-resin-ratios-heres-which-one-actually-wins-for-art-b7a04bbb5b77
- url
- https://medium.com/@epoke6662/i-tested-2-1-vs-3-1-resin-ratios-heres-which-one-actually-wins-for-art-b7a04bbb5b77
- canonical_url
- https://medium.com/@epoke6662/i-tested-2-1-vs-3-1-resin-ratios-heres-which-one-actually-wins-for-art-b7a04bbb5b77
- author_url
- https://medium.com/@epoke6662
- status
- ok
- fetched_at
- 2026-06-23 17:05:31