FNC HAVEN
100% WINRATE
FNC HAVEN
100% WINRATE
FNC Haven (100% winrate)
OVERVIEW
This paper dives deep into a comprehensive analysis of FNC’s performance on the Haven map, where they achieved a high standard with a perfect 7-win record with a new composition.
Patches 8.11–9.02
Matches: vs VIT, vs KC, vs TL, vs FUT, vs VIT, vs KRU, vs G2
VCT 2024 EMEA STAGE 2: VLR, Liquipedia
CHAMPIONS 2024: VLR, Liquipedia
ROSTER / COMPOSITION
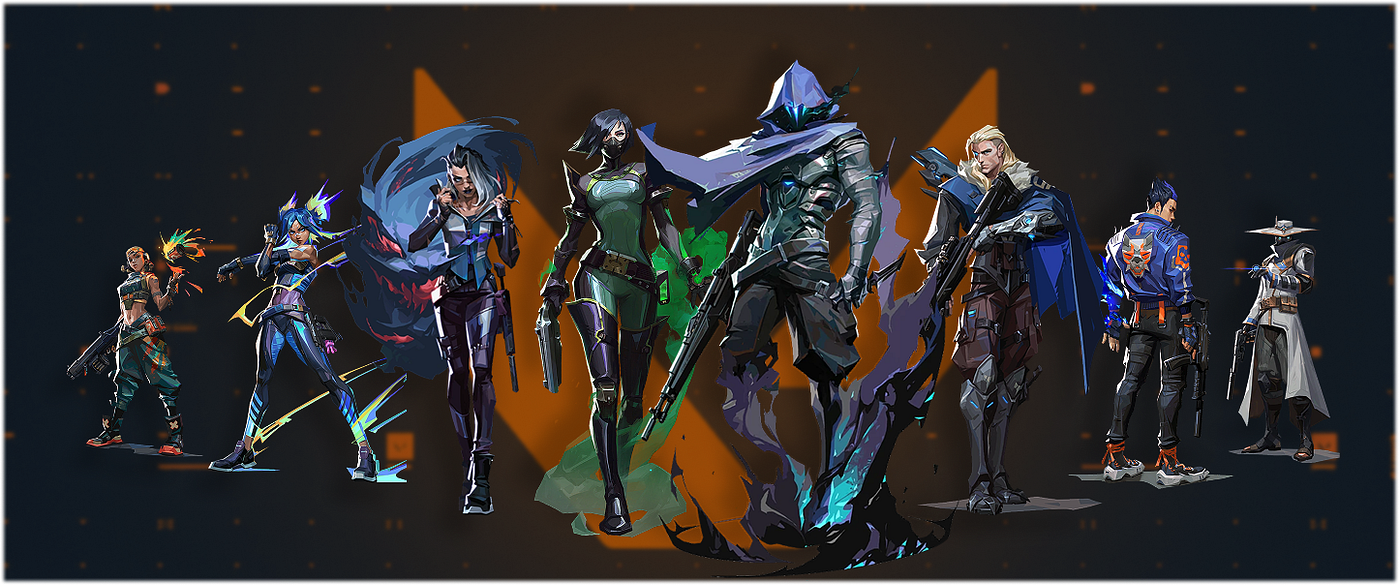
The selected composition is quite unusual and significantly differs from the default ones (see Figure 1). If Yoru could be seen in compositions previously, then the presence of Iso is on the verge of trolling. It is unlikely that anyone could have imagined that FNC, playing such a composition, would be unstoppable.

Figure 1. Haven composition
At the same time, despite the FNC results, the composition did not seek success from other teams and could not shake the positions of default and already established compositions over time, remaining an exotic option. However, it makes sense to analyze this composition in more detail in order to understand how it functions and what its effectiveness is.
MAP STATS
During the summer of 2024, the team successfully played the map 7 times, demonstrating powerful and at the same time consistent performance on both the attacking and defending sides, as can be seen in Figure 2.


Figure 2. Round analysis: a) Round winrate; b) Pistol round winrate
WIN CONDITIONS
The team demonstrates staggering performance indicators (see Figure 3) when playing post-plant scenarios, achieving an impressive winrate of 81%.


Figure 3. Win conditions (Post-plant): a) Absolute winrate; b) Relative winrate
As the indicators in Figure 4 show, when playing on retakes, the team has an average performance, that is, there is a room for improvement.


Figure 4. Win conditions (Retake): a) Absolute winrate; b) Relative winrate
But it is also worth considering that A main take was employed as the primary round (that is, when 3 players started at point A), which means that there was no one available to retake the site if the attackers successfully planted the spike on A.
ECONOMY ANALYSIS
In this section, the focus will be shifted to the economic component of the team. The $ sign shows the relationships between different types of buy: full buy ($$$), bonus/force ($$), and eco ($/0). Simultaneously, the Δ$ sign illustrates the team’s performance in each round in terms of its buying power relative to that of its opponent: with advantage (+), parity (0), and disadvantage (-).
From an economic perspective, the team also demonstrates exceptional results. Furthermore, performance in the force and bonus rounds can be their ace up in the sleeve (see Figure 5a). Additionally, it is important to consider the fact that their conversion rate during economic disadvantage is quite significant (see Figure 5b).


Figure 5. Economy analysis: a) $ winrate; b) Δ$ winrate
XvY ANALYSIS
This section provides information on how the team handles situations depending on the varying number of live player counts on both sides.
As illustrated in Figure 6, the team has excellent XvY conversion rates over the entire range of parameters. However, its values for attacking side are higher than those for defending side.

Figure 6. XvY analysis (ΔXvY)
A more detailed distribution of XvY values is shown in Figure 7.


Figure 7. ΔXvY analysis: a) Δ+1; b) Δ0; c) Δ-1
PLAYER ANALYSIS
Figure 8 presents the overall individual performance metrics of the players, such as K/D and E% (shows the percentage of wins in the first duel).
FNC players perform great in terms of their individuals: «Alfajer» demonstrates incredibly high performance; «Chronicle» and «hiro» are also performing excellently, trailing slightly behind; while «Derke» is characterized by some instability, his performance is still above average; «Boaster» is the worst player in the team, but at the same time his performance is average, which is very good for IGL.


Figure 8. Player analysis: OVERALL, ATK, DEF
ATTACK
As Figure 9 illustrates, the team starts the round very actively and follows the 3-phase gameplay (phase zero is early aggression), with the primary objective being to achieve the A main area control. In the middle of the round, the space on mid is actively used, employing the strategy outlined in the rotations tab. However, C long is rarely used, mainly only for direct C exec, which is performed instantly at the beginning of the round.

Figure 9. Attack speed
The team can now engage in a new phase, thanks to the presence of Iso and his protective shield. This phase is known as phase 0, during which the team relies only on the individual capabilities of the players, and particularly on Iso, who has been designed to engage in battles and emerge victorious.
PISTOL ROUND
In the pistol round, the team prefers to employ either A main take (a simplified version without Sova’s reveal and Yoru’s teleport) or mid round (as shown in Figure 10).

Figure 10. Mid round
However, they can also perform a scripted round on mid (see Figure 11).

Figure 11. Pistol round script
KEY ROUNDS
In the vast majority of eco and anti-eco rounds, A main take is performed.
For eco rounds it is also possible that they can employ hold or play towards mid.
DEFAULT ROUNDS
- A main take
The round is designed to swiftly establish full dominance over the A main area, with the possibility of advancing to the A site through long and short paths.
The round includes 3 different implementation variations (see Figure 12), but their fundamental nature is outlined above.


Figure 12. A main take variations
In continuation of the round, they take the following positions (see Figure 13) and hold them (moreover, FNC are positioned so that if the defenders attempt to retake the area, they may find themselves in a vulnerable position) for approximately 20 seconds. This is exactly the period of time during which the abilities required to continue the round are recharged (Omen’s smoke, Sova’s reveal and Yoru’s teleport). Additionally, it is important to note that during the same period of time, the team could potentially move to another position. This knowledge puts extra pressure on the opposing team and motivates them to take action, that is, opponents find themselves in a difficult situation when they have to either act on a certain part of the map to exclude some possibilities of attackers, or take a gamble.

Figure 13. Hold after A main take
It’s also worth noting that FNC can perform a combo (Omen’s blind and Yoru’s teleport, as shown in Figure 14) during A main take to punish the enemy player in under.

Figure 14. Yoru + Omen combo during A main take
Fake A main take:
The purpose of this maneuver is to demonstrate the A main take pattern and generate some noise in that direction to deceive opponents, while performing another round. An example of the round is shown in Figure 15.

Figure 15. Fake A main take
A typical continuation of this round is to advance towards C.
It is important to emphasize that the distinctive feature of this round compared to the standard one is the use of Sova’s reveal in the absence of the attacking team progress towards A.
- Map hold
The objective of the round is to maintain full control over the map and anticipate the opponents’ actions. The round can be performed in various ways (see Figure 16), yet the fundamental structure remains consistent, with no active actions on the map.


Figure 16. Map hold variations
During map hold, the team has the opportunity to poke in the direction of A and garage (see Figure 17).


Figure 17. Pokes during map hold: a) towards A; b) towards garage
A poke towards A differs from other rounds towards A in that there is no Sova’s reveal, while a poke towards garage is determined by the presence of Omen’s smoke in nest (Sova’s reveal is also frequently employed, but usually not immediately).
A ROUNDS
- A exec
Figure 18 illustrates the general process of entering the site.

Figure 18. A exec
There is a possibility that Cypher can lurk on mid instead of joining the primary group, in which case Sova can play from under, while the overall process of execution remains the same.
B ROUNDS
- B exec
The general process of execution can be observed in Figure 19.

Figure 19. B exec
It is worth paying attention that Sova always plays behind the team and covers its back.
C ROUNDS
- C exec
Figure 20 provides an example of C exec.

Figure 20. C exec
In this case, Cypher takes upon himself the responsibility of covering the team’s back.
- C split
For the successful execution of the round, the attackers need to advance from the long and garage areas, with the second being much more important.
The variations of this round differ slightly from each other and are performed in different way (see Figure 21a — b). However, it is important to note the round, the pattern of which may be the presence of the Omen’s ult (see Figure 21c).


Figure 21. C split: a) garage; b) typical; c) Omen’s ult
OTHER INFO
- Yoru ult
Yoru’s ult is a bonus for the execution scripts and has a minimal impact on the general process of those (see Figure 22).
In case Yoru’s ult is charged, the team adopts a straightforward approach to the round. Usually, A exec is performed after some hold towards A (after A main take), while B and C execs can be performed instant or almost instant.


Figure 22. Yoru ult: a) A exec; b) B exec
- Rotations
During the mid-round phase, the team frequently employs a series of consecutive tactical maneuvers on mid, forcing opponents to swiftly rotate from one position to another, thereby disrupting their ability to maintain control over all areas.
The main positions of pressure distribution are the area near B and garage. These positions are pressured alternately, which means these moves are tactical fakes, since taking the space near B is a pattern of B exec, and taking the space in garage is a signal of a potential continuation with C split. As a result, defenders attempt to anticipate the trajectory of the attack and perform rotations, but in reality, they merely provide the attacker with additional opportunities to continue the round. Thus, the FNC attack resembles a river — it follows the path of least resistance, and if it encounters an obstacle, it changes its direction.
The illustrations of these rotations are presented in Figure 23.


Figure 23. Examples of rotations
- Cypher setup
Figure 24 illustrates the basic Cypher’s setup.

Figure 24. Cypher’s setup (ATK)
DEFENCE
The defense strategy revolves around seizing control of the A main area, specifically, they employ a one-round approach — A main take — and continuously apply various modifications to it, mixing the round with Yoru’s tactical possibilities.
When playinf for the defenders, the agents’ areas of responsibility are clearly defined (see Figure 25): Cypher plays on C and in garage; Omen plays on B and can shift closer to C; Sova takes A long; Iso is located in the direction of A; and Yoru’s position is slightly more dynamic, with the possibility of using tactical moves (particularly on mid).

Figure 25. Early stage (0–10s) defenders’ arrangements
Playing as defenders, the team perfectly understands Iso’s attacking potential and actively exploits his strengths, getting into fights while avoiding retakes. To achieve success with this approach, a high level of individual proficiency and consistency are required, as a single mistake can have a significant impact on the outcome.
Consequently, this composition and the approach it employs cannot be called revolutionary. Rather, it is a novel perspective on the game, which will undoubtedly inspire the creation of innovative concepts in the future.
PISTOL ROUND
In the pistol round, the team can employ any round from their round-pool or perform an anti-strat.
DEFAULT ROUNDS
- A main take
The round is designed to capture and establish control over the A main area, thereby forcing opponents to abandon their ambitions for that location and redirect their efforts towards alternative positions.
FNC offers two versions for performing the round:
Version 1
In this version, Yoru plays under and Sova plays long, while Iso has 3 adaptations for the round: he can start the round in A link, under, or long (see Figure 26).
Moreover, the configuration of the round is independent of the Iso’s position.


Figure 26. A main take (version 1) examples
Version 2
In this version, both Yoru and Sova play long, while Iso has only 2 adaptations for the round already: he can start the round in A link, or under (see Figure 27).
In this version, it is important to consider that Omen lands his smoke either in window or at the entrance of A main, depending on the Iso’s position.


Figure 27. A main take (version 2) examples
At the same time, Yoru’s teleport can be deployed by the player’s own discretion, either on A site or towards C.
OTHER ROUNDS
- Mid play
The objective of the round is to capture mid control while demonstrating the A main take pattern (see Figure 28). If the attackers play towards mid, then the defenders are prepared to engage them in battle (Cypher is positioned in garage for this purpose). And if the attackers play towards A, then they risk ending up in a sandwich as soon as the mid players start flanking them from behind.
It is important to note that the round can only be executed after the defending team has repeatedly demonstrated its A main take to the attacking team and has firmly established control over key positions around A.

Figure 28. Mid play
- Cypher A
In some cases, Cypher can play on A, but at the same time a variation of A main take is still performed, that is, in fact, Cypher simply swaps with Iso.
An example of this round is illustrated in Figure 29.

Figure 29. Cypher A
- Yoru plays
Simultaneously, during A main take, Yoru has tactical variations on B and C (in this case, Yoru swaps with Iso), as illustrated in Figures 30–31.


Figure 30. Yoru plays (B)


Figure 31. Yoru plays (C)
In each scenario, there are several options available: a simple hold, a moderate push with taking cubby, or a more forceful deep push.
Moreover, during the employment of Yoru’s tactical play to take mid deeper, the arrangement becomes very similar to mid play.
- Sova ult
The round is executed in a similar way to A main take (see Figure 32), and is characterized by the presence of Sova’s ult.

Figure 32. Sova ult
- Iso ults
When Iso’s ult is charged, one of the two arrangements shown in Figure 33 is employed.
Iso either plays in A link and is ready to pick up the opponent, if the attackers actively play towards A, thus allowing his teammates to play more aggressively, or near garage, trying to perform a trap on Omen’s contact (the contact can also be audible).


Figure 33. Iso ults
OTHER INFO
- Reactions
This section illustrates the reactions of defenders to various events. Figure 34 shows the reactions if attackers bruteforce the site, while Figure 35 demonstrates the reactions if they do not perform any activity on the map.
Among the significant aspects, it is worth highlighting that the team aims to prevent a retake and therefore performs rapid rotations to support their teammates in maintaining control of the site.


Figure 34. Reaction examples: a) A exec; b) B exec; c) C exec


Figure 35. No noise reaction examples
Special attention should be paid to the fact that the defenders are trying to take a deep and unexpected position in cubby near A main, especially if the attackers are not actively playing in the A direction.
- Cypher setups
The setup configuration illustrated in figure 36 is typically employed.

Figure 36. Cypher’s default setup (DEF)
However, the following examples of tripwires can also be employed, as shown in Figure 37.
It is worth noting that Cypher never applies his abilities on B, focusing mainly on C and occasionally on garage.

Figure 37. Additional tripwires options
If Cypher plays on A, then the following setup is used (see Figure 38).

Figure 38. Cypher’s A setup (DEF)
메타데이터
- post_id
- b85cac93d76f
- slug
- fnc-haven-100winrate-b85cac93d76f
- url
- https://medium.com/@N1kL/fnc-haven-100winrate-b85cac93d76f
- canonical_url
- https://medium.com/@N1kL/fnc-haven-100winrate-b85cac93d76f
- author_url
- https://medium.com/@N1kL
- status
- ok
- fetched_at
- 2026-07-21 18:48:36