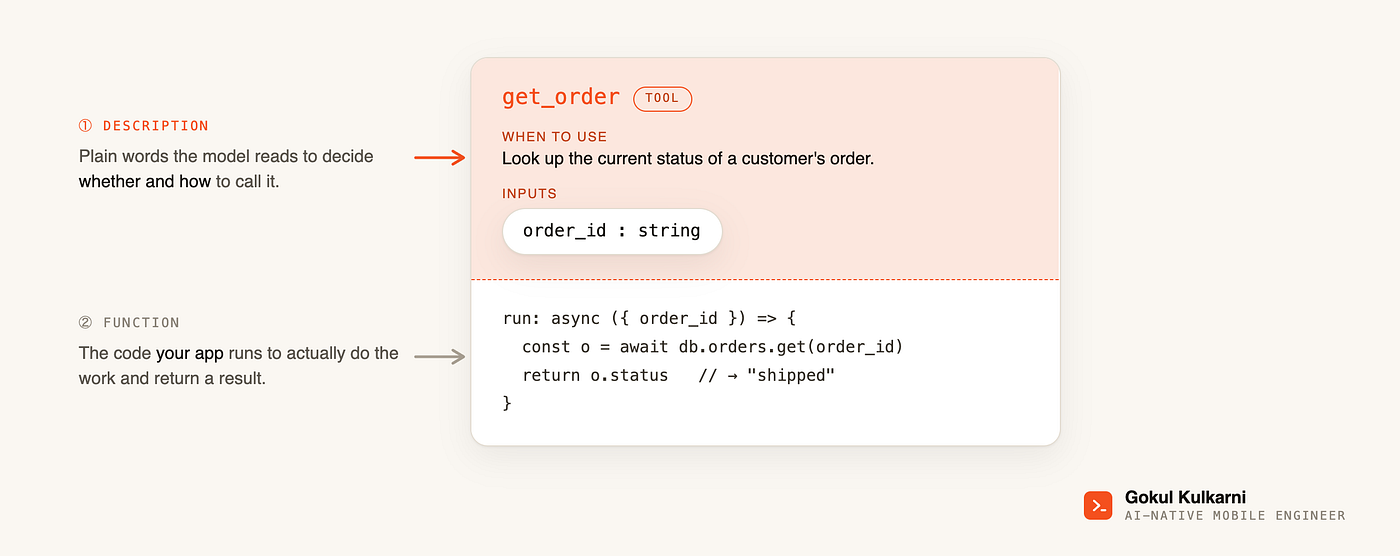
Your AI’s Best Plan Disappears When You Close the Tab
Your AI’s Best Plan Disappears When You Close the Tab
GitHub’s Spec Kit takes the spec out of the chat window and puts it in your repo — versioned, reviewable, and shared by every agent. Here’s the full workflow.
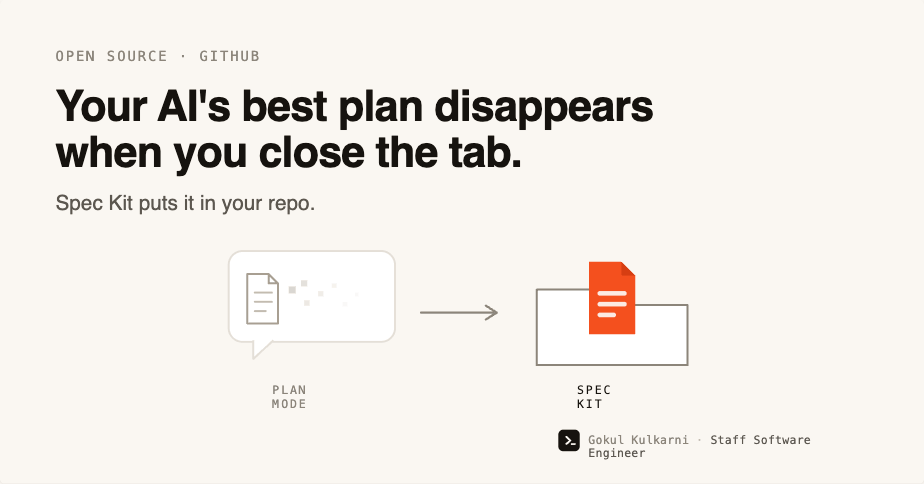
Last week we discussed Spec-Driven Development — the idea that you should write a clear spec first and let your AI agent build from it, instead of nudging a chat box until the code looks right.
We also pointed at the easiest on-ramp: plan mode. You ask the agent to write a plan, it shows you what it intends to change, you approve, it builds. Good habit. But it has one quiet flaw.
The plan is disposable. It lives inside that one chat session. Approve it, run it, close the window — and it’s gone. No version history. Nothing your teammate can read. Nothing the next agent can pick up. Great for a single change. Useless for code that has to live for years.
That gap is exactly what GitHub’s Spec Kit fills. This is the deep dive we promised.
What Spec Kit actually is
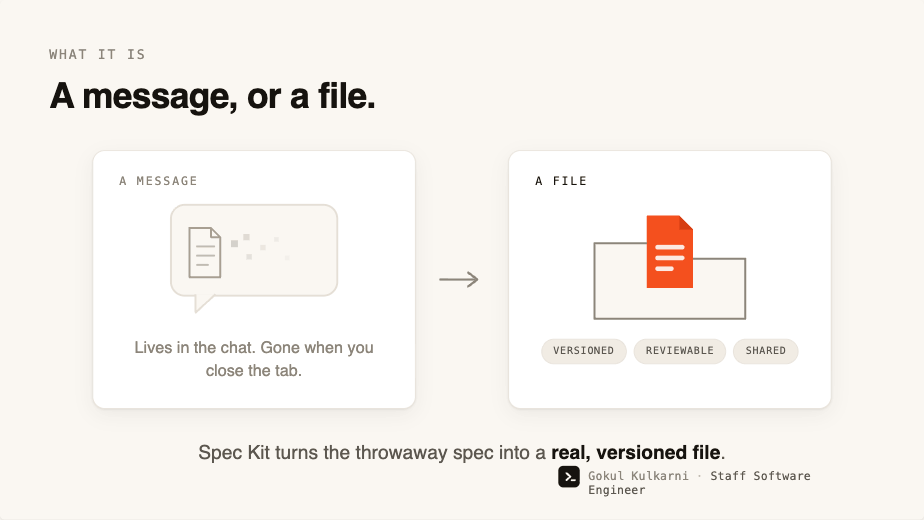
Spec Kit is a free, open-source toolkit from GitHub. In one line: it turns the throwaway spec into a real, versioned file inside your repository — and gives your AI agent a set of structured commands to write, refine, and execute against it.
You don’t learn a new editor or a new language. Spec Kit installs into a project, then adds a handful of slash commands to the AI coding agent you already use. It works with 30+ agents — Claude Code, GitHub Copilot, Gemini CLI, Cursor, and more.
The mental shift is small but important:
With plan mode, the spec is a message. With Spec Kit, the spec is a file — one that gets committed, reviewed in a pull request, and evolved like any other part of your codebase.
That’s the whole point. The thing you agreed on stops vanishing.
Setting it up (about two minutes)
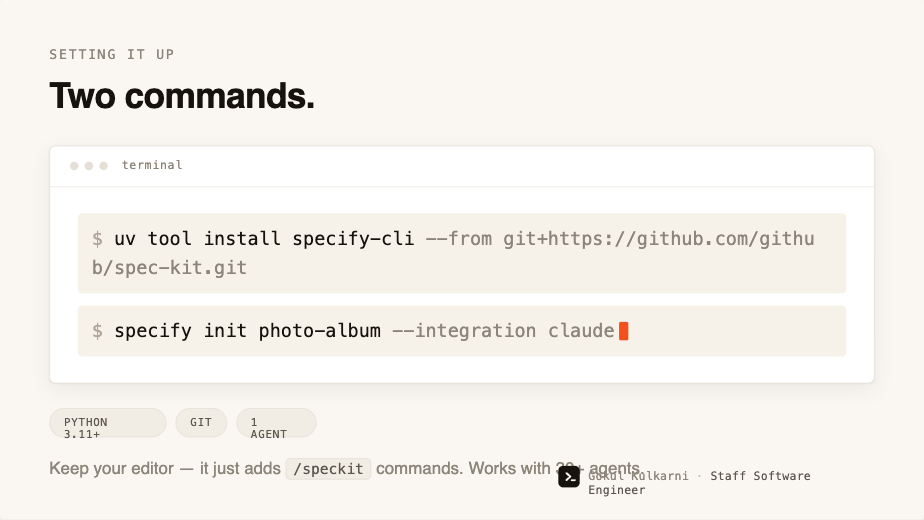
Spec Kit ships as a small command-line tool called specify. You install it once, then bootstrap any project with it.
1. Install the tool. It runs on Python and is installed with uv (a fast Python package manager):
uv tool install specify-cli --from git+https://github.com/github/spec-kit.git@vX.Y.Z(Replace vX.Y.Z with the latest release tag. Pinning a version keeps your setup reproducible.)
2. Initialize a project. Tell it which agent you use:
specify init my-project --integration claude
cd my-project
This drops a .specify/ folder into your project — templates, helper scripts, and a place to keep your project’s rules. From here on, everything happens through slash commands inside your AI agent.
Prerequisites are modest: Python 3.11+, Git, and one supported AI agent. That’s it.
The workflow, command by command
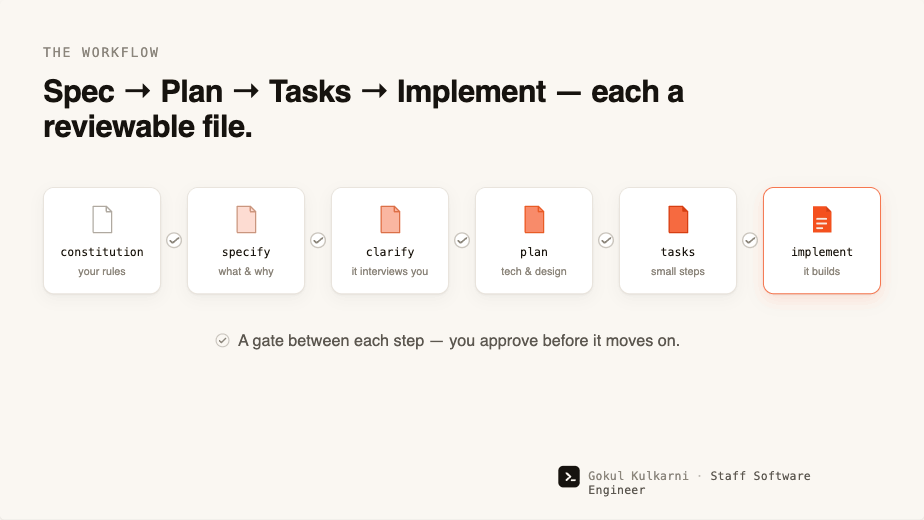
Spec Kit’s core loop is Constitution → Specify → Clarify → Plan → Tasks → Implement, with two optional quality checks along the way. Each command produces a real file you can read and edit. Here’s what each one does, in plain terms.
1. /speckit.constitution — write the house rules, once
Before any feature, you set your project’s non-negotiables: code quality bar, testing standards, performance expectations, UX consistency.
/speckit.constitution Create principles focused on code quality, testing
standards, UX consistency, and performance requirements.
This writes a constitution.md file. Every later step is checked against it — so the agent stops quietly drifting from your standards. Think of it as the rulebook the rest of the work has to obey.
2. /speckit.specify — say what and why, not how
Describe the feature in plain language. No tech stack yet — just the goal and the user experience.
/speckit.specify Build a photo-album app. Albums are grouped by date,
re-orderable by drag-and-drop. Inside an album, photos show as tiles.
The agent drafts a full specification — user stories and requirements — and saves it to a new, dedicated branch and folder (e.g. specs/001-photo-albums/spec.md). This is the document that replaces the chat message. It’s yours to refine.
3. /speckit.clarify — let the agent interview you
This is the step most people skip and later regret. The agent asks you targeted questions about everything you left vague, and records your answers right in the spec.
/speckit.clarifyCatching a missing rule here — as a sentence — is the cheapest bug fix you’ll ever make. Run it before planning.
4. /speckit.plan — now bring the tech stack
Only now do you talk architecture: language, framework, database, constraints.
/speckit.plan Use React Native with a local SQLite store. No cloud uploads.The agent produces a technical blueprint — and usually supporting files like data-model.md, research.md, and API contracts. This is where you confirm it’s building the thing the right way, before any code exists.
5. /speckit.tasks — break it into reviewable chunks
/speckit.tasksThe plan becomes a tasks.md checklist: small, ordered steps, each with the exact files it touches. Tasks that can run in parallel are flagged, and dependencies are respected (models before services, services before screens). You can read the entire build as a to-do list before a line is written.
6. /speckit.implement — let it build
/speckit.implementThe agent works through the task list in order, checking off each step. Because the spec, plan, and tasks are all written down, it has nothing left to guess — and you can review progress against a plan you already approved.
The two optional power-ups
**/speckit.checklist* — generates a quality checklist for your spec. GitHub calls it “unit tests for English”*: it checks your requirements for gaps, vagueness, and contradictions before you build.**/speckit.analyze** — run after tasks, before implement. It cross-checks the spec, plan, and tasks against each other and flags anything inconsistent or uncovered.
There’s also /speckit.taskstoissues, which turns your task list into GitHub issues — handy for team tracking.
What you’re left with — and why it matters
After a feature, your repo contains real, committed artifacts:
.specify/memory/constitution.md     ← your project's rules
specs/001-photo-albums/
  ├── spec.md                       ← what & why
  ├── plan.md                       ← how
  └── tasks.md                      ← the steps
This is the difference from plan mode, made concrete. The spec is versioned (it changes through commits and pull requests), shared (your teammate reads the same source of truth you do), and durable (six months later, the next agent — or the next engineer — picks up exactly where you left off).
You’re no longer maintaining software by editing code and hoping the docs keep up. You evolve the spec, and the code follows.
Plan mode vs Spec Kit — pick the right weight
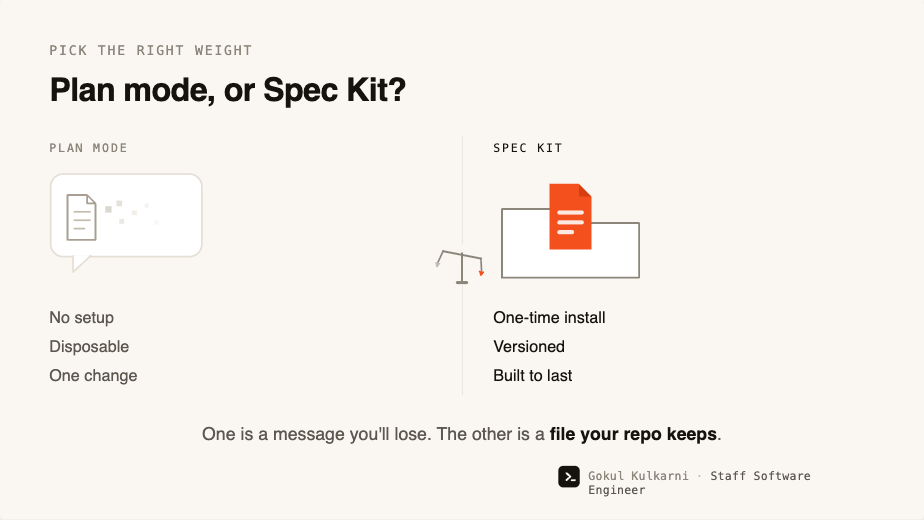
These two aren’t rivals so much as different settings on the same dial.
- Plan mode is SDD-lite — zero setup, perfect for a single change. But the spec is disposable: it lives in the session and vanishes when you close it.
- Spec Kit is the structured, gated version — a constitution, explicit gates, and a file for every phase. More ceremony up front, but the spec becomes a permanent, versioned part of your repo.
Plan modeSpec KitSetupNoneOne-time installThe specA message in the chatA file in your repoSurvives the session?NoYes — committed & versionedShareable with the team?NoYes, via pull requestsBest forA single, quick changeFeatures and systems that must last
The rule of thumb: reach for plan mode when you’re making one change you’ll never revisit. Reach for Spec Kit when the code — and the reasoning behind it — has to live.
Make it your own: Extensions and Presets
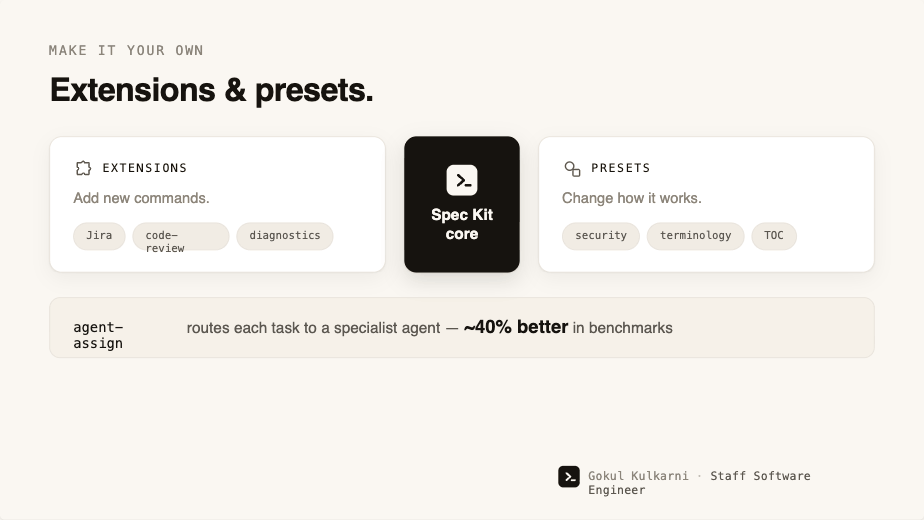
Out of the box, Spec Kit gives you the core loop. But two mechanisms let you reshape it for your team — and this is where it gets genuinely powerful.
Extensions add new capabilities. They introduce brand-new commands and phases that don’t ship with the core — think Jira integration, a post-implementation code-review step, or project health diagnostics. You browse and install them from the command line:
specify extension search
specify extension add <extension-name>
Presets change how the existing workflow behaves — without adding new capabilities. They override the templates, commands, and terminology Spec Kit already uses. Real examples from the community catalog: a Security Governance preset that bakes secure-coding and compliance checks into every spec, a Jira preset that makes the “tasks to issues” step create Jira tickets instead of GitHub ones, a Table of Contents preset that adds navigation to long specs — even a Pirate Speak preset that renames specs to “Voyage Manifests” (a fun demo of how deep the customization goes).
specify preset search
specify preset add <preset-name>
The simple way to remember it: extensions teach Spec Kit new tricks; presets change how it does the tricks it already knows.
A concrete extension worth knowing: agent-assign
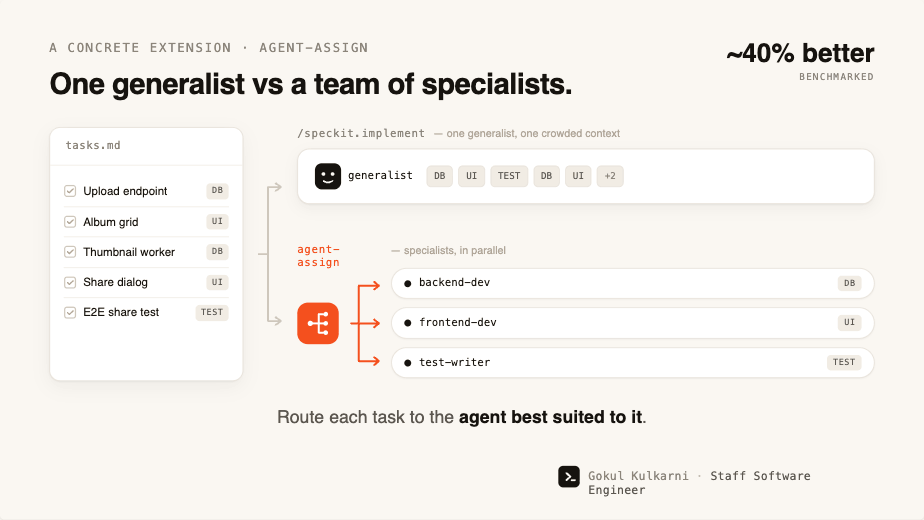
Here’s the limitation it solves. By default, /speckit.implement runs every task in one flat context — the same generalist AI handles your database models, your UI, and your tests. As a project grows, that one-size-fits-all approach leaves quality on the table.
The community **spec-kit-agent-assign** extension fixes this. It scans the specialized agents you’ve defined (a backend specialist, a frontend specialist, a test writer) and routes each task to the best-fit one, then runs each in its own focused context. It adds three commands that slot in after /speckit.tasks:
/speckit.agent-assign.assign     → matches each task to the right agent
/speckit.agent-assign.validate   → checks every task has a valid agent
/speckit.agent-assign.execute    → runs each task with its assigned specialist (replaces /speckit.implement)
The author benchmarked it by building the same app twice — once with standard Spec Kit, once with agent-assign — and had three frontier models grade both. The specialized version scored roughly 40% higher overall. The intuition is simple: a focused agent with relevant context does better work than a generalist juggling everything at once.
(Note: extensions and presets are community-built and not audited by GitHub — review the source before installing. agent-assign currently targets Claude Code agent definitions and needs Spec Kit 0.3.0+.)
When to use it (and when not to)
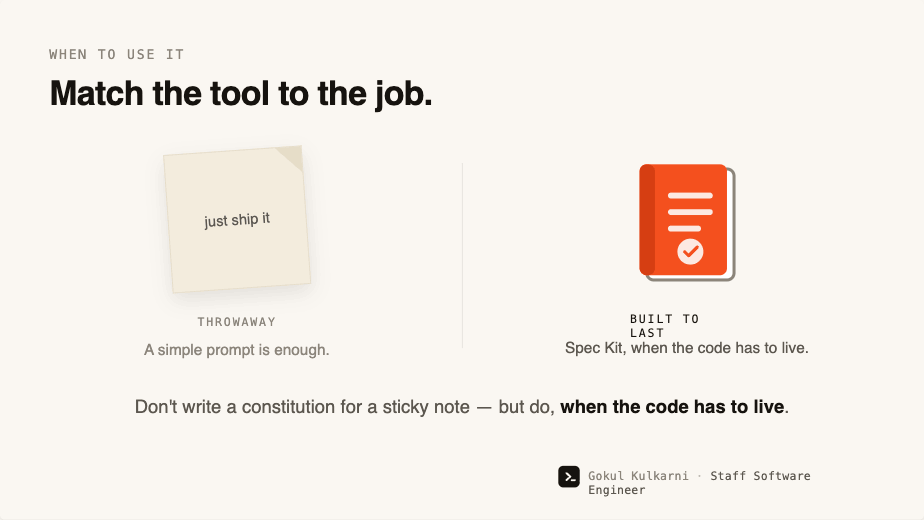
Use Spec Kit when the code has to live: real features, team projects, anything you’ll maintain or hand off. The versioned spec pays for itself the first time someone asks “why does it do that?” and the answer is a file, not a memory.
Skip it for throwaways. A one-off script doesn’t need a constitution. Plan mode, or just a good prompt, is plenty.
The old skill was writing code fast. The new one is being precise about what you want — and then keeping that precision somewhere it won’t disappear. Spec Kit is where you keep it.
Notes: command names use the current `/speckit.prefix (mid-2026); some agents in “skills mode” use aspeckit-` form instead. Exact generated files vary slightly by agent and version. Always pin a release tag when installing. Verify against the official docs at github.github.io/spec-kit, as the toolkit is evolving quickly.
메타데이터
- post_id
- b9c5ca923051
- slug
- your-ais-best-plan-disappears-when-you-close-the-tab-b9c5ca923051
- url
- https://medium.com/@gokulkulkarni/your-ais-best-plan-disappears-when-you-close-the-tab-b9c5ca923051
- canonical_url
- https://medium.com/@gokulkulkarni/your-ais-best-plan-disappears-when-you-close-the-tab-b9c5ca923051
- author_url
- https://medium.com/@gokulkulkarni
- status
- ok
- fetched_at
- 2026-07-17 06:31:53