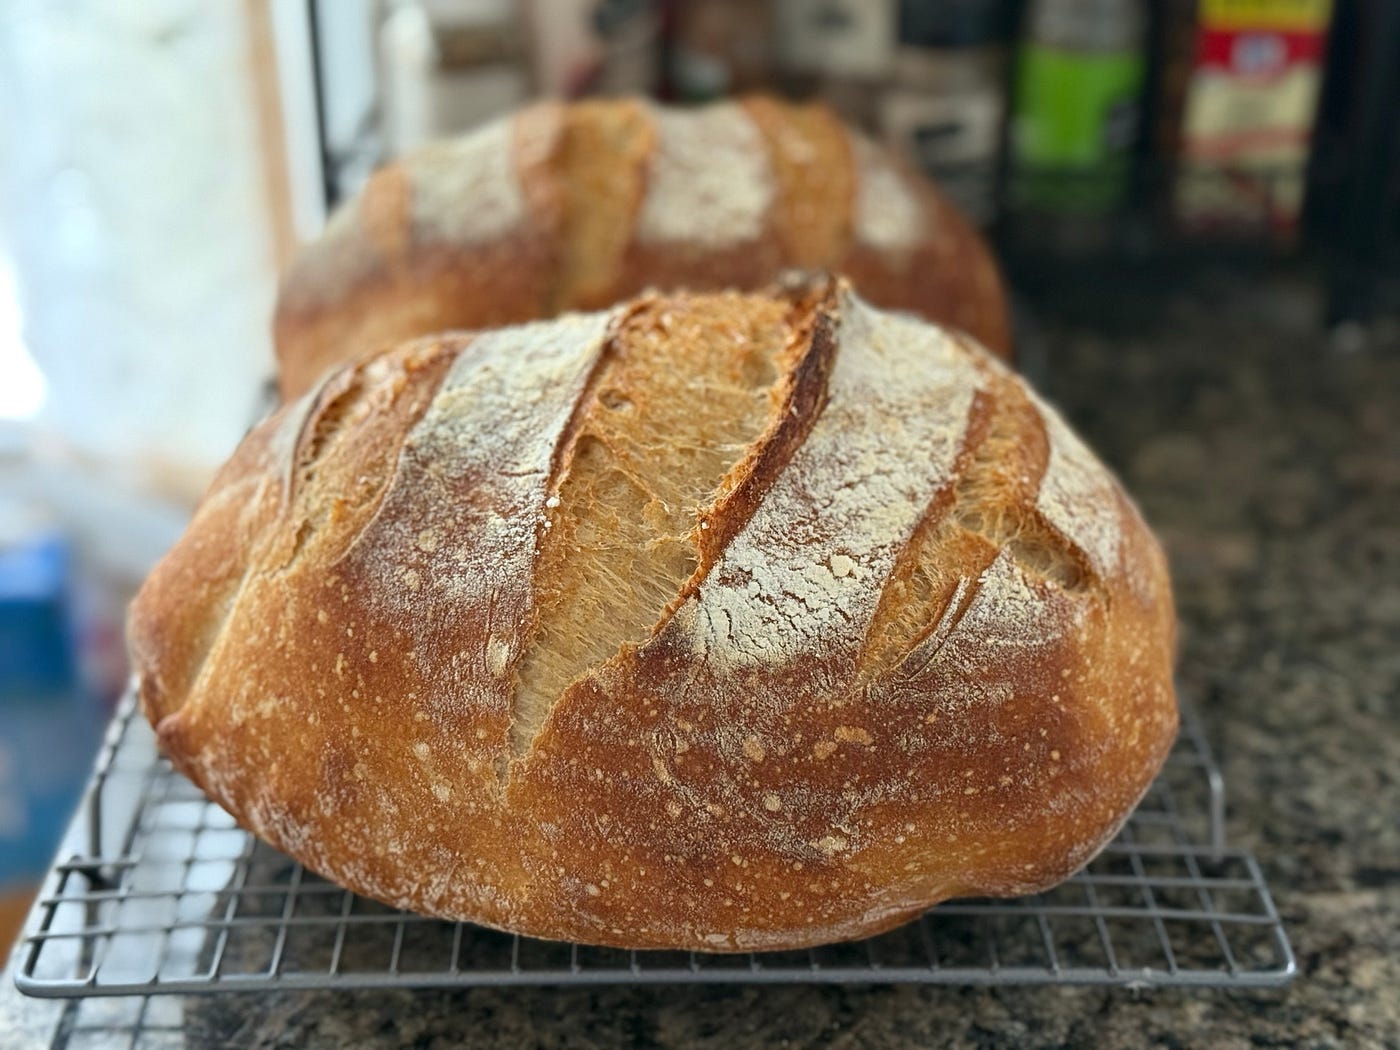
Santa Cruz Mountains Sourdough
I have always loved learning how to make things. The empowering feeling that comes from “how-to” knowledge never gets stale (pun intended)…
Santa Cruz Mountains Sourdough
I have always loved learning how to make things. The empowering feeling that comes from “how-to” knowledge never gets stale (pun intended). Growing up, I watched my dad spend his weekends studying home-improvement and carpentry books, then turning out beautiful finished projects. I’m sure I got my love of making things from him.
My friend Justin, also a maker, lives with his family in the Santa Cruz mountains. During a visit to his home last year he shared some fresh sourdough bread that he had baked from scratch. It was delicious — and I was fascinated. A few months later, Justin gifted me a jar of his own starter and a write-up of his process. With these ingredients, I got to work learning how to make a decent loaf of sourdough bread.
This recipe is adapted from Justin’s sourdough recipe. It also takes some inspiration from the Tartine book, and from my own trial-and-error experimentation in the kitchen. My process has become pretty darn repeatable, and with some time and effort yours can too!
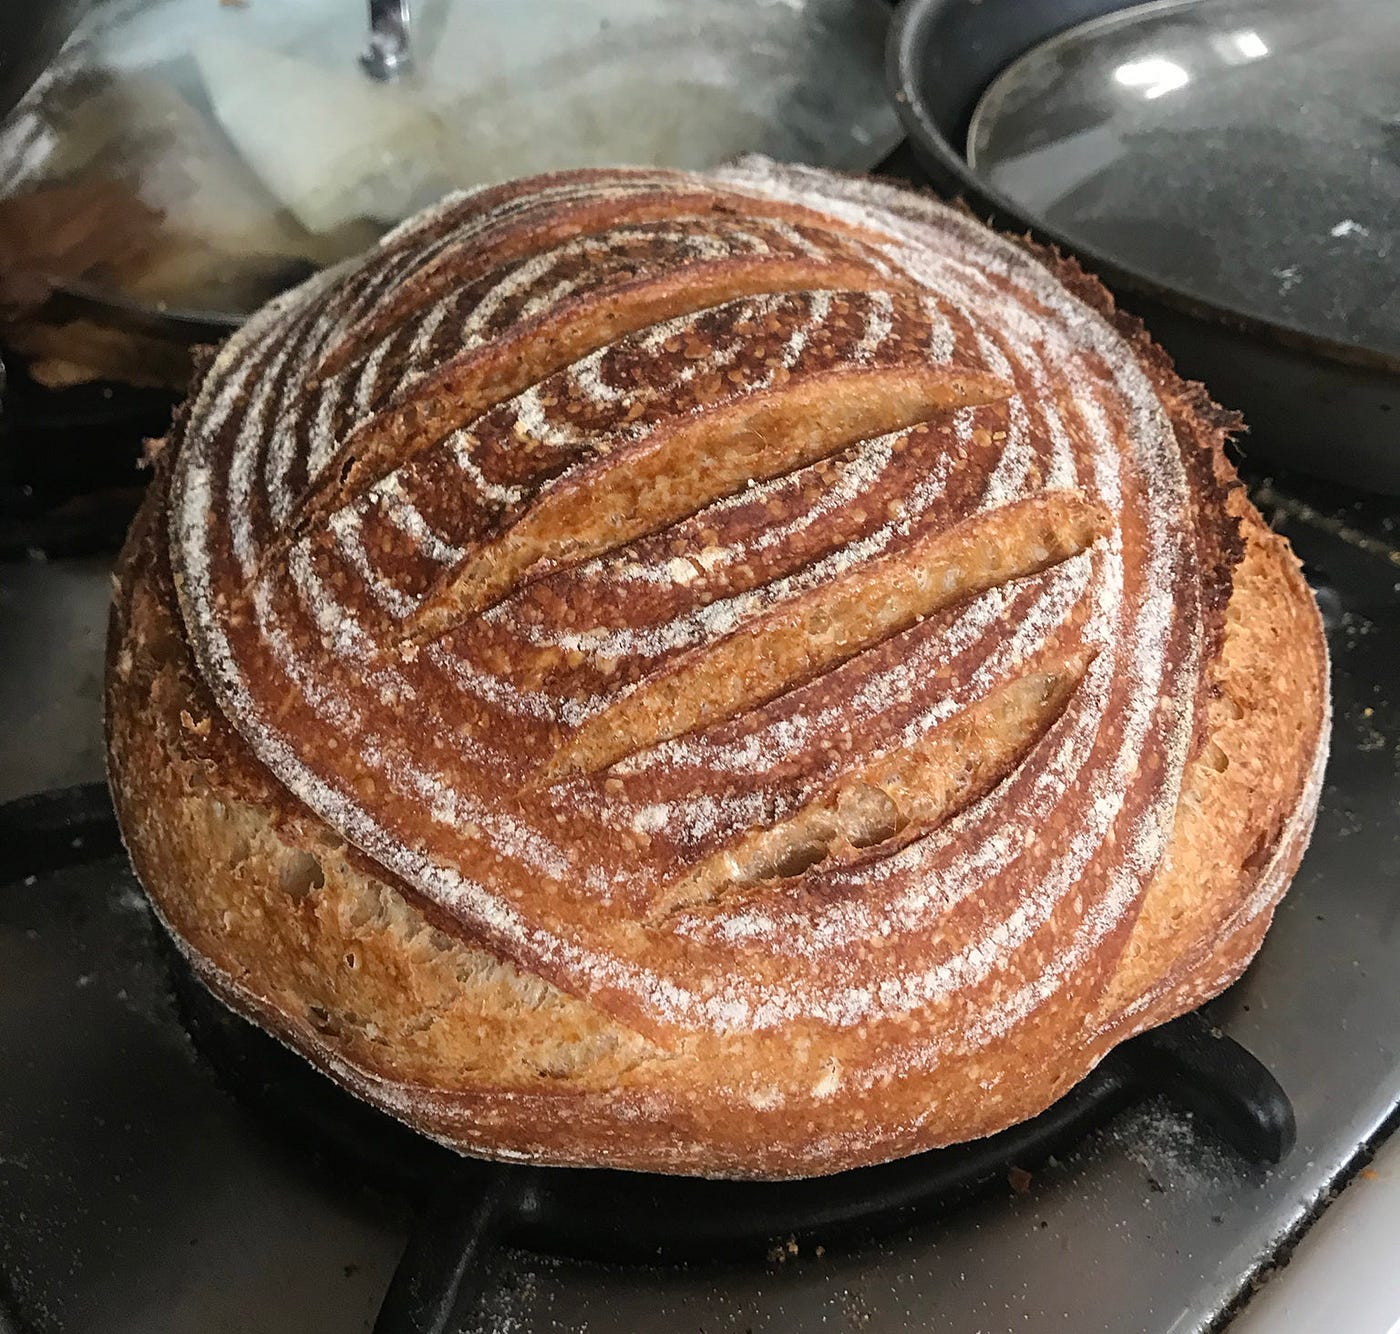
A typical loaf of whole wheat sourdough bread from this recipe. Smells great, tastes even better!
Materials: what you need before you start
Kitchen tools (essential)
- Large mixing bowl
- Plastic bowl scraper
- Teflon mixing wand
- Kitchen scale
- Oven mitts
- Oven
- Oven thermometer (analog is ok)
Kitchen tools (optional, but recommended)
- Two 9-inch Banneton proofing baskets (link) — some of these come with a plastic bowl scraper, shop around for the best value + scraper bundle.
- 12 qt round polypropylene container (link)
- A 7.5qt or larger dutch oven (this is a cast iron baking dish with lid) — you have lots of options here: you can spend $350 for the Le Creuset version (only recommended as part of your wedding registry), $90 for the Amazon Basics version of the same thing, and $40 for a cast iron dutch oven.
- 12-inch wide parchment paper (Reynolds is actually better than the generic option— you’ll be able to re-use a sheet multiple times)
- Weck Jar for keeping your starter (link). You can use any canning jar, but the Weck design has nice thick and smooth glass, no tapered neck, and no threaded lid that will get gunked up with starter residue (see notes below about avoiding broken glass in your starter). If you’re using a canning jar, at least make sure it’s one without a tapered neck.
Ingredients
- A starter that you’re maintaining/feeding (more on this below)
- Bread flour
- Whole wheat flour
- Rye flour
- All-purpose flour
- Sea salt
- Rice flour (optional)
- Corn grits (optional)
The Recipe
Times are suggested for a Saturday morning baking session. If you want to bake all weekend, you can “pipeline” this process and make 2 batches per day on Saturday and Sunday.
First, some terms defined:
- Starter: the “starter” or “leaven”, also known as the “chief”, “chef”, “head”, “mother” or “sponge” is a fermented mixture of flour and water, containing a colony of microorganisms including wild yeast and lactobacilli (Wikipedia).
- Biga: a size-amplified version of your starter that you start 24 hrs before you want to bake (Wikipedia).
Biga Prep (Friday morning ~24 hrs prior to desired bake time)
In a large bowl, mix together:
- 500 gm bread flour
- 350 gm (1.5 cups) room temp water
- A spoonful of mature starter (25–40 gm)
Pro tip: Mix the starter and the water together first so that the starter is totally absorbed into the water.
Mix until all the water is incorporated (it will be pretty dry and flaky, and I usually add an extra tablespoon of water or just wet my hands well before kneading to pick up the last dry bits).
Cover with plastic-wrap or a pan lid, and let it sit for 6–12 hours (this is temperature dependent — overnight at room temperature usually works fine). It should expand substantially during this time.
Feed your starter.


Final Dough Mix (Friday evening, 10–12 hrs later)
In 12 qt container or a larger mixing bowl:
- Mix a total of 500gm (a little less than 4 cups) medley of Bread flour, Whole Wheat flour, Rye flour. (I used to recommend: 10% Rye, 60% WW, 30% BF. These days I am using: 10% Rye, 10% BF, 40% WW, 40% Spelt)
- Add 20gm sea salt (iodine retards yeast growth), and stir it all together thoroughly (still dry)
- Mix a big spoonful of mature starter into about 100 gm of room-temp water until absorbed. Then add ~100 F° water (if it’s colder out 105°) so that the whole mix totals 435 gm. Mix well, until the starter is absorbed — it will look like milk.
- Mix the starter-water and the dry mix until incorporated. This will be a wet sticky dough but trust the process. (I use a plastic bench scraper for this part, and it only takes about a minute).
- Fold the biga in with the final mix. Wet your hands and fold the biga into the final dough: 1–3 minutes of folding the two parts together until the whole thing looks “marbled” (you can also knead them together vigorously until homogeneous, but folding is easier and leaves more of the gluten strands in the biga intact —my result from folding has been good).
- Feed your starter


At the end of final dough mixing, the dough will be “shaggy” — prone to ripping easily. Gluten structure has not yet formed. This picture shows the result of a vigorous kneading-together of the biga and final dough.
Folding
After mixing your final dough, set a timer for 30 minutes.
- Fold (video), wait 30 mins
- Fold, wait 30 mins
- Fold (total of 3 folding sessions)
After the 3rd folding session, let the dough rest for 1–2 hours.

After the folding sessions and letting the dough rest, it should be “pillowy” — the gluten will have formed a good internal structure, and it should no longer have the “shaggy” feeling from before.
Dividing the Dough and Bench Rest
Ease the dough out of the container — tip it up, then use a bench scraper to coax it out onto the counter top. Although I show a counter top with flour on it, it’s best to use very little flour in this step — you want the surfaces of the dough to remain sticky, so it can stick to itself well during shaping.
Divide the dough into two chunks, and use a wetted bench scraper and your hands (also wet) to push / tuck each into a circular shape.
Optional: Cover both with a dish towel and let them sit (“bench rest”) for 15–30 minutes. Their tops may get a bit dry and leathery.
Shaping
Shape the dough (video), using a little flour on your hands if it’s overly sticky. Once you have made 2 boules that you’re happy with, sprinkle some rice flour into the Benneton basket and work it into the cracks with your fingertips. Your boules should have a smooth top where you’ve stretched the dough taut and a bottom having some creases. Place each boule into a basket, creases-up. If you don’t have a proofing basket, you can use a large kitchen bowl with a kitchen towel or paper towel (dusted with rice flour).
Cold proof the dough overnight with the bowl/basket wrapped in a plastic bag to keep the moisture in.


Shaping steps. Final image shows the proofing bowl wrapped in plastic for cold-proofing in the refrigerator.
Baking-Time (Saturday morning)
Preheat your oven, with dutch oven inside including the lid, to 500° (Use an oven thermometer to check if your oven isn’t precise. Depending on how crispy you like your crust, you can use anywhere from 450°–500°. I’ve been liking the results at 500°).
I gently dump the shaped dough onto a piece of parchment covered with a sprinkling of corn grits so it doesn’t stick to the parchment (you can also grease the parchment with your favorite nonstick — a thin layer of olive oil works). Score the dough with a razor blade to guide how it will expand in the oven (see image below for my technique).
Use the parchment to place dough into the hot dutch oven, and put it back into the oven with the lid on. DON’T BURN YOURSELF like I have.
- Bake for 20 minutes with the lid on
- Remove lid
- Bake for 30 minutes uncovered
Take the loaf out, and let it cool a few hours. Enjoy!
If you make bread with this recipe, please let me know and post photos.


Sharp-eyed reader: the baked bread on the right did not come from the scored dough on the left.
Taking care of your starter
Use/remove all but about a tablespoon or two of the starter.
- Smaller jar: 50gm flour, 50gm water
- Larger jar: 80gm flour, 80gm water
I usually mix 50gm all-purpose flour with 50gm water, then mix it vigorously with a silicone spatula for 10 or 15 seconds. When mixed, my starter has the texture of soft serve ice cream (some people make a more liquid mix). Cover and leave the jar out at room temperature if you’re going to feed it again in 12 hours, or if you’re done baking for a while — cover and let it sit out for a few hours to get the reaction started, then refrigerate. I have refrigerated starter for 3 weeks without any trouble.
If you’ve refrigerated your starter and want to bake on the weekend, take it out of the fridge Thursday evening and feed it. By Friday morning it should be ready to use for biga prep.

This is what my starter looks like when it has been sitting for a few hours post-feeding
Some people (myself included) like to use glass jars for keeping sourdough starter, but be careful if you’re using using a metal tool like a butter knife to mix the starter. It’s easy to break the glass, especially as Weck jars have a thin inner ridge running around the inside of the lip that fractures very easily. I recommend using a tool made of plastic or wood (a chopstick works fine if you don’t have a silicone spatula) to avoid getting broken glass in your starter!

Note the small fracture in the glass of this jar. This happened when I was feeding the starter, and I decided to throw out the entire batch as it may have been contaminated with small shards of broken glass.
메타데이터
- post_id
- bad6db6d2bc3
- slug
- santa-cruz-mountains-sourdough-bad6db6d2bc3
- url
- https://medium.com/@merrill/santa-cruz-mountains-sourdough-bad6db6d2bc3
- canonical_url
- https://medium.com/@merrill/santa-cruz-mountains-sourdough-bad6db6d2bc3
- author_url
- https://medium.com/@merrill
- status
- ok
- fetched_at
- 2026-06-15 20:49:13