Beginner Guide: Installing Whonix on VirtualBox for Safe Anonymous Browsing
About me
Beginner Guide: Installing Whonix on VirtualBox for Safe Anonymous Browsing

About me
I’m an aspiring full-stack developer and cybersecurity enthusiast who enjoys learning about privacy tools, ethical hacking, and secure browsing. In this blog I share my experience installing and setting up Whonix.
Recommended System Requirements:
RAM: 8 GB (for better performance).
Storage: Solid State Drive (SSD) for improved responsiveness.
Network: Stable internet connection
Let 's begin
Step1:Downloading Whonix
Fire up your favourite browser and download the whonix ova file official page https://www.whonix.org/download/
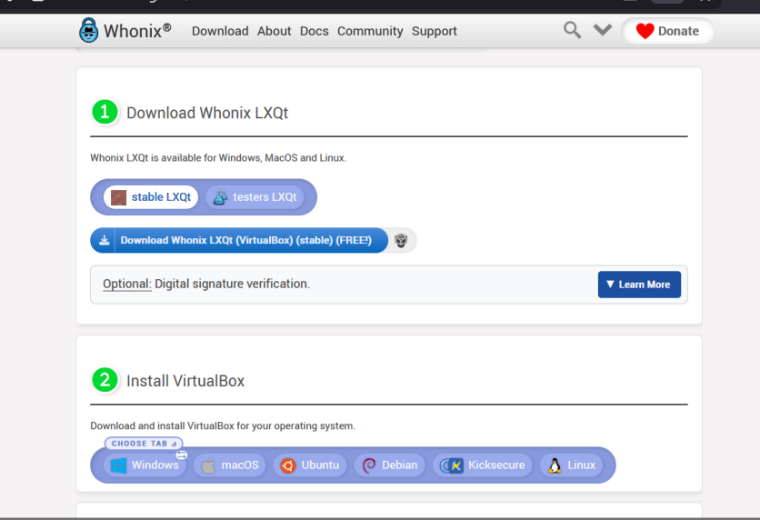
Whonix Official Page
Step 2: Installing VirtualBox
Then if you have already installed you might know whats this ova file.
If not open your browser again and download the virtualbox from the official page https://www.virtualbox.org/wiki/Downloads
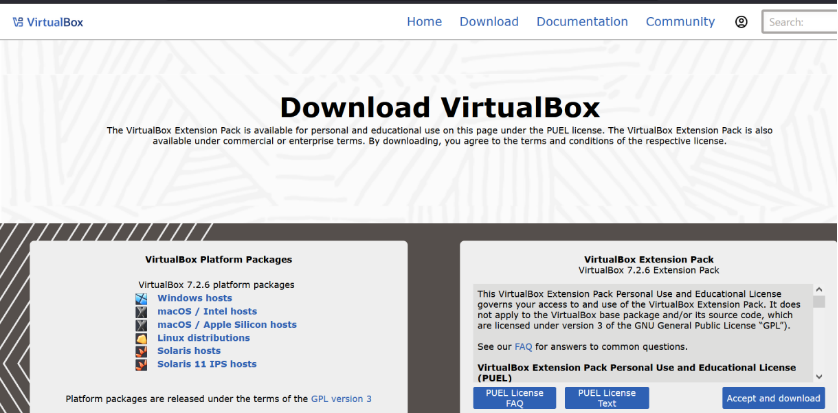
Oracle VirtualBox Page
The virtual box installation is straight forward run as administrator, next , next, next…
Step 3: Importing the Whonix OVA
Now you have installed start the virtualbox then click on the “File tab” and “Import Appliance”
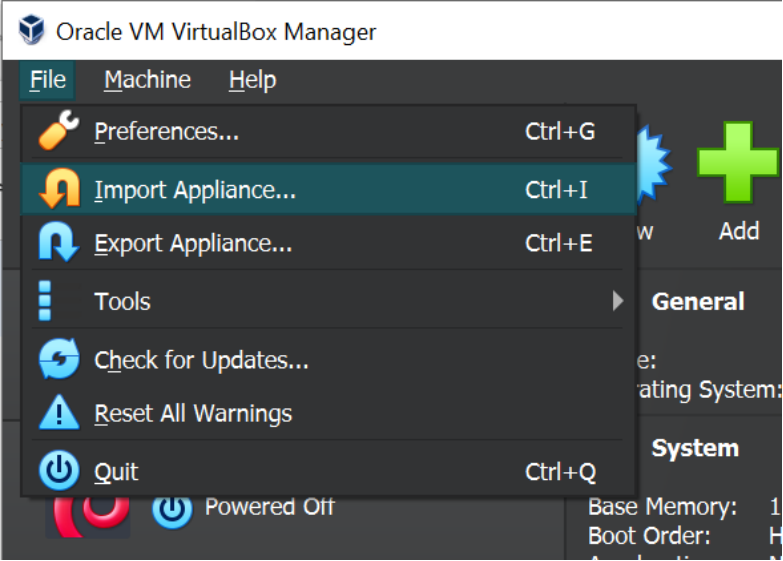
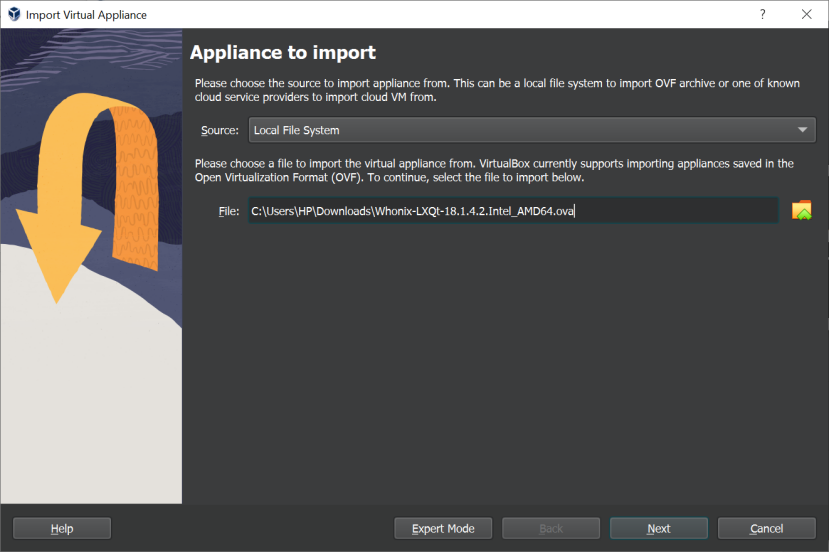
Click on the folder icon
You will see a file dialog like this and search for the whonix ova file that we downloaded earlier select the ova file and click open
Then click next. This will import the whonix machine on the virtualbox. Simple
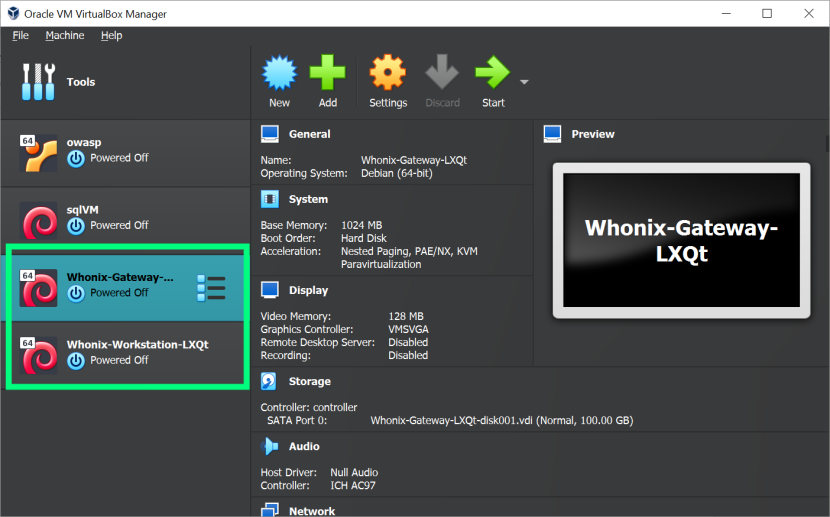
Once Its finish will see two machine appear in your virtual box
- Whonix gateway
- Whonix Worksation
Step 4: Configuring the Virtual Machines
Lets tweak some settings
Select the Whonix gateway > Settings
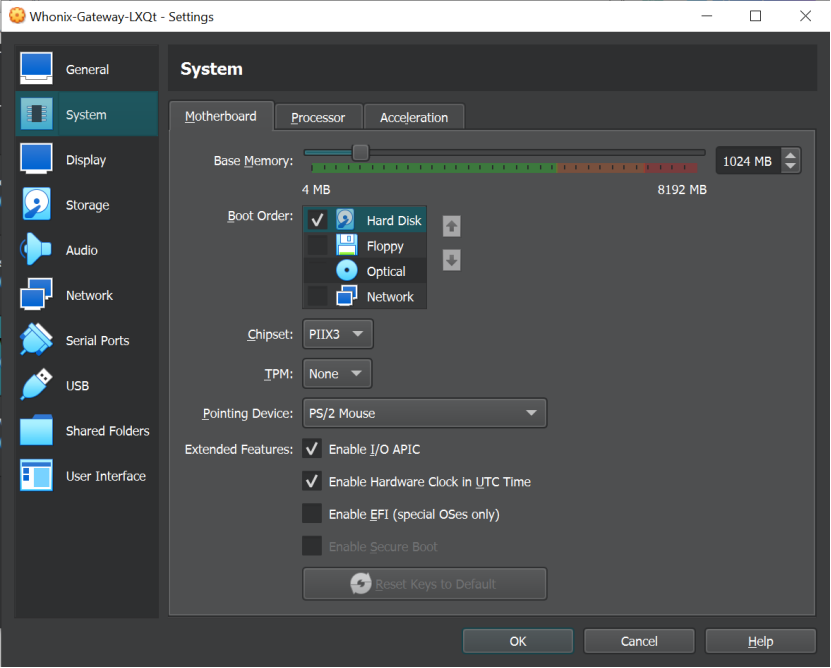
On the System > Motherboard
Allocate memory for your Whonix gateway machine based on your device
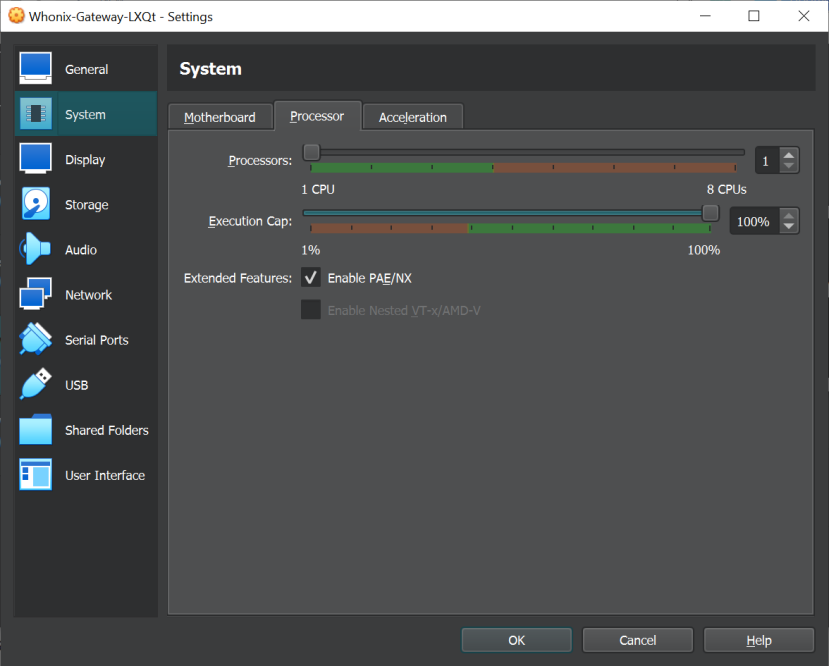
Next on the Processor tab set the cpu based on your needs (More cpu means More processing speed)
And do the same on the Whonix workstation settings
I allocated based on my device specifications
- Whonix gateway CPU: 1 Memory: 1024MB
- Whonix worksation CPU: 2 Memory: 2048MB
Step 5: Starting Whonix Gateway and Workstation
Start the Whonix gateway in the virtualbox
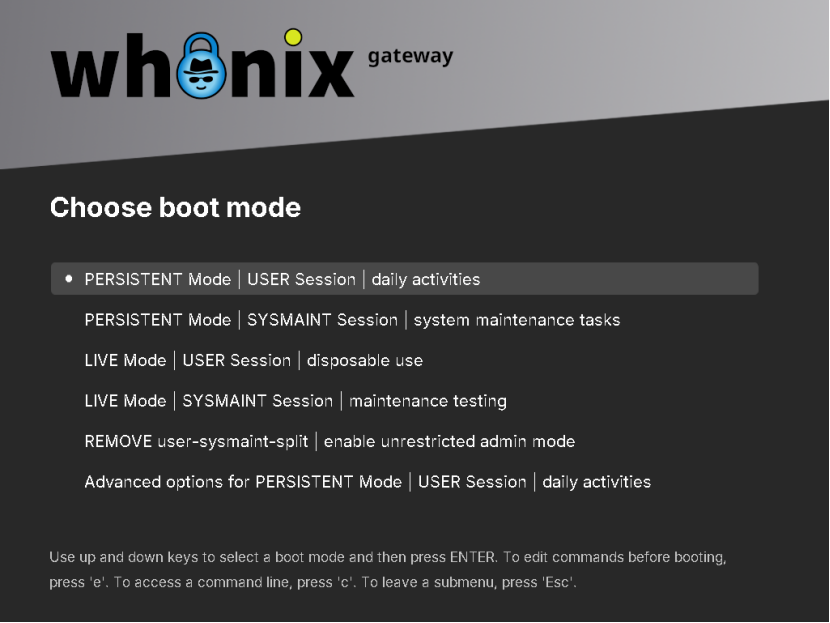
Whonix gateway bootloader
Default Login Credentials
Username: user Password: (No password needed, just press Enter if asked)
Once It started it will connect to the tor automatically
Next leave the Whonix gateway running in the background and start the Whonix Workstation
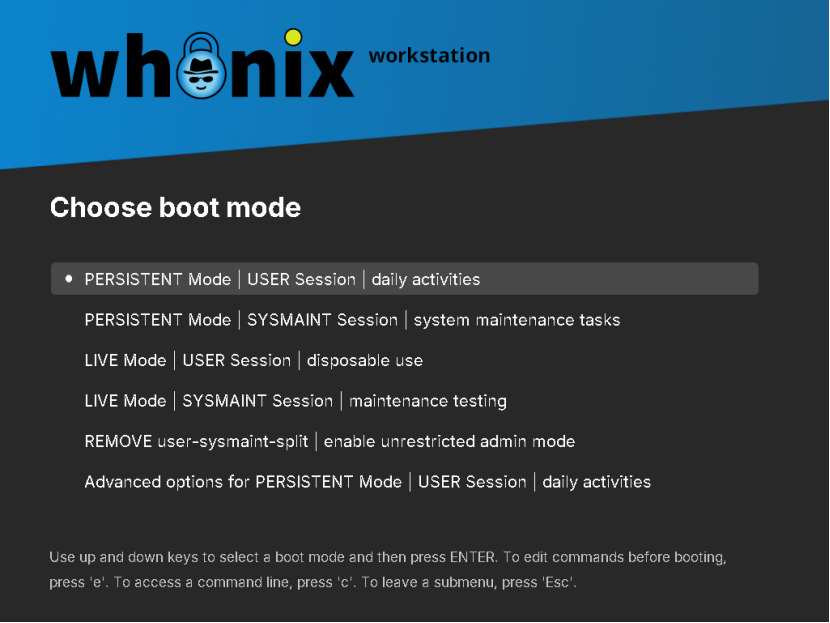
Whonix workstation bootloader
This is the actual machine we are gonna use.
Now open Tor browser
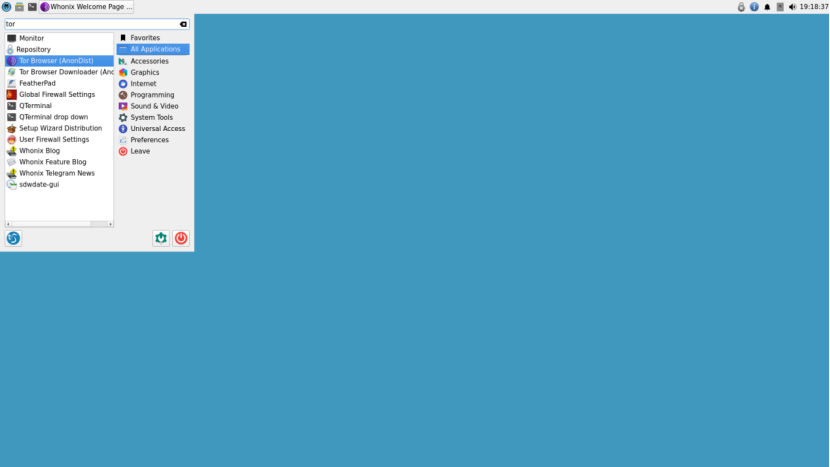
Whonix Workstation Machine
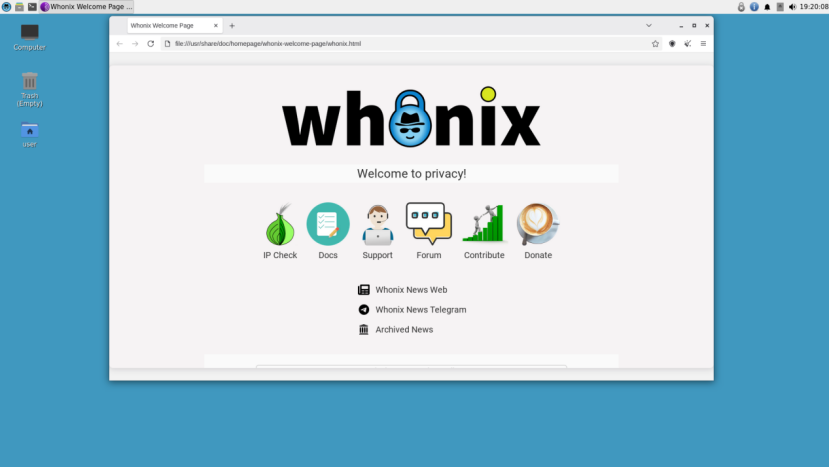
Tor Browser
Now on the tor browser. Navigate to “Settings” > “Privacy and security” > “Security level”
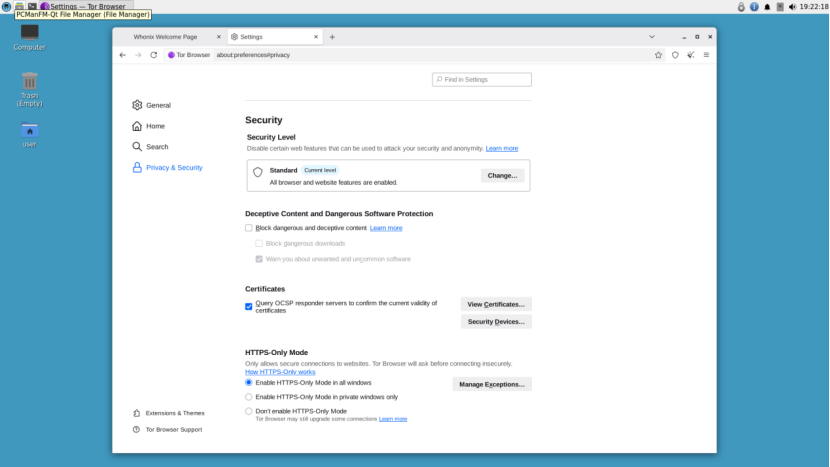
Tor Browser settings
Change the Security level from “Standard” to “Safest”
Note: This will disable the javascript for all sites to be safe
Now you can check anonymity by https://check.torproject.org/
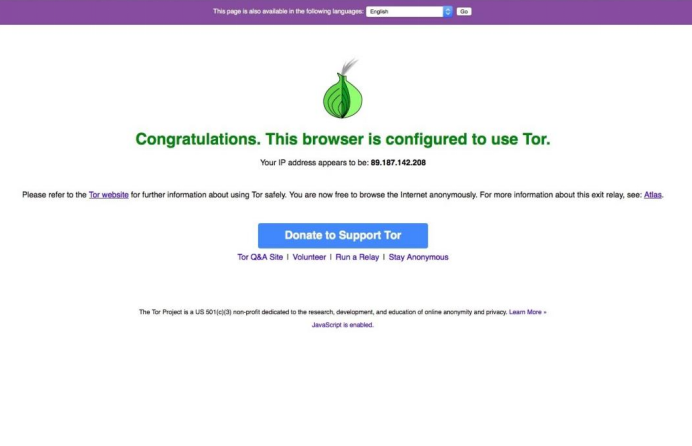
If you see this you are ready to go
Caution:
• Be cautious while exploring the dark web. • Avoid downloading unknown files. • Never enter personal information. • Do not log into personal accounts through Tor.
Enjoy your secure browsing with Whonix!
메타데이터
- post_id
- bb78256cdaa3
- slug
- beginner-guide-installing-whonix-on-virtualbox-for-safe-anonymous-browsing-bb78256cdaa3
- url
- https://medium.com/@powervail471/beginner-guide-installing-whonix-on-virtualbox-for-safe-anonymous-browsing-bb78256cdaa3
- canonical_url
- https://medium.com/@powervail471/beginner-guide-installing-whonix-on-virtualbox-for-safe-anonymous-browsing-bb78256cdaa3
- author_url
- https://medium.com/@powervail471
- status
- ok
- fetched_at
- 2026-07-18 01:29:40