Laravel + Flutter: Connecting Flutter App to Laravel Auth API
Flutter, the popular open-source framework for building natively compiled applications, offers a seamless user experience, while Laravel…
Laravel + Flutter: Connecting Flutter App to Laravel Auth API
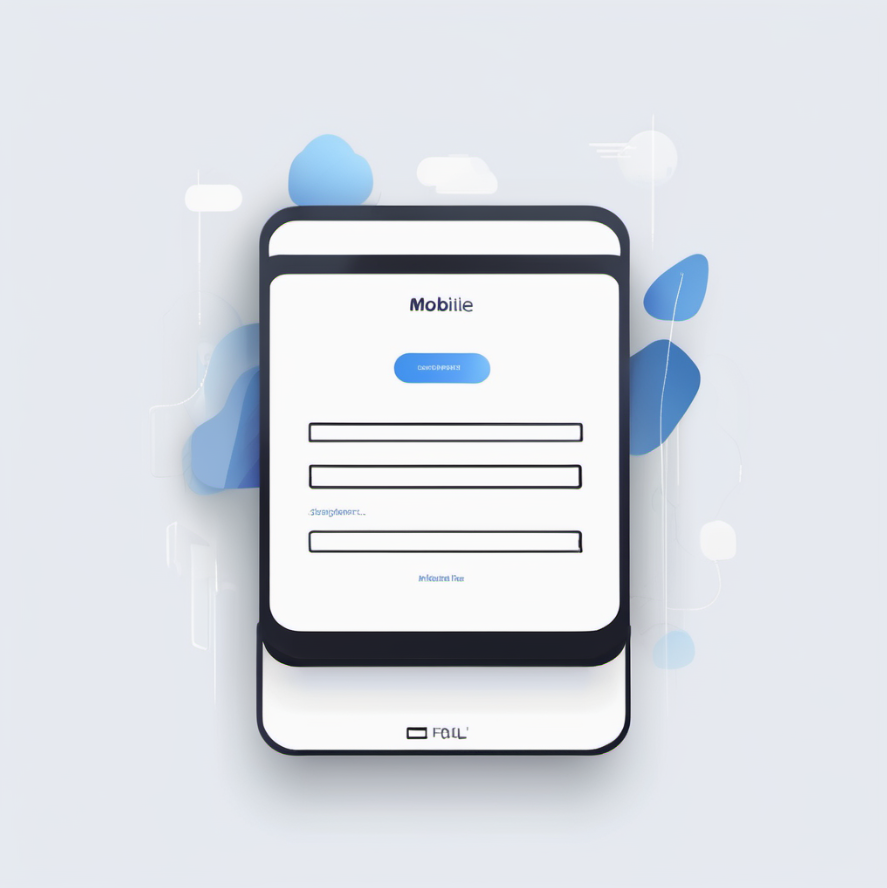
Flutter, the popular open-source framework for building natively compiled applications, offers a seamless user experience, while Laravel, the robust PHP-based web framework, provides a secure and scalable backend solution.
In this article, we will explore the process of integrating a Flutter application with a Laravel REST API, including the implementation of secure user authentication.
[0] Create Laravel project with Auth API
Follow the previous article, or download a quick start project.
[1] Create A Flutter Project
[1.1] Create a basic Flutter Project
…with the following basic settings:
(file →pubspec.yaml)
version: 1.0.0+1
environment:
  sdk: '>=2.18.2 <3.0.0'
dependencies:
  flutter:
    sdk: flutter
  cupertino_icons: ^1.0.2
dev_dependencies:
  flutter_test:
    sdk: flutter
  flutter_lints: ^2.0.0
flutter:
  uses-material-design: true
[1.2] Add dio package
The dio.dart package is a popular HTTP client library for Dart, commonly used in Flutter applications. It is a flexible HTTP client that provides a simple and intuitive API for making HTTP requests, handling responses, and managing intercepts, headers, and other advanced features.
Update pubspec.yaml file:
dependencies:
  dio: ^4.0.6
[1.3] Create Auth Service
(file →lib/services/auth_service.dart)
import 'package:dio/dio.dart';

class AuthService {
  final _dio = Dio(
    BaseOptions(
      baseUrl: 'https://demo.razzi.my/lara11breeze/public/api',
      headers: {
        'Accept': 'application/json',
      },
    ),
  );

  Future<Map<String, dynamic>> login(String email, String password) async {
    final response = await _dio.post('/login', data: {
      'email': email,
      'password': password,
    });
    return response.data;
  }

  Future<Map<String, dynamic>> register(
    String name,
    String email,
    String password,
  ) async {
    final response = await _dio.post('/register', data: {
      'name': name,
      'email': email,
      'password': password,
    });
    return response.data;
  }

  Future<Map<String, dynamic>> logout() async {
    final response = await _dio.post('/logout');
    return response.data;
  }
}
Code explanation:
1] Importing the dio/dio.dart package: This import statement brings in the Dio class, which is the main class used for making HTTP requests in the dio.dart package.
2] Initializing the Dio instance: The class has a private _dio field, which is initialized with a Dio instance. The BaseOptions parameter is used to configure the base URL and default headers for the HTTP requests.
baseUrl: 'https://demo.razzi.my/lara11breeze/public/api': This sets the base URL for the API, which in this case is a demo Laravel API hosted at the specified URL.headers: { 'Accept': 'application/json' }: This sets the default 'Accept' header to 'application/json', indicating that the API should return JSON responses.
3] Login method: The login method takes an email and password as arguments, and uses the _dio.post method to send a POST request to the /login endpoint. The request data is passed as a map in the data parameter.
4] Register method: The register method takes a name, email, and password as arguments, and uses the _dio.post method to send a POST request to the /register endpoint. The request data is passed as a map in the data parameter.
5] Logout method: The logout method uses the _dio.post method to send a POST request to the /logout endpoint.
[1.4] Create login screen
(file → lib/login_screen.dart)
import 'package:flutter/material.dart';
import 'services/auth_service.dart';

class LoginScreen extends StatefulWidget {
  @override
  _LoginScreenState createState() => _LoginScreenState();
}

class _LoginScreenState extends State<LoginScreen> {
  final _authService = AuthService();
  final _emailController = TextEditingController();
  final _passwordController = TextEditingController();

  Future<void> _login() async {
    final email = _emailController.text;
    final password = _passwordController.text;

    try {
      final response = await _authService.login(email, password);
      // Handle the response, e.g., save the access token and user data
      print(response);
    } catch (e) {
      // Handle errors
      print(e);
    }
  }

  @override
  Widget build(BuildContext context) {
    return Scaffold(
      appBar: AppBar(
        title: Text('Login'),
      ),
      body: Padding(
        padding: EdgeInsets.all(16.0),
        child: Column(
          children: [
            TextField(
              controller: _emailController,
              decoration: InputDecoration(
                hintText: 'Email',
              ),
            ),
            SizedBox(height: 16.0),
            TextField(
              controller: _passwordController,
              obscureText: true,
              decoration: InputDecoration(
                hintText: 'Password',
              ),
            ),
            SizedBox(height: 16.0),
            ElevatedButton(
              onPressed: _login,
              child: Text('Login'),
            ),
          ],
        ),
      ),
    );
  }
}
Code explanation:
1] Importing dependencies: The code imports the flutter/material.dart package, which provides the core Flutter UI widgets, and the auth_service.dart file, which contains the AuthService class.
2] LoginScreen widget: The LoginScreen is defined as a StatefulWidget, which means it can have mutable state.
3] _LoginScreenState class: The _LoginScreenState class is the internal state class for the LoginScreen widget. It contains the following:
_authService: An instance of theAuthServiceclass, which is used to perform the login operation._emailControllerand_passwordController: TwoTextEditingControllerinstances that are used to manage the input values for the email and password fields.
4] _login method: The _login method is an asynchronous function that is called when the user taps the "Login" button. It does the following:
- Retrieves the email and password values from the respective
TextEditingControllerinstances. - Calls the
loginmethod of the_authServiceinstance, passing the email and password as arguments. - Handles the response from the
loginmethod, which is expected to be a map of data (e.g., the user's access token and other data). - If an error occurs, it prints the error to the console.
5] build method: The build method defines the UI of the LoginScreen widget. It creates a Scaffold widget with an app bar and a body that contains:
- Two
TextFieldwidgets for the email and password inputs, with the respectiveTextEditingControllerinstances attached. - A
SizedBoxto add some spacing between the text fields and the login button. - An
ElevatedButtonwidget that, when pressed, calls the_loginmethod.
[1.5] Update main
(file → lib/main.dart)
import 'package:flutter/material.dart';
import 'login_screen.dart';

void main() {
  runApp(const MyApp());
}

class MyApp extends StatelessWidget {
  const MyApp({super.key});

  @override
  Widget build(BuildContext context) {
    return MaterialApp(
      title: 'Flutter App!!',
      theme: ThemeData(
        colorSchemeSeed: Colors.indigo,
        useMaterial3: true,
        brightness: Brightness.light,
      ),
      darkTheme: ThemeData(
        colorSchemeSeed: Colors.blue,
        useMaterial3: true,
        brightness: Brightness.dark,
      ),
      home: LoginScreen(),
      debugShowCheckedModeBanner: false,
    );
  }
}
Now, when you run your Flutter app, it will display the LoginScreen instead of the MyHomePage widget.
You can further integrate the authentication functionality by adding more screens, such as a registration screen, password reset screen, and a home screen that is displayed after a successful login. You can also add logic to handle user authentication state and session management.
[2] Test
Run the Flutter app.
1] On the Login screen, enter the email and password for the Laravel user. Press Login.
2] Check the logs. If everything works well, the response will be printed as shown below. The user_token is included in the response which can be used in subsequent requests.

Download
https://archive.org/download/laravelprojects/lara11breeze_userapi_flutter_20240409.zip
메타데이터
- post_id
- bbbde371d730
- slug
- laravel-flutter-connecting-flutter-app-to-laravel-auth-api-bbbde371d730
- url
- https://blog.devgenius.io/laravel-flutter-connecting-flutter-app-to-laravel-auth-api-bbbde371d730
- canonical_url
- https://blog.devgenius.io/laravel-flutter-connecting-flutter-app-to-laravel-auth-api-bbbde371d730
- author_url
- https://medium.com/@mohamad.razzi.my
- status
- ok
- fetched_at
- 2026-07-19 21:38:15