🚀 Boost Your Spring Boot Dev Game with Gitpod + VSCode: A Seamless Cloud Workflow
“Code anywhere, configure once.” That’s the power of Gitpod.
🚀 Boost Your Spring Boot Dev Game with Gitpod + VSCode: A Seamless Cloud Workflow
“Code anywhere, configure once.” That’s the power of Gitpod.
🌟 Why You Should Care
If you’ve ever:
- Spent hours setting up a dev environment across multiple machines,
- Onboarded a new team member only to find “it works on my machine” syndrome,
- Or needed to demo your Spring Boot app from a Chromebook or tablet…
Then Gitpod is your secret weapon.
By combining Gitpod with Spring Boot + Maven and VSCode, you get:
- ⚡️ Instant Cloud Development Environments — no more setup.
- 🌍 Portability — work from anywhere, on any machine.
- 🧼 Clean Environments Per Branch/PR — kill config drift.
- 🧪 Built-in Automation — preinstall Java, Maven, extensions, and run commands.
- 💡 Collaboration-ready — preview ports, share sessions, or pair program live.
Now, let’s get you set up with your own Gitpod-ready Spring Boot dev workspace.
🛠 Step-by-Step: Create a Gitpod + VSCode Environment for Spring Boot
✅ 1. Create Your Spring Boot Application
Let’s start by creating a fresh Spring Boot project using Spring Initializr.
1.1. Go to Spring Initializr
Visit start.spring.io in your browser.
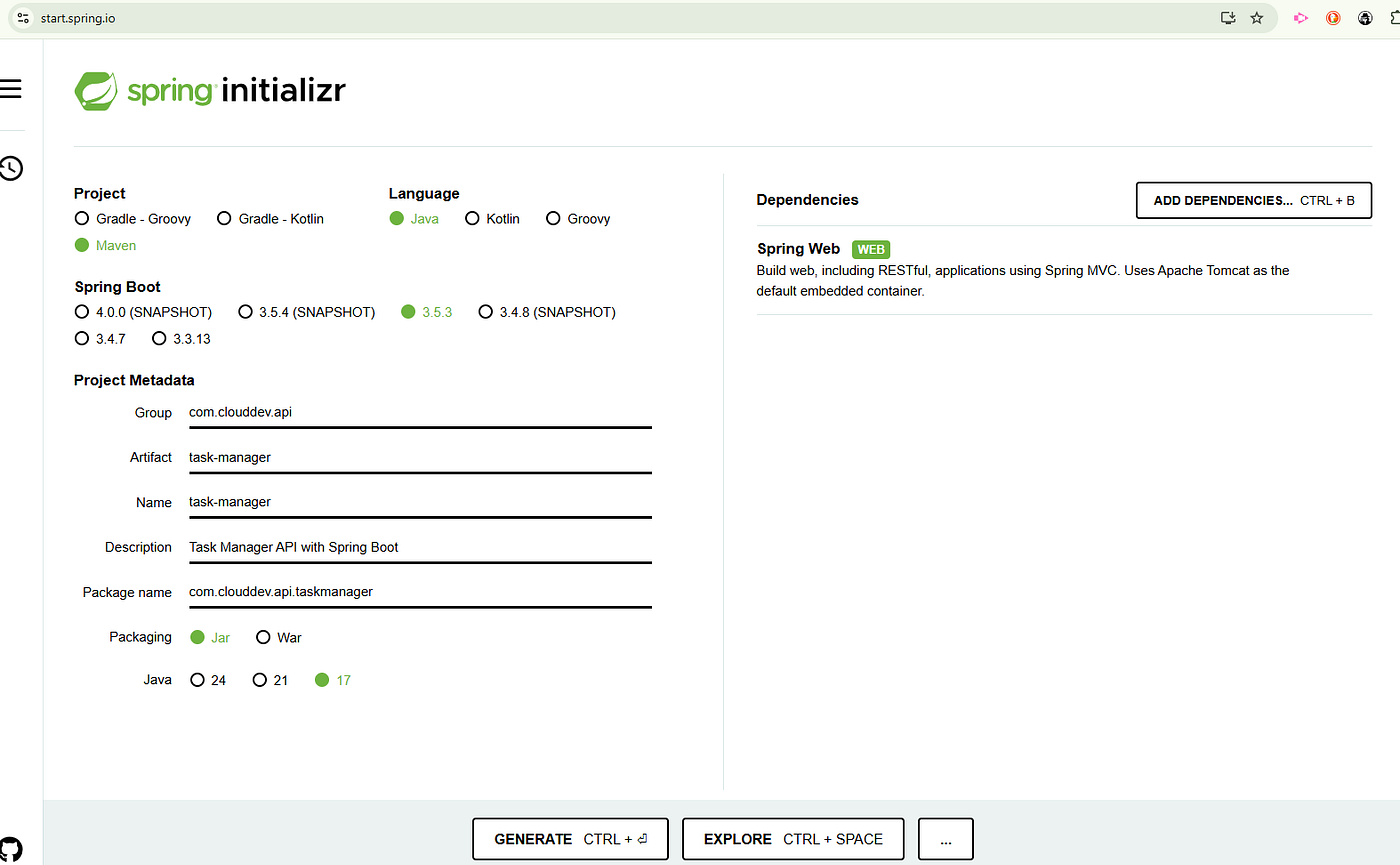
1.2. Configure Your Project
Set up your project with these settings:
- Project: Maven Project
- Language: Java
- Spring Boot: (keep the default version)
- Project Metadata:
- Group:
com.clouddev.api - Artifact:
task-manager - Name:
task-manager - Description:
Task Manager API with Spring Boot - Package name:
com.clouddev.api.taskmanager - Packaging: Jar
- Java: 17 (or 21)
1.3. Add Dependencies
In the “Dependencies” section, search for and add:
- Spring Web — for building REST APIs
1.4. Generate and Download
Click the “Generate” button to download your project as a ZIP file.
1.5. Extract and Add Code
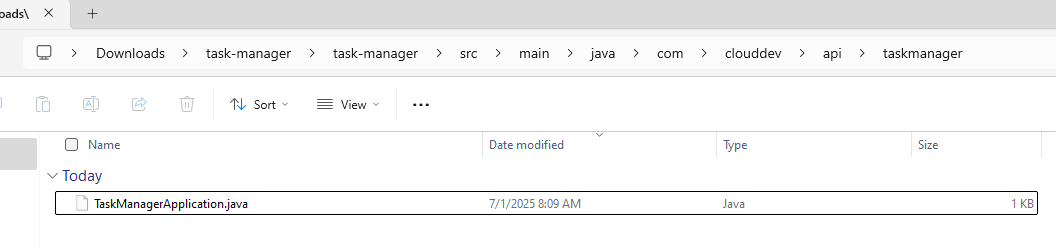
- Extract the ZIP file to your desired location
- Open the project in any text editor
- Navigate to
src/main/java/com/clouddev/api/taskmanager/TaskManagerApplication.java - Replace the content with this code:
package com.clouddev.api.taskmanager;

import org.springframework.boot.SpringApplication;
import org.springframework.boot.autoconfigure.SpringBootApplication;
import org.springframework.web.bind.annotation.GetMapping;
import org.springframework.web.bind.annotation.RequestParam;
import org.springframework.web.bind.annotation.RestController;

@SpringBootApplication
@RestController
public class TaskManagerApplication {

    public static void main(String[] args) {
        SpringApplication.run(TaskManagerApplication.class, args);
    }

    // Add root endpoint to fix 404 error
    @GetMapping("/")
    public String home() {
        return """
                <html>
                <head><title>Task Manager API</title></head>
                <body style="font-family: Arial; margin: 40px;">
                    <h1>🚀 Task Manager API</h1>
                    <p>Welcome to the Task Manager API! Try these endpoints:</p>
                    <ul>
                        <li><a href="/api/hello">GET /api/hello</a></li>
                        <li><a href="/api/hello?name=YourName">GET /api/hello?name=YourName</a></li>
                        <li><a href="/api/status">GET /api/status</a></li>
                    </ul>
                    <p><strong>Built with Java 17 + Spring Boot 3.5.3</strong></p>
                </body>
                </html>
                """;
    }

    @GetMapping("/api/hello")
    public String hello(@RequestParam(value = "name", defaultValue = "Developer") String name) {
        return String.format("Hello %s! Welcome to the Task Manager API.", name);
    }

    @GetMapping("/api/status")
    public String status() {
        return "Task Manager API is running successfully!";
    }
}
1.6. Push to GitHub
Create a github repository https://github.com/<your-github>/ → Repositories → New (name it gitpod) (make sure readme is enabled)
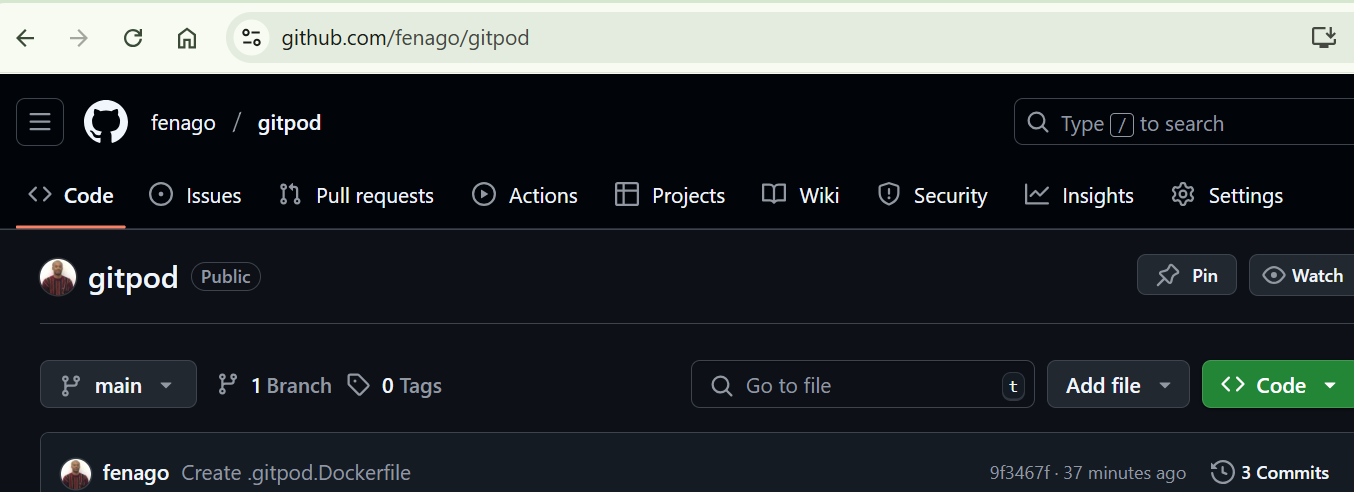
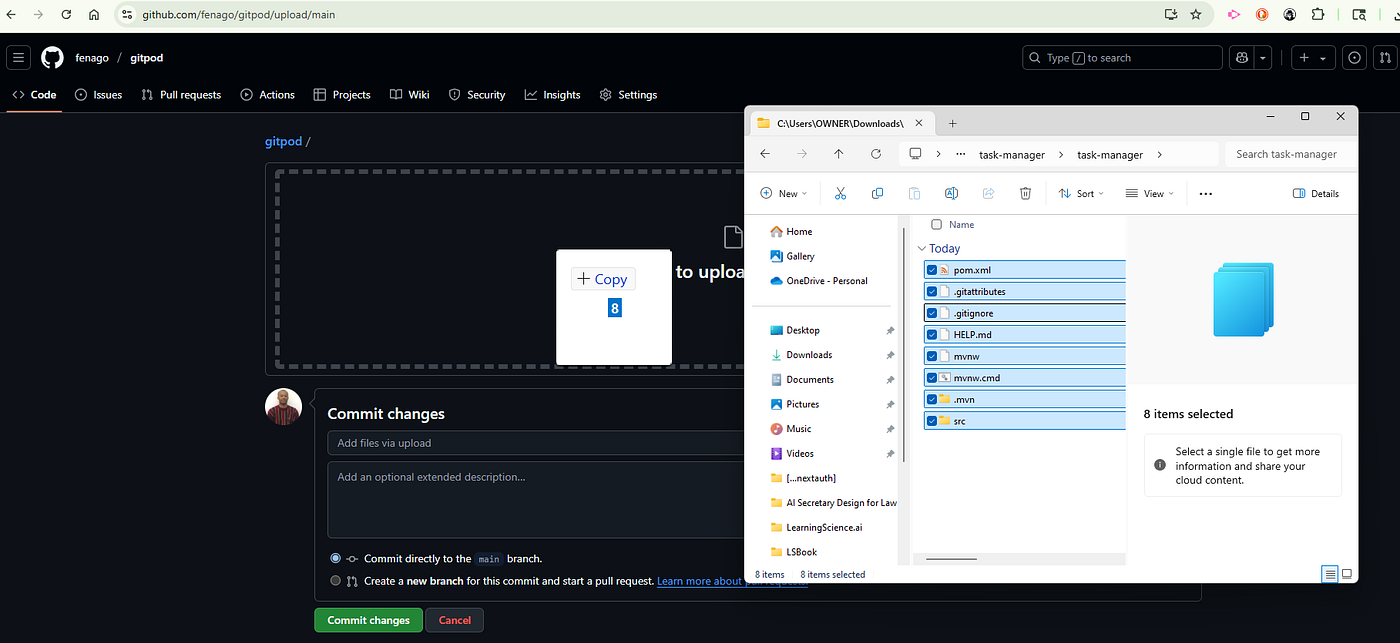
Copy all files from task manager into your github repository (Add File → Upload files)
Important: Move the CONTENTS of the folder into GitHub — not the folder itself!
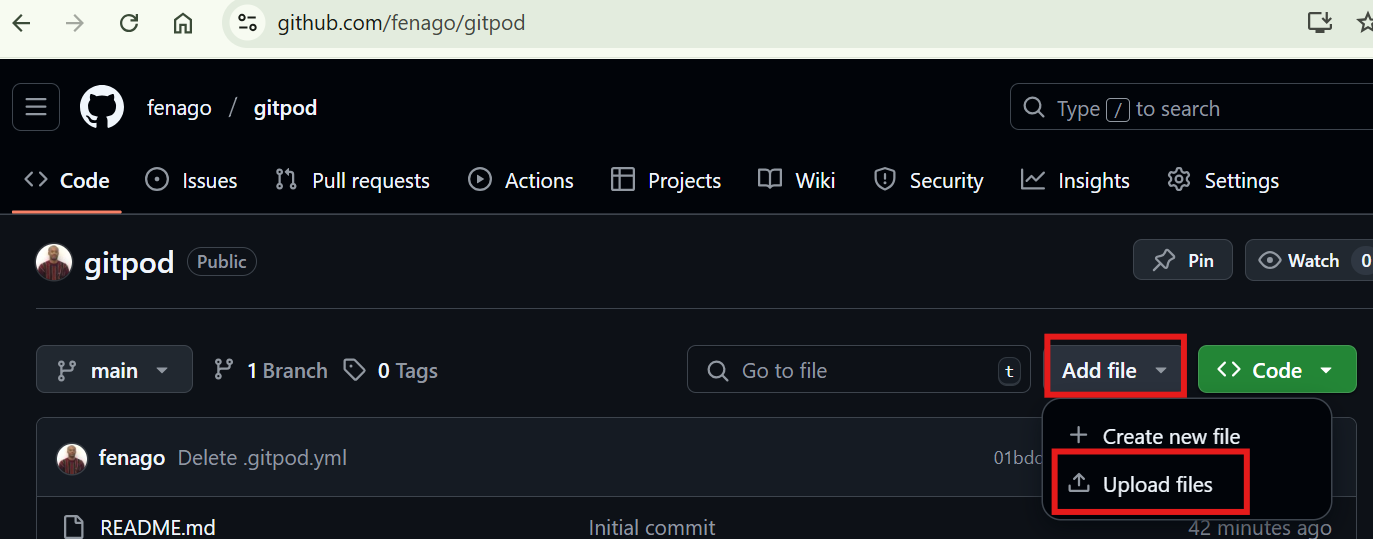
then copy in the expanded taskmanager files into the repository (notice the 8! Don’t copy in the folder… just the files inside the folder):
📦 2. Add Gitpod Configuration
At the root of your repo, create two files:
(remember — you create new files in github by clicking Add file → Create new file and selecting the green commit after you have created the files)
.gitpod.yml— defines the Gitpod workspace config.gitpod.Dockerfile— defines the image used in Gitpod (Java, Maven, etc.)
.gitpod.yml
tasks:
  - name: Setup Java 17 and Build Spring Boot
    init: |
      # Install Java 17 via SDKMAN (automated - no prompts)
      echo "Y" | sdk install java 17.0.15-tem
      sdk default java 17.0.15-tem

      # Verify Java 17 is active
      java -version
      mvn -version

      # Build the project
      mvn clean install
    command: |
      # Run Spring Boot application
      mvn spring-boot:run

ports:
  - port: 8080
    onOpen: open-preview

vscode:
  extensions:
    - vscjava.vscode-spring-boot
    - vscjava.vscode-maven
    - redhat.java
    - Pivotal.vscode-spring-boot
    - eamodio.gitlens
.gitpod.Dockerfile
FROM gitpod/workspace-full

# Remove any existing Java installations and install OpenJDK 17 cleanly
RUN sudo apt-get update && \
    sudo apt-get remove -y openjdk* && \
    sudo apt-get autoremove -y && \
    sudo apt-get install -y openjdk-17-jdk maven && \
    sudo update-alternatives --install /usr/bin/java java /usr/lib/jvm/java-17-openjdk-amd64/bin/java 100 && \
    sudo update-alternatives --install /usr/bin/javac javac /usr/lib/jvm/java-17-openjdk-amd64/bin/javac 100 && \
    sudo update-alternatives --set java /usr/lib/jvm/java-17-openjdk-amd64/bin/java && \
    sudo update-alternatives --set javac /usr/lib/jvm/java-17-openjdk-amd64/bin/javac

ENV JAVA_HOME=/usr/lib/jvm/java-17-openjdk-amd64
ENV PATH=$JAVA_HOME/bin:$PATH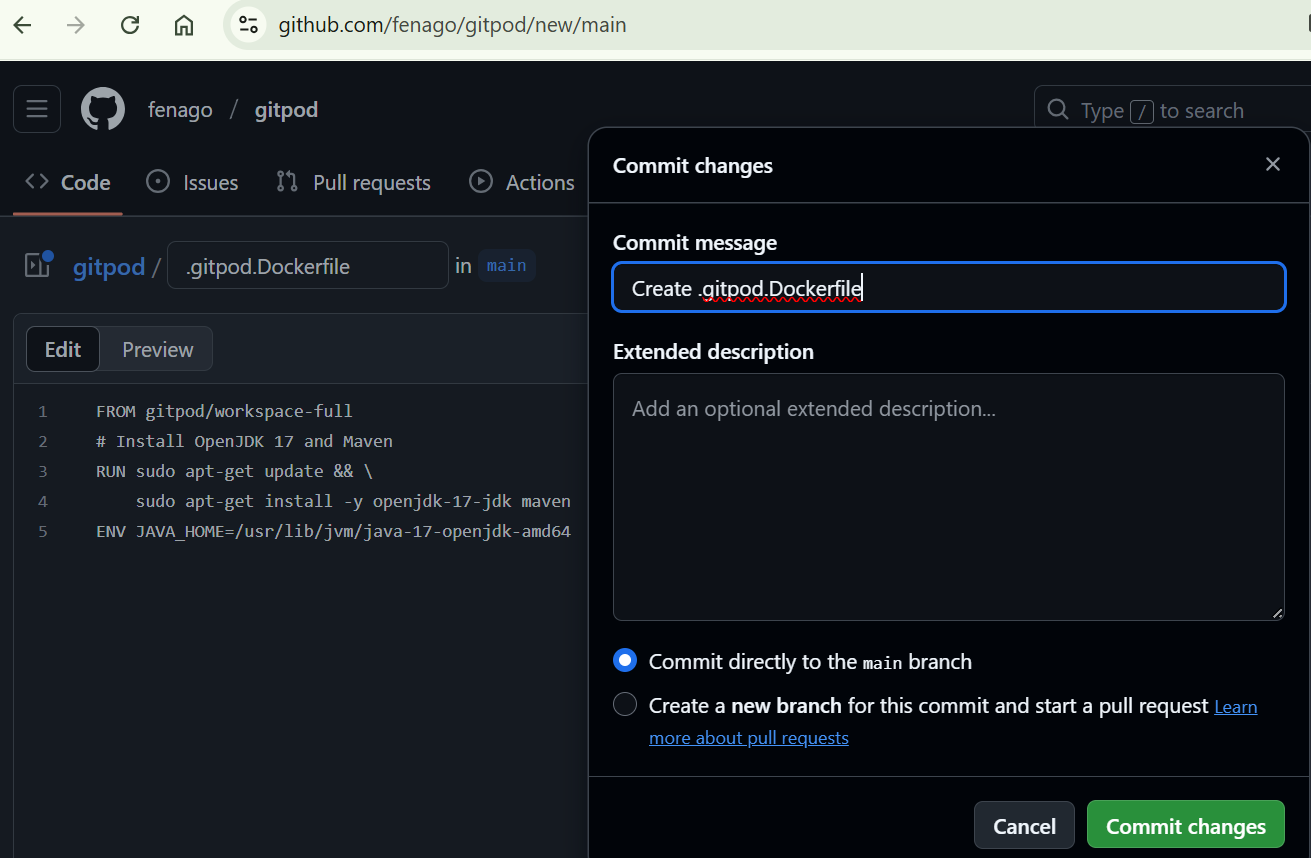
💡 You can change the JDK version if needed (e.g., to 21 or 11).
You can always use this precreated repository: https://github.com/fenago/gitpod/
It has all of the files setup!
🌐 3. Launch It on Gitpod
To open your project in Gitpod, use:
https://gitpod.io/#https://github.com/your-username/gitpod
Keep the defaults and select continue:
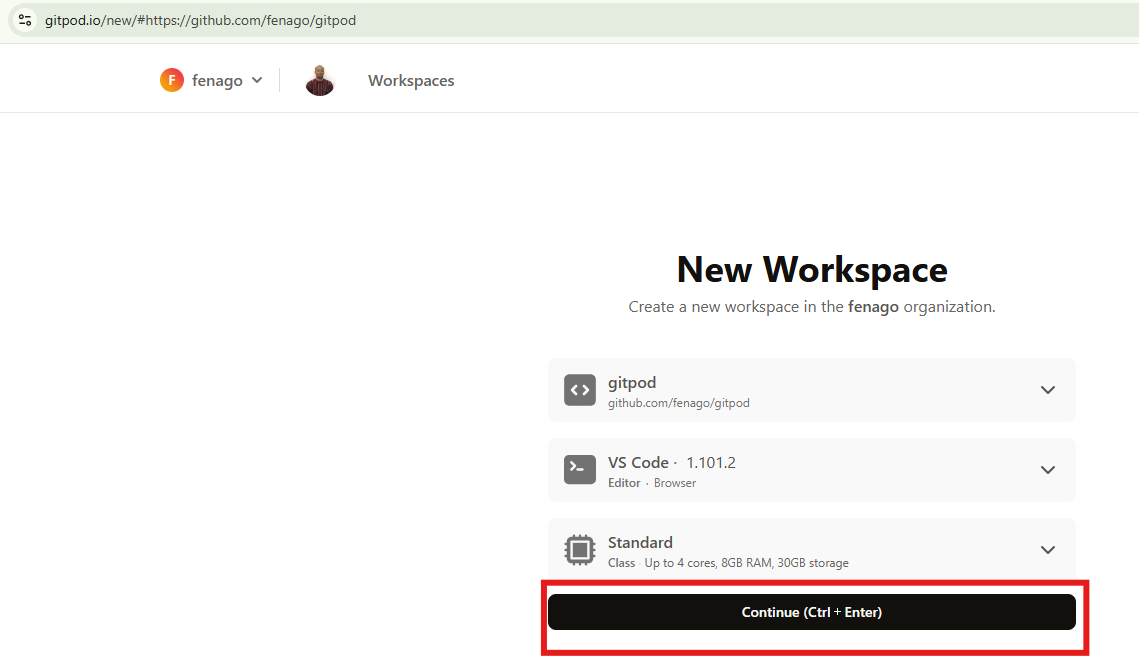
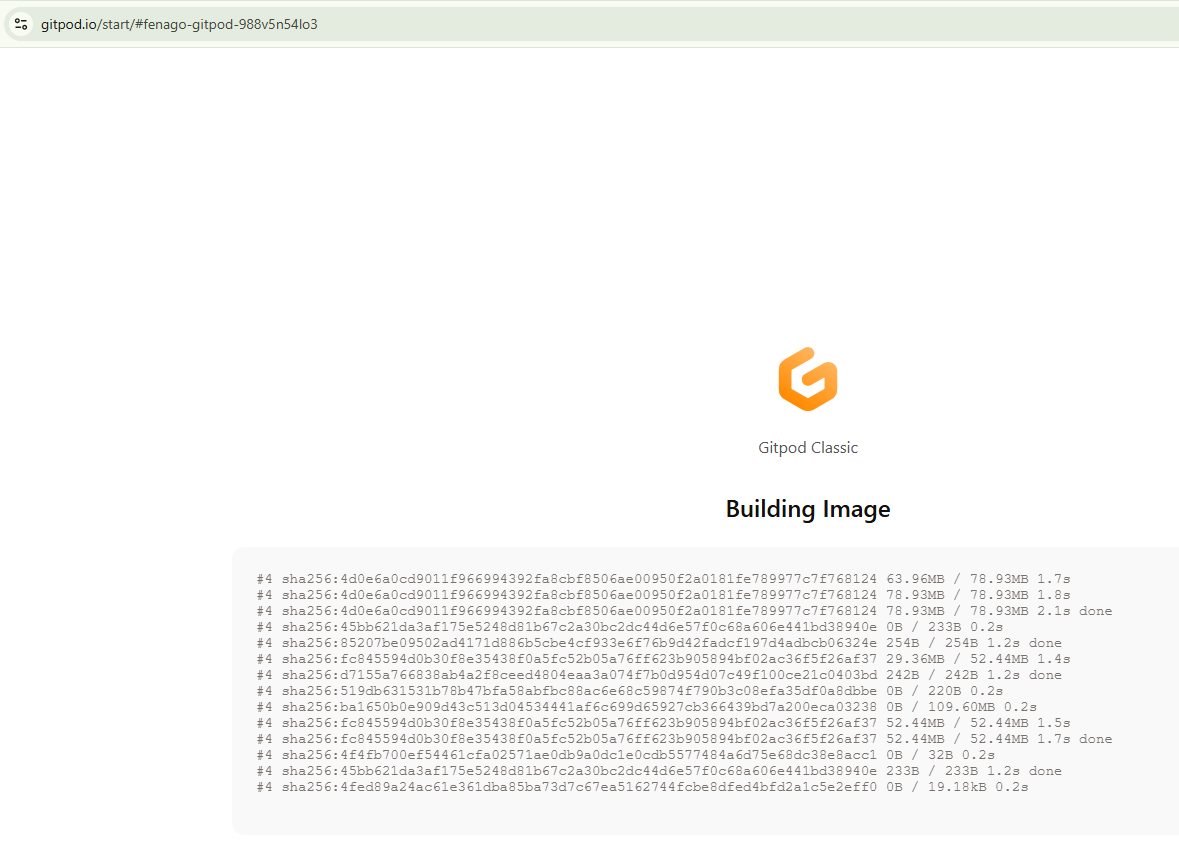
It will then take about 5 minutes:
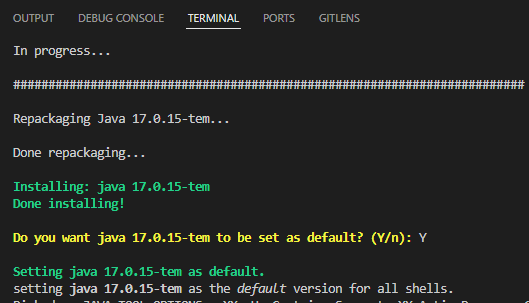
In the terminal — make sure to type Y when you see this:
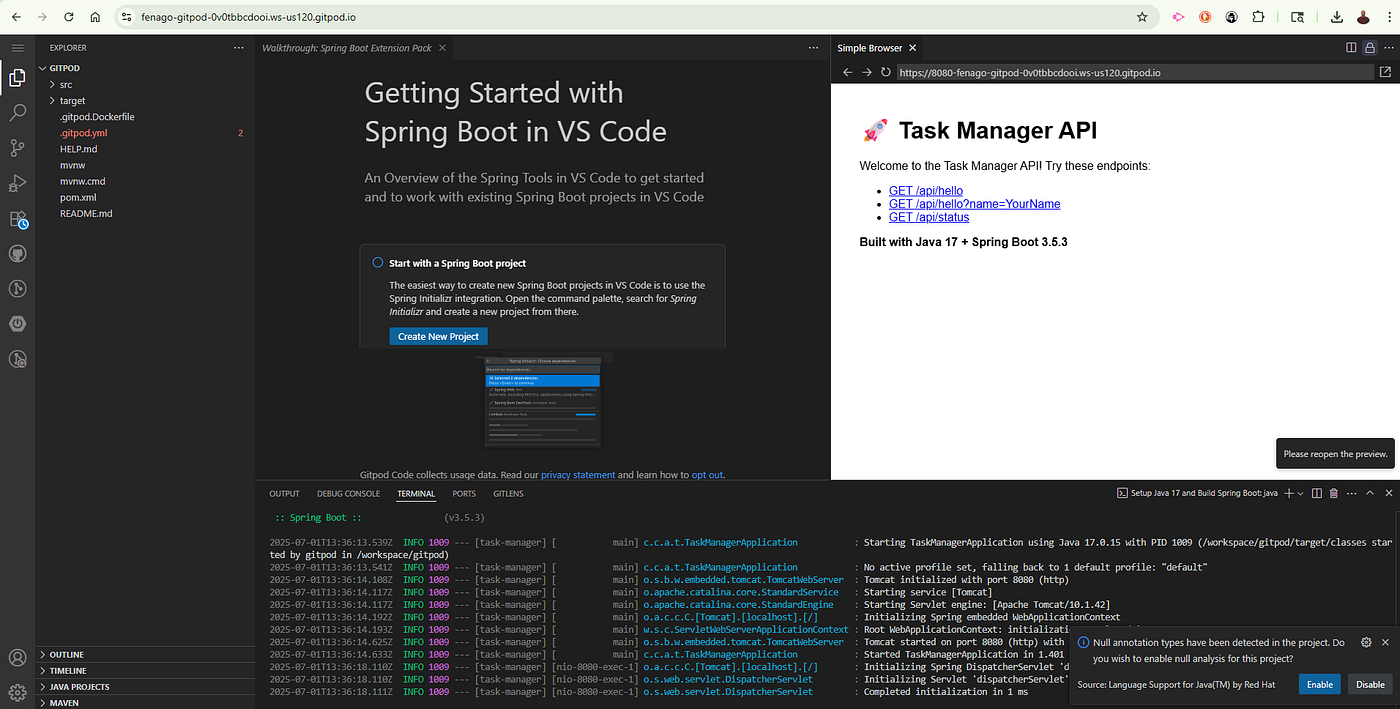
Gitpod will:
- Spin up a fresh dev container
- Install JDK + Maven
- Restore extensions for Spring development
- Build and run your Spring Boot app automatically
- Open port 8080 in preview
No more installs. No more “what JDK version are you using?” headaches.
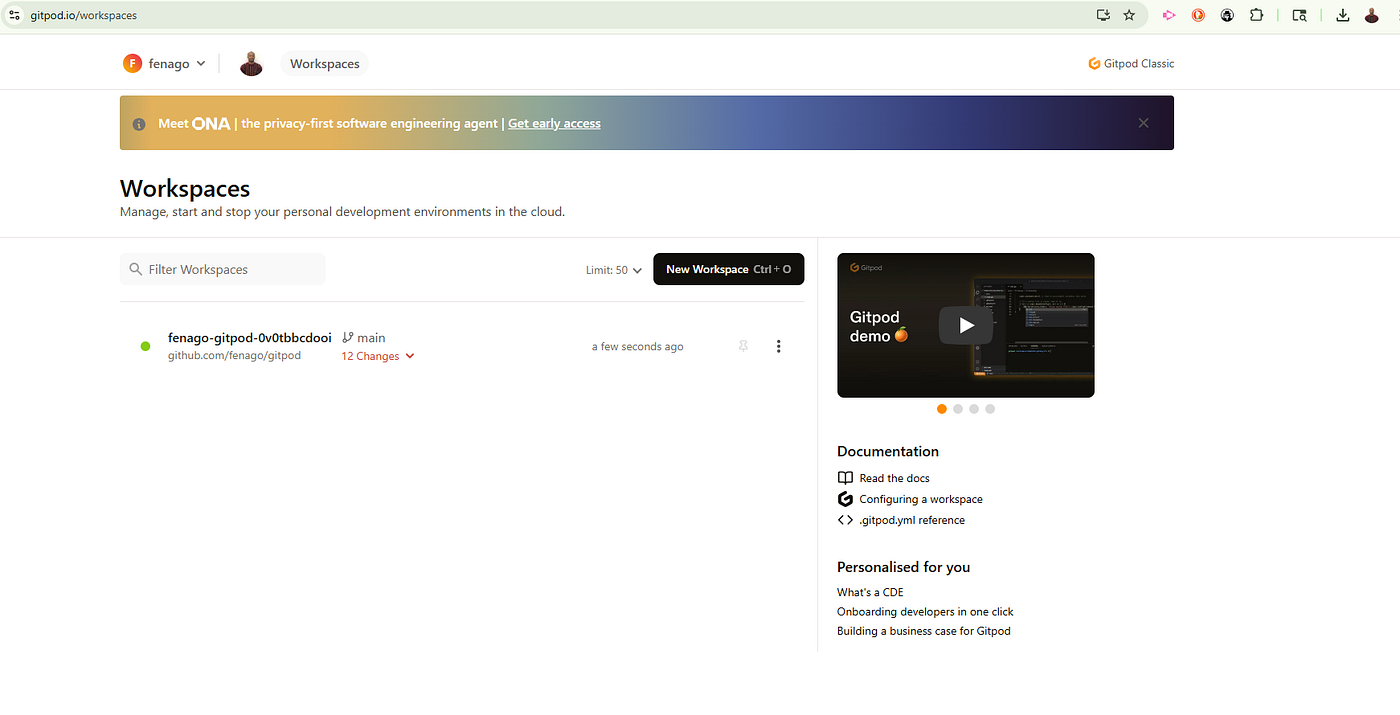
After it loads — in a new tab, go to: https://gitpod.io/workspaces (You can manage your environment from here! Start/Stop/Delete/etc.)
💻 4. (Optional) Use VSCode Locally with Gitpod
You can skip this step — it’s just FYI for those who prefer their local VS Code setup.
If you prefer your local VS Code:
- Install the Gitpod VSCode Extension
- Login and connect to any Gitpod workspace
- Get the full cloud-based project in your local VS Code UI
It’s like WSL + Docker + DevContainer — but zero config.
🚀 5. Run Your Spring Boot Application in Gitpod
Once your Gitpod workspace is ready:
Automatic Start: If everything is configured correctly, your Spring Boot app should start automatically. Look for the terminal output showing:
Started TaskManagerApplication in X.XXX secondsManual Start (if needed): If the app didn’t start automatically, run:
mvn spring-boot:runTest Your API:
- Gitpod will automatically open a preview of port 8080
- Visit
/api/helloto see your hello endpoint - Visit
/api/statusto check the API status - Try
/api/hello?name=YourNameto see the personalized greeting
Making Changes: Edit your code in the Gitpod editor, and the Spring Boot dev tools will automatically restart your application with the changes.
✅ Final Result
You now have:
- A fully cloud-native dev environment for Spring Boot
- A working Task Manager API with REST endpoints
- Maven support out of the box
- Browser-based or desktop VS Code integration
- A replicable setup for all your microservices or team projects
🧩 Bonus Ideas
- Add PostgreSQL via Docker and expose another port.
- Cache
.m2folder for faster Maven builds. - Auto-run tests or generate Swagger docs on build.
- Pair program via Gitpod’s share link.
💬 Wrapping Up
Gitpod + VSCode + Spring Boot is the easiest way to code from anywhere without sacrificing performance or dev tools. It’s especially valuable for:
- Bootcamps
- Open-source contributors
- Remote teams
- DevOps-minded backend engineers
Next time you’re setting up a new project or onboarding a teammate, share the Gitpod link instead of an install doc.
메타데이터
- post_id
- bbfa010edc46
- slug
- boost-your-spring-boot-dev-game-with-gitpod-vscode-a-seamless-cloud-workflow-bbfa010edc46
- url
- https://medium.com/@ernestodotnet/boost-your-spring-boot-dev-game-with-gitpod-vscode-a-seamless-cloud-workflow-bbfa010edc46
- canonical_url
- https://medium.com/@ernestodotnet/boost-your-spring-boot-dev-game-with-gitpod-vscode-a-seamless-cloud-workflow-bbfa010edc46
- author_url
- https://medium.com/@ernestodotnet
- status
- ok
- fetched_at
- 2026-07-19 04:58:24