How to Apply Timber Veneer: A Complete Guide for a Professional Finish
Timber veneer has become a popular choice for architects, interior designers, cabinet makers and homeowners who want the beauty of natural…
How to Apply Timber Veneer: A Complete Guide for a Professional Finish
Timber veneer has become a popular choice for architects, interior designers, cabinet makers and homeowners who want the beauty of natural wood without the cost and weight of a solid timber. Timber veneer is a sophisticated finish that can completely transform a space, from feature walls and cabinetry to furniture and commercial fit-outs.
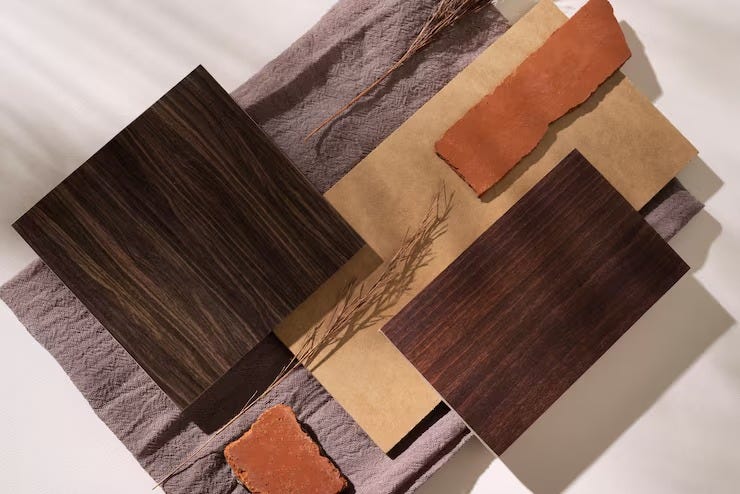
Timber Veneers
However, a perfect result depends very much on proper application. Even the best veneer can fail to give the look it’s supposed to if it’s installed wrong. Understanding the correct preparation techniques, adhesive selection and finishing process is essential to ensure long-lasting performance and visual appeal.
This guide explains how to apply timber veneer correctly and highlights the key steps that professionals follow to achieve outstanding results.
Understanding Timber Veneer
Before beginning the application process, it’s important to understand what timber veneer actually is.
Timber veneer consists of thin slices of real wood that are bonded to a substrate such as MDF, plywood, particleboard, or other engineered panels. Because it uses genuine timber, veneer provides the warmth, texture, and character of natural wood while offering greater stability and material efficiency.
Modern veneer products are available in a wide range of species, grain patterns, cuts, and finishes, making them suitable for both residential and commercial applications.
Why Preparation Is Critical
Poor surface preparation is responsible for a lot of installation problems. Before applying the veneer, the substrate must be clean, smooth, dry and free from contaminants. Dust, grease, moisture or uneven surfaces can prevent adhesion and result in bubbling, lifting or visible imperfections after installation. Professional installers will typically check the substrate very carefully and will repair any defects before moving on. The extra time spent in the preparation stage is often what separates an average-looking end result from an exceptional one.
Step 1: Select the Right Veneer
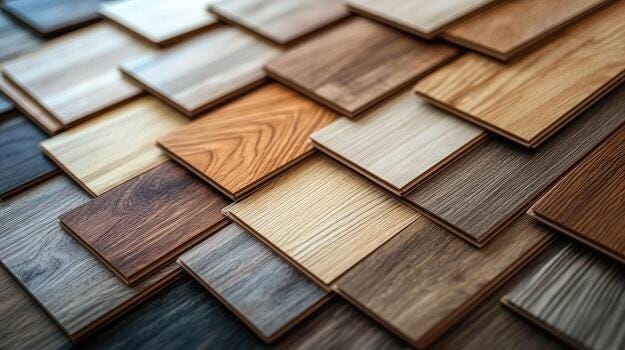
Wood Veneers
Choosing the right veneer is about more than appearance. The timber species, grain direction, colour variation, and intended application should all influence your selection. Areas exposed to higher levels of traffic or wear may benefit from more durable timber species, while decorative wall panels may prioritise visual impact.
Many designers choose **High Grade Wood Veneer** products because they offer superior consistency, premium grain matching, and enhanced visual appeal. These characteristics become particularly important in large commercial projects where multiple panels need to maintain a seamless appearance.
Step 2: Measure and Cut Carefully
Accurate measurement is essential for achieving professional results. Before applying adhesive, measure the surface carefully and cut the veneer slightly larger than the required dimensions. This allows for trimming after installation and helps ensure clean edges.
When working with large sheets, always pay attention to grain direction. Consistent grain alignment creates a more cohesive and visually pleasing finish, particularly across multiple panels or cabinet doors.
Step 3: Apply the Adhesive
The choice of adhesive depends on the veneer type, substrate, and installation environment.
Common options include:
- Contact adhesives
- PVA wood glues
- Cold press adhesives
- Heat-activated adhesives
- Commercial-grade veneer bonding systems
Apply the adhesive evenly across the substrate according to the manufacturer’s recommendations. Uneven glue coverage can create weak bonding areas that may become visible over time. In commercial projects, professional pressing systems are often used to ensure consistent adhesion and eliminate air pockets.
Step 4: Position and Press the Veneer
Once adhesive is prepared, carefully set the veneer on the substrate. This is a critical step because once bonding begins, it can be difficult to reposition the parts. Fabricators use rollers, vacuum presses or hydraulic presses to apply even pressure over the whole surface. This helps to achieve the maximum bond strength and avoid future delamination. Work slowly and methodically to remove trapped air and make sure of complete contact between the veneer and the substrate.
Step 5: Trim the Edges
Once cured, trim the excess material with a veneer trimmer, router or sharp utility knife. Edge trimming is a very important part of the overall appearance of the finished product and must be clean and precise. Rough or uneven edges can ruin an otherwise high-quality installation. At this stage, be careful not to chip or damage the veneer, especially with delicate timber species.
Step 6: Sand and Finish the Surface
Finishing is where the true beauty of timber veneer comes to life. Light sanding helps create a smooth surface and prepares the veneer for staining, oiling, or clear coating. Because veneer is relatively thin, sanding should be performed carefully to avoid damaging the timber face.
Depending on the project requirements, common finishing options include:
- Clear polyurethane coatings
- Hardwax oils
- Water-based finishes
- UV-cured coatings
- Commercial-grade protective systems
The right finish enhances durability while highlighting the natural grain and colour variations that make timber veneer so appealing.
Sustainability Benefits of Timber Veneer
One reason timber veneer continues to gain popularity is its sustainability profile. Because veneer uses thin slices of timber rather than large solid wood sections, a single log can produce significantly more finished surface area. This efficient use of natural resources helps reduce waste while maintaining the authentic appearance of real timber.
Many manufacturers also focus on responsibly sourced timber and other **Eco-friendly materials**, allowing architects and designers to meet sustainability goals without compromising on aesthetics. For projects targeting environmentally responsible design outcomes, veneer offers an excellent balance between performance, beauty, and resource efficiency.
Common Mistakes to Avoid
Even experienced installers can encounter challenges when working with veneer.
Some of the most common mistakes include:
- Applying veneer to an uneven substrate
- Using the wrong adhesive
- Insufficient pressing pressure
- Ignoring grain direction
- Over-sanding the veneer surface
- Failing to acclimatise materials before installation
Avoiding these issues helps ensure a durable and visually consistent finish.
Where Timber Veneer Is Commonly Used
Timber veneer is incredibly versatile and can be applied across a wide range of interior applications, including:
- Kitchen cabinetry
- Wardrobes
- Reception desks
- Office fit-outs
- Retail displays
- Feature walls
- Hotel interiors
- Boardroom furniture
- Joinery and millwork
Its ability to create a premium timber appearance while maintaining design flexibility makes it a preferred choice for both residential and commercial projects.
Final Thoughts
Learning how to apply timber veneer properly is essential for achieving a finish that looks beautiful and performs reliably for years to come. From careful preparation and accurate cutting to professional pressing and finishing, every step contributes to the overall success of the project.
Timber veneer, using good quality materials and correct installation techniques, can introduce the warmth, elegance and character of natural wood into most interior settings. Whether you’re designing a luxury commercial space or enhancing a residential interior, investing in the right products, techniques and craftsmanship will help you achieve results that stand the test of time.
메타데이터
- post_id
- bee9fcda8ada
- slug
- how-to-apply-timber-veneer-a-complete-guide-for-a-professional-finish-bee9fcda8ada
- url
- https://medium.com/@designpluz.marketingl2/how-to-apply-timber-veneer-a-complete-guide-for-a-professional-finish-bee9fcda8ada
- canonical_url
- https://medium.com/@designpluz.marketingl2/how-to-apply-timber-veneer-a-complete-guide-for-a-professional-finish-bee9fcda8ada
- author_url
- https://medium.com/@designpluz.marketingl2
- status
- ok
- fetched_at
- 2026-07-14 22:12:21




