Active Directory Pentesting Series-Part 2
Setting Up a Practical Active Directory Lab (From Scratch)
Active Directory Pentesting Series-Part 2
Setting Up a Practical Active Directory Lab (From Scratch)
Before attacking Active Directory, you must understand how it is built. Most AD attacks succeed not because of “advanced exploits,” but because of misconfigurations made during setup.
In this part, we’ll build a realistic Active Directory lab that closely mirrors enterprise environments and prepares you for both defensive analysis and pentesting.
Lab Requirements & Overview
This lab is designed to be lightweight but realistic.
Minimum Requirements
- 1× Windows Server (Domain Controller)
- 2× Windows Workstations (Domain-joined clients)
- 8–16 GB RAM
- 60+ GB disk space
- Virtualization platform (VMware / VirtualBox)
This setup is enough to practice enumeration, credential attacks, LLMNR poisoning, Kerberos abuse, and GPO misconfigurations later.
Step 1: Configure Networking (Critical Step)
Before installing Active Directory, networking must be correct.
1. Assign a Static IP to the Domain Controller
On the Windows Server:
- Go to Network Adapter Settings
- Open IPv4 properties
- Assign a static IP address
- Set DNS = Domain Controller’s own IP
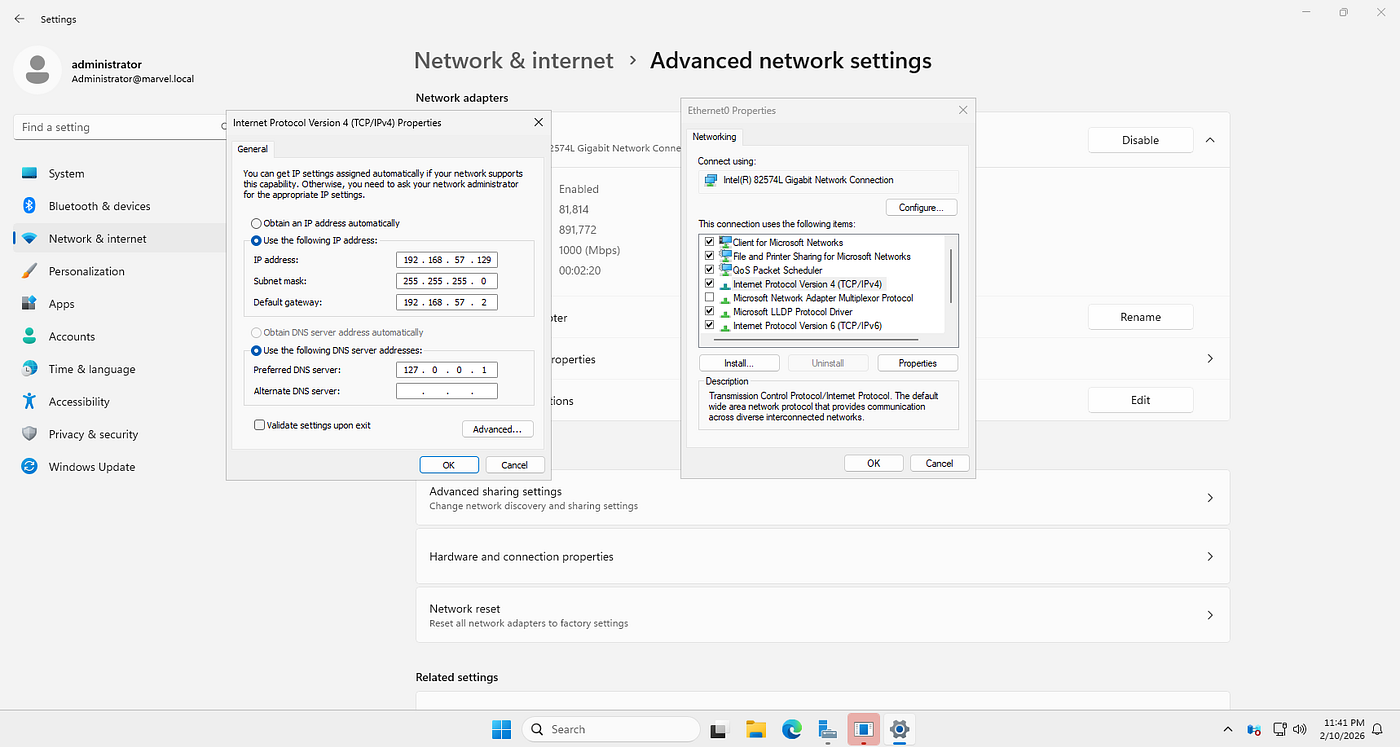
(Static IP and DNS configuration on the server)
Why this matters: Active Directory is heavily dependent on DNS. Dynamic IPs or incorrect DNS settings will break authentication, replication, and domain joins.
Step 2: Install Active Directory Domain Services (AD DS)
Using Server Manager
- Open Server Manager
- Go to Add Roles and Features
- Select Role-based installation
- Choose Active Directory Domain Services
- Install required features
- Complete installation
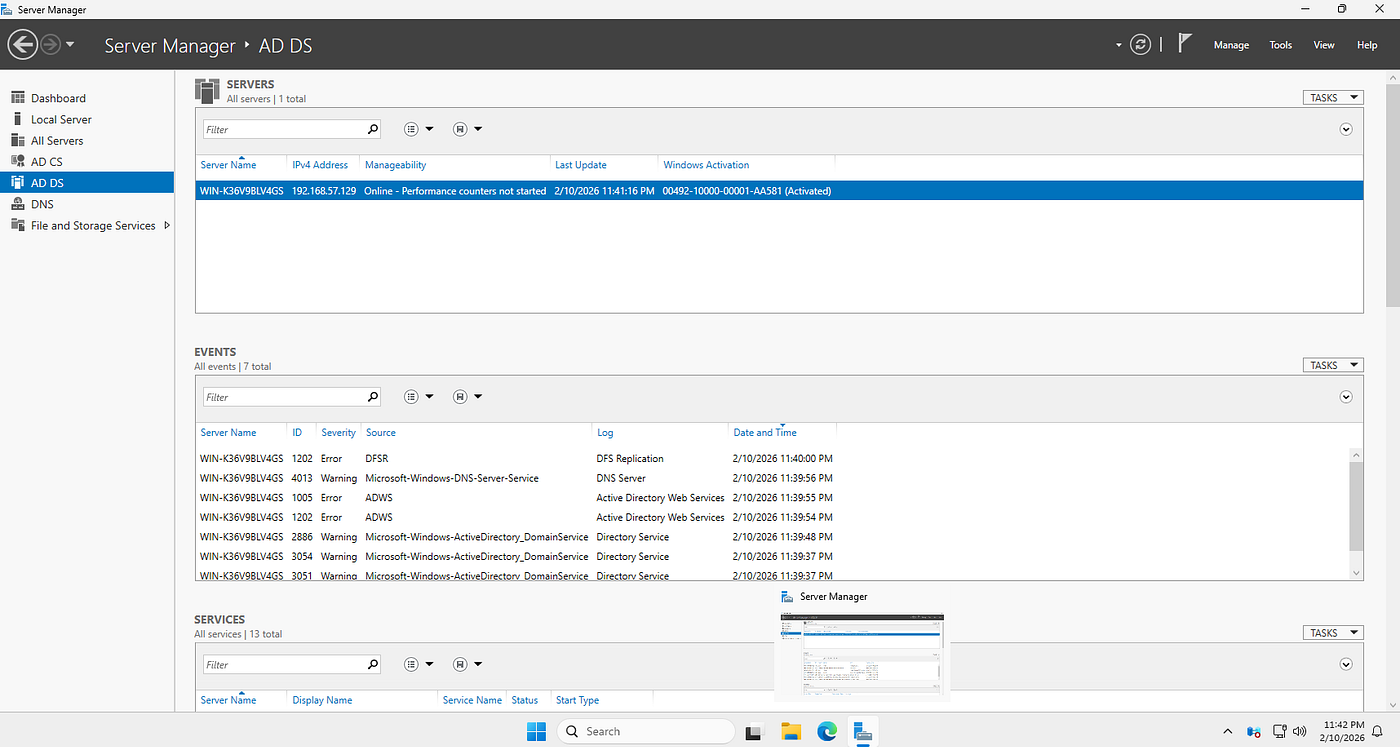
(AD DS role selection in Server Manager)
At this stage, AD DS is installed but not yet active.
Step 3: Promote Server to Domain Controller
After installation:
- Click Promote this server to a domain controller
- Select Add a new forest
- Enter your domain name
Example:
marvel.local - Set:
- Forest functional level
- Domain functional level
- DSRM password
- Complete setup and reboot
(New forest and domain name configuration)
Once rebooted, your Active Directory domain is live.
Step 4: Create Administrative & Service Accounts
Administrator Accounts (Best Practice)
Instead of using the default Administrator:
- Create a separate admin user
- Assign admin privileges
- Use this for management
Why: This reflects real enterprise environments and reduces exposure of the default admin account.
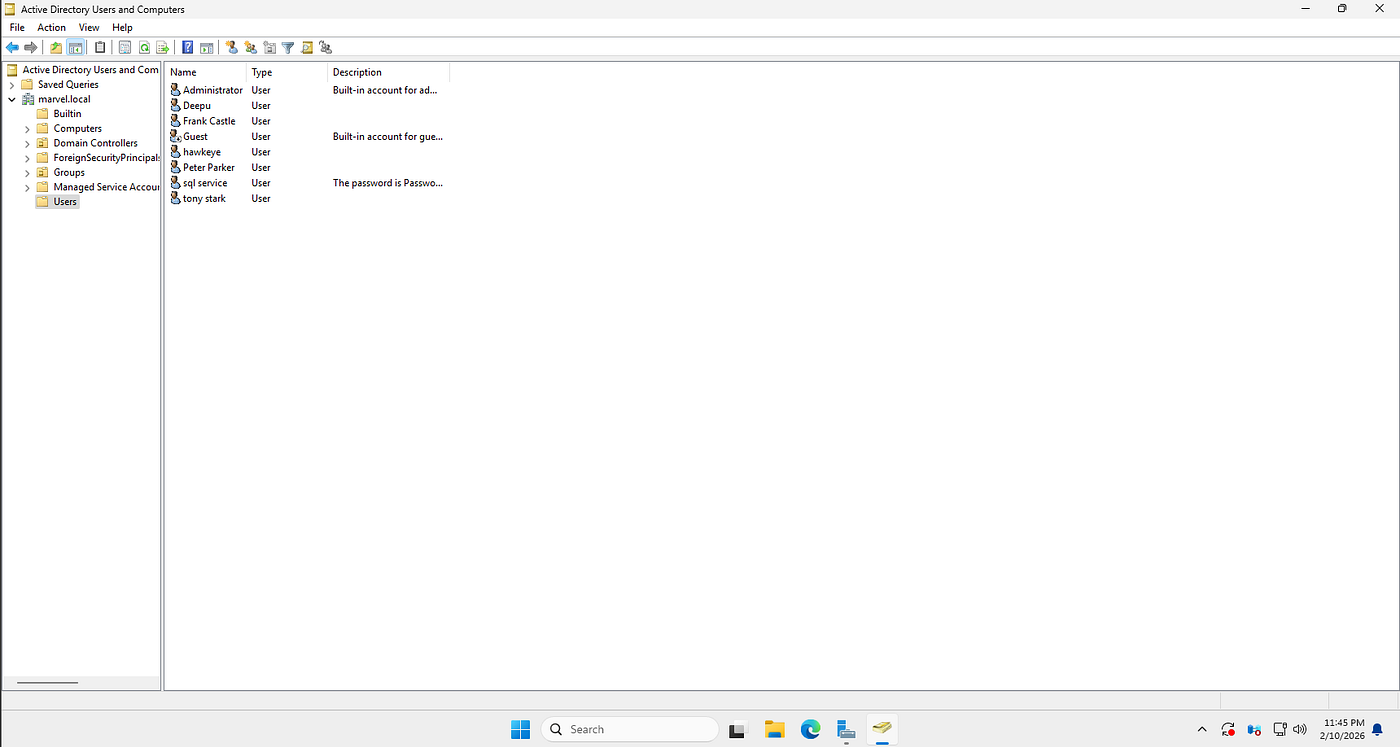
(Creating a new domain admin user)
Service Accounts
Service accounts are used to:
- Run applications
- Run services
- Access network resources
Create:
- Dedicated service accounts
- No interactive logon
- Strong passwords
These accounts will later be targets in Kerberoasting and lateral movement labs.
Step 5: Set Up Organizational Units (OUs)
OUs help structure the environment.
Example OU structure:
marvel.local
 ├── Admins
 ├── Users
 ├── ServiceAccounts
 ├── Workstations
 └── Servers
Steps:
- Open Active Directory Users and Computers
- Right-click domain → New → Organizational Unit
- Create logical OUs
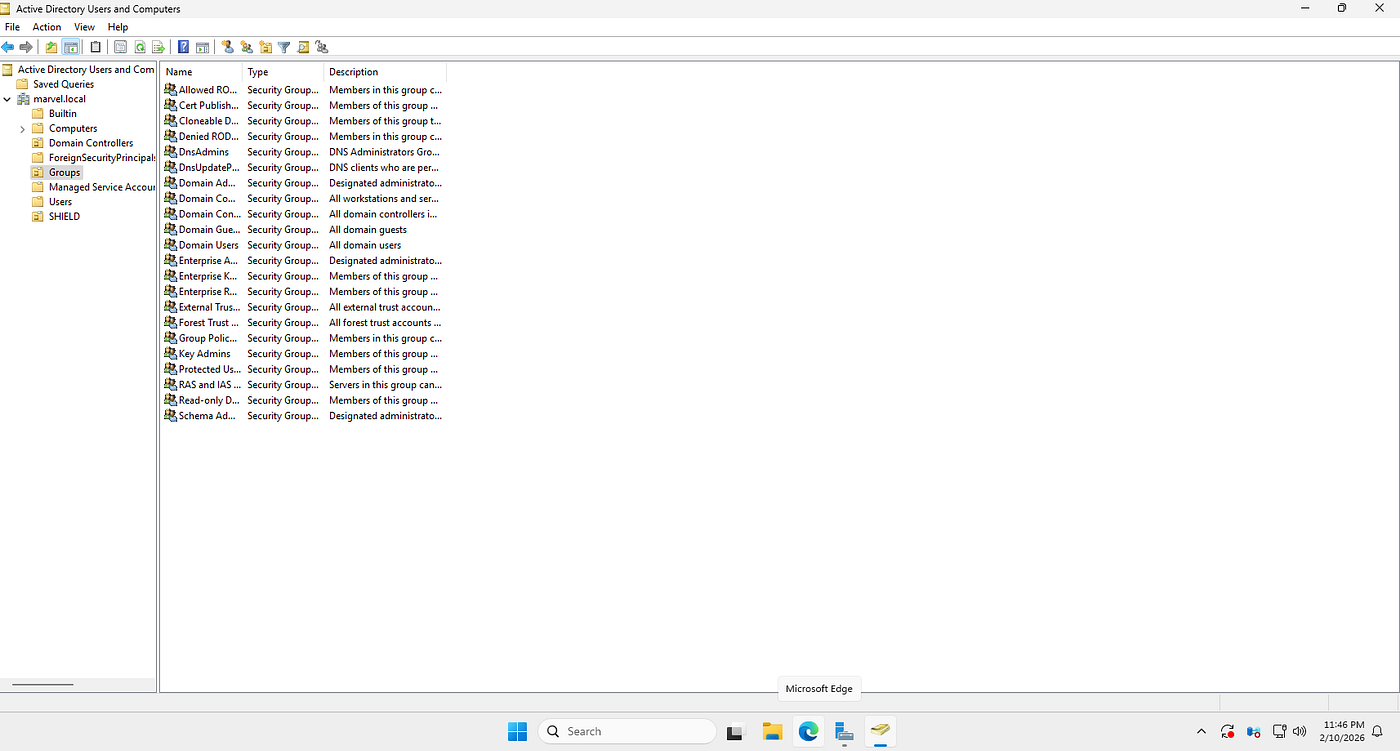
(OU structure creation)
Step 6: Join Client Machines to the Domain
On each Windows workstation:
- Assign a static IP or DHCP
- Set DNS = Domain Controller IP
- Go to:
System → Access Work or School → Join Domain
- Enter domain name
- Authenticate with domain admin
- Reboot
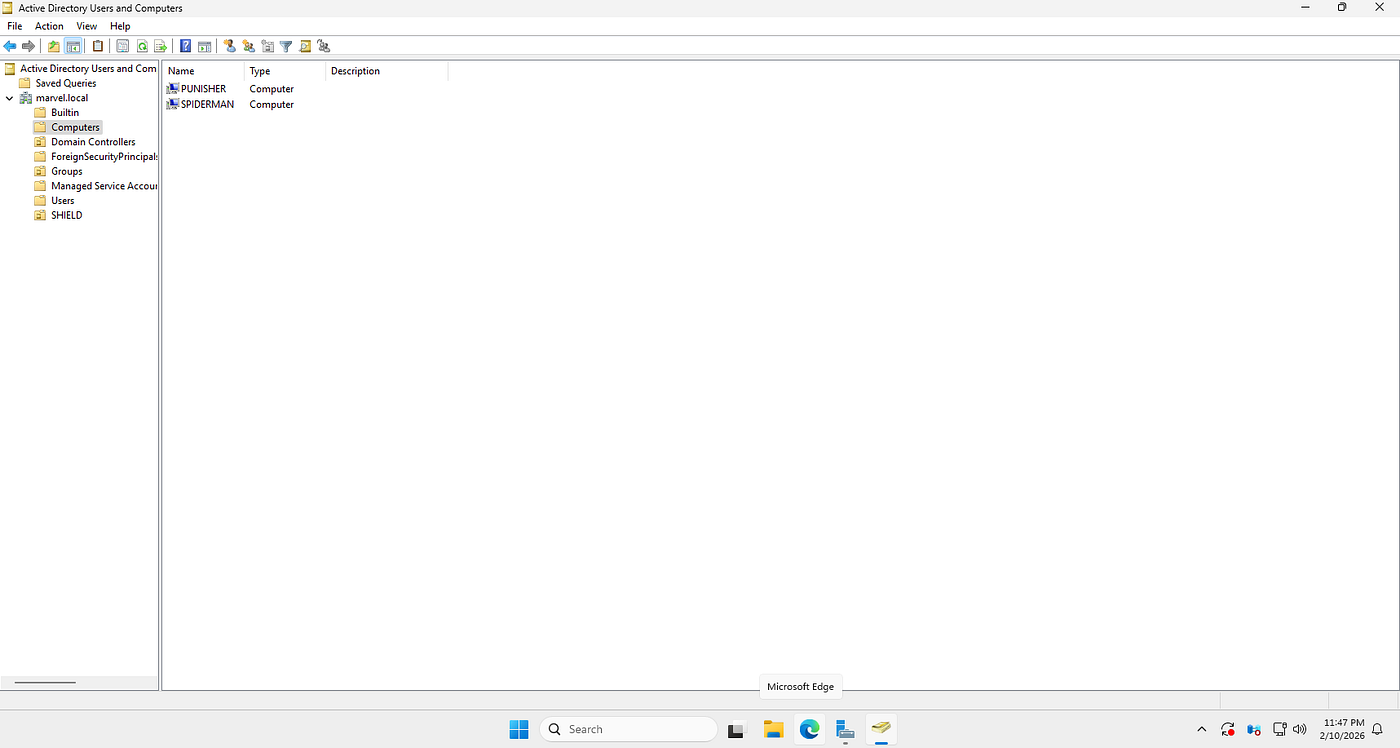
(Client machine joining the domain)
After reboot, the client becomes a domain member.
Step 7: Enable File Sharing (For Lateral Movement Labs)
On both server and clients:
- Enable File & Printer Sharing
- Create SMB shares
- Assign domain permissions
Why this matters:
- Used in LLMNR poisoning
- Used for credential relay
- Used for lateral movement
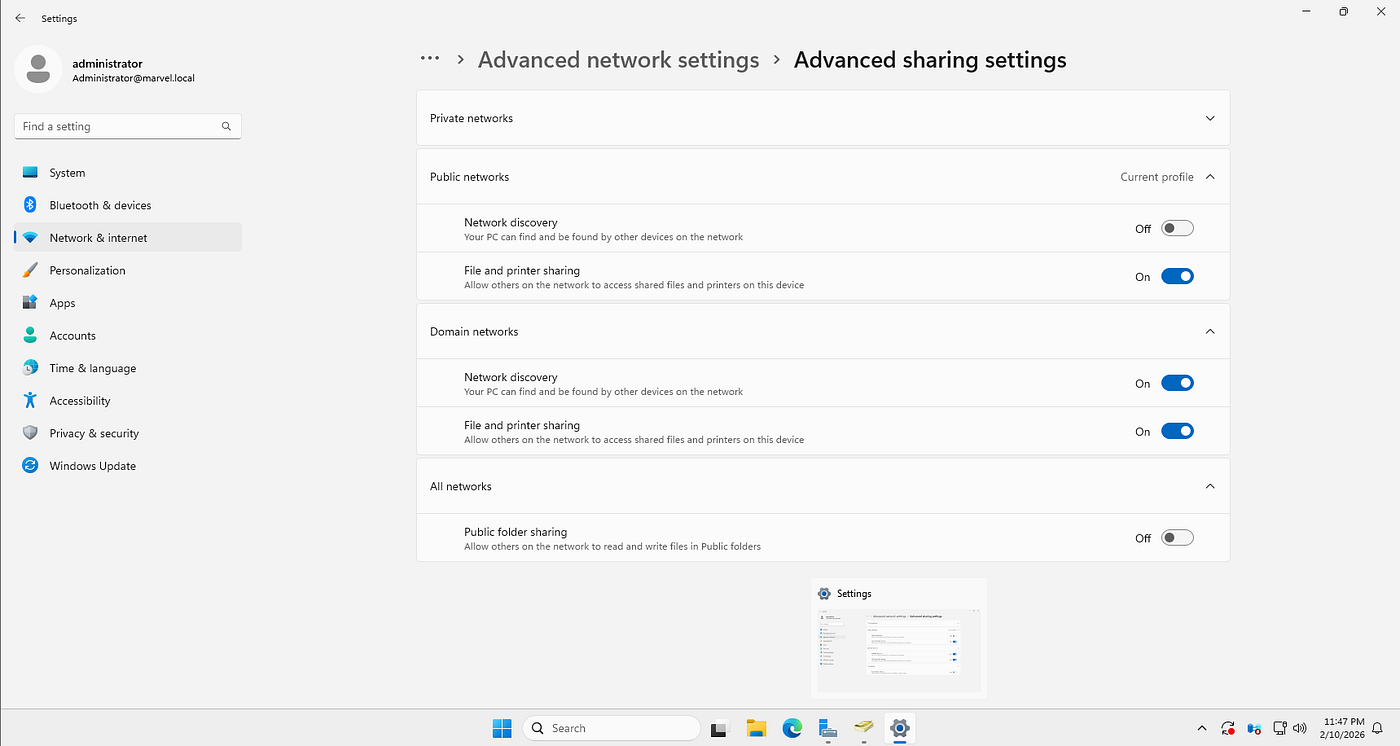
(SMB share configuration)
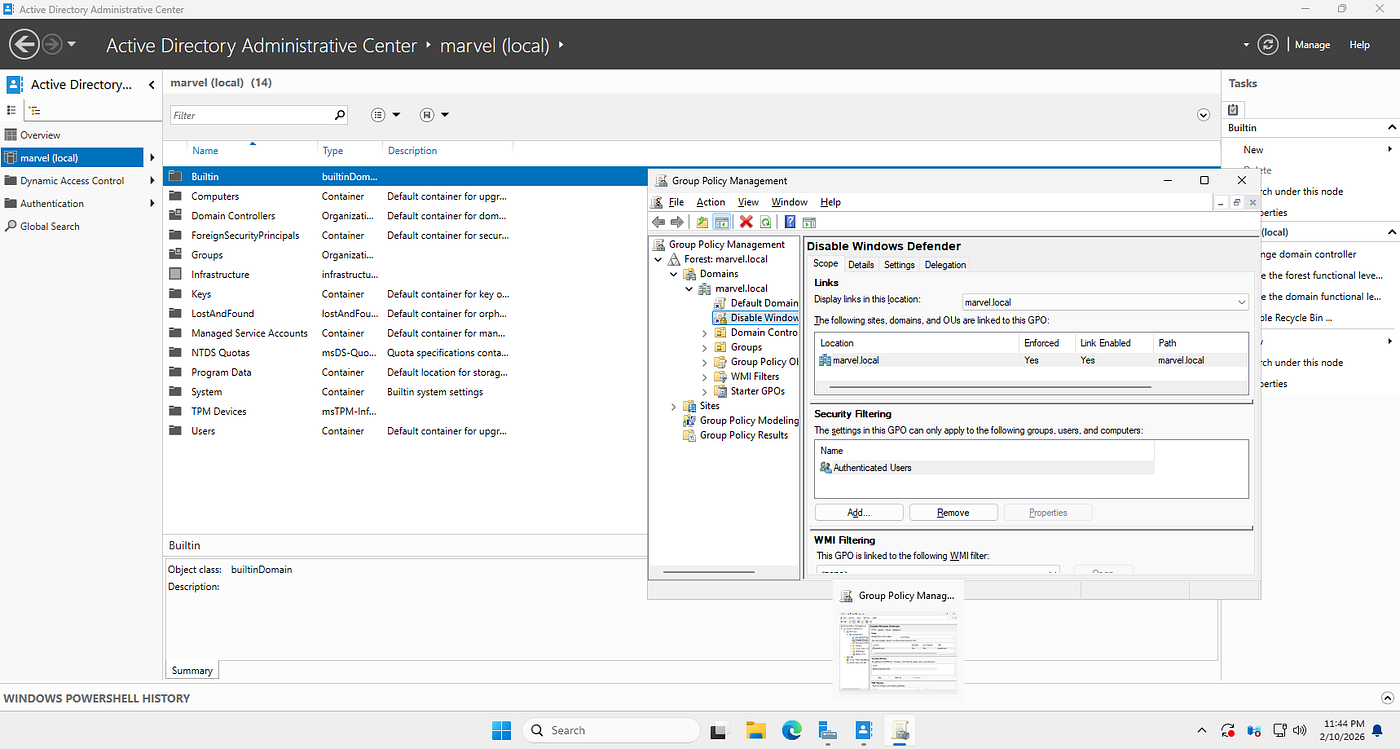
Step 8: Group Policy Setup (GPO Basics)
Create a Group Policy Object
- Open Group Policy Management
- Right-click domain → Create GPO
- Link it to the domain or OU
Common beginner policies:
- Disable Windows Defender (lab only)
- Enable password policies
- Configure administrative templates
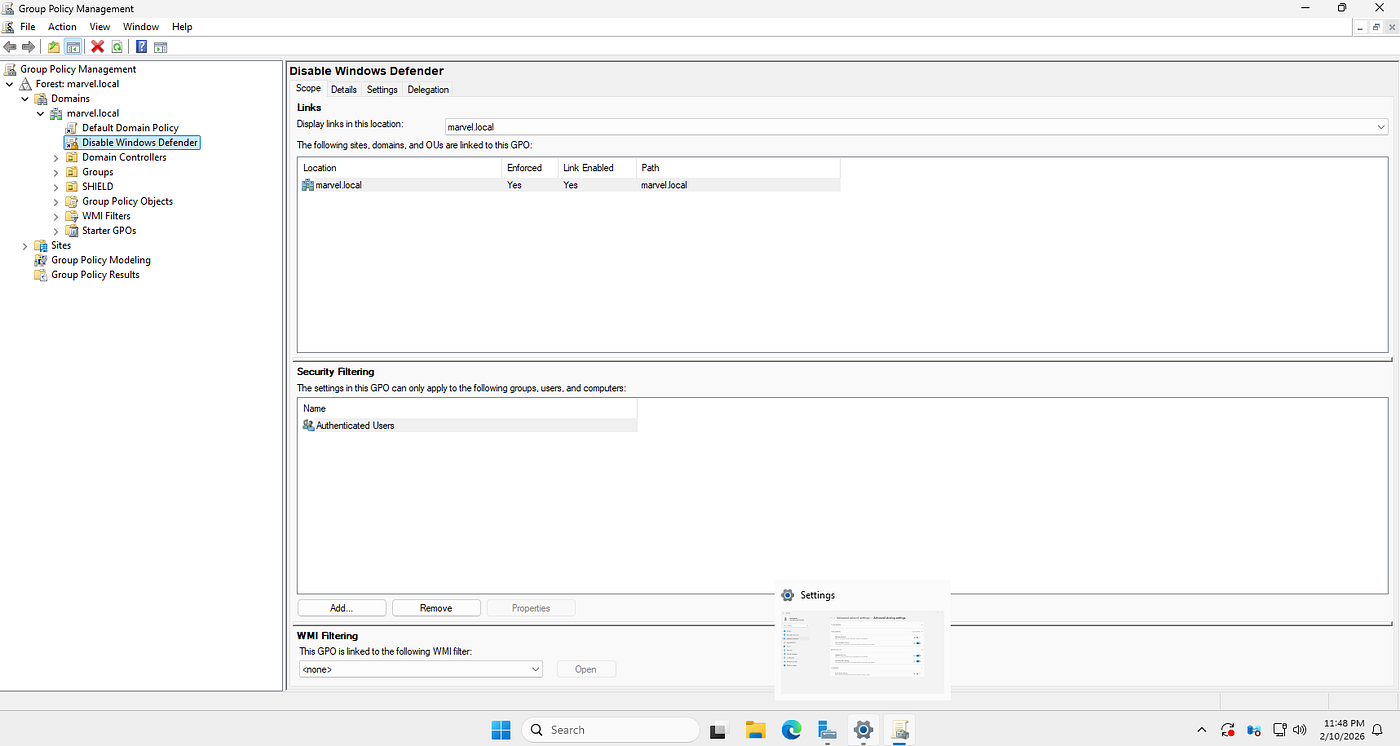
(GPO creation and linking)
Step 9: AD Certificate Services (Optional but Powerful)
Installing AD CS allows:
- Certificate-based authentication
- Later exploitation via AD CS misconfigurations
Steps:
- Add Active Directory Certificate Services
- Choose Enterprise CA
- Create new private key
- Select cryptography (SHA-256)
- Complete setup
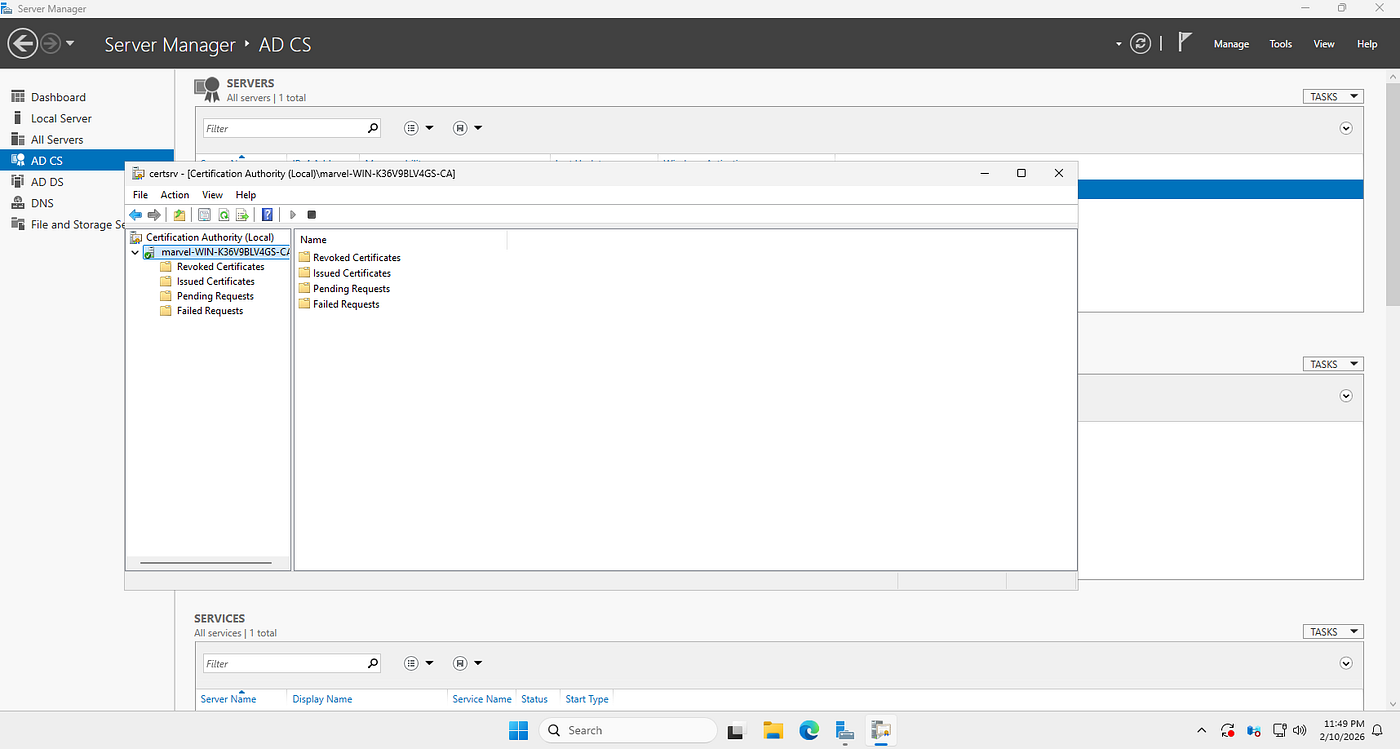
(AD CS role installation)
Step 10: Verify the Lab
Checklist:
- Domain Controller running
- Clients joined successfully
- DNS resolving domain
- Users and service accounts visible
- SMB shares accessible
- GPOs applied (
gpresult /r)
If all checks pass, your Active Directory lab is ready.
Why This Lab Matters for Pentesting
This setup enables you to practice:
- AD enumeration
- LLMNR/NBT-NS poisoning
- Kerberoasting
- Password spraying
- Lateral movement
- Privilege escalation
- Domain compromise paths
You don’t attack AD effectively unless you’ve built it yourself.
What’s Coming in Part 3
In Part 3, we move into Initial Access Attacks, including:
- LLMNR poisoning
- Responder abuse
- NTLM hash capture
- Password cracking
- First foothold inside the domain
Final Note
This lab mirrors real enterprise mistakes, not textbook perfection. That’s exactly why it’s valuable.
메타데이터
- post_id
- bf3fe0dc4fcc
- slug
- active-directory-pentesting-series-part-2-bf3fe0dc4fcc
- url
- https://medium.com/@HarshadParteki12/active-directory-pentesting-series-part-2-bf3fe0dc4fcc
- canonical_url
- https://medium.com/@HarshadParteki12/active-directory-pentesting-series-part-2-bf3fe0dc4fcc
- author_url
- https://medium.com/@HarshadParteki12
- status
- ok
- fetched_at
- 2026-06-11 05:11:55

