How I turned my old hard disks into a home NAS with Raspberry Pi and OMV
Do you have old hard disks at home that you don’t use anymore?
How I turned my old hard disks into a home NAS with Raspberry Pi and OMV
Photo by 1Click on Unsplash
Do you have old hard disks at home that you don’t use anymore?
I had two hard drives just sitting in a drawer. Instead of throwing them away, I decided to use them again — and now they are very useful :)
Here I will tell you in 7 steps how I used a **Raspberry Pi 4 and [OpenMediaVault (OMV)](https://docs.openmediavault.org/en/stable/) to build a simple [NAS (Network Attached Storage)](https://en.wikipedia.org/wiki/Network-attached_storage)** for my home. Now, everyone in our home can save and access files easily from any device on our network.
What I Used
- 1 Raspberry Pi 4 (4GB RAM)
- Apple HDD HTS5450 and HGST SATA 5400
- 2 USB 3.0 to SATA Adapter
- 32GB microSD card for Raspberry Pi OS and OMV
- Ethernet cable and internet connection
Step 1: Write OS Image to microSD
I downloaded and installed Raspberry Pi Imager to make the microSD card bootable. (*For OS, I set *Raspberry Pi OS Lite (64-bit))**
After that, I inserted the SD card into the Raspberry Pi, connected the Ethernet cable, and powered it on.
Step 2: Install OpenMediaVault
If you connected a monitor and keyboard to your Raspberry Pi, you can proceed directly with the OpenMediaVault installation. Otherwise — like in my case — you can find the Raspberry Pi’s IP address from your router and connect to it via SSH to run the installation.
At this point, you should be connected to your Raspberry Pi either directly or over SSH.
First of all update the system: sudo apt update && sudo apt upgrade -y
Then run the OpenMediaVault pre-installation, It will set up the ethernet connection to be persistent. wget -O — [https://raw.githubusercontent.com/OpenMediaVault-Plugin-Developers/installScript/master/preinstall](https://raw.githubusercontent.com/OpenMediaVault-Plugin-Developers/installScript/master/preinstall) | sudo bas
Once it’s done, we need to run sudo reboot
If you’re using SSH, your connection will be lost after the reboot. Wait for the Raspberry Pi to restart, then reconnect via SSH.
After reboot, run the OpenMediaVault installation command wget -O — [https://raw.githubusercontent.com/OpenMediaVault-Plugin-Developers/installScript/master/install](https://raw.githubusercontent.com/OpenMediaVault-Plugin-Developers/installScript/master/install) | sudo bash
It might take time, wait until it finishes. Once the installation process has completed the Raspberry Pi should be automatically restarted.
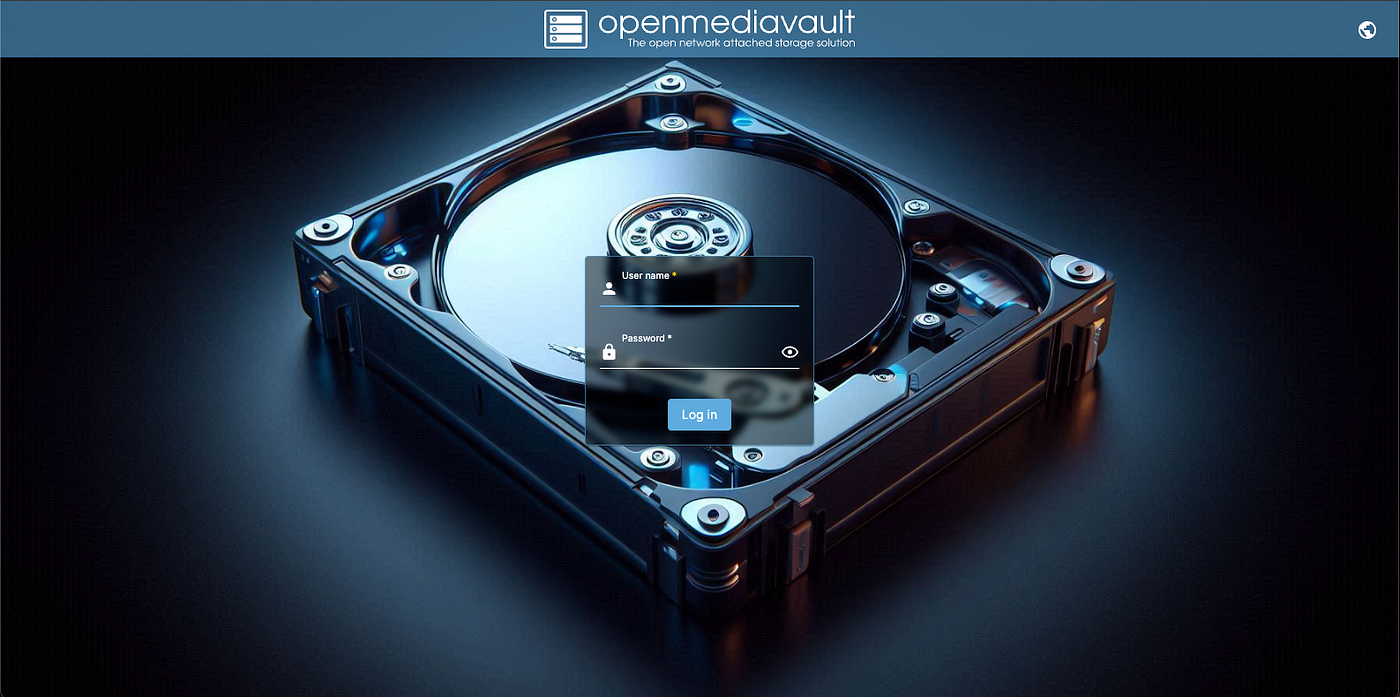
After system reboot, you can access the OMV web UI via browser: http://<your-raspberry-ip>/
Default credentials
- Username:
admin - Password:
openmediavault
Please remember to change the admin password right away
Step 3: Define Users
To manage user access, go to Users > Users section, where we can:
- Create new users by assigning a username, password, and optional email address.
- Specify user groups, allowing you to organize access control at the group level.
Each user will have their own login credentials, enabling individual and secure access to shared folders based on assigned permissions.
This is especially useful if you want to limit or customize access per user instead of allowing open/guest access.
Step 4: Connect and mount the Hard Disks
Since I am using SATA hard disks, I connected each of them to a **SATA-to-USB adapter**, and plugged them into the Raspberry Pi. OMV detected all two disks without any problems.
You can view all connected and detected disks by navigating to Storage > Disks where lists every physical disk currently attached to your system.
So we access our hard disks, and can proceed with mounting in Storage > File Systems
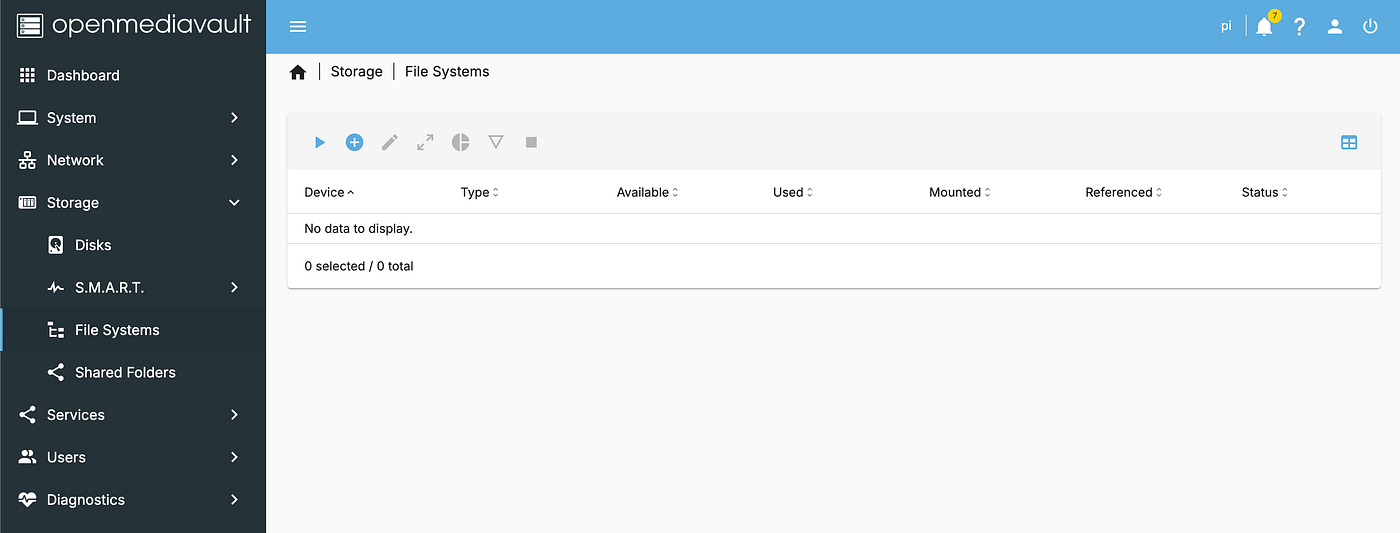
Depending on your disk’s condition, you have two options:
- For a new or empty disk, you can start with
**+ button* to create new file system as EXT4. Obviously this step is required before the disk can be mounted.* - For a disk with an existing file system or partitions, you can proceed with
**> button, and select the disk from the File System** dropdown, and optionally adjust the usage warning threshold (default is 85%), or leave it as-is.
So if a disk is not listed in the Create File System screen, it’s usually because the disk already has a file system or partitions. In that case, simply mount it using the mount option
[http://<your-raspberry-ip>/#/storage/filesystems/mount](http://192.168.1.28/#/storage/filesystems/mount).
Step 5: Create Shared Folders
To create a network share, go to Storage > Shared folders where we can:
- Define a Name, that other devices on the network will see.
- Via File System dropdown, we choose the target disk where the shared folder will reside.
- In Relative path, depends on selected target disk, we can specify entire disk or a specific directory
Consider If you’re using a freshly formatted disk, you can share the root
/of the file system. If the disk already contains existing directories (e.g. from a previous setup), OMV will list them, allowing you to choose a specific directory. You can still share the entire disk/if needed.
- With Permissions field you are able to set
read/writeaccess for users and groups as needed. This determines who can access or modify files within the shared folder.
Step 6: Enable SMB for Windows and Mac Access
I enabled SMB/CIFS from Services > SMB/CIFS > Settings and then added my shared folders via Services > SMB/CIFS > Shares. Here we define Guest access (in this case no password is required to connect to the share) or just user access via select No for Public field.
Also ensure
**Browseable** is enabled (optional but helpful)
Step 7: Access from macOS Finder
- Open Finder Click Go → Connect to Server
- Enter the Raspberry IP as
smb://<your-raspberry-ip> - Click Connect, and depends on specified permissions in Step 6
- If the share is public: select Guest
- If not: enter the user username/password you created in Step 2
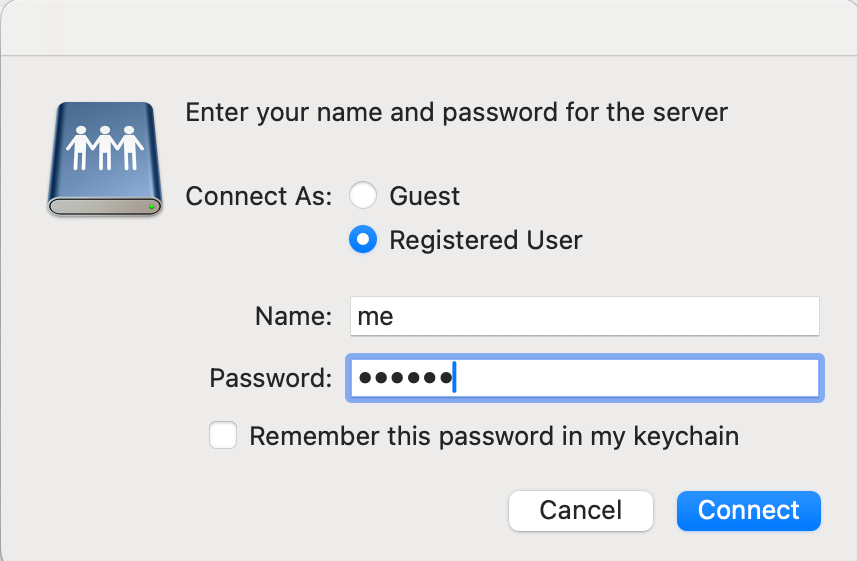
The drive will now mount and show in Finder.
Now everyone in the house (Windows, macOS) can access these folders easily. We just mapped the shared folders on each device. We have a working NAS at home! I didn’t spend much money — I reused old hardware and just added a few cheap adapters. I’m happy I gave those old hard disks a new life. A small Raspberry Pi can do big things!
Final Tips
- Set strong passwords and limit access to keep files safe.
- Make backups of important files — old hard disks can fail.
메타데이터
- post_id
- c1ce4d2a3abc
- slug
- how-i-turned-my-old-hard-disks-into-a-home-nas-with-raspberry-pi-and-omv-c1ce4d2a3abc
- url
- https://medium.com/@bohloul/how-i-turned-my-old-hard-disks-into-a-home-nas-with-raspberry-pi-and-omv-c1ce4d2a3abc
- canonical_url
- https://medium.com/@bohloul/how-i-turned-my-old-hard-disks-into-a-home-nas-with-raspberry-pi-and-omv-c1ce4d2a3abc
- author_url
- https://medium.com/@bohloul
- status
- ok
- fetched_at
- 2026-07-18 10:09:19


