Intercepting Windows Desktop Application Traffic with Burp Suite & Proxifier — A VAPT Walkthrough
A real-world troubleshooting guide for routing thick-client app traffic through Burp Suite
Intercepting Windows Desktop Application Traffic with Burp Suite & Proxifier — A VAPT Walkthrough
A real-world troubleshooting guide for routing thick-client app traffic through Burp Suite
Introduction
When performing a Vulnerability Assessment and Penetration Test (VAPT) on a Windows desktop application, one of the first challenges is getting the app’s network traffic into Burp Suite. Unlike web browsers that natively support proxy settings, thick-client applications bypass system proxies entirely — they talk directly to the internet.
This is where Proxifier comes in. It’s a tool that forces any application’s traffic through a proxy of your choice, regardless of whether the app supports proxy settings.
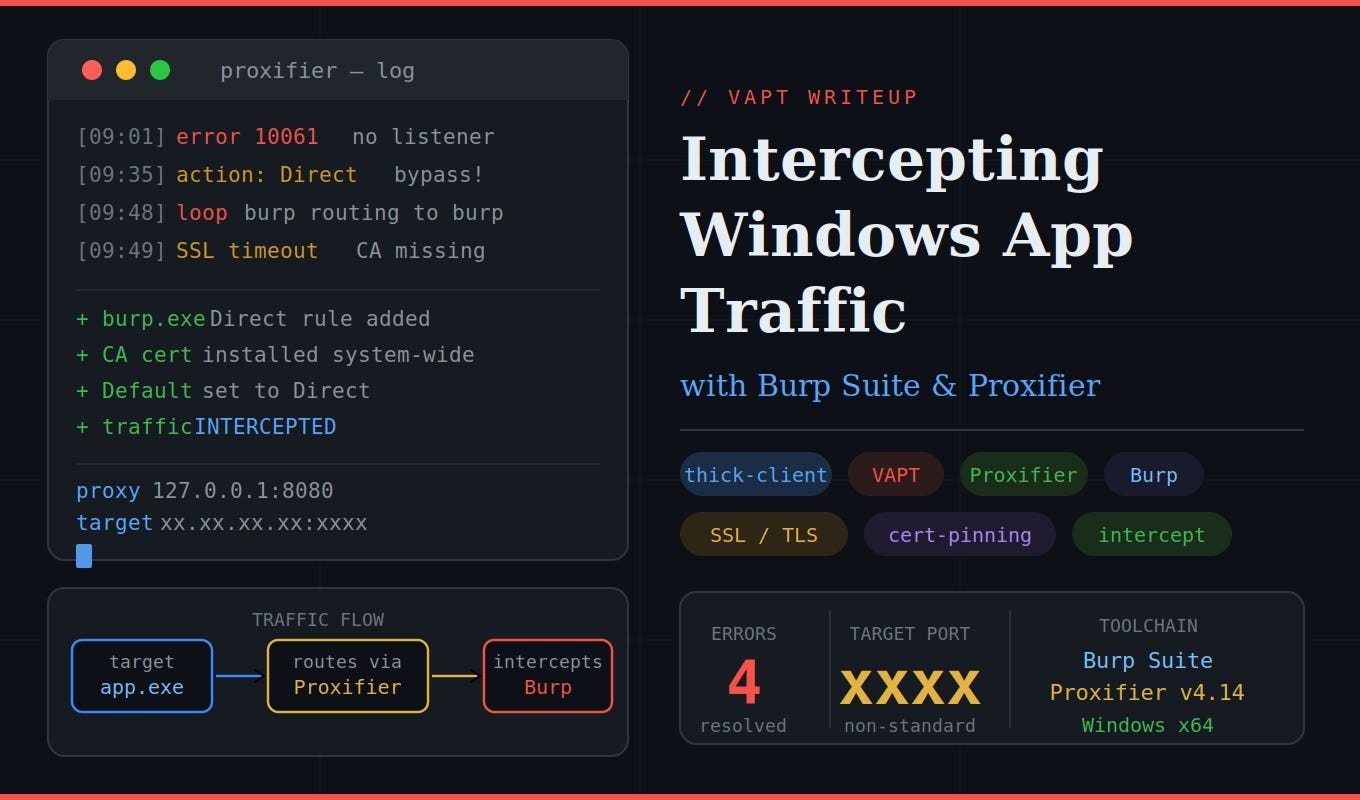
In this write-up, I’ll walk through the exact process — and the exact mistakes — I encountered while intercepting a Windows application called xxxxxx_product.exe communicating with a remote server on port xxxx.
The Setup
Tools used:
- Burp Suite (listening on
127.0.0.1:8080) - Proxifier v4.14 x64
- Target application:
xxxxxx_xxxxx.exe - Remote server:
192.xx.xx.xx:0000
The goal: intercept and inspect all traffic from the desktop app in Burp Suite’s HTTP History.
Step 1 — The First Error (Connection Refused)
After launching Proxifier and running the application, I immediately hit:
xxxxxx_product.exe (xxxx) - xx.xx.xx.xx:xxxx error :
Could not connect to proxy 127.0.0.1:8080 - connection attempt
failed with error 10061
Error 10061 is WSAECONNREFUSED — Windows' way of saying nothing is listening on that port.
Root cause: Burp Suite wasn’t running yet. No proxy listener = connection refused.
Fix: Launch Burp Suite first, confirm the listener is active under Proxy → Options → 127.0.0.1:8080.
Step 2 — Wrong Proxification Rule Action
Once Burp was running, traffic still wasn’t showing up in HTTP History. On inspecting the Proxifier rule for the application, the Action was set to Direct.
With Direct, Proxifier completely bypasses the proxy and connects the app straight to the internet — Burp never sees a single packet.
Fix: Change the rule’s Action from Direct to your Burp proxy profile.
But wait — the Action dropdown only showed Direct and Block. No proxy option.
Root cause: No proxy server had been added to Proxifier yet. The dropdown only lists configured proxies.
Fix:
- Go to
Profile → Proxy Servers → Add - Set Address:
127.0.0.1, Port:8080, Protocol:HTTPS - Save — the proxy now appears in the Action dropdown
Step 3 — Correct Rule Configuration
After adding the proxy server, the Proxification Rules were configured as:
Rule Applications Target Hosts Action Localhost Any localhost; 127.0.0.1; %ComputerName%; ::1 Direct STICKER HO xxxxxx_product.exe Any Proxy HTTPS 127.0.0.1:8080 Default Any Any Proxy HTTPS 127.0.0.1:8080
Traffic started flowing — but new errors appeared immediately.
Step 4 — The Infinite Loop Problem
burpsuite.exe (19280) - 127.0.0.1:51750 open through proxy 127.0.0.1:8080 HTTPS
burpsuite.exe (19280) - 127.0.0.1:51750 open through proxy 127.0.0.1:8080 HTTPS
... (repeating hundreds of times)
Burp Suite itself was being proxied through Burp Suite. Classic infinite loop.
Proxifier was intercepting Burp’s own outbound connections and routing them back through Burp’s listener — which then tried to forward them… through itself again.
Two causes:
burpsuite.exewas not excluded in the Localhost/Direct ruleDefault → Proxy HTTPSwas catching ALL processes, including Burp
Fix:
- Add
burpsuite.exeto the Localhost rule's Applications field → Action:Direct - Change Default rule Action from
Proxy HTTPS→**Direct**
Only your target application should be routed through Burp — nothing else.
Step 5 — SSL/TLS Timeout Errors
Could not connect through proxy 127.0.0.1:8080 -
Reading proxy reply on a connection request timed out
This was happening on port 443 connections. Burp was receiving the CONNECT tunneling requests but the TLS handshake was failing — because the Burp CA certificate was not installed on the system.
Fix:
- With Burp running, navigate to
http://127.0.0.1:8080in a browser - Download the Burp CA Certificate
- Open
certmgr.msc→ import it under Trusted Root Certification Authorities - Restart the application
Final Working Rule Configuration
Rule Applications Target Hosts Action 1 Localhost burpsuite*.exe 127.0.0.1; localhost; ::1 Direct 2 Target App xxxxxx_product.exe Any Proxy HTTPS 127.0.0.1:8080 3 Default Any Any Direct

⚠️ Rule order matters. Proxifier processes rules top-down — first match wins.

Successfully got the application traffic
Key Takeaways for VAPT Analysts
1. Always exclude your proxy tool from proxification Burp Suite, mitmproxy, Charles — whatever you use, add it to a Direct rule. Failing to do this creates an infinite loop that floods the Proxifier log and prevents any real traffic from being captured.
2. Default rule should be Direct, not Proxy Setting Default to Proxy routes every process on your machine through Burp — noisy, slow, and causes loops. Be surgical: proxy only your target application.
3. Check the port type before assuming HTTP This app was communicating on port xxxx — a non-standard port. If the traffic is raw TCP (not HTTP/HTTPS), Burp's standard listener won't decode it. You may need SOCKS5 mode or a custom upstream handler.
4. Install Burp CA cert system-wide for thick clients Browser-based testing only needs the cert in the browser store. Desktop apps use the Windows certificate store — install Burp’s CA cert there via certmgr.msc.
5. Proxifier rule action dropdown won’t show proxies until you add one A common gotcha for first-timers — add the proxy server under Profile → Proxy Servers first, then configure rules.
Conclusion
Intercepting thick-client Windows application traffic isn’t as plug-and-play as browser traffic, but with Proxifier and Burp Suite working together, it’s very achievable. The most common mistakes are rule misconfiguration and forgetting to exclude your own tooling from proxification.
Once traffic flows cleanly into Burp’s HTTP History, standard web application testing techniques apply — parameter tampering, authentication testing, business logic analysis, and more.
Happy hunting. 🎯
Catch me on LinkedIn
Written from a real VAPT engagement. Tools: Burp Suite, Proxifier v4.14, Windows 10/11.
BugBounty #WindowsSecurity #CyberSecurity #WebSecurity #InfoSec #BugHunting #ResponsibleDisclosure #Flutter #Proxifier
메타데이터
- post_id
- c3f4d4b3c8dd
- slug
- intercepting-windows-desktop-application-traffic-with-burp-suite-proxifier-a-vapt-walkthrough-c3f4d4b3c8dd
- url
- https://medium.com/@sayoojvs3/intercepting-windows-desktop-application-traffic-with-burp-suite-proxifier-a-vapt-walkthrough-c3f4d4b3c8dd
- canonical_url
- https://medium.com/@sayoojvs3/intercepting-windows-desktop-application-traffic-with-burp-suite-proxifier-a-vapt-walkthrough-c3f4d4b3c8dd
- author_url
- https://medium.com/@sayoojvs3
- status
- ok
- fetched_at
- 2026-06-09 15:37:30



