How We Automated Design Audits with Figma MCP and Jira
A Figma MCP-powered design audit automation that runs directly inside Jira. So devs and QAs never have to ask “where’s the error state?”.
How We Automated Design Audits with Figma MCP and Jira
So developers and QAs never have to ask “where’s the error state?” again.
❓ The Problem
We get the same Slack message time to time: “Hey, where’s the error state for this screen?” or “What happens at the end of this flow?”
Every time we get this message, there’s a context switch for the designer, a delay for the developer, and a small but real loss of momentum. The root cause isn’t carelessness. It’s that complex files grow fast, and there’s no systematic check in place before handoff.
⚒️ What We Built
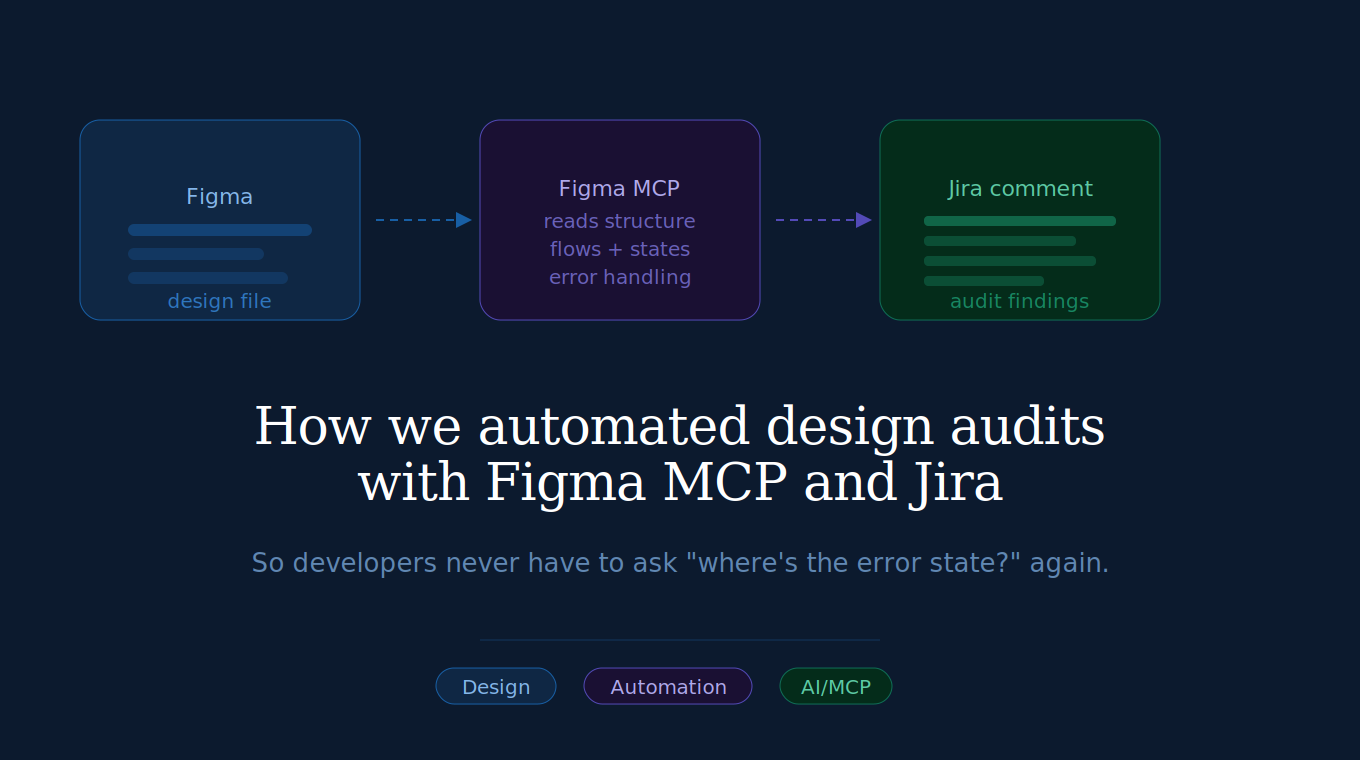
A Figma MCP-powered design audit automation that runs directly inside Jira. A designer adds a Figma link to a task, triggers the automation, and gets back a structured audit report as a comment — no context switching, no separate tool.
The audit checks the things that most commonly cause friction during development: possible flows, UI states, error handling, and edge cases.
Photo by Alexander Grigoryev on Unsplash
🧩 How the Output Is Structured
Summary: A quick overview of overall design coverage so anyone reading the task knows where things stand.
Categorized Findings (High / Medium / Low) in One Table with Suggestions: Each audit category has its own section with findings ranked by severity. Without prioritization, a list of 30 findings is overwhelming. With it, we know exactly where to start. Also, it suggests us how to resolve the issue.
Figma Node IDs for critical issues: This turned out to be the most valuable part. For every high-severity finding, the comment includes a direct Figma link. Click it, and you land exactly on the frame in question. A finding that says “the checkout screen is missing an error state” is helpful. One that takes you there with one click is something people actually act on.
🦾 How We Built It
1. Design coverage checklist: Before writing any prompt, we defined what a well-designed file actually needs, broken into categories with mandatory and optional items. This surfaced useful team disagreements before they got encoded into automation.
2. Prompt generation with PromptCowboy: We used the checklist to generate a structured prompt. Most of the work went into output format — we needed findings categorized, ranked, and readable inside a Jira comment.
3. Testing with Figma MCP via Antigravity: We tested against files of different sizes and complexity. Each run revealed something: too verbose here, missing a category there, format breaking on large files. We kept notes and revised.
4. Refinement until stable: The target was consistent, reliable output regardless of who ran it or what file it pointed at. This took more iterations than expected.
5. Jira automation setup: Once the prompt was stable, our QA team wired it into Jira. The full flow: add Figma link → trigger automation → audit appears as a comment.

⏭️ What’s Next
We’re turning this into a Claude skill so anyone can paste a Figma link directly into Claude and get the same structured audit — without needing to go through Jira at all. The prompt and checklist are already there. The packaging is what’s left.
figmamcp #jiraautomation #designaudit #handoverquality
메타데이터
- post_id
- c65f02a5007e
- slug
- how-we-automated-design-audits-with-figma-mcp-and-jira-c65f02a5007e
- url
- https://medium.com/insider-product-design/how-we-automated-design-audits-with-figma-mcp-and-jira-c65f02a5007e
- canonical_url
- https://medium.com/insider-product-design/how-we-automated-design-audits-with-figma-mcp-and-jira-c65f02a5007e
- author_url
- https://medium.com/@ozge.ozdiller
- status
- ok
- fetched_at
- 2026-06-09 15:37:30