Flex Your Linux Skills: Claim Ownership and Master File Permissions
Flex Your Linux Skills: Claim Ownership and Master File Permissions
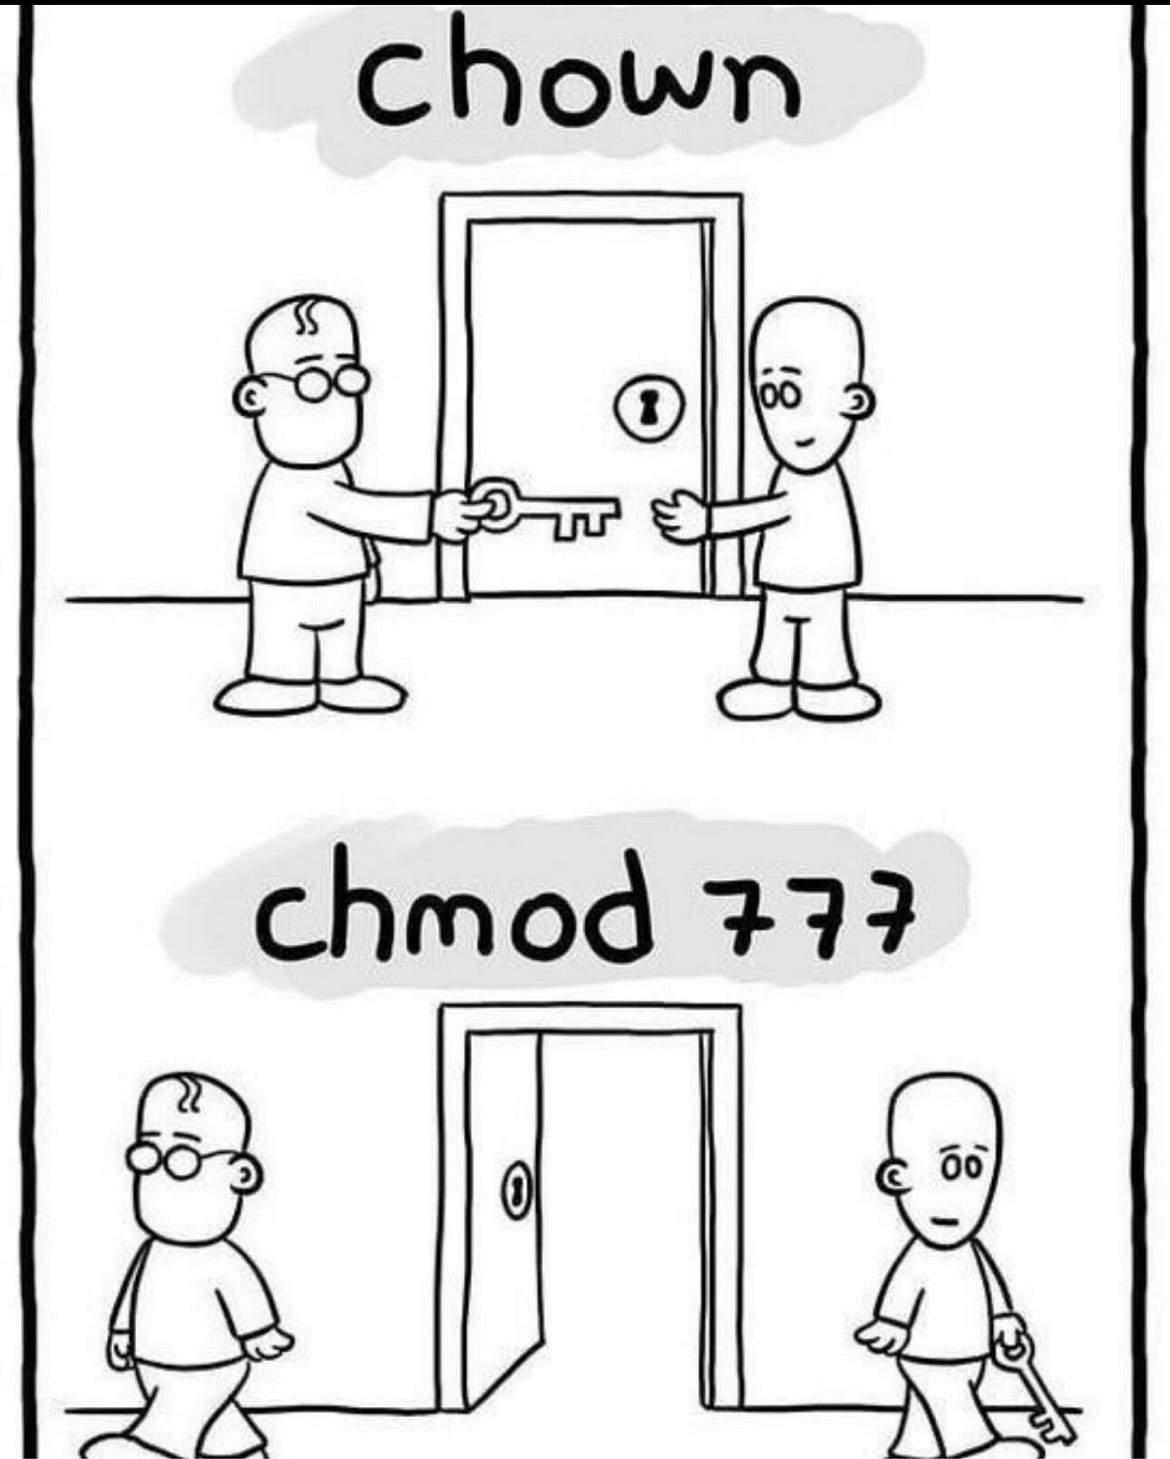
Imagine you come across an open-source project you’d like to contribute to in order to practice your Linux skills. You fork the repository and clone it to your local system. Now, it’s time to start modifying the files in your Linux terminal — but then you hit a wall: you can’t edit one of the files, even though you can clearly read its contents. Frustrating, right?
What you just ran into is one of the most important, and sometimes overlooked aspects of Linux known as file ownership and permissions.
In Linux, every file has a “story” about who can access it and what they can do with it. This permission system forms the foundation of Linux security and allows multi-user functionality. Like a gatekeeper, it controls who can read, write, or execute files, preventing both accidental damage and deliberate security breaches.
In this article, you’ll learn how Linux assigns ownership to users, how file permissions are structured, and how you can change ownership and permissions using simple commands so that the next time you’re faced with this kind of issue, you’ll know exactly what to do.
Understanding File Ownership
In Linux, every file and directory has three types of permissions that control who can use it. The access control is based on ownership.
These are:
- User (Owner): This is the main person who owns the file, which is usually whoever created it. As an owner, you have the most control over your file. You can change its permissions or give ownership to someone else. When you create a new file, it automatically becomes yours.
- Group: A Linux group is simply a collection of Linux users. In Linux, files can also belong to a group. Groups make it easy to give several people the same access at once without having to set permissions one by one. For example, everyone in the “support” group might need access to certain files, while the “developers” group needs access to others. So instead of setting the permission for each user in the support group one after the other, you just set it once — as a group.
- Others: This means everyone else who can use the system but is not the owner or in the group — basically outsiders. The permissions for “others” decide what any random user can do with the file.
When you log in, the system knows your username and which groups you belong to. This determines which files you can work with based on their ownership settings.
Types of File Permissions
There are three types of permissions that can be assigned to files and directories in Linux.
- Read (r): This permission allows viewing the contents of a file. For a directory, read permission lets you see what files are inside it (like when you use the ls command), but not necessarily access those files.
- Write (w): This permission allows modifying the contents of a file such as adding to it, changing, or even deleting its contents. For a directory, write permission lets you add or remove files within it.
- Execute (x): This permission allows running a file as a program or script. For a directory, execute permission lets you enter it ( by using the cd command) and access the files inside it.
Each of these permissions can be set separately for the three categories of ownership that was mentioned earlier in the previous section:
- User permissions: This control what the file owner can do
- Group permissions: Control what members of the assigned group can do
- Others permissions: Control what everyone else on the system can do
For example, you might set a script so that the owner (you) can read, write, and execute it; your group members can read and execute it, but not modify it; while others can only read it, but cannot edit and run it. This flexible system allows for precise control over who can do what with any file or directory on your Linux system.
Decoding Linux File Permissions
When you run ls -l command in your Linux terminal, you see detailed information about files and directories, including their permissions. The output is formatted in a specific way that tells you exactly who can do what with each file.
The first column consists of 10 characters — it contains the permission information.
The first character in the first column indicates the file type:
- d = directory
- - = regular file
Next 9 characters in the first column show the permissions, arranged in three groups of three
- First group (characters 2–4) = user/owner permissions
- Second group (characters 5–7) = group permissions
- Third group (characters 8–10) = permissions given to other users
The characters in each group of three can be a combination of any of these letters:
- r = read
- w = write
- x = execute
- - = no permission
Column 2–9 respectively shows the file’s number of links, owner name, group name, file size (bytes), last modification month, last modification day, last modification time, and the name of the file or directory.
See the output of ls -l of a directory called cats for example
img 1
- The first character (d) in the first row of permission shows that “css” is a directory while the first character (-) in the second row of permission shows that “index.html” is a regular file.
- Characters 2–4 (rwx) in the first row means the owner of the directory can read, write, and execute (in this case enter) it.
- Characters 5–7 (r-x) in the first row means the group members can only read and enter the directory but will not be able to write (modify). This is the same for characters 8–10 that sets permission for “others”.
Changing Ownerships and Permissions
Now that you know and can decode file permissions and ownerships, you can also can modify who owns files and what they can do with them using three key commands:
1. chown
Short for “change ownership”. This command lets you transfer ownership of a file or directory to a different user. Only the system administrator (root) or the current file owner can change ownership. This means that you will have to run the command with “sudo” If you want to use chown on a system file or a file owned by another user.
An example is :
chown Ade file.txt # Changes the owner of file.txt to user Ade
chown Ade:developers file.txt # Changes both owner to Ade and group to developers
Sudo chown Ade file.txt # used if you are not the system admin. or current file owner but you still want to change the ownership
2. chmod
Short for “change mode”. The command is used to modify file or directory permissions in Linux. It defines who can read, write, or execute a file by setting permissions for the user (owner), group, and others. Permissions can be set in two ways:
a. symbolic notation : This method uses letters and symbols to describe permission changes.
- u = user
- g = group
- o = others
- + means add permission
- - mean remove permission
- = explicitly assigns permission
b. numeric notation : is also called octal notation. It uses numbers to represent permission.
Each permission is assigned a value:
- 4 = read
- 2 = write
- 1 = execute
- 0 = no permission
These numbers are added together to represent combinations.
For example if a directory named “Cats” has a permission value of 750:
- The first digit (7) is for the owner: 4 (read) + 2 (write) + 1 (execute) which translates to rwx (full access)
- The second digit (5) is for the group: 4 (read) + 1 (execute) which translates to r-x (read and enter, but not write)
- The third digit (0) is for others: 0 which translate to - — -(no permission at all)
This means the owner can do everything, group members can view and access the directory, and all others are completely blocked out.
Now, let’s modify the file permission of a file named fur.txt
chmod u+x fur.txt # Adds execute permission for the user (owner)
chmod 755 fur.txt # Sets rwx for owner, r-x for group and others
Chmod -R 644 project/ # Sets rw-r - r - for all files in the projects directory
3. chgrp
Short for “change group ownership”. From its name, the command is used to change which group owns the file. The file owner or root can change a file’s group.
Example
chgrp developers project.txt # Changes the group to developers
chgrp -R support tasks/ # Changes the group to support for all files in "tasks" directory
Conclusion
You haven’t really mastered Linux administration if you don’t understand file ownership and permissions. Learning this part of Linux can save you a lot of stress and confusion. It helps you know who owns a file and what each user is allowed to do with it, like reading, editing, or running it.
Commands like chown, chgrp, and chmod gives you control over who can access your files and how they can use them. This is useful whether you’re working on personal projects, sharing files, or contributing to open-source work.
So, the next time you can’t open or edit a file, don’t panic. Just check the file’s permissions and ownership — the solution might be right there, waiting for you.
메타데이터
- post_id
- c6f91d19fa37
- slug
- flex-your-linux-skills-claim-ownership-and-master-file-permissions-c6f91d19fa37
- url
- https://medium.com/@Adewuumii/flex-your-linux-skills-claim-ownership-and-master-file-permissions-c6f91d19fa37
- canonical_url
- https://medium.com/@Adewuumii/flex-your-linux-skills-claim-ownership-and-master-file-permissions-c6f91d19fa37
- author_url
- https://medium.com/@Adewuumii
- status
- ok
- fetched_at
- 2026-07-10 01:40:30



