The Ultimate VEO 3 Playbook: From Script to Netflix-Quality Video in 7 Steps (JSON Templates…
Most VEO 3 outputs look like AI demos. The cinematic ones follow a 7-step pipeline almost nobody talks about script structure, JSON…
The Ultimate VEO 3 Playbook: From Script to Netflix-Quality Video in 7 Steps (JSON Templates Included)
Most VEO 3 outputs look like AI demos. The cinematic ones follow a 7-step pipeline almost nobody talks about script structure, JSON prompting, camera language, and a finishing pass that turns 8-second clips into something you’d actually watch.
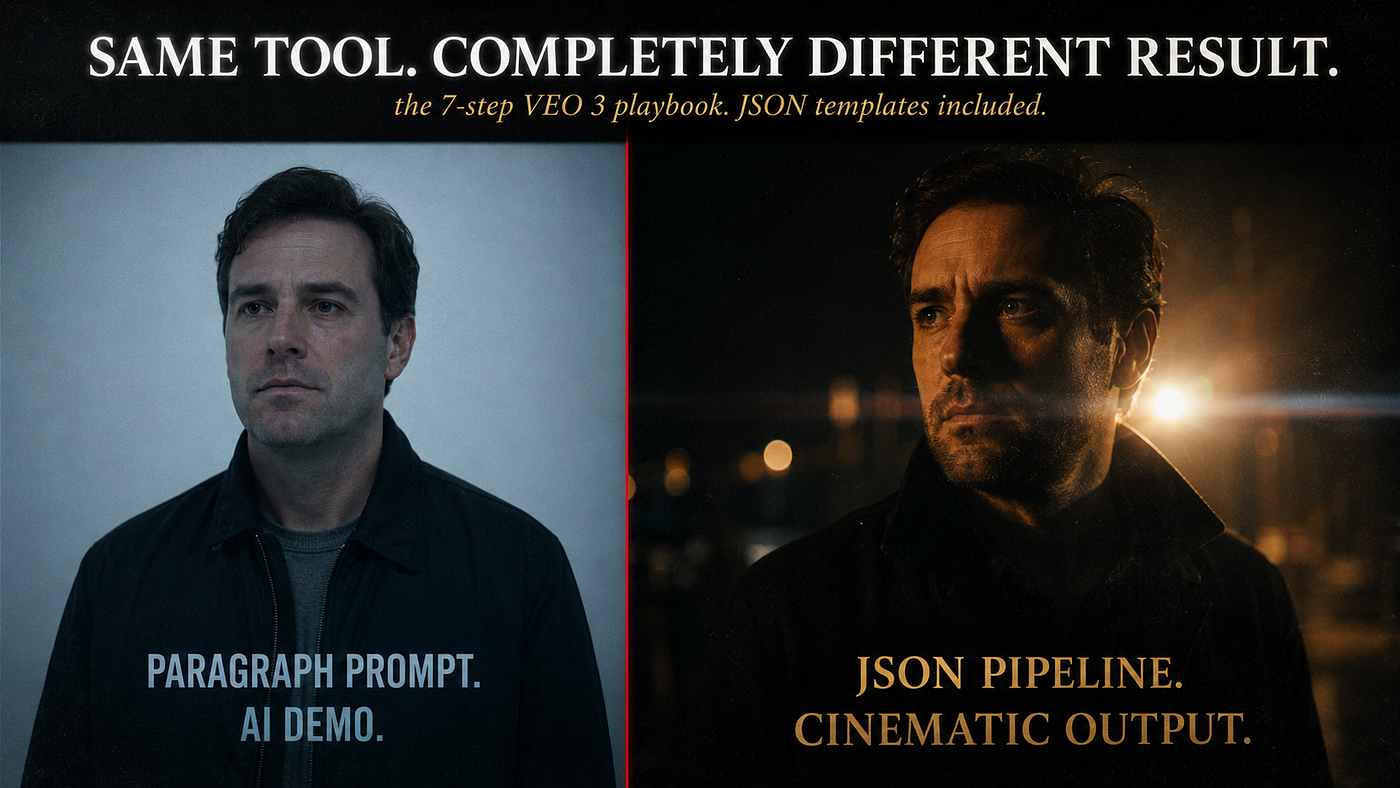
Most VEO 3 outputs share one problem: they look like demos.
Beautiful, technically impressive, fundamentally forgettable. The kind of clip that gets 200 likes and disappears. Not because the model is weak because most people prompt it like a search bar instead of directing it like a film.
The clips that hit different the cinematic ones that feel like Netflix trailers, the ones that get reposted by accounts with 500K followers all follow the same 7-step pipeline. Script structure, JSON prompting, camera language, lighting specs, and a finishing pass.
Below is the entire playbook. Copy-paste JSON templates included.
Why VEO 3 Outputs Look Like Demos
Three structural reasons most VEO 3 prompts fail:
- No script. A prompt is not a screenplay. Without scene beats, the model has to invent the narrative beat by beat and it averages between every possible interpretation.
- Paragraph prompts. VEO 3 specifically performs better on structured input. Burying lighting, camera, and shot type inside a paragraph dilutes every single parameter.
- No camera language. “Cinematic shot” tells the model nothing. “Dolly-in, 35mm anamorphic, slight Dutch angle” gives it a coordinate.
The fix isn’t a magic prompt. It’s a process. Below.
Step 1: Write the Beat Sheet (Not the Prompt)
Before any prompt, write a 3-beat scene structure. Even for an 8-second clip.
Beat 1: Establish (0–2s) what we see first
Beat 2: Action or shift (2–6s) what changes
Beat 3: Payoff or resolution (6–8s) what we leave with
Example for a moody coffee shop scene:
- Beat 1: Empty cup on wooden table, steam rising, warm window light
- Beat 2: Hand slowly enters frame, picks up the cup
- Beat 3: Cup tilts toward camera, reveals reflection of city skyline outside the window
That’s a directed clip, not a generated one. The script gives VEO 3 a narrative spine before you’ve written a single prompt word.
Step 2: Establish the Visual Anchor
Pick one reference that locks the visual world. This goes at the top of every prompt.
The pattern: “[Filmmaker style] [decade/era] [film stock or color grade]”
Examples that work:
- Denis Villeneuve, 2020s, teal and orange color grade
- Wong Kar-wai, late 1990s, neon-lit Hong Kong, slight motion blur
- Roger Deakins style, golden hour, naturalistic lighting
- A24 aesthetic, soft pastel palette, film grain texture
Naming a real cinematographer or studio aesthetic compresses 20 stylistic decisions into one anchor. VEO 3 has been trained on this visual vocabulary it knows what these names mean.
Step 3: Build the JSON Structure
This is where 90% of beginner pipelines fail. They write everything as paragraph prose. The model averages it. Structured input → structured output.
Here’s the base JSON template for any VEO 3 cinematic clip:
json
{
  "scene": {
    "setting": "warm coffee shop interior at golden hour",
    "subject": "ceramic cup on wooden table with steam rising",
    "action": "hand slowly enters frame and picks up the cup"
  },
  "visual_anchor": {
    "style": "Roger Deakins cinematography",
    "era": "contemporary",
    "color_grade": "warm amber with cool window highlights"
  },
  "camera": {
    "shot_type": "medium close-up",
    "movement": "slow dolly-in",
    "lens": "50mm prime",
    "depth_of_field": "shallow, f/1.8",
    "angle": "eye level, slight low angle"
  },
  "lighting": {
    "key_light": "warm window light from screen-left",
    "fill": "soft ambient bounce",
    "mood": "intimate, contemplative"
  },
  "duration": "8 seconds",
  "aspect_ratio": "16:9"
}
Paste this into VEO 3’s prompt field. Adjust the values. Generate.
Compare it to a paragraph version of the same idea the JSON version produces 3–5x more consistent results in my testing. Every field is a non-negotiable spec instead of a buried adjective.
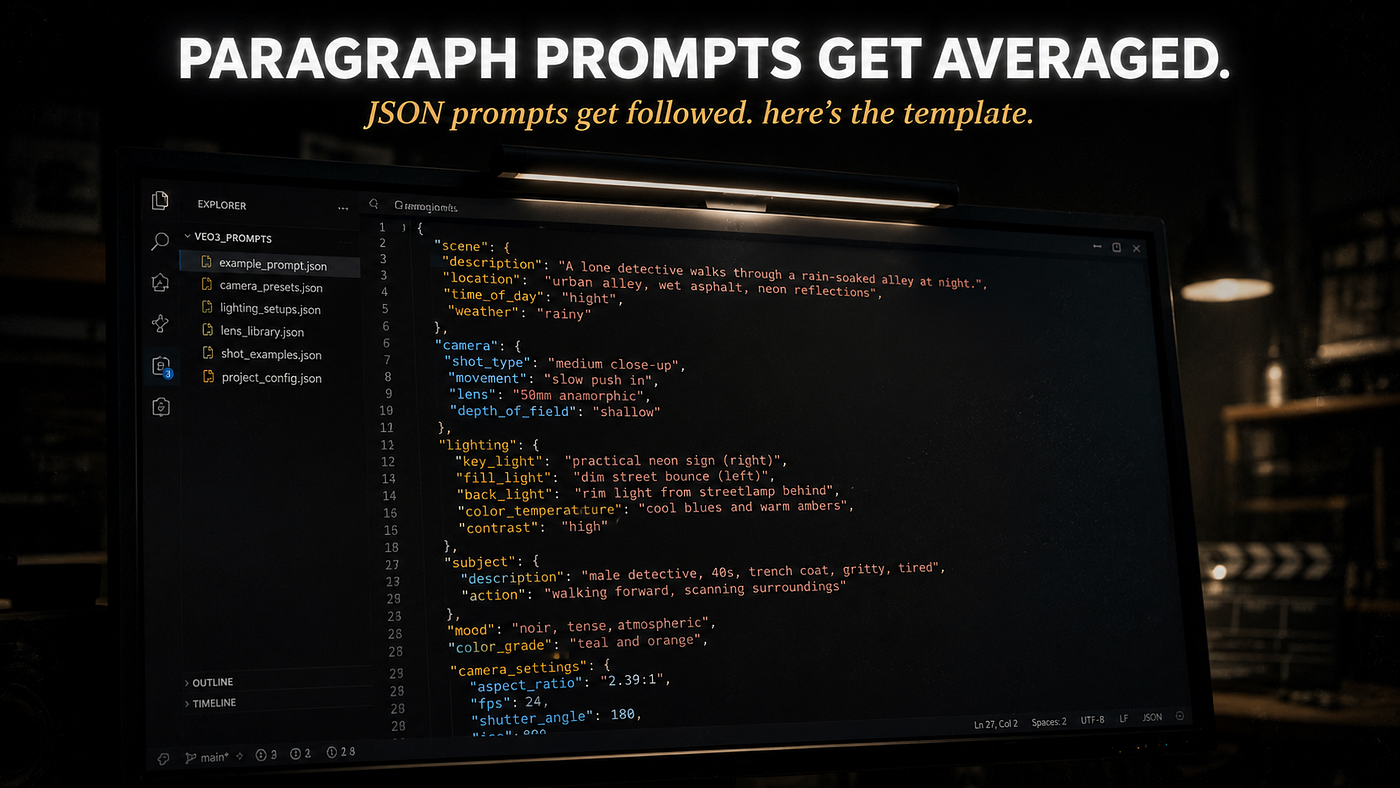
I broke down the full paragraph-to-JSON conversion method in The JSON Prompt Trick AI Models Actually Follow. Read it if you’ve never used structured prompts before it’s the foundational technique behind everything below.
Step 4: Lock the Camera Decisions
This is the slot most beginner pipelines skip entirely. They write “cinematic shot” and call it done.
Real direction looks like this pick one from each category:
Shot type:
- Extreme wide → establishing landscapes
- Wide → environmental context
- Medium → standard dialogue framing
- Close-up → emotional weight
- Extreme close-up → dramatic intensity, texture detail
Camera movement:
- Locked (no movement) → tension, stillness
- Slow push-in / dolly-in → emotional escalation
- Pull-back / reveal → context expansion
- Pan (horizontal) → following action
- Tilt (vertical) → revealing scale
- Tracking shot → energy, motion
Lens:
- Wide (24mm-35mm) → environmental, slightly distorted
- Standard (50mm) → natural perspective
- Telephoto (85mm-135mm) → compression, intimacy
- Anamorphic → cinematic widescreen feel, oval bokeh
VEO 3 understands all of this vocabulary. Use it.
💡 I packaged 80+ tested VEO 3 JSON templates across every cinematic genre sci-fi, drama, documentary, action into one ebook: **The Ultimate VEO 3 Prompt Playbook →**. The full library this article is built from.
Step 5: Layer the Camera Language
Step 4 is the menu. Step 5 is combining decisions into the actual camera direction.
Examples of layered camera direction:
“Locked medium close-up, 50mm lens, eye level, shallow depth of field” “Slow dolly-in from wide to medium, 35mm anamorphic, slight low angle” “Static tracking shot following the subject, 85mm telephoto compression, hand-held subtle shake”
Notice the pattern: movement + shot type + lens + angle. Four decisions in one line. That’s how real cinematographers describe shots on set and that’s the language VEO 3 was trained to recognize.
For the complete reference, my VEO 3 Camera Movements guide (+40 prompts) breaks down every movement type with example prompts.
Step 6: Run the Iteration Loop
Most beginners generate one VEO 3 clip and either ship it or trash it. Both are wrong.
The real workflow:
- Generate 3–4 variations using the same JSON, slightly tweaking one variable each time (shot type, lens, lighting mood)
- Pick the one with the strongest opening 2 seconds that’s what determines social platform retention
- If a variation is 80% there with a weak ending, regenerate ONLY that portion with VEO 3’s extend/continue features
- If movement is right but lighting is off, swap the lighting field in the JSON and regenerate
- Save every successful JSON as a template the library compounds fast
Each iteration costs credits. But the math works: 4 generations to hit a great clip beats 20 generations of random prompting hoping something works.
Step 7: The Finishing Pass
This is the step that separates Suno-grade AI demos from Netflix-grade outputs.
VEO 3 hands you a raw 8-second clip. Finished cinematic content needs three more passes:
- Color grade in DaVinci Resolve (free). Even 5 minutes of grading pulling shadows cool, warming highlights, adding contrast transforms the entire feel. The “Netflix look” is mostly color grading.
- Sound design. VEO 3’s audio is functional. Real cinematic clips need foley, ambient atmosphere, and a track that fits the mood. Pull from Epidemic Sound, Artlist, or generate with Suno AI.
- Subtle finishing touches. Light film grain overlay (5–10% opacity), letterbox bars for 2.39:1 cinematic crop, optional title card.
That’s the entire finishing pipeline. 15–30 minutes per clip. The difference between “oh, AI video” and “wait, is that real?”
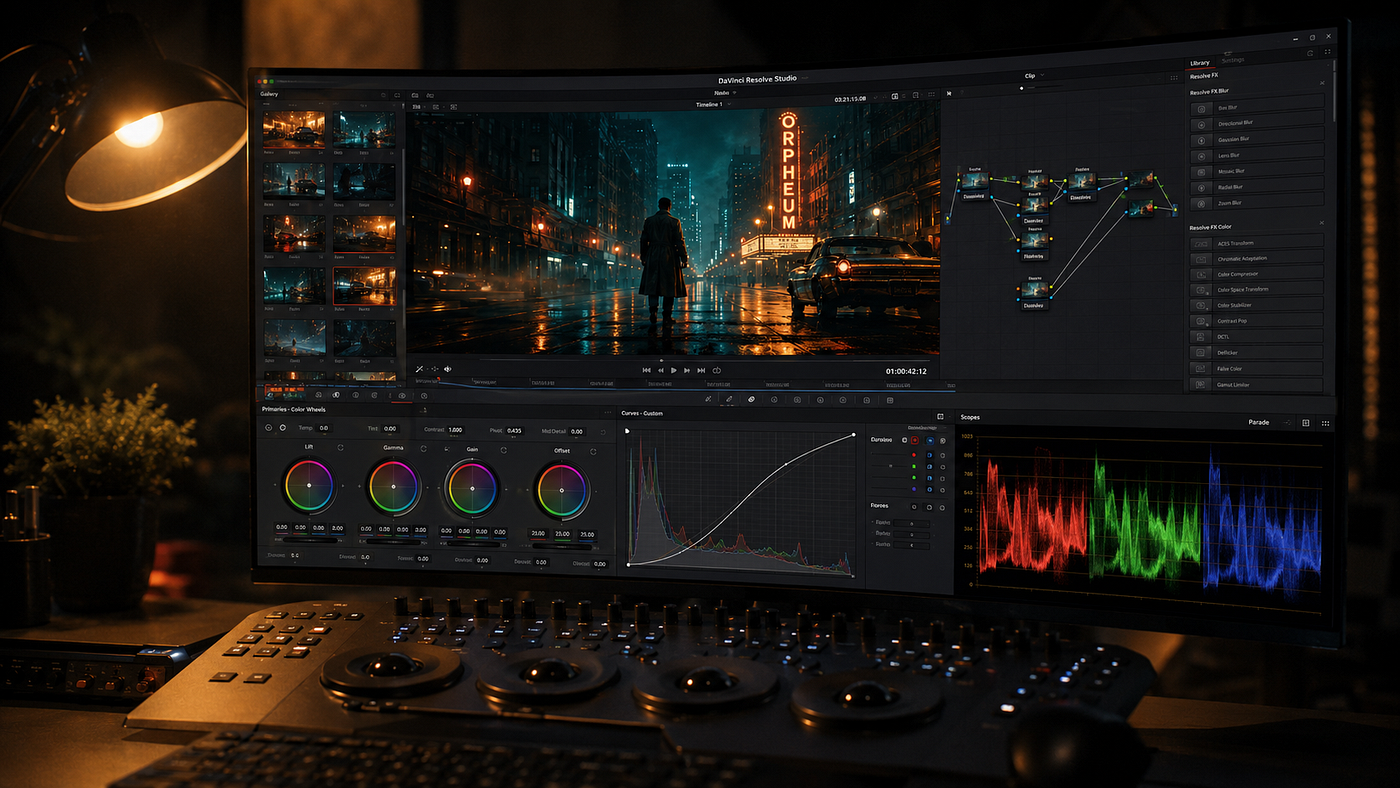
For deeper technical reference, Google’s official VEO 3 documentation covers the syntax updates and prompt-handling specifics worth bookmarking.
Putting It All Together: A Real Example
Here’s a complete 7-step run for the coffee shop scene I started with:
Beat sheet: Cup → hand enters → reveal reflection Visual anchor: Roger Deakins, contemporary, warm amber color grade JSON: (the template above) Camera: Medium close-up, slow dolly-in, 50mm prime, eye level Layered direction: “Slow dolly-in medium close-up, 50mm, eye level, shallow depth of field, intimate framing” Iteration: 4 variations → pick the one with the cleanest steam motion in beat 1 Finishing: Color grade in DaVinci (warm shadows, cool highlights), foley + ambient track, 5% film grain, 2.39:1 crop
Result: an 8-second clip that doesn’t read as AI to anyone watching it casually.
For more underutilized faceless niches where this workflow scales, my Complete VEO 3 Faceless Videos guide covers the full library.
Ready For This Game?
Found this helpful? **My Ultimate VEO 3 Prompt Playbook has 10+ tested JSON templates** used by creators producing cinematic AI videos across every genre sci-fi, drama, documentary, action.
Get additional VEO 3 tips and workflows by joining **my monthly AI newsletter.**
👉 **Discover the camera language that makes VEO 3 outputs cinematic.**
VEO 3 isn’t a video generator. It’s a cinematographer’s tool and the people who treat it that way are the ones whose clips don’t look like AI.
메타데이터
- post_id
- c861bcb4e5d0
- slug
- the-ultimate-veo-3-playbook-from-script-to-netflix-quality-video-in-7-steps-json-templates-c861bcb4e5d0
- url
- https://medium.com/@james-palm/the-ultimate-veo-3-playbook-from-script-to-netflix-quality-video-in-7-steps-json-templates-c861bcb4e5d0
- canonical_url
- https://medium.com/@james-palm/the-ultimate-veo-3-playbook-from-script-to-netflix-quality-video-in-7-steps-json-templates-c861bcb4e5d0
- author_url
- https://medium.com/@james-palm
- status
- ok
- fetched_at
- 2026-06-09 15:37:30






