From Vibedesign to Vibecode: Building a dotCMS PoC with Google AI
In today’s development landscape, speed is the ultimate currency. I recently set out to prove that you can bridge the gap between a visual…
From Vibedesign to Vibecode: Building a dotCMS PoC with Google AI
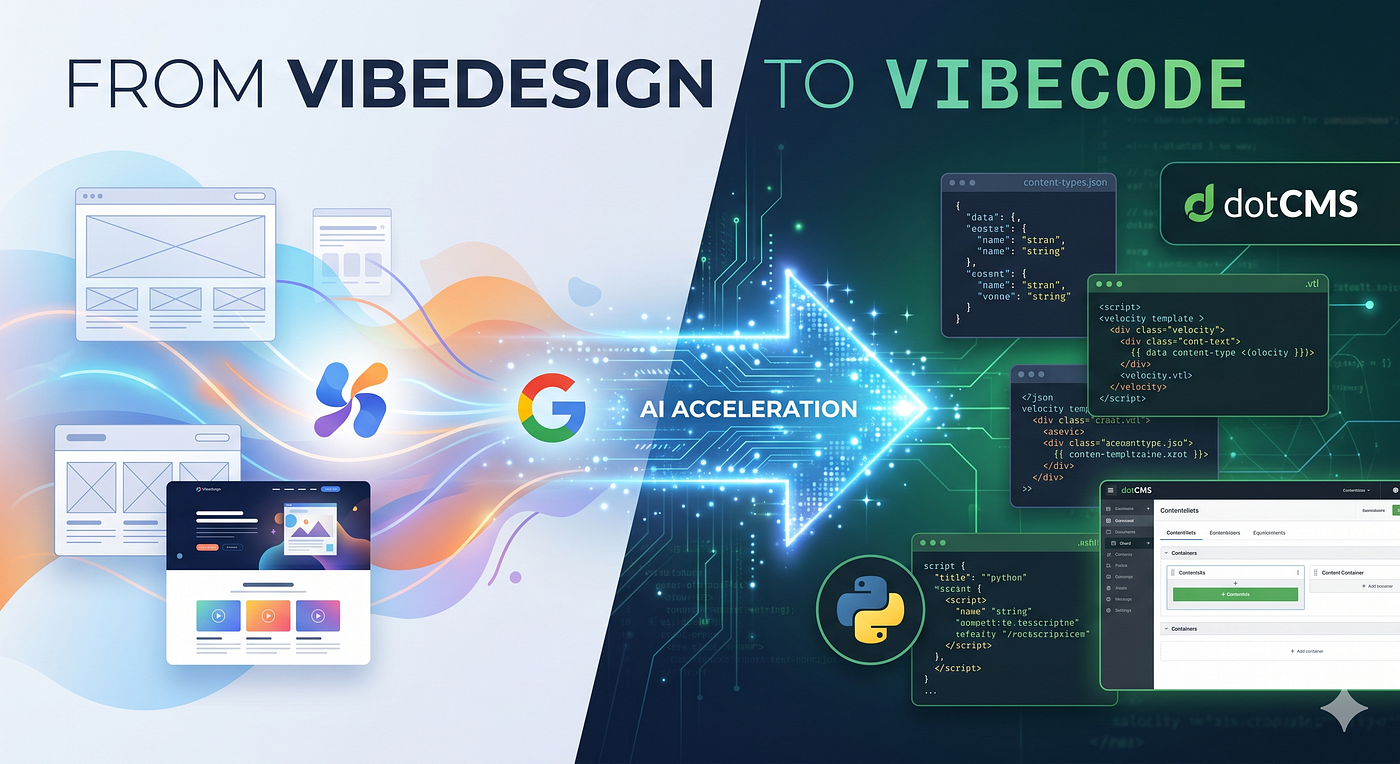
From design to code in dotCMS
In today’s development landscape, speed is the ultimate currency. I recently set out to prove that you can bridge the gap between a visual “vibe” and a functional “code” environment in under an hour. By orchestrating dotCMS with Google AI Stitch, Google Antigravity, and Python, I transformed a conceptual redesign into a live, data-driven prototype.
1. Why dotCMS? The SME Strategic Advantage
For businesses or “PYMES” with a gross revenue under $5M, the dotCMS licensing model is a game-changer. It puts enterprise-grade features in your hands without the crushing overhead.
Key Highlights of the License:
- Hybrid-Headless Agility: Choose between API-first delivery or traditional server-side rendering.
- Drag-and-Drop Orchestration: Empower non-technical users to manage layouts without breaking the build.
- Enterprise Security: Granular permissions and robust user management out of the box.
2. Infrastructure: Zero-Friction Setup
To keep the environment lean, I used OrbStack to manage Docker containers. It’s significantly faster and less resource-heavy than traditional Desktop alternatives.
brew install — cask orbstack
I pulled the official single-node-debug-mode example from the dotCMS core repository: https://github.com/dotCMS/core/blob/main/docker/docker-compose-examples
This setup packages dotCMS, OpenSearch, and Postgres, providing a full-stack environment in minutes.
3. Phase: Vibedesign (Stitch)
The process began by capturing the current state of a site I wanted to modernize.
- Capture: Took screenshots of the target pages.
- Stitch: Uploaded them to Google AI Stitch using the “Redesign” model.
- Brainstorm: I didn’t just accept the first result; I used the screenshots as visual anchors to guide the AI toward a specific aesthetic.
Handoff: Once the “vibe” was locked in, I generated a shareable link to feed into the next stage.

Stitch design
4. Phase: Vibecode (Orchestrating Agents with .md Tasks)
Instead of just chatting with the AI, I implemented a more structured “Agentic Workflow.” I created a /TODO folder to act as the project's brain. My methodology was simple but effective:
- Define Tasks: Write a
.mdfile for each specific requirement (e.g.,migrate-content.md). - Execution: Instruct Google Antigravity to: “Read and execute the task defined in
./TODO/migrate-content.md."
This approach kept the context clean and allowed for precise versioning of the prompts themselves, for example:
[embed]Aligning the container and template generated by antigravity to dotCMS
5. The “Incompatible JSON” Struggle & The Python Bridge
One of the biggest hurdles was that the initial JSON produced by the LLM for content types and contentlets was not compatible with dotCMS. To fix this, I didn’t just ask for “better JSON” — I provided Antigravity with the actual Java source code of the dotCMS FireMultipleActionForm bean (and the api playground powered by Swagger).
By feeding the AI the Java class, I gave it the exact “blueprint” of how the REST API expects the payload for bulk content creation.
The Content Migration Task (migrate-content.md)
I defined the goal clearly: Create contentlets for Home Page Hero, Collection Category, and Product using a single bulk call per content type.
The Strategy:
- Endpoint:
POST [https://localhost:8443/api/v1/workflow/actions/default/fire/NEW](https://localhost:8443/api/v1/workflow/actions/default/fire/NEW) - The Reference: I provided the
FireMultipleActionForm.javacode to ensure the AI understood thecontentletsproperty structure. - The Tool: A Python script designed to:
- Accept a JWT Token as a parameter.
- Read the local JSON data.
- Transform it to match the Java Bean’s requirements.
- Log execution and errors to the console for observability.
[embed]Original json created by Antigravity
The Resulting Python Logic
Antigravity generated two scripts. One for the Content Types (schema) and one for the Contentlets (data). These scripts acted as the bridge, ensuring that the “vibe” code from Stitch was actually ingestible by the dotCMS backend.
Developer Tip: Providing source code as a prompt reference is often 10x more effective than writing long descriptions of an API. The AI can infer the required JSON structure directly from the
@JsonPropertyannotations.
[embed]Python to export content types
Administrative Setup: Authenticating the Pipeline
Before running the transformation scripts, we need a secure way to talk to the dotCMS API. Instead of hardcoding credentials, I used a JWT (JSON Web Token). This is not only more secure but also standard practice for automated migrations.
1. Generate the Token in dotCMS:
- Log in to your local instance at
[https://localhost:8443/dotAdmin.](https://localhost:8443/dotAdmin.) - Navigate to System > Users.
- Select your Admin user (or the user with the appropriate roles).
- Click on the API Access Tokens tab.
- Generate a new token and copy it immediately.
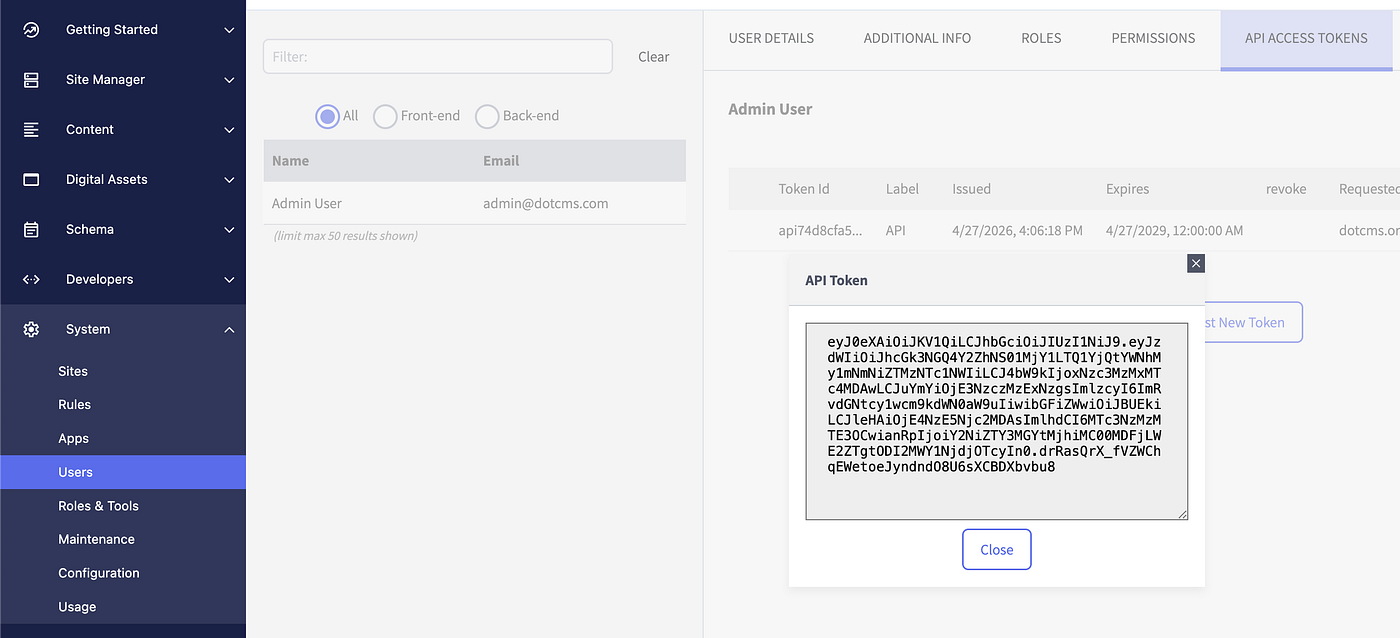
2. Prepare the Environment: To keep the script clean and avoid leaking credentials in the source code, I used environment variables in the terminal.
3. Execution: With the token ready, I executed the migration. The Python script was designed to pick up the token from the arguments, allowing for a seamless handoff between the environment and the logic.
[embed]
This sequence ensured that the Content Types were created first (establishing the schema) before the Contentlets (the actual data) were pushed, avoiding dependency errors.
Pro-Tip for Medium Readers:
If you are running this in a CI/CD pipeline or a long-term dev environment, consider adding the
DOT_TOKENto your.envfile or your shell profile (.zshrc/.bash_profile) to avoid re-exporting it every time you restart your session.
6. From Scripts to Visuals: Assembling the Page
With the API work finished and our data structures safely inside dotCMS, it was time to move back to the UI and perform the final assembly.
Deploying the Logic: Containers and Templates
Once the Content Types and Contentlets were pushed via Python, I uploaded the refactored containers and the Advanced File Template (body.vtl and properties.vtl) using the dotCMS Site Browser.
Even though we used scripts for the data, managing the VTL files through the UI allowed for a final sanity check of the paths and references.
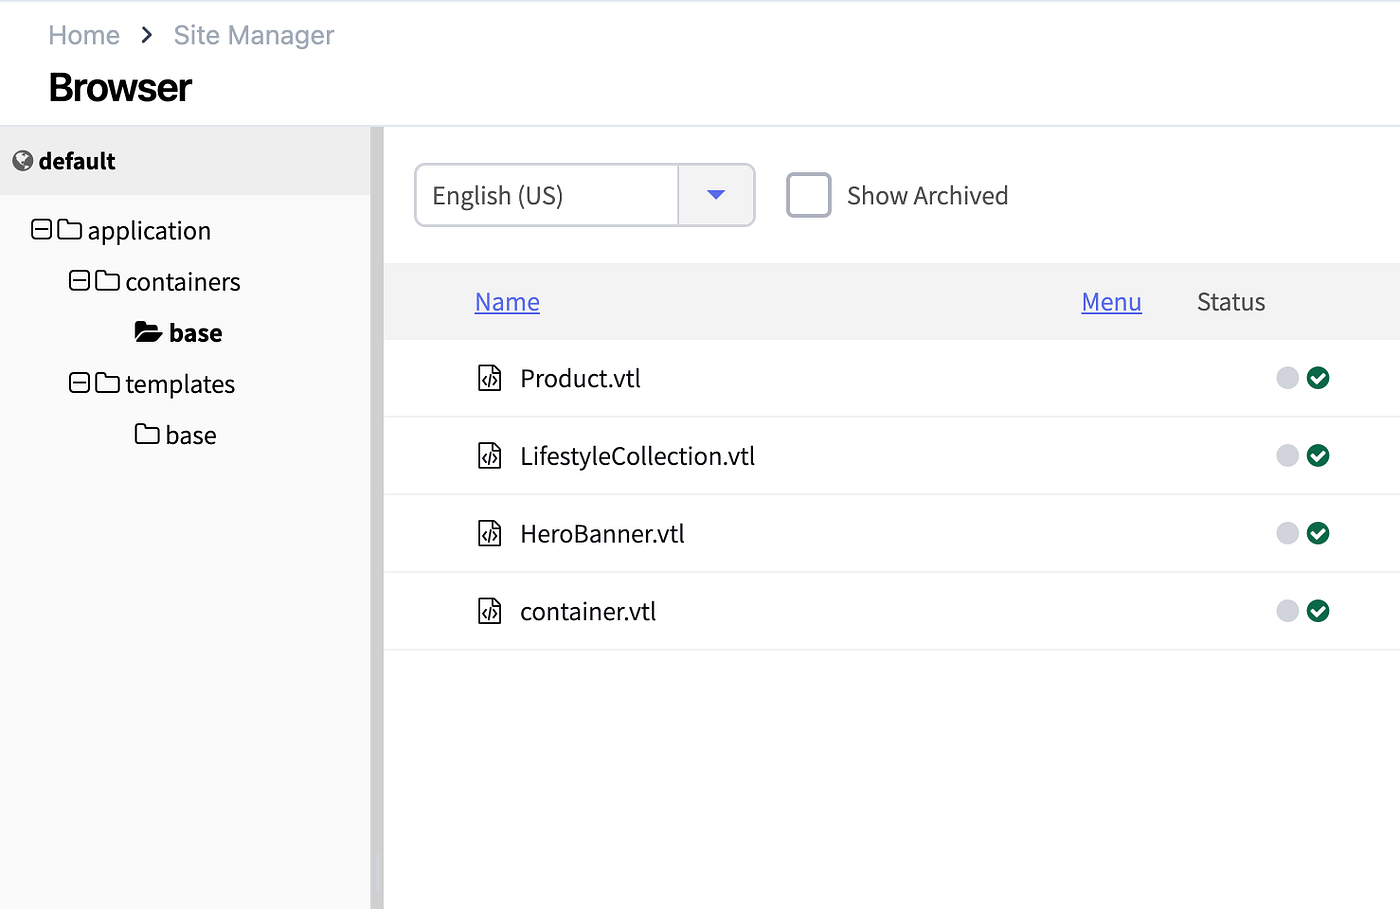
Container and template already in dotCMS
The Final Polish: “Show in List” Tweak
Every PoC has its “minor fixes” phase. I noticed that the initial Content Type generated by Antigravity lacked a dedicated “Title” field. To make the content manageable within the dotCMS visual editor, I quickly adjusted the Name field to be the “Show in List” property. This ensured that when I went to drag-and-drop content into the containers, I could actually identify which product or banner I was selecting.
Building the Page
The final step was creating a new page using our File Base Advanced Template.
Using the Edit Mode, I began dragging the imported contentlets (Product, HeroBanner, LifestyleCollection) into the designated containers. While Antigravity struggled a bit with the Unsplash API — leaving a few images broken — the layout, the data mapping, and the overall “vibe” were exactly what we aimed for in the original Stitch redesign.
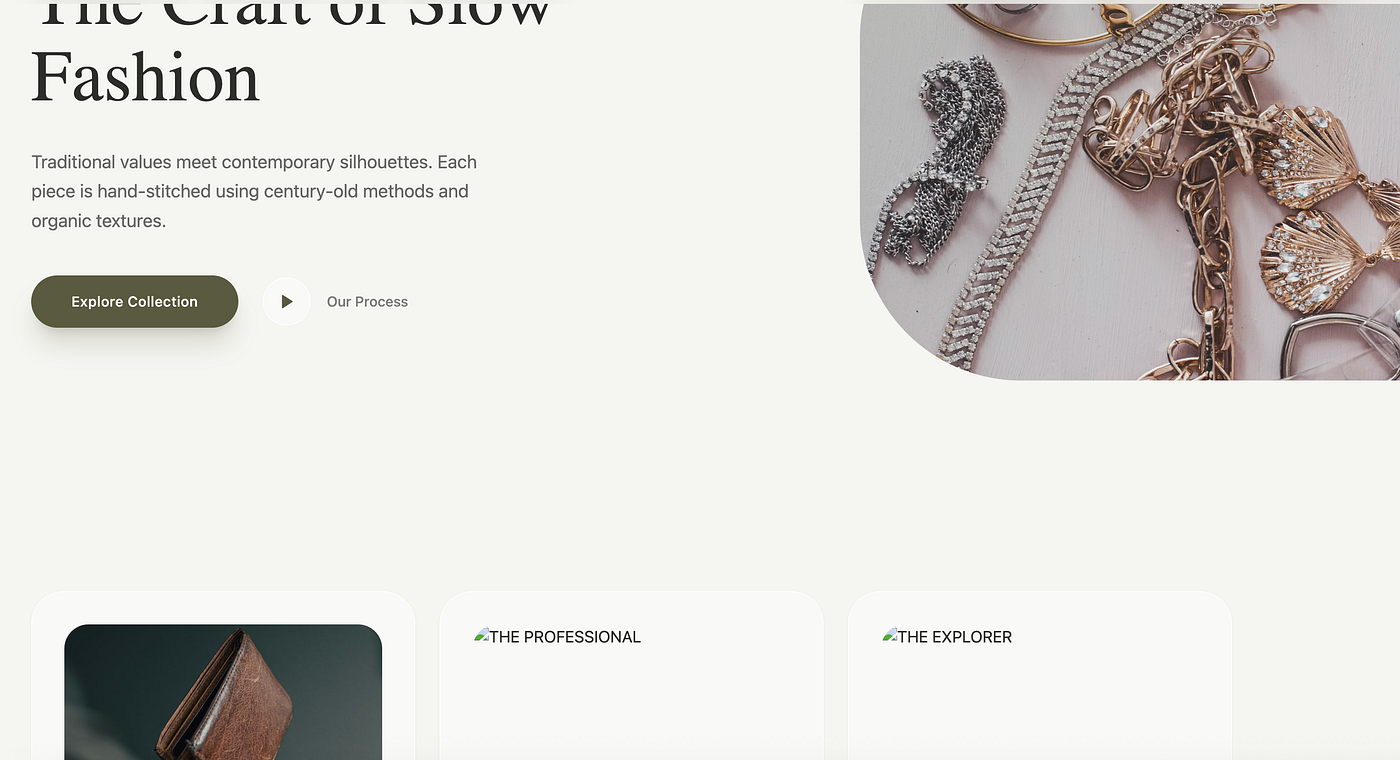
Index Page using the vibe templating
Despite the minor image glitches, the PoC proved its point: the transition from a visual concept to a fully manageable, structured CMS environment is no longer a matter of days — it’s a matter of an hour.
7. Lessons Learned & Final Deployment
Key Takeaways:
- Context is Everything: Creating a “Migration Prompt Template” that explains dotCMS rules to the AI beforehand is more efficient than correcting errors later.
- The 4 Upload Paths: While I used the REST API for data and the Site Browser for VTL files, the ultimate goal is **dotCLI, so that you have a replicable environments that you can versioned in git.**
- Agent Initiative: Surprisingly, Antigravity also suggested and drafted a React SPA to consume the pages headlessly, proving the versatility of the content we just modeled.
Conclusion
In roughly one hour, we moved from a visual concept to a data-driven, manageable site in dotCMS. The “struggle” of refining the Python transformation was the most valuable part — it’s the blueprint for automating site migrations at scale.
JSanca
Platform Architect exploring the boundaries between simplicity and scalability
메타데이터
- post_id
- ce62bc5ec22e
- slug
- from-vibedesign-to-vibecode-building-a-dotcms-poc-with-google-ai-ce62bc5ec22e
- url
- https://medium.com/@jsanca/from-vibedesign-to-vibecode-building-a-dotcms-poc-with-google-ai-ce62bc5ec22e
- canonical_url
- https://medium.com/@jsanca/from-vibedesign-to-vibecode-building-a-dotcms-poc-with-google-ai-ce62bc5ec22e
- author_url
- https://medium.com/@jsanca
- status
- ok
- fetched_at
- 2026-07-10 23:32:07