Offline Navigation with Mapsforge in Jetpack Compose
Introduction
Offline Navigation with Mapsforge in Jetpack Compose
Introduction
Offline navigation is a critical feature for many applications, especially when users venture into areas with limited connectivity. Leveraging Mapsforge, an open-source library, we can implement offline map rendering and advanced features such as dynamic marker management. This article explores integrating Mapsforge with Jetpack Compose to create an offline navigation experience.
Why Mapsforge?
Mapsforge offers an efficient way to render offline .map files. It supports:
- Vector rendering for optimal performance.
- Dynamic addition and removal of overlays.
- Customizable render themes.
With no comprehensive resources available for using Mapsforge in Jetpack Compose, this guide aims to fill that gap.
Setting Up Mapsforge in Your Project
Step 1: Adding Dependencies
Add the Mapsforge dependencies to your build.gradle file:
dependencies {
    implementation 'org.mapsforge:mapsforge-map-android:<version>'
    implementation 'org.mapsforge:mapsforge-map:<version>'
    implementation 'org.mapsforge:mapsforge-core:<version>'
}
Step 2: Preparing Offline Map Files
Ensure your .map files are placed in the assets directory or copied to a cache directory. You can use utility functions like:
fun copyAssetToCache(context: Context, fileName: String): File? {
    val file = File(context.cacheDir, fileName)
    if (!file.exists()) {
        context.assets.open(fileName).use { input ->
            file.outputStream().use { output ->
                input.copyTo(output)
            }
        }
    }
    return file
}
Implementing Mapsforge in Jetpack Compose
Step 1: Creating a Mapsforge Composable
The MapsforgeMapView composable integrates Mapsforge into Compose:
@Composable
fun MapsforgeMapView(
    androidGraphicFactory: AndroidGraphicFactory,
    context: Context,
    mapLocation: String,
    markers: State<Map<String, Marker>>,
    onMapTap: (LatLong) -> Unit
) {
    AndroidView(factory = { ctx ->
        val mapView = MapView(ctx).apply {
            isClickable = true
            val tileCache = AndroidUtil.createTileCache(
                ctx, "cache", model.displayModel.tileSize, 1f, model.frameBufferModel.overdrawFactor
            )
            val mapFile = MapFile(File(mapLocation))
            val tileLayer = TileRendererLayer(
                tileCache, mapFile, model.mapViewPosition, androidGraphicFactory
            ).apply {
                setXmlRenderTheme(InternalRenderTheme.OSMARENDER)
            }
            layerManager.layers.add(tileLayer)
        }
mapView
}, update = { mapView ->
markers.value.forEach { (_, marker) ->
if (!mapView.layerManager.layers.contains(marker)) {
mapView.layerManager.layers.add(marker)
}
}
})
}Step 2: Adding Dynamic Markers
Markers can be dynamically added or removed using MutableState:
val markers = remember { mutableStateOf(mapOf<String, Marker>()) }fun addMarker(id: String, position: LatLong, color: Int) {
val marker = Marker(
position,
AndroidGraphicFactory.convertToBitmap(context.getDrawable(R.drawable.marker)?.apply {
setTint(color)
}),
0,
0
)
markers.value = markers.value + (id to marker)
}fun removeMarker(id: String) {
markers.value = markers.value - id
}Step 3: Handling User Interactions
Detect taps on the map using GestureDetector:
val gestureDetector = GestureDetector(context, object : GestureDetector.SimpleOnGestureListener() {
    override fun onSingleTapConfirmed(event: MotionEvent): Boolean {
        val projection = MapViewProjection(mapView)
        val tappedPosition = projection.fromPixels(event.x.toDouble(), event.y.toDouble())
        onMapTap(tappedPosition)
        return true
    }
})
mapView.setOnTouchListener { _, event ->
gestureDetector.onTouchEvent(event)
}By implementing this, you can handle single taps and retrieve the geographical coordinates of the tapped location. This is especially useful for adding markers dynamically based on user input.
Handling Overlapping Markers
When multiple markers are added near the same location, overlaps can occur, making it hard to interact with individual markers. To address this:
- Offset Markers: Slightly offset markers to ensure visibility.
- Clustering: Use clustering techniques to group markers when zoomed out, expanding them when zoomed in.
fun offsetMarker(position: LatLong, offset: Double): LatLong {
    return LatLong(position.latitude + offset, position.longitude + offset)
}
Theming in Mapsforge
Mapsforge supports theming through XML render themes, allowing developers to customize map appearance based on the app’s design language. Themes can define colors, line styles, and more.
Applying a Render Theme
To use a custom theme, place the XML file in the assets directory and load it as follows:
val customTheme = File(context.assets.open("custom_theme.xml").bufferedReader().use { it.readText() })
val tileLayer = TileRendererLayer(
    tileCache, mapFile, model.mapViewPosition, androidGraphicFactory
).apply {
    setXmlRenderTheme(ExternalRenderTheme(customTheme))
}
Adapting to Dark Mode
Mapsforge provides a Filter enum for applying effects like inversion. This can be used to adapt maps to dark mode dynamically:
mapView.model.displayModel.filter = if (isDarkMode) Filter.INVERT else Filter.NONEThis ensures a seamless experience for users switching between light and dark themes.
Understanding Layering in Mapsforge
Mapsforge uses a hierarchical layering system for managing map elements. Layers are rendered in the order they are added, making it crucial to manage their sequence properly.
Types of Layers
- Tile Layers: Base map tiles rendered from
.mapfiles. - Overlay Layers: Elements like markers, polylines, and polygons.
- Custom Layers: User-defined elements for specialized use cases.
Managing Layers
Layers are added to the LayerManager:
mapView.layerManager.layers.add(tileLayer)
mapView.layerManager.layers.add(markerLayer)
To remove a layer:
mapView.layerManager.layers.remove(markerLayer)You can also iterate through layers to apply bulk updates:
mapView.layerManager.layers.forEach { layer ->
    if (layer is Marker) {
        layer.isVisible = false
    }
}
Performance Considerations
For applications with numerous overlays:
- Limit the number of visible layers based on zoom level.
- Use tile caching to reduce rendering overhead.
- Remove offscreen layers dynamically.
Example Application
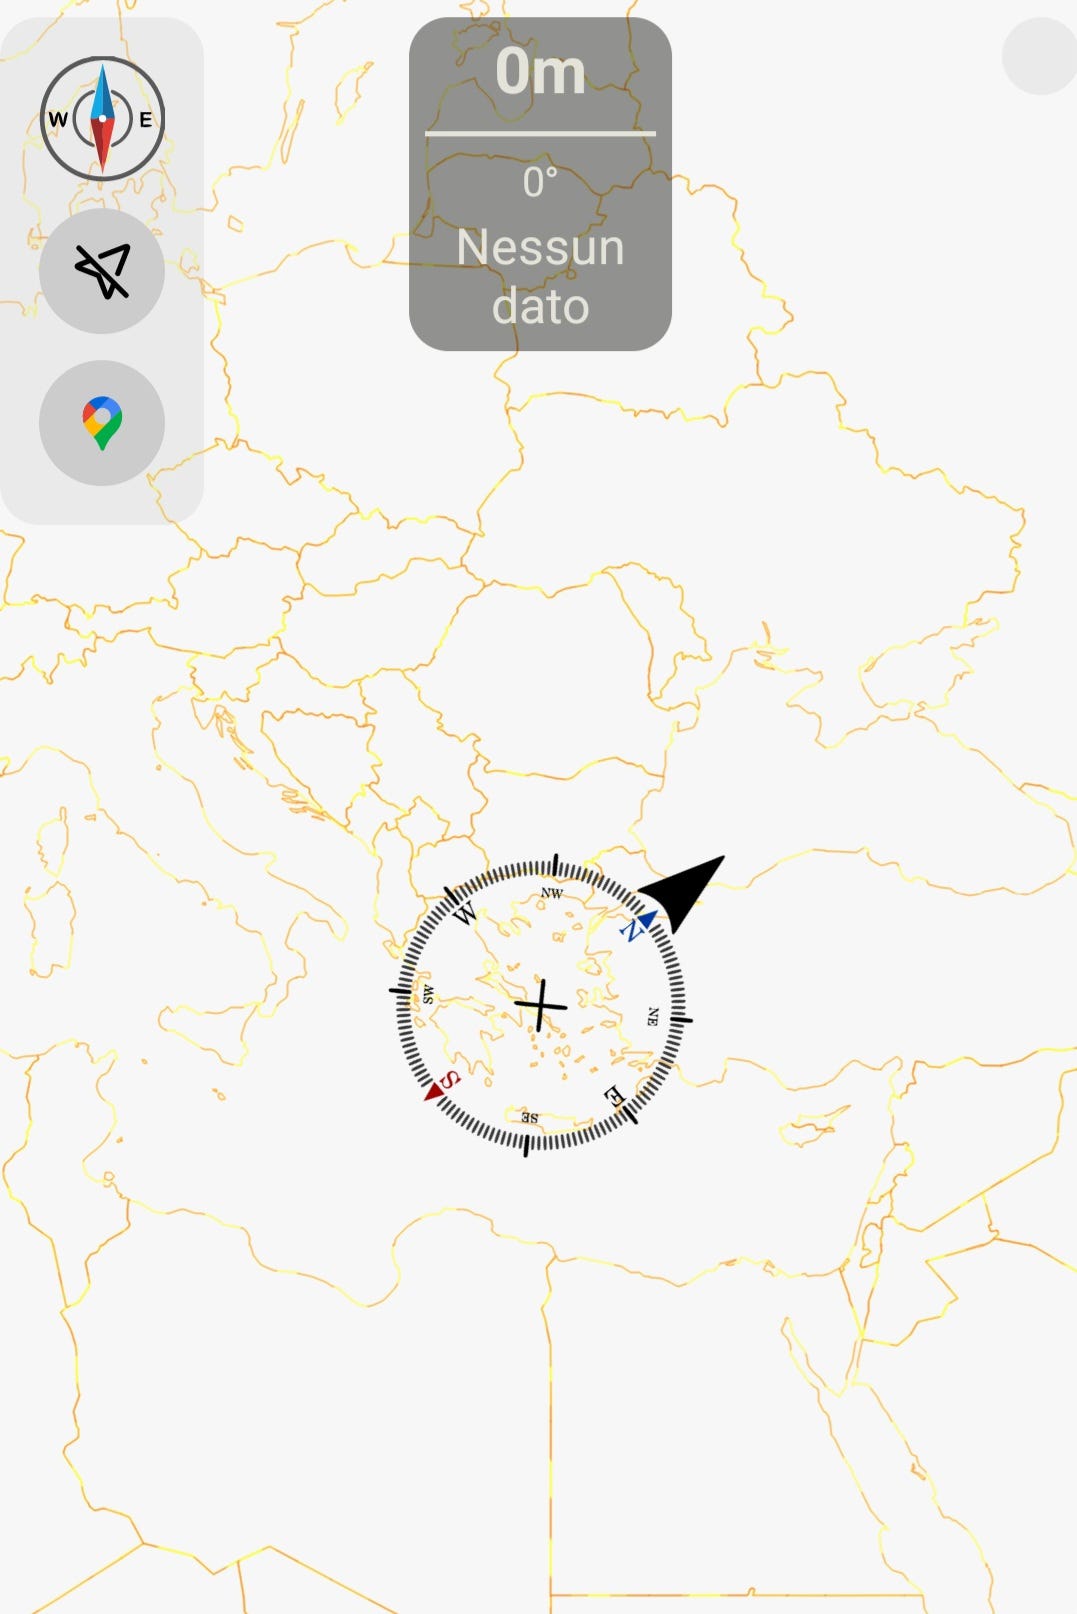
Here’s how to integrate the MapsforgeMapView into your Compose UI:
@Composable
fun MapScreen() {
    val context = LocalContext.current
    val androidGraphicFactory = AndroidGraphicFactory.INSTANCE
    val mapLocation = remember { copyAssetToCache(context, "world_low.map")?.absolutePath.orEmpty() }
    val markers = remember { mutableStateOf(mapOf<String, Marker>()) }
Column {
MapsforgeMapView(
androidGraphicFactory = androidGraphicFactory,
context = context,
mapLocation = mapLocation,
markers = markers,
onMapTap = { position ->
addMarker("marker_${System.currentTimeMillis()}", position, Color.RED.toArgb())
}
)
}
}
Conclusion
Integrating Mapsforge with Jetpack Compose opens up opportunities for offline navigation in modern Android applications. With dynamic marker management, customizable themes, and support for offline .map files, developers can deliver robust and visually appealing mapping solutions. Addressing corner cases like marker overlaps and leveraging Mapsforge’s layering system ensures a seamless user experience. Start building your offline navigation app today!
메타데이터
- post_id
- cfb48422471f
- slug
- offline-navigation-with-mapsforge-in-jetpack-compose-cfb48422471f
- url
- https://medium.com/@ulukiancuk/offline-navigation-with-mapsforge-in-jetpack-compose-cfb48422471f
- canonical_url
- https://medium.com/@ulukiancuk/offline-navigation-with-mapsforge-in-jetpack-compose-cfb48422471f
- author_url
- https://medium.com/@ulukiancuk
- status
- ok
- fetched_at
- 2026-07-25 13:10:30




