20 hours with Arduino
From never touched an Arduino to CAN simulation
20 hours with Arduino
From never touched an Arduino to CAN simulation
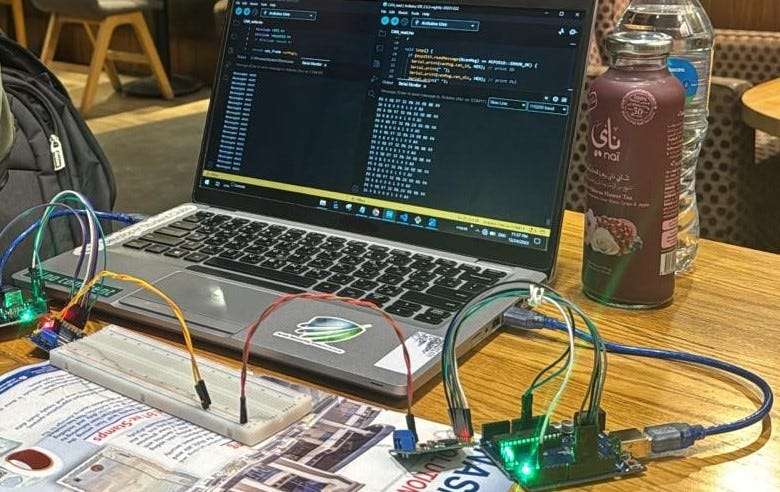
CAN simulation: one ECU is sending CAN messages (on right) and the other is receiving (on left).
Starting Point
Livestream…
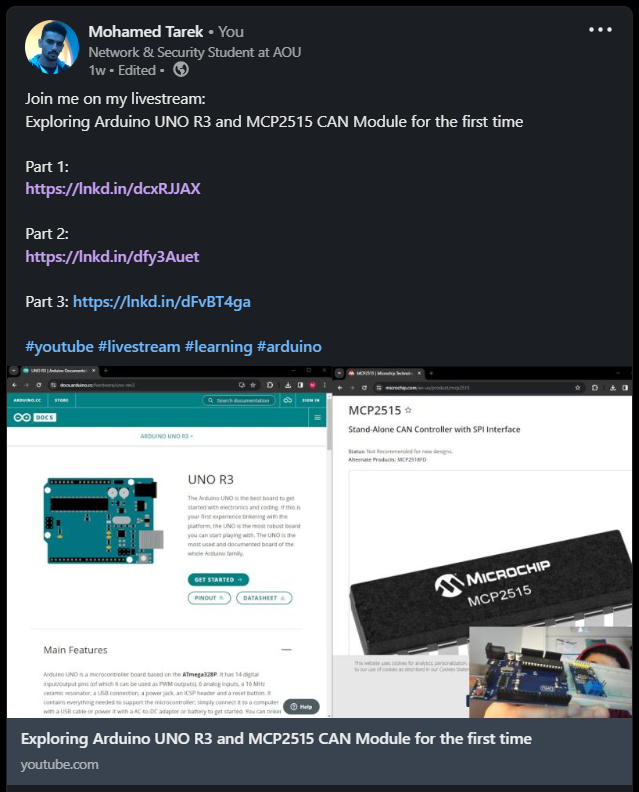
Last week, I decided to discover the Arduino for my curiosity towards the hardware world. I thought it’s a friendly way to start with. I decided to learn the-hard-way (by doing) and build a Controller Area Network (CAN) simulation project. The goal is to simulate two ECUs talking to each other on a CAN bus. So, I went to the electronics store and bought few Uno R3 Arduinos and MCP2515 CAN Modules. Rather than taking notes, I started a livestream on YouTube and posted this on LinkedIn to get some interactions during the stream. Now, after learning many of new stuff, it’s all recorded on YouTube to get back to later. One of the exciting things happened during the stream is that I did a little bit of disassembling of some electronics I have, and made my custom battery cell to power up the Arduino!
Discovery Mentality
Dark map analogy…
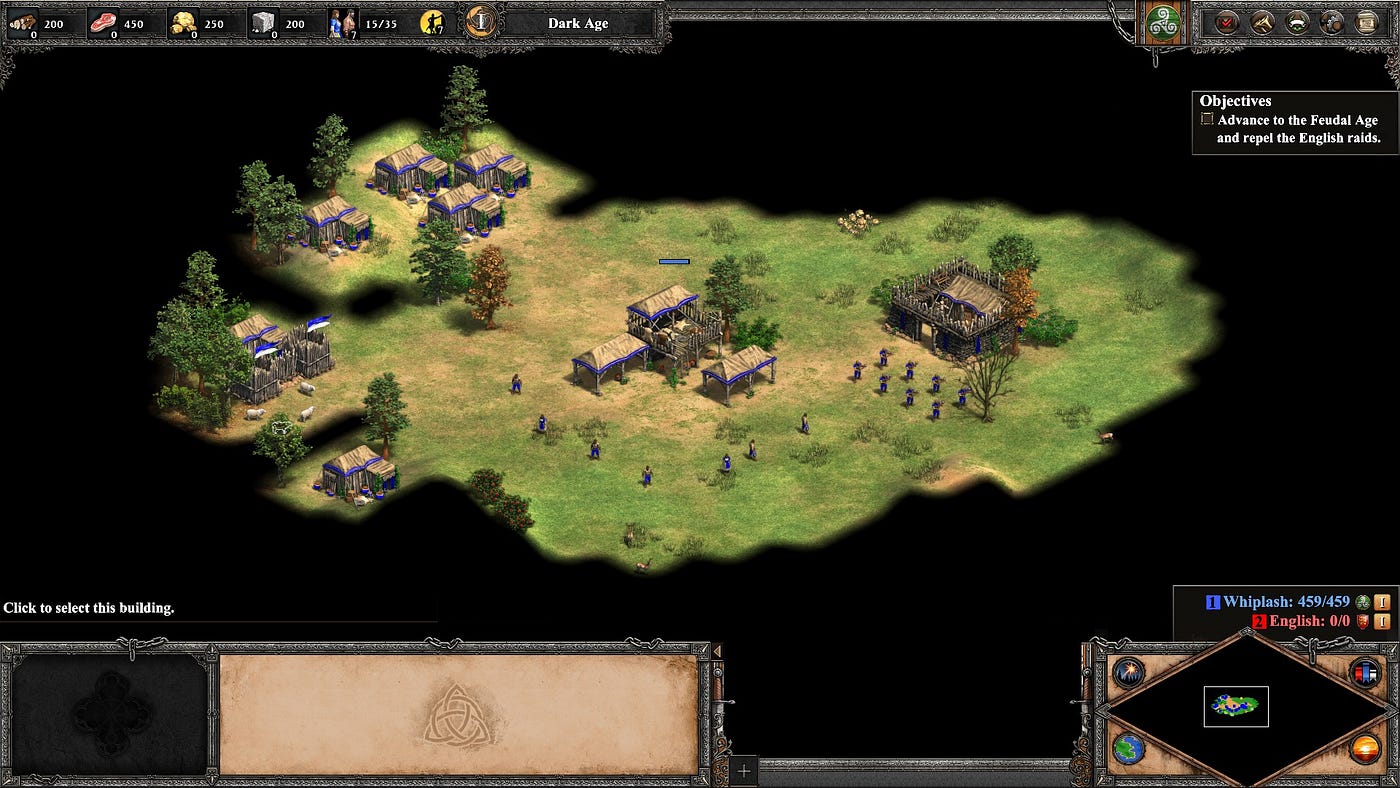
A Capture from Age of Empires II
The learning way I enjoy when approaching new topics is to deal with it like an undiscovered map of Age of Empires. When you start a new game, having a dark map with hidden enemies, you have two approaches to uncover it. One is to have a knight riding in rings around your territory in an organized way. The other one is to let the knight ride in a random direction, and from there to another direction until you have a better view of every corner of the map. The first approach is pretty simple and have a little overhead, while the other approach requires more effort and could be risky. Also, the first approach seems requiring little to no intelligence, while the second one requires more intelligence and sharp self-awareness skills. Yet, it has a high potential to get you reveal the map faster and smarter. I often use this analogy to describe what is literally drawn in my mind when I talk about learning the-hard-way.
Power Supply
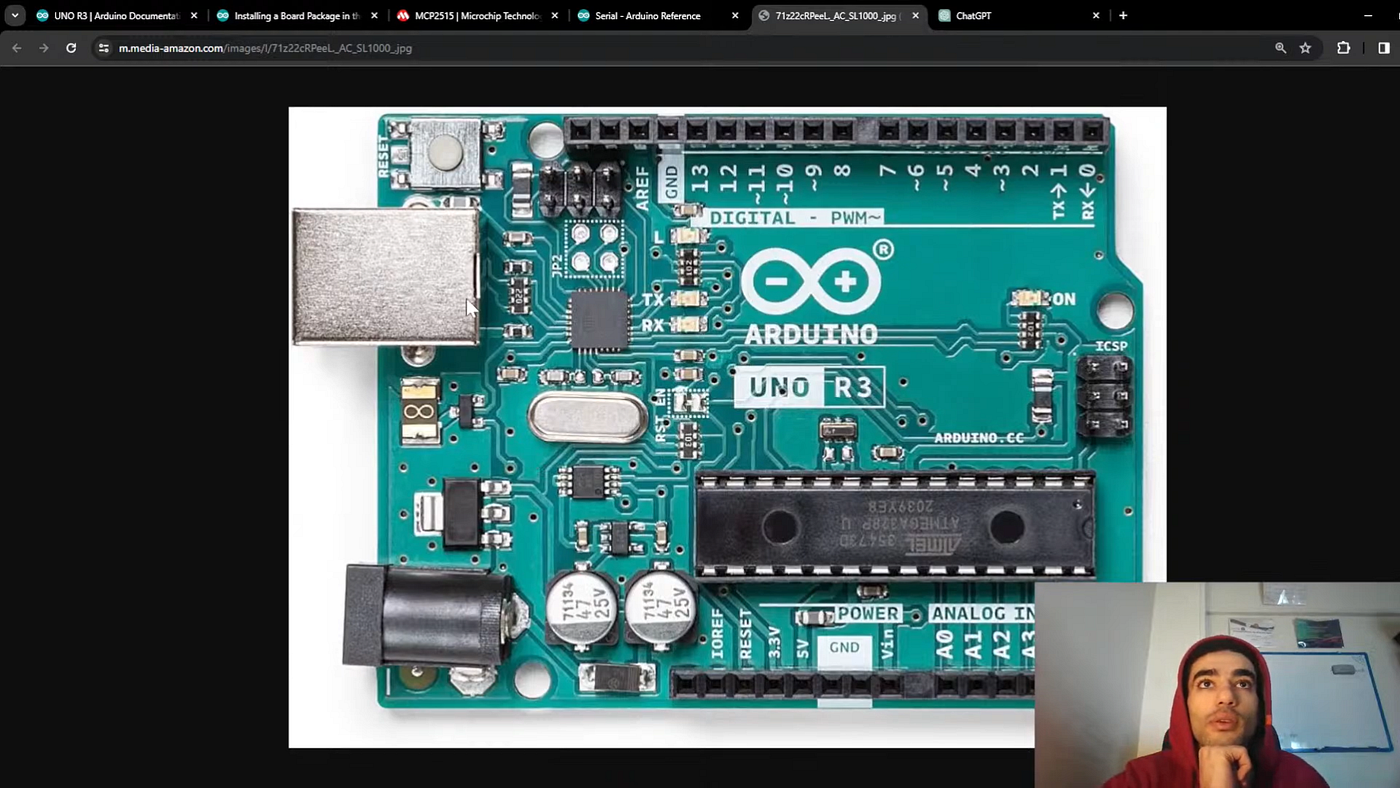
1st of 3 Parts of the livestream: https://www.youtube.com/watch?v=bCTU5guO3ws
Following the second approach mentioned in the map analogy, I started searching randomly for what is labeled on the boards I have. What is ATmega328p? What are AREF and IOREF pins? what is the difference between 3.3V, 5V and Vin pins? etc. From there, I ended up downloading and looking at the datasheets of the ATmega328p Microcontroller and Arduino Uno R3. It is worth mentioning that I have previously read about the different serial communication protocols: UART, SPI, and I2C. This is also related to my discovery mentality. I was always curious about hardware and electronics boards, and I knew that I’ll get my hands on it one day. So, I started reading about these serial interfaces even that I didn’t needed it back then. It’s the same thing I would do in Age of Empires game where I move my knight to far areas on the map, knowing that I’ll get there later. So, I didn’t have problems recognizing RX, TX, SCL, SDA, and GND Pins. The new thing to me was that the 6 Pins labeled “ICSP” represents an SPI interface and is used for in-system programming.
One of the first things I started experimenting is: What are the different ways to power up an Arduino? I found that we have three main ways:
- Using a USB cable to connect the Arduino to the computer, and getting it power-supplied by the computer.
- Plugging a wall power adapter to the AC/DC socket of the Arduino.
- Connecting a wire from another powered-up circuit or from a battery to the Vin Pin of the Arduino.
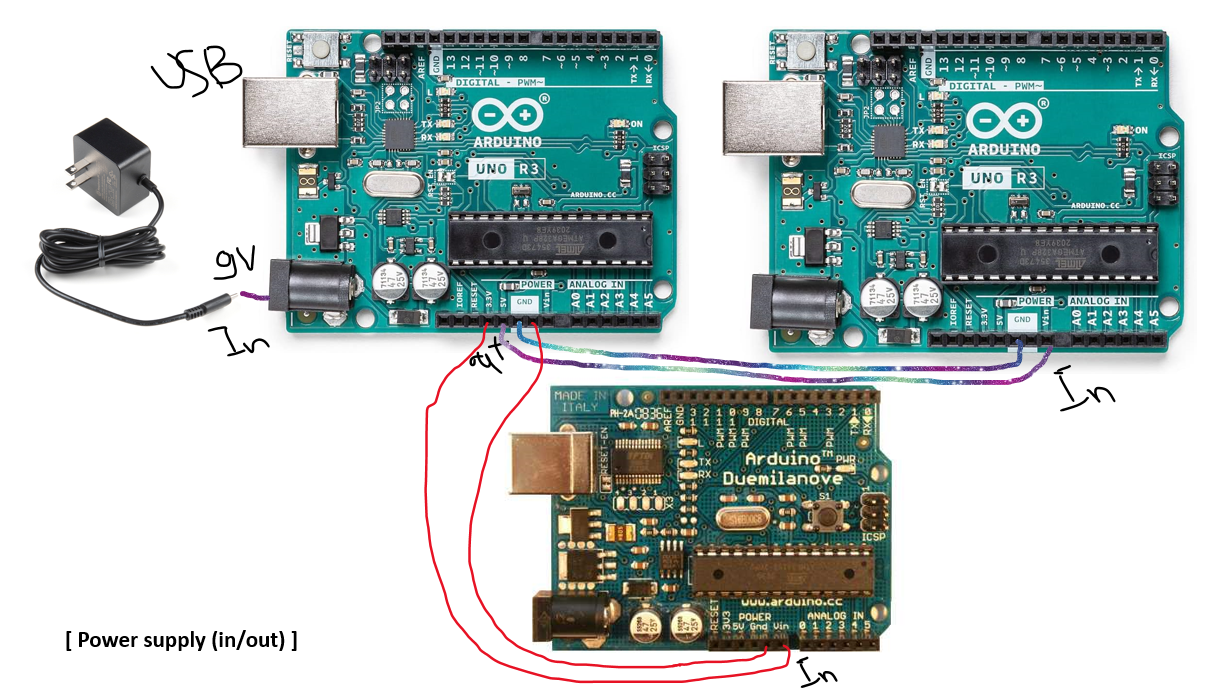
A slide I made during the livestream
I also found out that you can power up the Arduino by connecting a wire from a powered source to almost any IN Pin including the AREF, IOREF, Digital and Analog Pins. An Arduino needs 2.7–5.5 Volts to get powered up properly. So, If you’re using a battery to power up your Arduino, you need to make sure it can supply this amount of Volts. From here I asked myself (and asked ChatGPT as well :) ) What is a Volt? What’s the difference between Volt and Ampere?
Volt is obviously the measure unit of Voltage (V) and is about potential, and Ampere is the unit of Electrical Current (I) and is about rate. Imagine a water pipe, the potential of water flow is measured by Volt and the amount of water that flows through the pipe per certain time is measured by Ampere. Indeed we took the well-known Ohm’s law (V = I.R) in school, but it didn’t make sense until now. To measure the potential of an electrical current (V), you need to know the amount of that current that passes per certain time (I) and the resistance that this current faces during its flow (R).
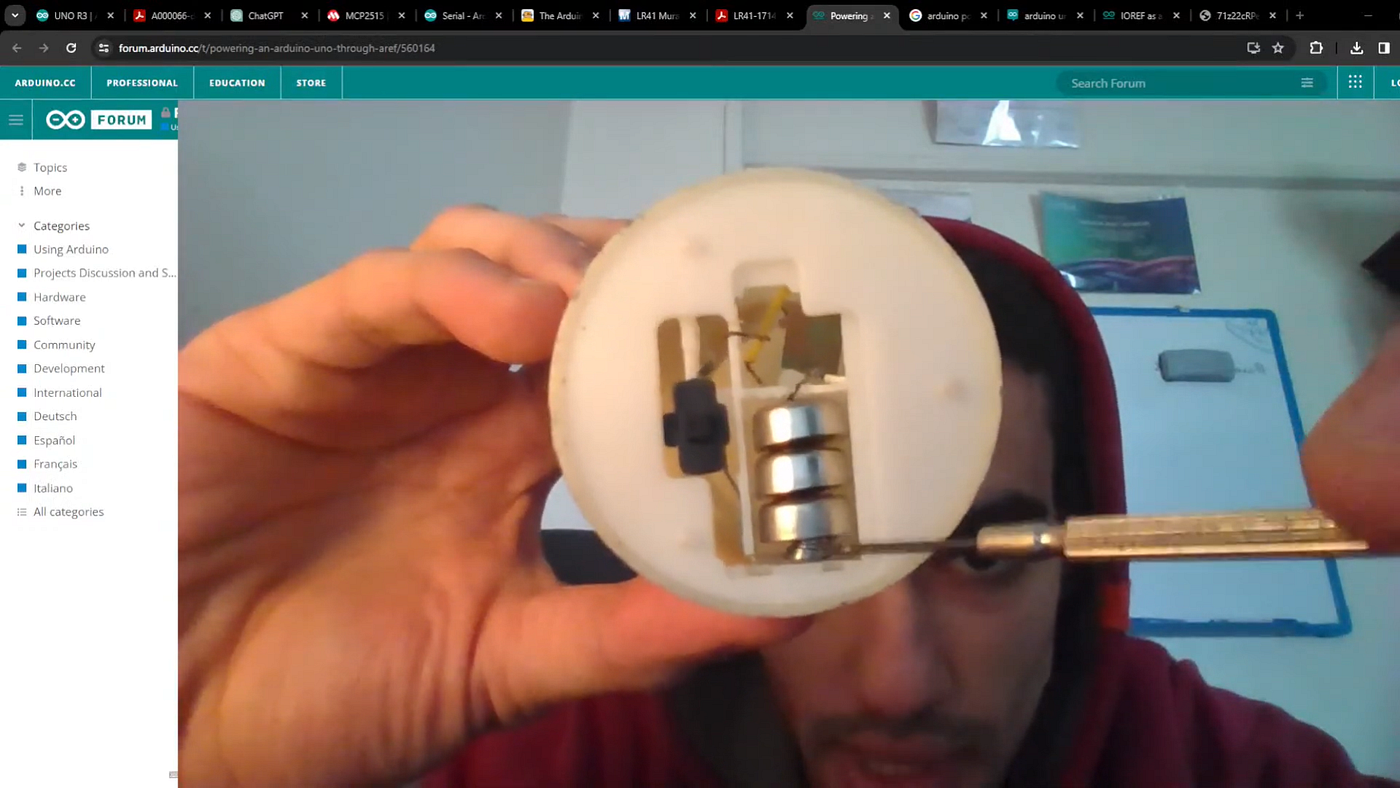
1st of 3 Parts of the livestream: https://www.youtube.com/watch?v=bCTU5guO3ws
During the livestream, I picked up and disassembled a cuddle that has a small lamp circuit inside of it. It had 3 LR41 Alkaline Manganese batteries with 1.5 Volts each. I used these three batteries in addition to another battery that I obtained from disassembling a Digital Tally Counter to have total of 6 Volts. I assembled the batteries in a cell, then I connected the (-) of battery to GND and (+) to Vin and the Arduino lit up!
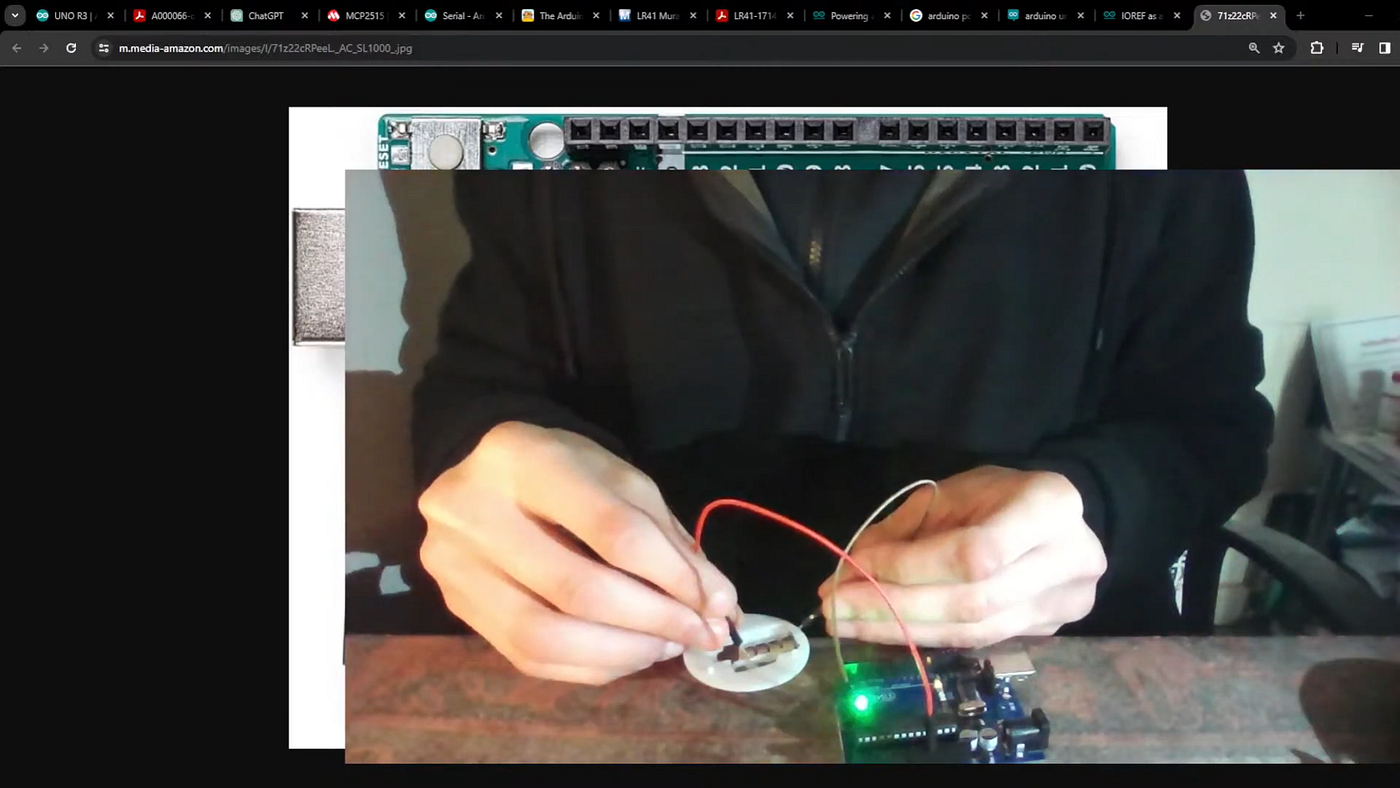
2nd of 3 Parts of the livestream: https://www.youtube.com/watch?v=qlUURUGDGpA
It is worth mentioning that I needed male-to-male wires to power up my Arduino with the battery cell. However, I only had male-to-female wires. So, I worked on converting two male-to-female wires into male-to-male wires to do the experiment.
Simulation Time
My main project objective was to simulate two Electronic Control Units (ECUs) sending/receiving messages on a CAN bus. One ECU can be simulated by an Arduino Uno and an MCP2515 CAN Module that gives CAN capabilities to the Arduino. MCP 2515 CAN module contains both the MCP2515 CAN Controller and the TJA1050 CAN Transceiver all in one board. It has an SPI interface to connect it to the Arduino. I followed this scheme on GitHub: https://github.com/autowp/arduino-mcp2515
I didn’t get it working at the late night on livestream. However, next day, I spent two hours troubleshooting and it finally worked!
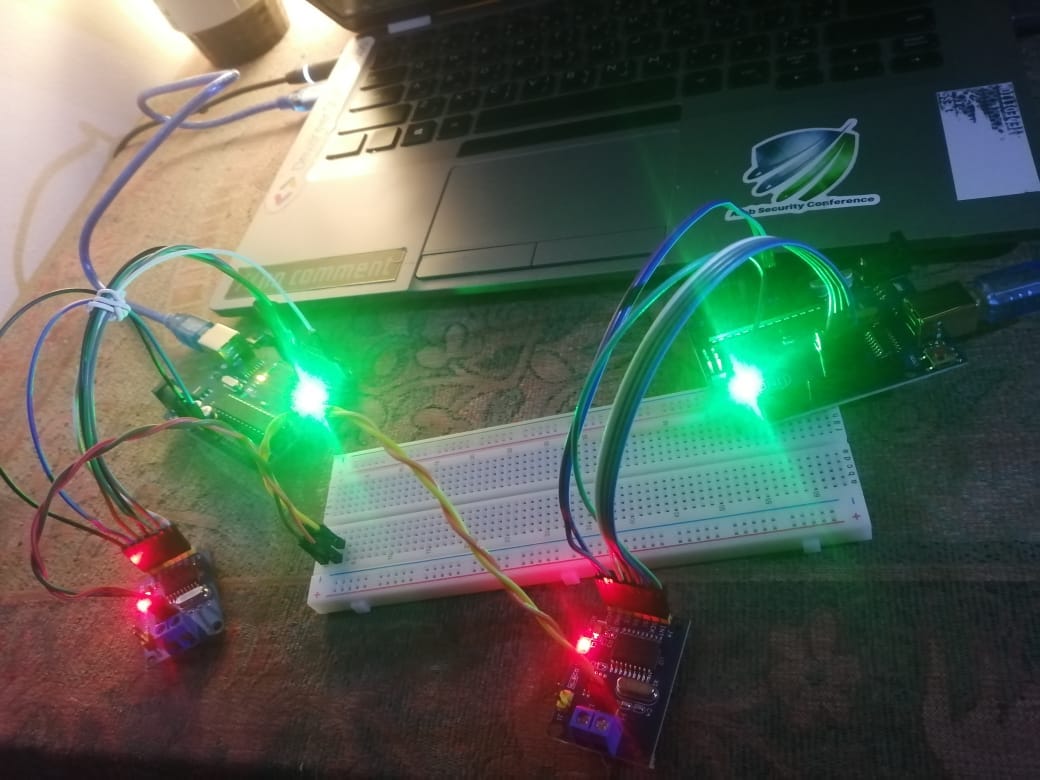
During the late night livestream (Part 3 of 3): https://www.youtube.com/watch?v=gUjZIIXC4I4
Conclusion
In this blogpost, I showed how I approach a new topic to learn. I was really busy and lazy writing this, but I think It doesn’t need more details than what was mentioned. You can reach out to me on my next livestreams :)
This was written only 2 hours before 2024!
메타데이터
- post_id
- d0bc78a2fa45
- slug
- 20-hours-with-arduino-d0bc78a2fa45
- url
- https://medium.com/@motarekk/20-hours-with-arduino-d0bc78a2fa45
- canonical_url
- https://medium.com/@motarekk/20-hours-with-arduino-d0bc78a2fa45
- author_url
- https://medium.com/@motarekk
- status
- ok
- fetched_at
- 2026-07-24 16:21:47