How to Resize a Photo to Passport Size at Home (Without Getting It Rejected in 2026)
About 1 in 4 passport photos get rejected. Here’s how to resize any photo to the exact passport size for your country — and the 2026 rule…
How to Resize a Photo to Passport Size at Home (Without Getting It Rejected in 2026)
About 1 in 4 passport photos get rejected. Here’s how to resize any photo to the exact passport size for your country — and the 2026 rule that trips most people up.
You already have a decent photo of your face. The problem is never the photo — it’s getting it to the exact size, aspect ratio, and resolution your country’s passport office demands. Get one number wrong and the application bounces back, costing you weeks.
And rejections are common. The US State Department alone sends back roughly a quarter of the passport photos it receives, and wrong dimensions or bad cropping are near the top of the list. The frustrating part is that these are the easiest problems to avoid — you just need the right size and a clean crop.
This guide covers the sizes that actually matter, how to resize a photo yourself in a couple of minutes, and the 2026 rule change that’s quietly failing a lot of DIY photos.
First, the sizes that trip people up
There’s no single “passport photo size.” It changes by country, and mixing them up is one of the most common reasons a photo comes back. Here are the ones people ask about most:
- United States — 2 × 2 in (51 × 51 mm). Passport, visa, green card.
- UK & most of Europe (Schengen) — 35 × 45 mm. Passport, visa, residence permits.
- India — 35 × 45 mm or 2 × 2 in. Passport, OCI, visa.
- Canada — 50 × 70 mm. Passport, PR, citizenship.
- Pakistan — 35 × 45 mm. Passport applications.
- China — 33 × 48 mm. Passport, visa.
- Australia — 35 × 45 mm. Passport, visa.
Two things people miss here. First, the US is the odd one out at 2×2 inches (square) — almost everyone else uses the 35×45 mm portrait ratio, so a photo cropped for a US passport won’t fit a UK one and vice versa. Second, the head has to occupy a specific portion of the frame. In a US 2×2, your head should measure about 1 to 1⅜ inches from chin to crown — roughly 50–69% of the frame height. Crop too tight or too loose and it fails even at the correct outer dimensions.
Always confirm the current spec on your own government’s site before you submit, since a handful of countries tweak requirements each year.
The resolution number nobody explains
Alongside size, there’s DPI (dots per inch), and it depends on where the photo is going:
- 72 DPI is fine for a digital-only upload where the portal just wants a screen-resolution image.
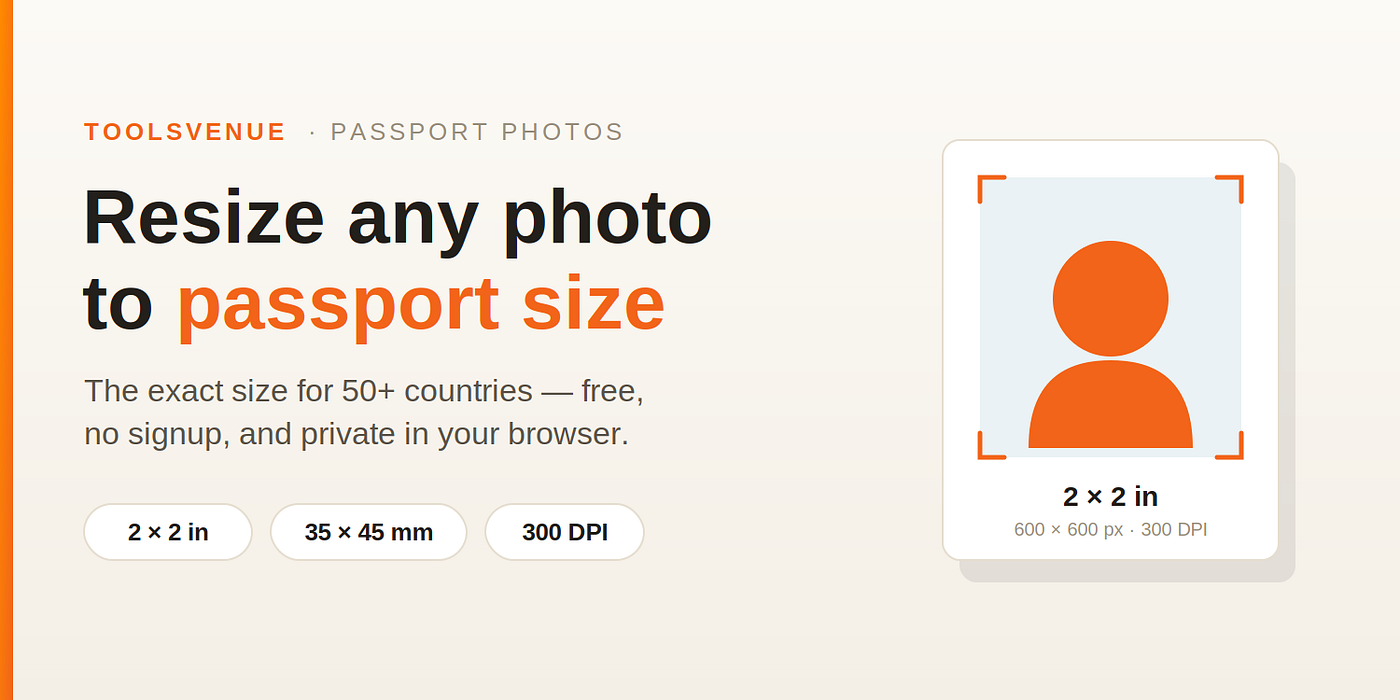
- 300 DPI is the standard for anything you’ll print — a US 2×2 at 300 DPI works out to 600 × 600 pixels, which is what most print shops and home printers expect.
- 600 DPI is professional print quality, useful if a photo lab asks for it.
If you’re printing at home and the photo looks soft or pixelated, low DPI is almost always why.
How to resize your photo in about two minutes
You don’t need Photoshop or a trip to a studio. Any browser-based tool that crops to official country dimensions will do the job. Here’s the workflow with a free passport photo resizer:
- Pick your country standard. This is the step that saves you. Selecting “United States” or “UK” loads the exact size and aspect ratio automatically, so you’re not eyeballing millimetres or converting inches by hand.
- Set the resolution. 300 DPI if you’re printing, 72 DPI if it’s a digital upload only.
- Upload and crop. Drag the crop frame so your face is centered and your head fills the right amount of the frame. The frame stays locked to the correct ratio, so you can’t accidentally distort it.
- Download. Export as PNG, JPG, or a print-ready PDF sized to the exact standard.
A privacy note worth checking on any tool you use: some sites upload your photo to a server to process it. A tool that runs entirely in your browser never sends your face anywhere, which matters more for an ID photo than almost any other kind of image. ToolsVenue’s resizer processes everything locally on your device for this reason.
The 2026 rule that’s quietly failing photos
Here’s the update most guides haven’t caught up on. The US State Department first restricted AI-enhanced photos in 2024, then in January 2026 expanded the rule to reject any photo that’s been generated, enhanced, or altered by AI — including beauty filters, background blur, portrait mode, and the automatic “smoothing” many phones now apply by default.
This is a real trap for DIY applicants, and it has a counterintuitive implication: the safest tools are the ones that do less. A resizer that only crops and resizes — without AI background replacement, face retouching, or “enhancement” — produces a photo that looks exactly like you, which is precisely what a biometric check wants. If you use an AI passport-photo generator that swaps your background or smooths your skin, you risk tripping the new rule.
So before you submit: turn off portrait mode and any beauty filters when you take the photo, and resize afterward with a plain crop-and-size tool rather than an AI editor.
The mistakes that actually get photos rejected
Sizing is one piece. These are the others, drawn from what passport offices reject most often:
- Glasses. The US has banned them in passport photos since 2016 — no exceptions except a documented medical reason. This alone accounts for a large share of rejections.
- Shadows and uneven lighting. A single lamp to one side casts a shadow that fails the photo. Face a window for soft, even light instead.
- Non-white backgrounds. “Off-white,” cream, or a faintly textured wall won’t pass. Plain white is the safe choice.
- A slight smile. Teeth showing or raised eyebrows can throw off facial-recognition measurements. Neutral expression, mouth closed.
- An old photo. Most countries want an image from the last six months.
None of these are about the resizer — they’re about the photo you take before you resize. Get the capture right, keep the edit to a clean crop, and you’ve removed the top reasons applications bounce.
Quick answers
What’s the US passport photo size? 2 × 2 inches (51 × 51 mm), usually at 300 DPI for print, which is 600 × 600 pixels.
Can I resize a photo I already have instead of taking a new one? Yes, as long as the original meets the background, lighting, and expression rules. If it does, you just need to crop and resize it to the right dimensions — that’s a two-minute job with a browser-based resizer.
Will resizing guarantee acceptance? No tool can guarantee that, because acceptance also depends on background, lighting, and expression. What a good resizer does guarantee is that the size, aspect ratio, and resolution are correct — which removes one of the most common failure points.
Can I print passport photos at home? Yes. Export at 300 DPI, download the PDF or JPG, and print on photo paper. The PDF is already sized to the standard.
Is it free? The tool linked throughout this guide is free with no signup and no watermark, and it covers 50+ country standards — see the full passport photo resizer for the country list.
Sizes and rules change. This guide reflects requirements as of 2026 — always confirm the current spec on your government’s official passport site before submitting.
메타데이터
- post_id
- d1a92d219eb7
- slug
- how-to-resize-a-photo-to-passport-size-at-home-without-getting-it-rejected-in-2026-d1a92d219eb7
- url
- https://medium.com/@itsmezain98/how-to-resize-a-photo-to-passport-size-at-home-without-getting-it-rejected-in-2026-d1a92d219eb7
- canonical_url
- https://medium.com/@itsmezain98/how-to-resize-a-photo-to-passport-size-at-home-without-getting-it-rejected-in-2026-d1a92d219eb7
- author_url
- https://medium.com/@itsmezain98
- status
- ok
- fetched_at
- 2026-08-10 08:29:21