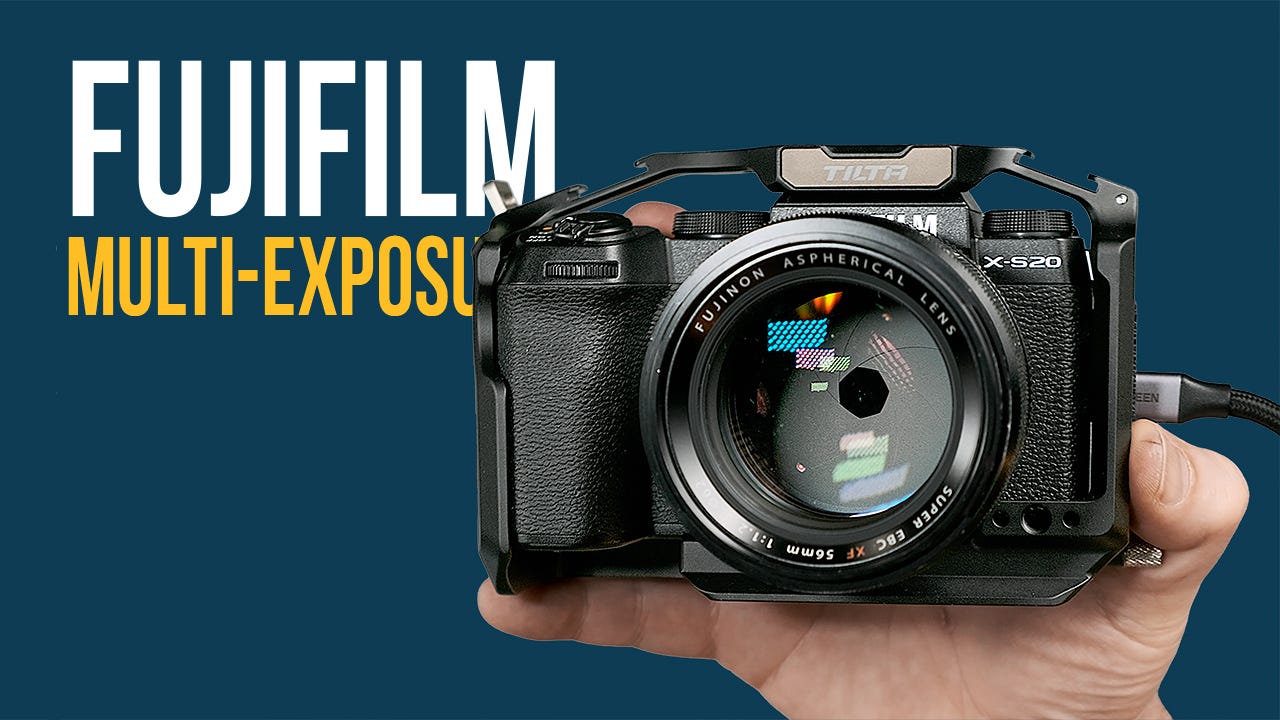
The Fujifilm Autofocus Menu Most People Skip
AF-C Custom Settings looks like a wall of graphs. It is actually the fastest fix for tracking and sharpness problems on a modern X-series…
The Fujifilm Autofocus Menu Most People Skip
AF-C Custom Settings looks like a wall of graphs. It is actually the fastest fix for tracking and sharpness problems on a modern X-series body.
Most of the autofocus complaints I hear come down to one thing. The camera is doing exactly what it was told to do, and nobody told it anything. There is a menu on your Fujifilm that controls how the autofocus thinks, and almost everyone leaves it on the default and never looks at it again. That menu is AF-C Custom Settings. Learn it once and a whole category of “my Fujifilm cannot track” frustration disappears.
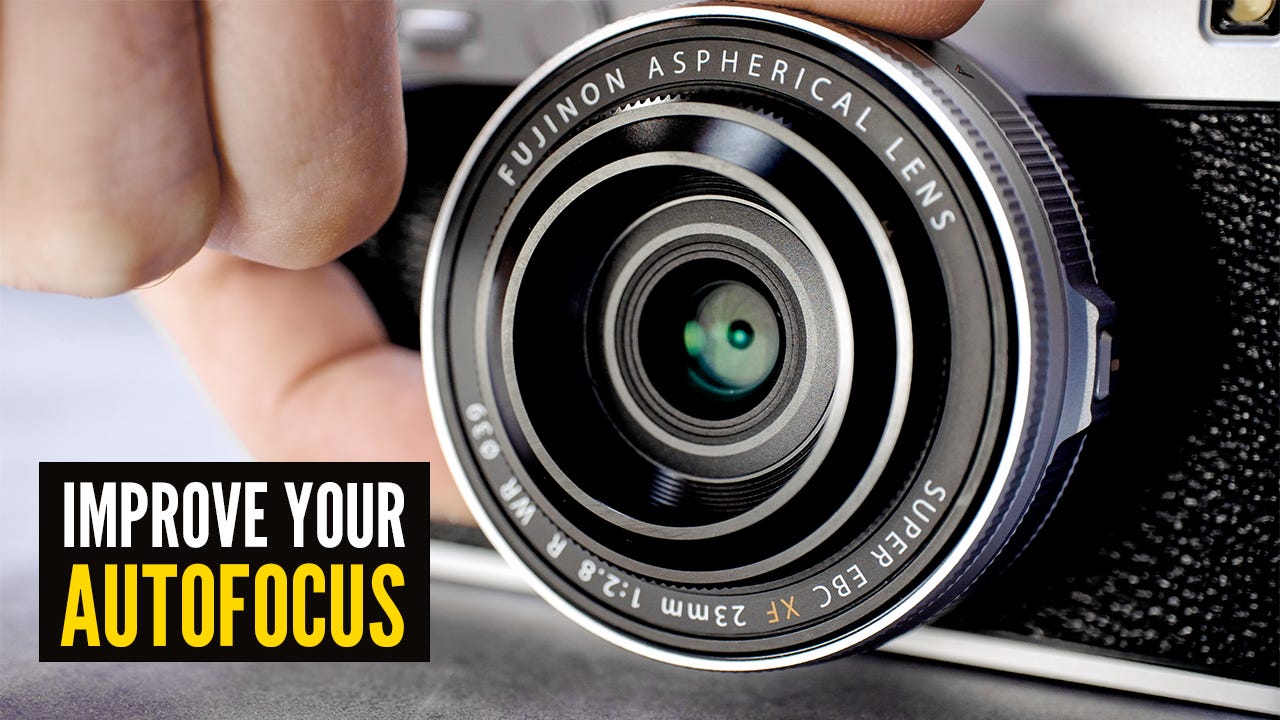
Improve your Fujifilm autofocus.
Here is the catch that trips people up first. This menu only does anything in continuous autofocus (AF-C). If your focus mode switch is on S, none of this applies. So step one is the focus mode lever on the front of the camera. Set it to C.
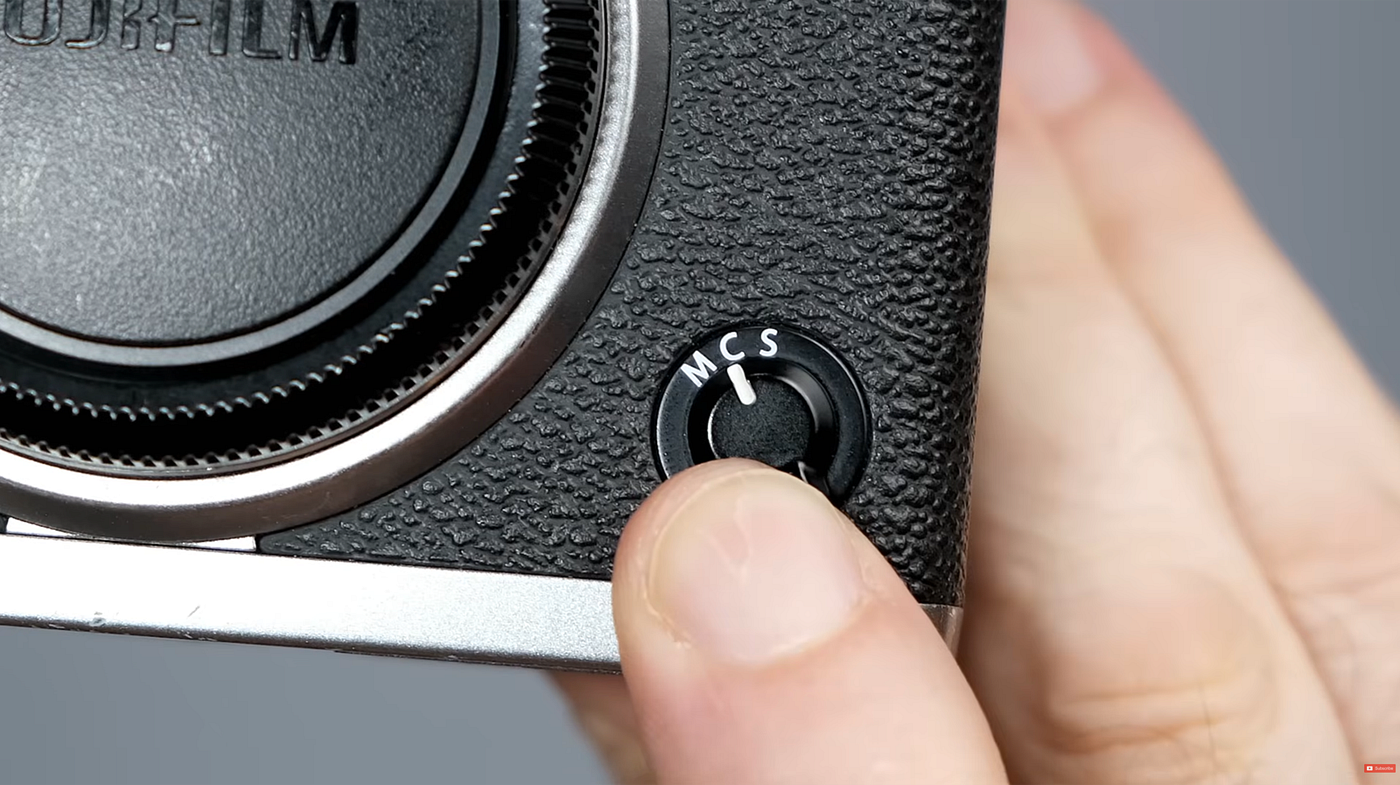
This menu only does anything in continuous autofocus (AF-C).
Where it lives
Press MENU OK, open the AF/MF SETTING menu, and find AF-C CUSTOM SETTINGS. On a current body like the X-S20, X-T5, or X100VI you get five named presets plus a sixth slot you can build yourself. Some older cameras give you the five presets only, and a few give you no manual control at all and simply run the equivalent of the default. I am describing current X-series behavior here. Do not assume an older body has every option.
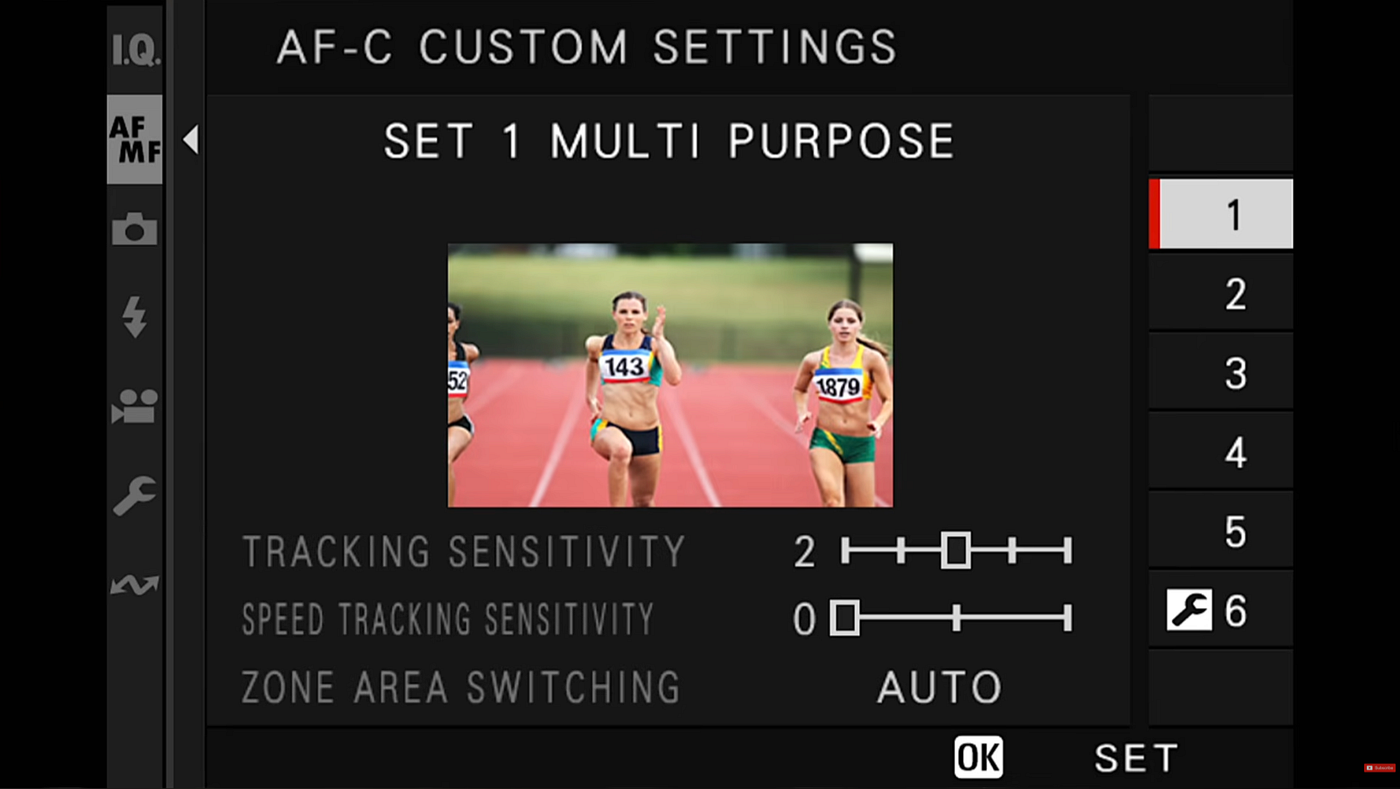
That menu is AF-C Custom Settings.
The five presets, in plain English
Fujifilm wrote these for sports and action, but the logic applies to anything that moves.
SET 1 Multi Purpose. The all-rounder. Start here when you are not sure. Kids in the yard, a dog that mostly behaves, general movement.
SET 2 Ignore Obstacles and Continue to Track Subject. Use this when things keep passing between you and your subject. Think panning a runner past a row of trees, or shooting through a crowd. The camera holds onto your subject instead of grabbing the foreground.
SET 3 For Accelerating and Decelerating Subject. For things that speed up and slow down. A cyclist, a car, a bird taking off.
SET 4 For Suddenly Appearing Subject. For subjects that pop into frame fast, or when you are rapidly switching from one subject to another. The camera snaps to whatever just entered the focus area.
SET 5 For Erratically Moving and Accel/Decel Subject. The wild card. Use it for subjects that change speed and jump around the frame. Kids sports, pets at full sprint, anything unpredictable.
The three dials that actually do the work
Each preset is just a recipe made of three settings. Once you understand the three, you can read any preset, and you can build your own.
Tracking Sensitivity. This is the important one, and the name is a little misleading. It controls how long the camera waits before it gives up on your subject and grabs something else that enters the frame. On current bodies the scale runs 0 to 4. Zero means no prediction at all, so the camera switches instantly. Four means it holds for roughly 1.3 seconds before letting go. The values in between step up from about 0.4 seconds. Higher is stickier. If your camera keeps jumping to the background, raise this. If it is too slow to grab a new subject, lower it.
Speed Tracking Sensitivity. How hard the camera tries to keep up with changes in your subject’s speed. Higher values chase sudden acceleration better, which is great for wildlife and motorsport. The tradeoff is the camera gets twitchier with low-contrast or shiny subjects.
Zone Area Switching. This one only matters in Zone AF, which I will get to next.

Zone Area Switching
Zone AF and the setting everyone reads wrong
Your X-series gives you three AF modes: Single Point, Zone, and Wide/Tracking. Zone is the sweet spot for moving subjects that are not erratic enough to need full Wide/Tracking. You get a block of focus points you can size and move around the frame, and the camera works the subject inside that block.
Zone Area Switching decides which part of the zone gets priority. There are three choices, and the wording matters.
Center prioritizes the center of the zone. Not the center of the frame. The center of wherever you have moved your zone with the focus lever. People read “center” and assume the middle of the photo. It is not.
Front prioritizes the closest subject inside the zone. Useful when your subject is the nearest thing, like a bird in front of a busy background.
Auto has no fixed preference and lets the camera search the whole zone. If your older Fujifilm does not offer this setting at all, it is effectively running the Auto behavior behind the scenes.
The most common mistake
The single most common thing I see is someone leaving the camera on AF-S, fighting with focus on a moving subject, and blaming the autofocus. AF-C Custom Settings cannot help a camera that is not in AF-C. The second most common mistake is using a sticky preset like SET 2 on a subject that needs the camera to switch fast, then wondering why focus feels glued to the wrong thing. Match the preset to the behavior, not to the subject’s name.
If you only change one thing today, switch to AF-C and try SET 5 on the next moving thing you shoot. It is the most forgiving for real life.
Build your own with Set 6
Once the three parameters make sense, Set 6 is where it gets fun. Pick the subject you shoot most, dial Tracking Sensitivity, Speed Tracking Sensitivity, and Zone Area Switching to taste, and save it. Now you have a one-tap preset tuned to exactly how you shoot. I keep mine set for fast, unpredictable movement, because that is most of what I point a camera at.
The short version
Autofocus on these cameras is genuinely excellent. When it misses, it is usually because the camera was set up for a different job than the one you handed it. Put it in AF-C, pick the preset that matches how your subject moves, and in Zone mode pay attention to what Zone Area Switching is prioritizing. That is most of the battle.
Quick fix checklist
- Focus mode lever on C, not S.
- Pick the AF-C preset that matches the movement, not the subject’s name.
- Camera grabbing the background? Raise Tracking Sensitivity.
- Camera too slow to grab a new subject? Lower Tracking Sensitivity.
- Shooting in Zone mode? Check whether Zone Area Switching should be Center, Front, or Auto.
- Shoot the way you always do, then save your favorite combination as Set 6.
- Watch the full walkthrough on YouTube where I show each of these on the camera and on real moving subjects.
Chris Lee is the host of pal2tech, a YouTube channel focused on Fujifilm photography, camera techniques, and practical photography education. New videos publish weekly at youtube.com/@pal2tech.
메타데이터
- post_id
- d3969e629dfb
- slug
- the-fujifilm-autofocus-menu-most-people-skip-d3969e629dfb
- url
- https://medium.com/@pal2tech/the-fujifilm-autofocus-menu-most-people-skip-d3969e629dfb
- canonical_url
- https://medium.com/@pal2tech/the-fujifilm-autofocus-menu-most-people-skip-d3969e629dfb
- author_url
- https://medium.com/@pal2tech
- status
- ok
- fetched_at
- 2026-06-24 18:57:25