Complete Guide to Laravel Herd on Windows: From Installation to Managing Your First Laravel Project…
If you’re a Windows developer trying to set up a local Laravel development environment, you’ve probably experienced the nightmare…
Complete Guide to Laravel Herd on Windows: From Installation to Managing Your First Laravel Project with SQLite
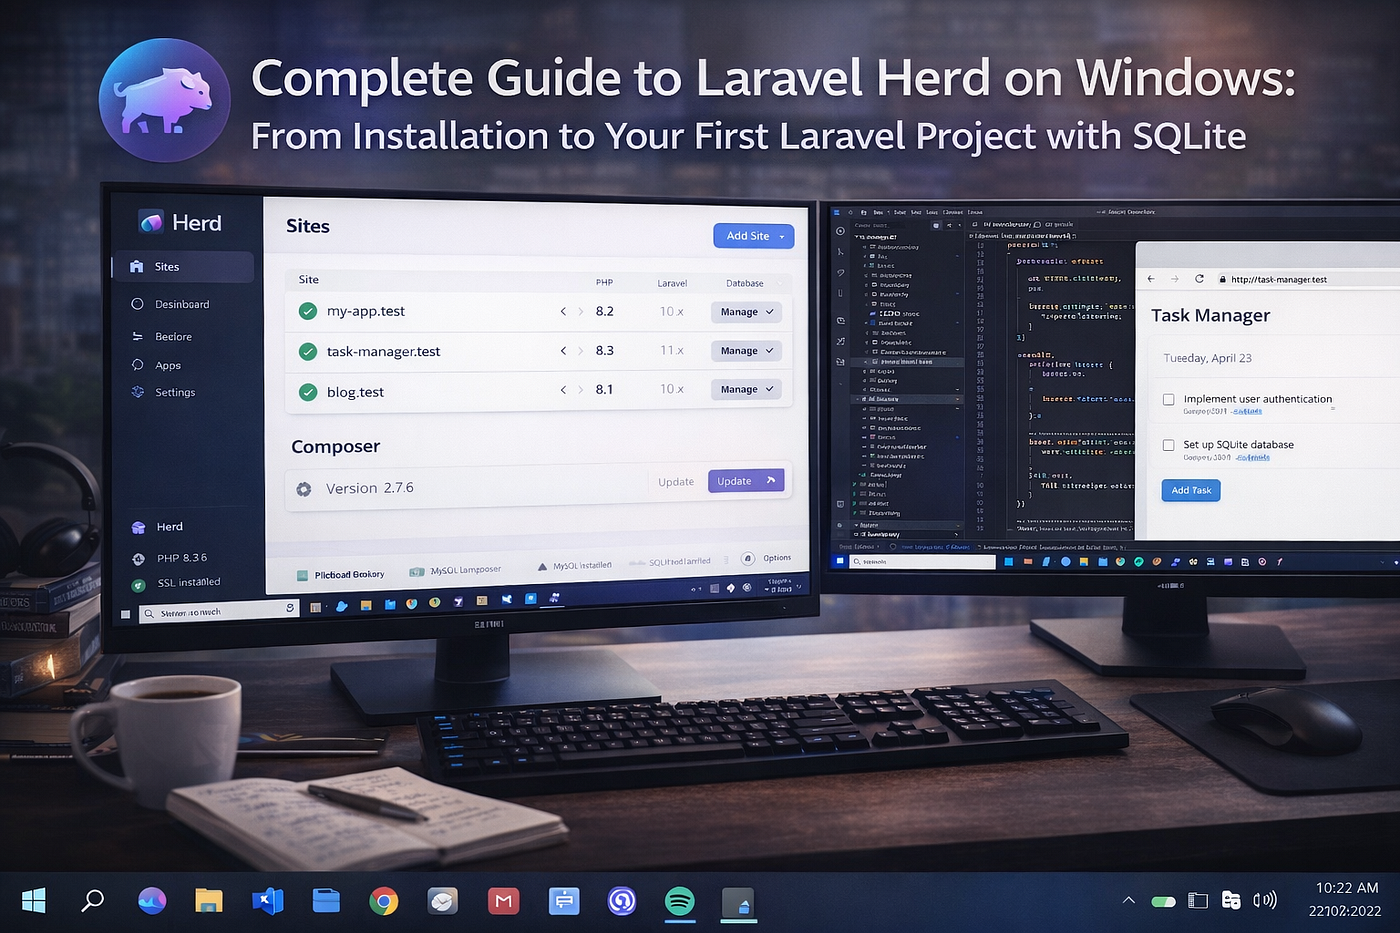
If you’re a Windows developer trying to set up a local Laravel development environment, you’ve probably experienced the nightmare: installing PHP manually, dealing with conflicting services, managing multiple versions, configuring Nginx… it’s exhausting.
Enter Laravel Herd. In the last few years, Windows Laravel developers got tired of fighting with setup. Herd was built to solve this problem. Today, I’ll walk you through everything you need to know about Herd on Windows — from downloading it to building your first Laravel project with SQLite.
By the end of this guide, you’ll be able to create, manage, and develop multiple Laravel projects without ever touching a command line configuration or worrying about dependencies.
Part 1: Understanding Laravel Herd
What is Laravel Herd?
Laravel Herd is a PHP development environment designed to streamline Laravel and PHP projects. Unlike traditional setups that rely on virtual machines, Docker containers or tools like XAMPP, Herd is shipped with PHP, Nginx and other critical dependencies.
Think of Herd as an all-in-one control panel for your local Laravel development. Instead of installing PHP, Nginx, Node.js, and Composer separately and managing all the configuration files, Herd handles everything automatically.
What Does Herd Include?
Herd is the control panel for your local environment, making it easy to set up and run complementary services to your Laravel applications. It includes everything you need to get started with Laravel development, including PHP and nginx. Herd includes binaries for Composer, the Laravel installer, and Expose, making them available to your CLI automatically.
In the Free Version, You Get:
- PHP (multiple versions available)
- Nginx (web server)
- Node.js with nvm (version manager)
- Composer (dependency manager)
- Laravel CLI
- Expose (for sharing local sites publicly)
- Dnsmasq (automatic .test domain routing)
Herd Pro Adds ($99/year):
- MySQL, PostgreSQL, Redis databases
- Mail viewer for testing emails
- Log monitoring
- Debugging tools
- Dump viewer (see your dd() calls beautifully)
Why Herd is Better Than Alternatives
vs. XAMPP: XAMPP requires manual configuration, and upgrading PHP versions is painful. Herd does it all automatically.
vs. Laragon/Valet: Herd has a modern GUI and better Windows support. If you like the command line, you can still use Herd that way too.
vs. Docker: Docker has a learning curve and requires more system resources. Herd is native to Windows, so it’s faster and simpler.
Performance: Herd uses static binaries for PHP, nginx, and dnsmasq, making it faster than other PHP development environments. Using Herd, you can immediately enjoy 35% faster tests and 100% faster web requests.
Part 2: Installation on Windows
Step 1: Download Herd
Go to the official Herd website (herd.laravel.com) and download the Windows installer.
Screenshot Placeholder: Show the Herd website download page with the Windows download button highlighted.
Step 2: Run the Installer
After downloading the installer, you need to run it with admin permissions so that the installer can add the HerdHelper service that is responsible for updating your hosts file and map directories and linked sites to .test domains.
Steps:
- Right-click the installer (HerdSetup.exe)
- Select “Run as administrator”
- Follow the setup prompts
- Accept the UAC (User Account Control) warning — Herd needs admin access to manage your hosts file
- Wait for the installation to complete
Screenshot Placeholder: Show the “Run as administrator” context menu and the UAC prompt screen.
Step 3: Launch Herd
Once installation completes, Herd will launch automatically. You should see:
- The Herd dashboard
- A tray icon in your Windows taskbar

Step 4: Verify Installation
Open PowerShell and run:
herd --version
php --version
composer --version
If these commands work, congratulations! Herd is installed and ready.

Windows Defender Performance Tip
Sometimes the Windows Defender likes to scan Herd folders and decreases your Herd performance. You can create an exclude rule for the Herd config folder for Windows Defender by adding the path %USERPROFILE%.config\herd to it and mitigate this issue.
To add the exclusion:
- Open Windows Defender
- Go to Settings > Virus & threat protection
- Click “Manage settings” under “Virus & threat protection settings”
- Scroll down to “Exclusions”
- Add the folder:
%USERPROFILE%\.config\herd

Part 3: Managing PHP Versions
One of Herd’s best features is managing multiple PHP versions instantly. If you’re working on projects requiring different PHP versions, you can switch between them with one click.
Checking Your Current PHP Version
Via GUI:
- Open Herd
- Click the “PHP” tab on the left
- You’ll see all installed versions
- The one with a checkmark is your global version
Via Terminal:
herd php --version
Installing a New PHP Version
Via GUI:
- Open Herd
- Go to the PHP tab
- In the “Versions” section, you’ll see buttons to install different PHP versions (8.0, 8.1, 8.2, 8.3, 8.4, etc.)
- Click the “Install” button next to the version you want
- Wait for installation (usually takes 2–3 minutes)
Once installed, you can:
- Set it as global
- Use it only for specific projects
Via Terminal:
herd install 8.3
herd use 8.3  # Set as global
Setting PHP Version Per Project
If you have a project that requires PHP 8.1 while your global is 8.3, you can isolate that project.
Via GUI:
- Open Herd
- Go to Sites
- Click on the project you want to isolate
- In the settings, select “PHP Version” and choose 8.1
Via Terminal (from your project root):
herd isolate 8.1To remove the isolation and use global PHP:
herd unisolateTo see all isolated sites:
herd isolated
Configuring PHP Settings
Need to change PHP settings like memory_limit or max_upload_size?
Via GUI:
- Open Herd
- Go to PHP tab
- Right-click on the PHP version you want to configure
- Select “Open php.ini”
- Edit the file in your default editor
- Save and restart Herd
Via Terminal:
herd ini 8.3 # Opens php.ini for PHP 8.3
Part 4: Managing Composer Versions
Composer is the PHP package manager, and Herd includes it automatically.
Check Composer Version
composer --versionUpdate Composer
Herd automatically updates Composer with PHP updates, but you can manually update:
composer self-updateUsing Composer in Your Projects
Once you’re in a Laravel project directory, you can use Composer normally:
cd my-project
composer install     # Install dependencies
composer update      # Update packages
composer require laravel/sanctum  # Add a package
Herd automatically uses the correct PHP version for your project (the isolated version if you set one, or the global version).
Part 5: Creating and Managing Sites
This is where Herd’s magic really shines. Creating new Laravel projects and managing them is incredibly simple.
Creating Your First Laravel Project
Via GUI:
- Open Herd
- Click “Open Sites” (or the Sites icon on the left)
- Click “Add Site”
- Select “New Laravel Project”
- Fill in:
- Project Name: e.g., “my-first-app”
- PHP Version: Choose 8.4 (or your preferred version)
- Testing Framework: Pest or PHPUnit (choose Pest for simplicity)
- Starter Kit: None (basic Laravel), Breeze (with authentication), or Jetstream (advanced)
- Location: Choose where to save (e.g., C:\Users\YourName\Herd or any folder)
- Click “Create”
Herd will:
- Create the project folder
- Install Laravel
- Install dependencies
- Set up the database
- Generate the app key
Screenshot Placeholder: Show the “Add Site” wizard with all the form fields filled in and the “Create” button visible.
Once complete, click “Open in Browser” to see your new Laravel app running at [http://my-first-app.test.](http://my-first-app.test.)
Creating via Terminal
If you prefer the command line:
cd C:\Users\YourName\Herd
laravel new my-first-app
Herd recognizes it automatically and adds it to your sites.
Accessing Your Sites
Every site created with Herd is automatically accessible at http://projectname.test in your browser.
For example:
[http://my-first-app.test](http://my-first-app.test)[http://blog-project.test](http://blog-project.test)[http://ecommerce-site.test](http://ecommerce-site.test)
No manual host file editing. No localhost:8000. Just simple .test domains.

Managing Existing Sites
Adding a Non-Laravel Project:
- Create a folder:
C:\Users\YourName\Herd\my-project - Add your PHP/Laravel files
- Herd automatically detects it and serves it
- Access at
[http://my-project.test](http://my-project.test)
Linking External Projects: If your projects are outside Herd’s main folder:
- In Herd, click “Add Site”
- Select “Existing Project”
- Navigate to your project folder
- Herd will detect the framework automatically
- Done!
Stopping/Starting a Site: Click the toggle on a site to enable/disable it temporarily. This is useful if you want to pause one project while working on another.

Opening Your Project Terminal
Need to run artisan commands or composer updates? Herd makes it easy.
Via GUI:
- In Herd Sites, right-click your project
- Select “Open Terminal”
- PowerShell opens in your project directory
- Run commands directly:
php artisan migrate
php artisan serve
composer require laravel/passport
Part 6: Configuring Paths and Parking Directories
What is a Parked Directory?
A “parked directory” is a folder where Herd automatically serves any Laravel project inside it at its corresponding .test domain.
For example, if you park C:\Projects\Laravel, then:
C:\Projects\Laravel\blog→[http://blog.test](http://blog.test)C:\Projects\Laravel\ecommerce→[http://ecommerce.test](http://ecommerce.test)C:\Projects\Laravel\api→[http://api.test](http://api.test)
Setting Up a Parked Directory
Via GUI:
- Open Herd
- Go to the Settings/Preferences
- Find “Parked Directories”
- Click “Add”
- Select your folder (e.g.,
C:\Projects\Laravel)
Via Terminal:
herd park C:\Projects\LaravelNow any Laravel project you create or put in this folder is automatically served.

zUnparking a Directory
herd unpark C:\Projects\LaravelViewing All Parked Directories
herd parkedPart 7: Building Your First Laravel Project with SQLite
Now let’s build a real project using Herd and SQLite. We’ll create a simple task management app.
Step 1: Create the Project
cd C:\Users\YourName\Herd
laravel new task-manager
Or use the GUI method from earlier.

Step 2: Configure SQLite
By default, new Laravel projects use SQLite. Verify your .env file:
DB_CONNECTION=sqlite
DB_DATABASE=database/database.sqlite
Herd automatically creates the database/database.sqlite file when you run migrations.

Step 3: Create the Database File
cd task-manager
touch database/database.sqlite
Or Windows:
type nul > database/database.sqliteActually, you don’t need to manually create it. Laravel creates it automatically on first migration.
Step 4: Create Models and Migrations
Let’s create a Task model with migration:
php artisan make:model Task -mThis creates:
app/Models/Task.php(the model)database/migrations/2025_01_15_create_tasks_table.php(the migration)

Step 5: Define the Migration
Edit database/migrations/2025_01_15_create_tasks_table.php:
<?php$table->string('title');
            $table->text('description')->nullable();
            $table->boolean('completed')->default(false);
use Illuminate\Database\Migrations\Migration;
use Illuminate\Database\Schema\Blueprint;
use Illuminate\Support\Facades\Schema;return new class extends Migration
{
public function up(): void
{
Schema::create('tasks', function (Blueprint $table) {
$table->id();
$table->string('title');
$table->text('description')->nullable();
$table->boolean('completed')->default(false);
$table->timestamps();
});
} public function down(): void
{
Schema::dropIfExists('tasks');
}
};
Step 6: Run Migrations
php artisan migrateThis creates the tasks table in your SQLite database.

Step 7: Create a Controller
php artisan make:controller TaskController --resourceThis creates a controller with CRUD methods.

Step 8: Define Routes
Edit routes/web.php:
<?phpuse App\Http\Controllers\TaskController;
use Illuminate\Support\Facades\Route;Route::resource('tasks', TaskController::class);
Step 9: Create Controller Methods
Edit app/Http/Controllers/TaskController.php:
<?phpnamespace App\Http\Controllers;use App\Models\Task;class TaskController extends Controller
{
public function index()
{
$tasks = Task::all();
return view('tasks.index', compact('tasks'));
} public function create()
{
return view('tasks.create');
} public function store()
{
Task::create([
'title' => request('title'),
'description' => request('description'),
]);
return redirect('/tasks');
} public function show(Task $task)
{
return view('tasks.show', compact('task'));
} public function edit(Task $task)
{
return view('tasks.edit', compact('task'));
} public function update(Task $task)
{
$task->update([
'title' => request('title'),
'description' => request('description'),
'completed' => request('completed', false),
]);
return redirect('/tasks');
} public function destroy(Task $task)
{
$task->delete();
return redirect('/tasks');
}
}
Step 10: View Your Application
In Herd, click on your task-manager site and open it in the browser, or go to [http://task-manager.test.](http://task-manager.test.)
You now have a fully functional Laravel application with SQLite running on Herd!
Part 8: Advanced Herd Features
Sharing Your Local Site Publicly
Need to show a client your work? Herd integrates with Expose to create public URLs for your local sites. However, this requires setup first.
Step 1: Create an Expose Account
- Go to https://expose.dev
- Sign up for a free account
- Copy your authentication token from your account settings
Step 2: Configure Expose in Herd
- Open Herd
- Go to Preferences/Settings
- Find the “Expose” tab
- Paste your authentication token
- Save and restart Herd
Step 3: Share Your Site Once configured, open PowerShell in your project directory and run:
cd C:\Users\YourName\Herd\task-manager
herd share
Or specify a subdomain and region:
herd share https://task-manager.test --subdomain=my-project-name --server=us-1This generates a public URL (e.g., https://task-manager.us-1.sharedwithexpose.com) that you can share with clients and colleagues. The URL is active as long as the herd share command is running.
Viewing Dump Output (Herd Pro)
If you use dd() or dump() in your Laravel code, instead of it blocking your page, it goes to a Dump viewer in Herd Pro where you can inspect it beautifully formatted.
// In your controller
dump($task);
dd($tasks->toArray());
Opening the Database
Via GUI:
- In Herd Sites, click your project
- Click “Database”
- Herd opens Adminer (a web interface for your database)
- View, edit, and query your SQLite database
No command line needed. View your tasks table and the data you created.
Part 9: Troubleshooting Common Issues
Issue: “Address already in use” Error
Problem: Port 80 or 443 is already used by another service.
Solution:
netstat -ano | findstr :80This shows what’s using port 80. If it’s another service, either stop it or change Herd’s base port in Settings.
Issue: Sites Not Loading (.test domains)
Problem: DNS not resolving .test domains.
Solution:
- Restart Herd (right-click tray icon → Restart)
- Restart your browser
- Clear browser cache (Ctrl+Shift+Delete)
If still not working, check that HerdHelper service is running in Windows Services.
Issue: PHP Extension Not Available
Problem: You need a specific PHP extension (e.g., PDO for SQLite).
Solution:
- Go to Herd PHP settings
- Right-click your PHP version
- Select “Extensions”
- Enable the extension you need
Most extensions come pre-enabled. SQLite PDO is enabled by default.
Part 10: Best Practices for Herd Development
1. Use One Parked Directory
Keep all your Laravel projects in one parked directory (e.g., C:\Projects\Laravel). This makes management much easier.
2. Pin PHP Versions Carefully
Only isolate projects that absolutely require a specific PHP version. Most projects work fine with the latest version.
herd isolated # See all isolated projects3. Backup Your SQLite Databases
SQLite databases are just files. Back up your database/database.sqlite regularly:
copy database\database.sqlite database\database.sqlite.backup4. Use Environment Files for Secrets
Never hardcode API keys or database credentials. Use .env:
STRIPE_KEY=sk_test_xxx
OPENAI_KEY=sk-xxx
Herd doesn’t expose these publicly, even with Expose.
5. Monitor Your Projects
Herd shows you active projects in the Sites list. Keep an eye on which ones are running to avoid confusion.
Conclusion
Laravel Herd transforms Windows development from a frustrating maze of configuration into a simple, elegant process. You now know how to:
✅ Install and configure Herd on Windows ✅ Manage multiple PHP versions ✅ Create and manage Laravel projects ✅ Use SQLite for your database ✅ Access sites at .test domains ✅ Share projects publicly with Expose ✅ Troubleshoot common issues
The best part? You barely touched the command line. Herd’s GUI does most of the work.
Start building. You don’t need Docker, you don’t need XAMPP, you don’t need complex setup. You just need Herd.
Written by: YT — @iMuslimCoding
Have you tried Herd? What’s your experience been? Drop a comment — I’d love to hear about the projects you’re building with it!
메타데이터
- post_id
- d45cd5be359c
- slug
- complete-guide-to-laravel-herd-on-windows-from-installation-to-managing-your-first-laravel-project-d45cd5be359c
- url
- https://medium.com/@ElevenDev_MuslimCoder/complete-guide-to-laravel-herd-on-windows-from-installation-to-managing-your-first-laravel-project-d45cd5be359c
- canonical_url
- https://medium.com/@ElevenDev_MuslimCoder/complete-guide-to-laravel-herd-on-windows-from-installation-to-managing-your-first-laravel-project-d45cd5be359c
- author_url
- https://medium.com/@ElevenDev_MuslimCoder
- status
- ok
- fetched_at
- 2026-07-13 23:44:03




