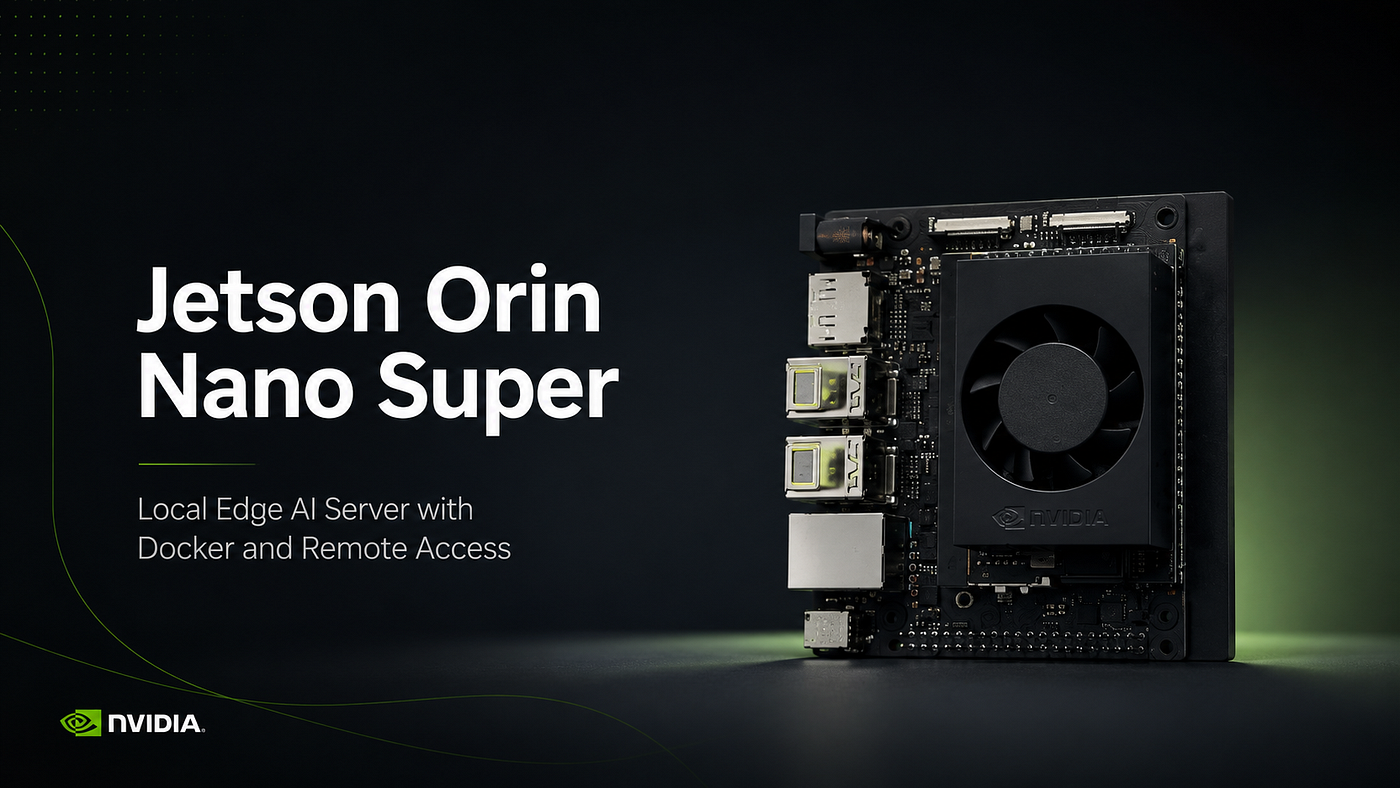
Jetson Orin Nano Super: Post-Flash Edge AI Development Environment Setup
When I started working with the Jetson Orin Nano Super, I quickly realized that the setup process does not end with simply flashing the…

Jetson Orin Nano Super: Post-Flash Edge AI Development Environment Setup
When I started working with the Jetson Orin Nano Super, I quickly realized that the setup process does not end with simply flashing the device. The flashing process brings the device up and makes it bootable, but turning it into a truly usable, stable, and sustainable edge AI development environment requires a separate preparation process.
On the Jetson side, this is not a standard Ubuntu installation. On these devices, the operating system works in direct connection with NVIDIA’s own software stack. JetPack, L4T, CUDA, NVIDIA Container Runtime, Docker, ARM64 package compatibility, and system updates are all parts of the same environment. For this reason, every system update, every package installation, and every container image choice can directly affect the development process.
My main approach during this setup process was to position the Jetson Orin Nano Super not merely as a Linux device that boots, but as a controlled platform prepared for AI inference services, Docker-based development environments, remote development, and edge deployment experiments.
After flashing, the first point to focus on is identifying exactly which JetPack and L4T versions the system is running. Many issues on Jetson devices start to make sense once this information is clear. When a Docker image behaves incompatibly, when CUDA produces an unexpected output, or when the NVIDIA runtime does not work properly, the first place to check is the system’s JetPack/L4T version pairing.
For this reason, after the installation, the following checks can be performed to understand the system’s baseline state:
cat /etc/nv_tegra_release
dpkg -l | grep nvidia-l4t-core
lsb_release -a
uname -a
To verify the CUDA side:
nvcc --versionAlthough these checks may seem simple, they make it easier to interpret many potential issues later on. When developing on Jetson, questions such as “Which JetPack version?”, “Which L4T base?”, and “Is CUDA working properly on the system?” often become the starting point of the debugging process.
After checking the system’s baseline state, the post-flash update process can begin. The key point here is not to handle apt upgrade on Jetson as casually as on a standard Ubuntu machine. Some updates can introduce compatibility issues on the snap, browser, Docker, or NVIDIA component side.
For this reason, a more controlled approach is to first update the package list and review which packages are available for upgrade:
sudo apt update
sudo apt list --upgradable
Next, the basic development tools can be installed:
sudo apt install -y \
 curl \
 wget \
 git \
 nano \
 htop \
 unzip \
 build-essential \
 python3-pip \
 python3-venv \
 ca-certificates \
 gnupg \
 lsb-release
If you plan to perform a general system upgrade:
sudo apt upgrade -yAt this stage, the important point for me is not simply having updated the system, but verifying that the NVIDIA software stack is still working properly after the update. For this reason, the JetPack/L4T and CUDA checks can be repeated after the upgrade:
cat /etc/nv_tegra_release
nvcc — version
On the Jetson Orin Nano Super side, especially with JetPack 6.x releases, one of the practical issues that may occur is Firefox or Chromium failing to launch. At first glance, this may seem like a minor problem; however, during the development process, the browser is used quite actively. For NVIDIA documentation, GitHub repositories, model resources, local service interfaces, and web-based control panels, the browser becomes an important tool on the device.
If Firefox or Chromium does not launch after the update, the first step is to run the browser from the terminal and observe the error:
firefoxor:
chromium-browserIf the error points to the snap side, reverting to a working snapd version can solve the issue. The solution I noted relies on manually installing snapd version 2.68.5:
snap download snapd --revision=24724
sudo snap ack snapd_24724.assert
sudo snap install snapd_24724.snap
After this step, snapd can be held to prevent it from being upgraded again to the problematic version:
sudo snap refresh --hold snapd
sudo apt-mark hold snapd
Then, the services should be restarted. After that, the system should be rebooted:
sudo systemctl restart snapd.socket snapd.service
sudo reboot
After the reboot, Firefox or Chromium can be checked again:
firefoxchromium-browserThis solution is not something that needs to be applied on every Jetson installation. If the browsers launch without any issues, this step is not necessary. However, if the browser does not launch after an update on JetPack 6.x, the snapd version becomes one of the first points to check.
On the development environment side, my preferred editor is VS Code. Since the Jetson Orin Nano Super uses the ARM64 architecture, the correct package source must be selected during the VS Code installation. Installing it through Microsoft’s apt repository instead of snap is a more controlled approach.
First, the required packages can be installed:
sudo apt update
sudo apt install -y wget gpg apt-transport-https
Then, the Microsoft GPG key is added to the system:
wget -qO- https://packages.microsoft.com/keys/microsoft.asc | \
gpg --dearmor | \
sudo tee /usr/share/keyrings/microsoft.gpg > /dev/null
Then, the VS Code repository is added for the ARM64 architecture:
echo "deb [arch=arm64 signed-by=/usr/share/keyrings/microsoft.gpg] https://packages.microsoft.com/repos/code stable main" | \
sudo tee /etc/apt/sources.list.d/vscode.list
Installation:
sudo apt update
sudo apt install -y code
To launch it:
codeVS Code can be used directly on Jetson. However, for long-term development, I find it more efficient to connect to Jetson from the host machine via SSH and work through VS Code Remote SSH. This approach provides a much more organized development workflow, especially when working with Dockerfiles, Python services, inference scripts, configuration files, and systemd services.
Example SSH connection:
ssh <ubuntu_username>@<JETSON_IP_ADDRESS>In this working model, the Jetson device acts like a development server on the desk or in the field, while the host machine becomes the editing and management interface. The Python, Pylance, Docker, Remote SSH, GitLens, Jupyter, and C/C++ extensions provide a sufficient starting point for this environment.
On the system monitoring side, one of the most useful tools for Jetson is jtop. Being able to see CPU, GPU, RAM, temperature, fan status, power mode, and NVIDIA components on a single screen becomes especially important during container tests and system load monitoring.
For installation:
sudo apt update
sudo apt install -y python3-pip
sudo pip3 install -U jetson-stats
sudo reboot
After the reboot:
jtopIn some installations, the JetPack version information may not appear in jtop or may appear incomplete. This does not necessarily mean that the system was installed incorrectly. In most cases, it is related to the jetson-stats version not recognizing the newer L4T/JetPack pairing yet, or to the service side requiring a restart.
In such a case, jetson-stats can first be updated:
sudo pip3 install -U jetson-stats
sudo systemctl restart jtop.service
The service status can be checked:
systemctl status jtop.serviceIf the issue persists, the system should be rebooted:
sudo rebootThe critical point here is not to immediately conclude that “JetPack is missing” when jtop does not show the JetPack information. To verify the JetPack and L4T information, the system packages should be checked:
cat /etc/nv_tegra_release
dpkg -l | grep nvidia-l4t-core
The CUDA side can also be checked separately:
nvcc --versionAt this point, it is healthier to evaluate the jtop output not as the final source of verification on its own, but together with the system packages and NVIDIA component checks.
Docker is also one of the important parts of an AI development environment on Jetson. Managing Python dependencies, CUDA compatibility, and different project environments directly on the host machine can become complicated over time. Using Docker helps create more isolated and reproducible development environments, especially on Jetson.
First, old or potentially conflicting Docker packages can be removed:
for pkg in docker.io docker-doc docker-compose docker-compose-v2 podman-docker containerd runc; do
  sudo apt remove -y $pkg 2>/dev/null || true
done
For preparing the Docker repository:
sudo apt update
sudo apt install -y ca-certificates curl
sudo install -m 0755 -d /etc/apt/keyrings
The Docker GPG key is added:
sudo curl -fsSL https://download.docker.com/linux/ubuntu/gpg \
  -o /etc/apt/keyrings/docker.asc

sudo chmod a+r /etc/apt/keyrings/docker.asc
The repository is added to the system:
echo \
"deb [arch=$(dpkg --print-architecture) signed-by=/etc/apt/keyrings/docker.asc] https://download.docker.com/linux/ubuntu \
$(. /etc/os-release && echo ${UBUNTU_CODENAME:-$VERSION_CODENAME}) stable" | \
sudo tee /etc/apt/sources.list.d/docker.list > /dev/null
Docker is installed:
sudo apt update
sudo apt install -y docker-ce docker-ce-cli containerd.io docker-buildx-plugin docker-compose-plugin
The service is enabled:
sudo systemctl enable docker
sudo systemctl start docker
The installation can be verified with a simple test:
sudo docker run hello-worldTo avoid using Docker with sudo every time, the user can be added to the docker group:
sudo usermod -aG docker $USER
sudo reboot
After the reboot, the Docker and Compose versions can be checked:
docker --version
docker compose version
Installing Docker alone is not sufficient. On the Jetson side, the critical point is being able to access the NVIDIA runtime and GPU resources from inside the container. For this, the NVIDIA Container Toolkit must be configured correctly.
The required packages can be installed:
sudo apt update
sudo apt install -y nvidia-container curl
Then, the NVIDIA runtime is configured for Docker:
sudo nvidia-ctk runtime configure --runtime=docker
sudo systemctl daemon-reload
sudo systemctl restart docker
For runtime verification:
docker info | grep -i runtimeThe nvidia runtime should appear in the output.
When testing a GPU-enabled container on Jetson, an L4T-compatible image should be used. For example:
sudo docker run --runtime nvidia -it --rm --network host nvcr.io/nvidia/l4t-base:r36.4.0 bashAfter entering the container, the basic checks can be performed:
cat /etc/nv_tegra_release
ls /usr/local/cuda
ldconfig -p | grep cuda
On Jetson, you should not expect nvidia-smi output in the same way as on conventional desktop NVIDIA GPU systems. On the Jetson side, jtop is usually the more appropriate tool for system and GPU monitoring.
The most important detail here is the container image selection. The image being used needs to match the JetPack/L4T version running on the system. On an L4T 36.x-based system, it is better to use an appropriate l4t-base image or Jetson-compatible NVIDIA container images. Choosing the wrong image can lead to unnecessary CUDA or runtime-related errors.
On the Jetson Orin Nano Super, the flashing process is only the starting point. The real value comes from turning the device into a stable edge AI development environment with the correct software stack. Correctly identifying the JetPack/L4T version, performing system updates in a controlled way, resolving snap-related browser issues, preparing a VS Code or Remote SSH development environment, monitoring the system with jtop, and configuring Docker correctly together with the NVIDIA runtime are the core parts of this process.
For me, the most important aspect of this setup process is this: preparing the hardware and software environment where the model will run is just as fundamental to the engineering process as developing the model itself.
When configured correctly, the Jetson Orin Nano Super does not behave merely like a small development board; it becomes a powerful and controlled platform for AI inference, Docker-based services, and edge AI prototyping.
Since setup behavior can vary across JetPack/L4T versions, different snapd releases, and Docker runtime configurations, experiences from other Jetson users are often just as valuable. If you have worked with a similar Jetson setup, especially around post-flash configuration or GPU-enabled containers, sharing your notes can help other developers facing the same issues.
메타데이터
- post_id
- d58f2bf4a51e
- slug
- jetson-orin-nano-super-post-flash-edge-ai-development-environment-setup-d58f2bf4a51e
- url
- https://medium.com/@gelbalmertcan/jetson-orin-nano-super-post-flash-edge-ai-development-environment-setup-d58f2bf4a51e
- canonical_url
- https://medium.com/@gelbalmertcan/jetson-orin-nano-super-post-flash-edge-ai-development-environment-setup-d58f2bf4a51e
- author_url
- https://medium.com/@gelbalmertcan
- status
- ok
- fetched_at
- 2026-08-11 08:08:26