The Night My Database Disappeared: A Laravel Developer’s Nightmare (And How to Make Sure It Never…
I still remember the exact moment.
The Night My Database Disappeared: A Laravel Developer’s Nightmare (And How to Make Sure It Never Happens to You)
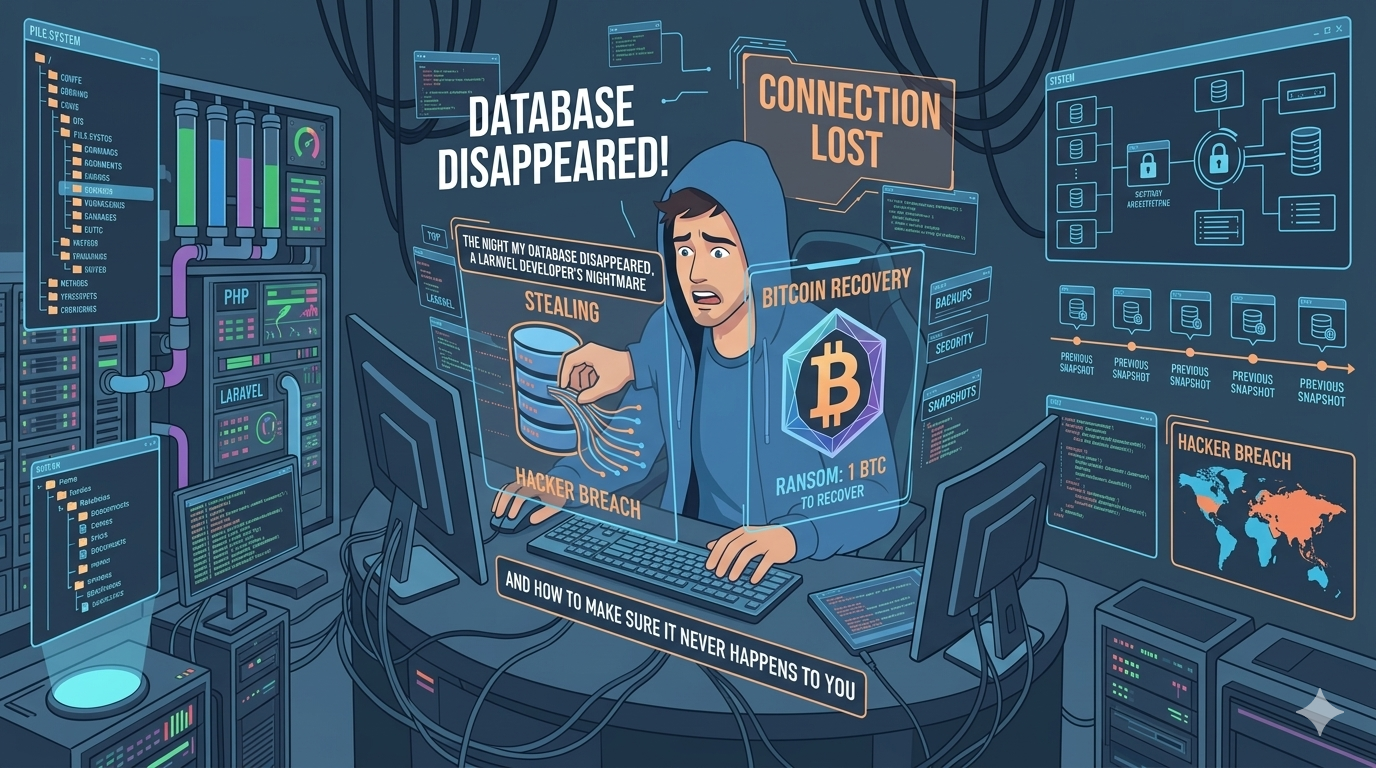
I still remember the exact moment.
It was a Thursday morning. I opened my laptop to check on a project — a Laravel application I’d spent months building and finally deployed on AWS. I hit the URL. A blank screen stared back at me.
Probably a cache issue, I thought. I opened MySQL Workbench, connected to the remote database, and clicked refresh.
One table. Just one.
And inside it, a message that made my stomach drop:
“To recover your lost Database and avoid leaking it: Send us 0.18 Bitcoin (BTC)…”
The database was gone. Every table. Every record. Every user. Months of work — wiped clean by someone I’d never met, sitting in a server room I’d never see.
This is the story of how it happened, what I learned, and — most importantly — how you as a Laravel developer can make sure this never happens to you.
What Actually Happened: The Anatomy of a MySQL Ransom Attack
This wasn’t sophisticated hacking in the Hollywood sense. No hooded genius typing furiously at a terminal. What happened to me — and what happens to thousands of developers every year — is embarrassingly simple.
The attacker ran an automated scanner across the internet, looking for MySQL ports (port 3306) that were publicly exposed. My AWS security group had that port open to the world. When they found it, they tried a list of common credentials — root with no password, root/root, admin/admin — and one of them worked.
In under 60 seconds:
- They dumped the database (to claim they have your data)
- They dropped every table
- They created a ransom note table
- They moved on to the next target
You were never the target. The port was the target.
The Mistakes That Let Them In
Looking back, I made several classic mistakes. Let me walk through each one so you can audit your own setup right now.
Mistake #1: MySQL Port 3306 Was Open to the Internet
This is the cardinal sin. Your database should never be directly reachable from the public internet. On AWS, your RDS or EC2 MySQL instance should live inside a private subnet, accessible only from your application server — never from 0.0.0.0/0.
Mistake #2: Weak or Default Database Credentials
Strong application code means nothing if your database password is root or password123. An automated brute-force script will find it in seconds.
Mistake #3: No Automated Backups
The most painful part wasn’t the attack. It was realizing I had no recent backup. I had intended to set up automated backups. I just hadn’t gotten around to it. That “I’ll do it later” cost me everything.
Mistake #4: Root User for Application Connections
My Laravel .env file had the root MySQL user configured. The root user has unlimited privileges — including the ability to drop every single database on the server. Your application should connect as a restricted user with only the permissions it actually needs.
Mistake #5: No Monitoring or Alerts
The attack happened and I had no idea until I manually visited the app. There were no alerts, no anomaly detection, nothing. If I’d had CloudWatch alarms or even a simple uptime monitor, I might have caught it in minutes rather than hours.
The Laravel Developer’s Defense Playbook
Here’s what I rebuilt with — a hardened setup that I now consider non-negotiable for any production Laravel deployment.
1. Lock Down Your AWS Security Groups — Right Now
Go to your AWS Console. Find your security group. Find the inbound rule that says MySQL/Aurora, Port 3306, Source: 0.0.0.0/0.
Delete it.
Replace it with a rule that only allows your application server’s private IP (or security group) to access port 3306. If you’re using RDS, place it in a private subnet with no public accessibility.
Inbound Rule:
Type: MySQL/Aurora
Port: 3306
Source: sg-xxxxxxxx (your security group)
That single change eliminates the vast majority of these attacks.
2. Use a Dedicated, Restricted MySQL User in Laravel
In your .env:
DB_USERNAME=laravel_app_user
DB_PASSWORD=a_very_long_random_string_here
And in MySQL, create that user with only what it needs:
CREATE USER 'laravel_app_user'@'%' IDENTIFIED BY 'strong_password_here';
GRANT SELECT, INSERT, UPDATE, DELETE ON your_database.* TO 'laravel_app_user'@'%';
FLUSH PRIVILEGES;
No DROP, no CREATE, no GRANT. Your application doesn’t need those — and neither does an attacker using your credentials.
3. Set Up Automated Backups — Today, Before You Sleep
If you’re on AWS RDS, enable automated backups with at least a 7-day retention period. It takes five minutes to configure.
If you’re on a self-managed MySQL on EC2, add a cron job:
0 2 * * * /usr/bin/mysqldump -u backup_user -p'password' your_database | gzip > /backups/db_$(date +\%Y\%m\%d).sql.gzThen push those backups to an S3 bucket. Ideally, a separate AWS account or at minimum a bucket with versioning enabled and restrictive access policies.
4. Never Store Sensitive Config in Unprotected .env Files
Your Laravel .env file should never be committed to version control (check your .gitignore) and should never be readable via the web. Confirm your web server is configured to block direct access to .env:
In your Nginx config:
location ~ /\.env {
    deny all;
    return 404;
}
For production on AWS, consider using AWS Secrets Manager or AWS Parameter Store to manage your database credentials instead of flat .env files.
5. Enable Monitoring and Anomaly Alerts
Set up:
- AWS CloudWatch alarms for unusual database connection spikes
- UptimeRobot or Better Uptime (free tier available) to alert you if your site goes down
- Laravel Telescope or Sentry to monitor application-level errors
An attack you catch in 5 minutes is infinitely better than one you discover 6 hours later.
Should You Pay the Ransom?
No.
Here’s the cold truth: these are usually automated attacks with no human actively monitoring your specific case. The attacker likely does not have a backup of your data — the ransom note is a psychological tactic. They drop the database, leave the note, and move on. Paying sends Bitcoin into a wallet that’s probably already been swept.
The Mindset Shift That Changes Everything
Here’s what this experience taught me that no tutorial ever did:
Security is not a feature you add later. It is the foundation you build on.
Every time we say “I’ll set up backups this weekend” or “I’ll restrict the database port once I go live,” we are making a bet that nothing bad will happen in the meantime. Sometimes you win that bet. I didn’t.
The attacker didn’t target me. They targeted an exposed port. That’s almost liberating in a strange way — because it means the fix isn’t complicated. It’s a checklist. A checklist you can complete in an afternoon.
Lock down your ports. Use restricted users. Automate your backups. Monitor your infrastructure.
Do it today. Right now. Before you close this tab.
If this article just made you open your AWS console in another tab — good. That’s exactly the right reaction.
Share this with your team. Pin it somewhere. And if you’ve experienced something similar, leave a comment below — you’re far from alone, and your story might save someone else’s database tonight.
Cheers — and may your databases always be backed up and your ports always be closed. 🔒
메타데이터
- post_id
- d9f24d0b5c40
- slug
- the-night-my-database-disappeared-a-laravel-developers-nightmare-and-how-to-make-sure-it-never-d9f24d0b5c40
- url
- https://medium.com/@sartaj.2009/the-night-my-database-disappeared-a-laravel-developers-nightmare-and-how-to-make-sure-it-never-d9f24d0b5c40
- canonical_url
- https://medium.com/@sartaj.2009/the-night-my-database-disappeared-a-laravel-developers-nightmare-and-how-to-make-sure-it-never-d9f24d0b5c40
- author_url
- https://medium.com/@sartaj.2009
- status
- ok
- fetched_at
- 2026-07-09 23:31:43