Michael Scott’s Enterprise Lab Part 3 — From Initial Access to Detection with NetExec, Evil-WinRM…
Welcome to the last part of Michael Scott’s AD lab environment.
Michael Scott’s Enterprise Lab Part 3 — From Initial Access to Detection with NetExec, Evil-WinRM and Wazuh
Welcome to the last part of Michael Scott’s AD lab environment.
We will configure the security server and a Kali machine and then attack the network and monitor the logs in Wazuh. We are almost done with the config as we only need Security Onion to transfer the logs to the security server and a Kali machine to attack the network. For Security Onion, I didn’t have enough space and CPU, so I had to reallocate the disks to extend it to 512GB SSD and changed the VM size as well in Azure. For a separate Wazuh server, I’m cloning the Linux client machine and installing Wazuh there.


User list
Now just for lab purposes, I’m enabling a few things to make it vulnerable. Insecure SSH and RDP and WinRM and using a login page to phish the credentials.
First, I have enabled SSH using OpenSSH server in both the email server and linclient, then enabling password authentication to yes and permitrootlogin to yes as well.

Openssh in linux
Since this is a lab environment, I have used the worst password possible by following the ProjeSecurity course. Now to merge the email client and server to route the emails of all the users in the network, we are creating a folder for mails and keep all the emails there. We can give permissions only to the owner using chmod 700 -R /Maildir. In Windows, we are enabling the RDP using psremoting and WinRM as well.

Allow port 22 for both ipv4 and ipv6

Email config
Now coming to alert part, we can configure the default detection rules for now to detect brute force for sshd to trigger an alert if it detects more than 2 alerts. For Windows, we have security logs and application logs in Wazuh. Enabling WinRM does not have an event ID, so we have to use the event ID 4624 to track the logons. FIM (file integrity monitoring) can be enabled to track the sensitive files being accessed and modified. This can be used if we use any exclusion in any security tools so that additional monitoring can be done if we have any blindspot inside the network.

FIM using syscheck

SSHD alert
Attacking the CORP network:

Michael, after seeing this happen in his network

Initial access: Since this is a lab, we can create a Kali inside network so that we can scan the network from the inside, however this is not the case with real world attacks.
Using nmap we can scan to check the open ports like 22, 25, 3389, 5985, 5986, etc.


Nmap
Then we can use Hydra to brute force the SSH credentials as we have enabled the password login and root login as well into our email server.

Then we can use the phishing email crafted to get the creds and we can use that to login to another machine. We can create a separate folder to keep the phish files like index.html, php file and apache2 files. Then we can send the email to a phished user, here it is Jane. After getting the creds hoping they will enter the username and password in the email which we sent as urgent account lockout email, the creds will be stored in creds.log file.

php file

Phish page

Phished creds
Lateral movement: If we run nmap on the Windows IP, we can get two more ports such as 5985, 5986 open as they are used to receive incoming communication from WinRM service.

WinRM ports
We can use netexec (same like Hydra) to pwn the password using two files like users.txt and pass.txt. Please note that the passwords on all the machines are very weak and predictable to be brute forced. By this, we can get the admin password by pwning using netexec. Then we can use something called evilwinrm to login to the DC as admin.

Evil Winrm
But first we should know which one is DC, so we can run nltest: dsgetdc to know the IP of DC and then we can login to it. Then we can RDP to the DC as admin using xfreerdp.

Data exfiltration: Using scp utility we can securely copy the files to any device, here we can copy a file from DC to Kali using scp.
For persistence we can use reverse shell, by generating a reverse shell using reverseshells.com but here in the course they provided a basic script to start a reverse shell as PS script.

But first we are creating multiple users in domain admins group and localgroup admins and then using python server we can download the reverse shell script to Windows.

reverse shell script
Then we can create a scheduled task to execute this script daily but we need additional permissions to run by running execution policy bypass and unrestricted in PowerShell or sometimes we need to turn off Defender as well.
Now coming to defend part, we have already covered this thing in the SOC simulation series with Wazuh, so we can see the alerts being triggered for all the alerts we have configured that is SSH, WinRM, FIM alert as well.

Alerts
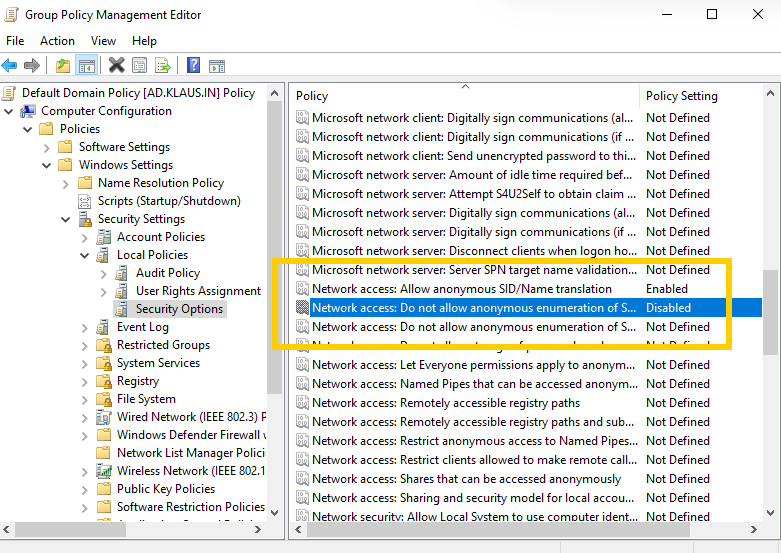
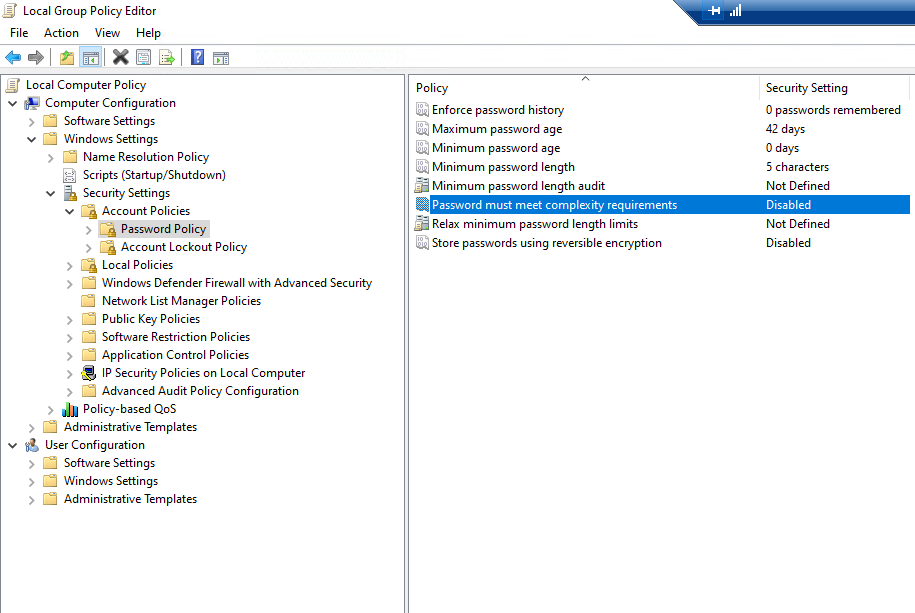
From here we can isolate the device and take the necessary actions like resetting the passwords twice after 10 hours since the reset passwords for Kerberos has a timeout and then check for additional user creation or scheduled task and registry editors and WMI for persistence and restrict all the unwanted ports which we have opened for lab purposes and create access control policies and set account lockout policy using GPO as well.
By this we have come to the end of Michael Scott’s corp lab for his paper company. Hope he is happy with the network structure and the way everything is configured.

We can also add a firewall, a VPN access or ZTNA for the whole network and also put an EDR if needed or use SaaS tools like Defender with MS365 and make it more strong in the future if needed.
Short definitions for the tools or utilities used:
- scp: Securely copies files between systems over SSH
- winrm: Windows Remote Management protocol for remote PowerShell access
- evilwinrm: Post-exploitation tool to interact with WinRM-enabled Windows machines using credentials
- netexec: Swiss army knife for Windows enumeration and attacks, successor to CrackMapExec
- hydra: Fast password-cracking tool for various services like SSH, FTP, HTTP, etc
- nltest: Windows command-line tool to query and test domain controllers and trust relationships
This is not how a real-world attack typically occurs, but simulating these attacks helps us understand the core concepts of offensive techniques, how to defend against them, and what recommendations to provide to customers. By practicing these scenarios, we gain practical insights. Additionally, configuring an enterprise-style network and understanding the networking aspects involved in building everything from scratch will be valuable in the future as we learn through hands-on experience.

Resources Used:
This blog is based on the course ‘Build a Cybersecurity Homelab — A Practical Guide to Offense & Defense [Enterprise 101]’ by Grant Collins, along with a few YouTube videos, as I did this using Azure and Hyper-V. Thanks to all the creators for helping the community.
Thank you for reading. Cheers!
메타데이터
- post_id
- de006cc235ec
- slug
- michael-scotts-enterprise-lab-part-3-from-initial-access-to-detection-with-netexec-evil-winrm-de006cc235ec
- url
- https://medium.com/@hariharanss/michael-scotts-enterprise-lab-part-3-from-initial-access-to-detection-with-netexec-evil-winrm-de006cc235ec
- canonical_url
- https://medium.com/@hariharanss/michael-scotts-enterprise-lab-part-3-from-initial-access-to-detection-with-netexec-evil-winrm-de006cc235ec
- author_url
- https://medium.com/@hariharanss
- status
- ok
- fetched_at
- 2026-06-25 16:53:31