Unlocking Custom Large Language Models Using Bedrock Fine-Tuning
One of the projects we are working on involves generating code for a custom dialect of a programming language using a large language model…
Unlocking Custom Large Language Models Using Bedrock Fine-Tuning
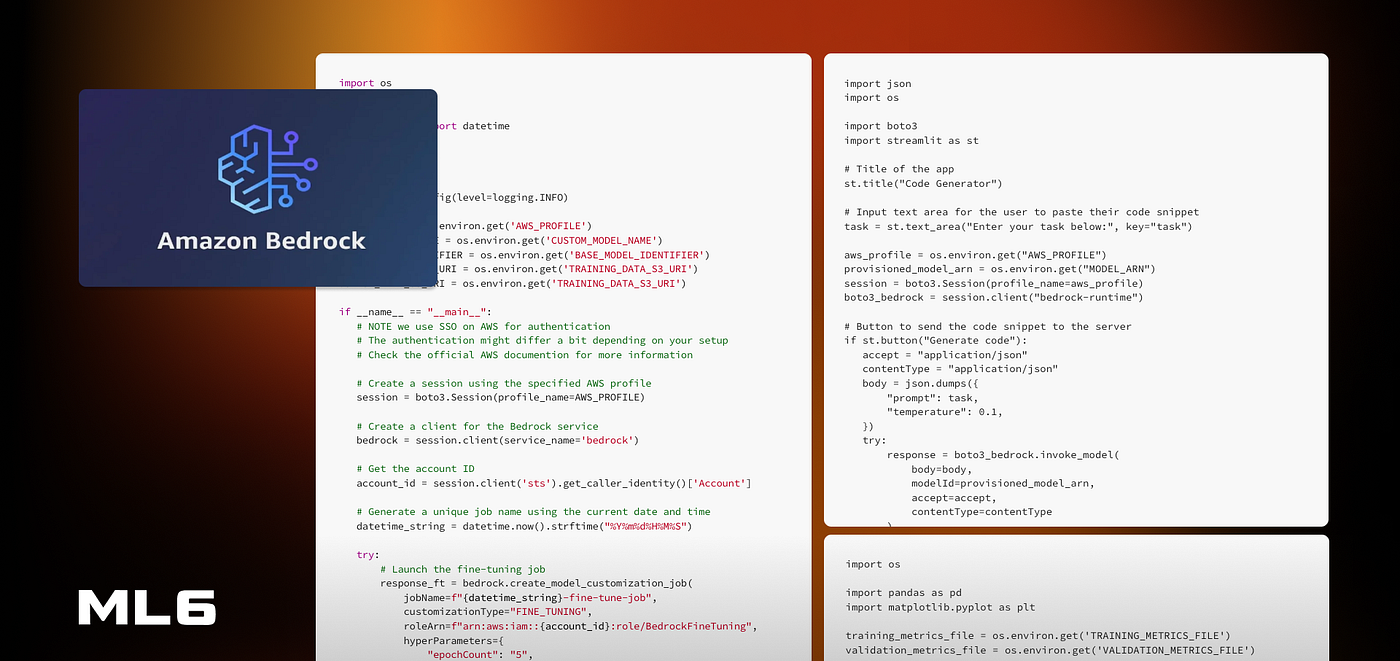
One of the projects we are working on involves generating code for a custom dialect of a programming language using a large language model (LLM). With a dataset of instructions and their corresponding implementations, we aim to fine-tune a model to automate this process. Given the rapid advancements in AI, fine-tuning LLMs can significantly enhance their performance for specific tasks, offering tailored solutions that generic models might not provide.
In our pursuit to fine-tune this model, we turned to AWS Bedrock. AWS Bedrock offers a fully managed, user-friendly environment for training and deploying custom models, making it an attractive choice for our experimentation and development needs. Its promise of streamlined integration and robust infrastructure seemed ideal for our use case. In this blog post, we’ll delve into the journey of fine-tuning an LLM with AWS Bedrock. We’ll explore the platform’s standout features that facilitated our project and discuss the challenges we faced along the way.
Browsing the Catalogue: Choosing a Model and Configuring the Setup
When fine-tuning a Large Language Model (LLM) for a specific task, the first crucial decision is selecting the right model. During our exploration of AWS Bedrock’s documentation, we discovered that the platform currently supports only a limited selection of four LLMs for fine-tuning. Despite this limitation, there are variants within these models, such as the 13B and 70B versions of Llama2, and the lightweight and normal versions of Cohere’s Command model. You’ll also need to request access to the model, which is standard practice in Bedrock. We chose to start our adventure with Cohere’s Command Light model, a smaller to model to minimize the cost and latency where we hoped that fine-tuning would be powerful enough to meet our goals in terms of quality.
Availability
Another aspect to consider is the regional availability of custom models. At the time writing, AWS Bedrock only offers these custom models in three US regions. This restriction can pose challenges, especially for organizations that must comply with data residency regulations, such as those within the EU or other regions with specific data handling requirements. We are quite certain AWS is working on rolling out the service in other regions, but for now keep in mind that the service is only available in US regions.
Preparing the Training Dataset
Now that we have decided on a model, it is time to start our fine-tuning mission. The first step in the process is to create a dataset in a predefined format. Specifically, you need a JSONL file where each record contains a prompt and a completion key that both map to a string.
- Prompt: Contains the question or task that the LLM needs to answer or solve.
- Completion: Contains the expected answer or solution from the LLM.
In supervised learning terms, the prompts are the “features”, and the completions are the “labels”.
To give you an idea of what a record in our dataset looks like, here’s an example. Note that we have used Python instead of our proprietary programming language dialect to protect our client’s confidential information:
{
 "prompt": "You are given the following task that needs to be solved using the Python programming language:\\n\\nWrite a function that extracts all links that can be found in an HTML snippet. The input of the function is a string that contains HTML, the output is a list of URLs in string format. Make sure your code is easy to understand and well-documented.",
 "completion": "Here's a possible solution to the task:\\n\\n```python\\nfrom bs4 import BeautifulSoup\\nimport re\\n\\ndef extract_links(html):\\n    # Create a BeautifulSoup object from the HTML\\n    soup = BeautifulSoup(html, 'html.parser')\\n    # Find all the <a> tags in the HTML\\n    links = soup.find_all('a')\\n    # Extract the href attribute from each <a> tag\\n    urls = [link.get('href') for link in links]\\n    # Filter out any URLs that don't start with http or https\\n    urls = [url for url in urls if url and re.match('^https?://', url)]\\n    return urls\\n```\\n\\nThis function works by first creating a BeautifulSoup object from the input HTML string. It then uses the `find_all` method of the BeautifulSoup object to find all the `<a>` tags in the HTML. It then extracts the `href` attribute from each `<a>` tag using the `get` method, and stores the results in a list. Finally, it filters out any URLs that don't start with `http` or `https` using a regular expression, and returns the resulting list of URLs."
}
We’ll leave it up to you to choose your favourite data engineering tooling to build an ETL pipeline to create a dataset, or simply write a script to process and prepare your own dataset. Once you have your dataset ready, you need to store the JSONL file on an S3 bucket. With that, you’re ready to move on to the fine-tuning process on AWS Bedrock.
Running a Training Job
Now we arrive at the most exciting part of the Bedrock fine-tuning journey: fine-tuning a model on our own dataset. You can start a training job from the AWS Management Console UI or by using AWS client libraries in your favorite programming language. We’ll opt for the latter and implement a Python script, which offers several advantages:
- Automation: You can automate the training process, making it easier to run multiple experiments.
- Repeatability: Scripts ensure that the training setup is consistent every time you run it.
- Integration: You can integrate the training process with other parts of your MLOps setup.
Our fine-tuning script looks as follows:
import os
import argparse
import logging
from datetime import datetime
import boto3
# Set up logging
logging.basicConfig(level=logging.INFO)
AWS_PROFILE = os.environ.get('AWS_PROFILE')
CUSTOM_MODEL_NAME = os.environ.get('CUSTOM_MODEL_NAME')
BASE_MODEL_IDENTIFIER = os.environ.get('BASE_MODEL_IDENTIFIER')
TRAINING_DATA_S3_URI = os.environ.get('TRAINING_DATA_S3_URI')
OUTPUT_DATA_S3_URI = os.environ.get('TRAINING_DATA_S3_URI')
if __name__ == "__main__":
# NOTE we use SSO on AWS for authentication
# The authentication might differ a bit depending on your setup
# Check the official AWS documention for more information
# Create a session using the specified AWS profile
session = boto3.Session(profile_name=AWS_PROFILE)
# Create a client for the Bedrock service
bedrock = session.client(service_name='bedrock')
# Get the account ID
account_id = session.client('sts').get_caller_identity()['Account']
# Generate a unique job name using the current date and time
datetime_string = datetime.now().strftime("%Y%m%d%H%M%S")
try:
# Launch the fine-tuning job
response_ft = bedrock.create_model_customization_job(
jobName=f"{datetime_string}-fine-tune-job",
customizationType="FINE_TUNING",
roleArn=f"arn:aws:iam::{account_id}:role/BedrockFineTuning",
hyperParameters={
"epochCount": "5",
"batchSize": "8",
"learningRate": ".001",
},
trainingDataConfig={"s3Uri": TRAINING_DATA_S3_URI},
outputDataConfig={"s3Uri": OUTPUT_DATA_S3_URI},
customModelName=CUSTOM_MODEL_NAME,
baseModelIdentifier=BASE_MODEL_IDENTIFIER
)
# Log the job ARN
job_arn = response_ft.get('jobArn')
logging.info(f"Launched fine-tuning job with ARN: {job_arn}")
except Exception as e:
# Log any errors that occur
logging.error(f"Error launching fine-tuning job: {e}")The script authenticates with AWS using the specified AWS profile, creates a client for the Bedrock service, generates a unique job name, and launches a fine-tuning job using the Bedrock client. The fine-tuning job is configured to automatically load the specified dataset from an S3 bucket and write the outputs to a specified location on an S3 bucket. The IAM role required by the script needs permission to read and write to the specified S3 buckets. The script also includes error handling and logging to help with debugging and monitoring.
Run the script, and a fine-tuning job will be created on Bedrock. We recommend having something else to do in the meantime, as the job can take quite some time to finish. In our case, the training job took roughly 35 minutes. You can check the Bedrock UI for the status of the job. Once the job successfully finishes, the outputs will be stored in the specified bucket, and you are ready to deploy your custom model.
Training Job Outputs
Once a training job is finished, you will find two subdirectories in the output directory you specified in the training job: training_artifactsand validation_artifacts. Within each of these directories, you will find a metrics file:
step_wise_training_metrics.csv: Contains the training loss for each step during training. Each row represents a single step in the training process, and the ‘training_loss’ column contains the loss value for that step. A decreasing training loss indicates that the model is learning and fitting the training data well.validation_metrics.csv: Contains the validation loss for each step during training. Each row represents a single step in the training process, and the ‘validation_loss’ column contains the loss value for that step. The validation loss measures how well the model performs on unseen data, providing an estimate of its generalization ability. Ideally, the validation loss should decrease and stabilize, indicating good model performance on new data.
You can easily plot these files to gain insights into whether your training job was successful and perform hyperparameter tuning to optimize your fine-tuning task. Once you are happy with the results of the training job, you can move on to the next steps: deploying and testing the fine-tuned model. Below is a simple script to plot the results:
import os
import pandas as pd
import matplotlib.pyplot as plt
training_metrics_file = os.environ.get('TRAINING_METRICS_FILE')
validation_metrics_file = os.environ.get('VALIDATION_METRICS_FILE')
# Load the training data
training_data = pd.read_csv(training_metrics_file)
# Load the validation data
validation_data = pd.read_csv(validation_metrics_file)
# Create a line plot for the training loss
plt.plot(training_data['step_number'], training_data['training_loss'], label='Training Loss')
# Create a line plot for the validation loss
plt.plot(validation_data['step_number'], validation_data['validation_loss'], label='Validation Loss', linestyle='--')
# Add labels and title
plt.xlabel('Step Number')
plt.ylabel('Loss')
plt.title('Training and Validation Loss over Steps')
# Add a legend
plt.legend()
# Show the plot
plt.show()Understanding Costs of Custom Models
Once your training job is complete, your new custom model will appear in the custom models tab. Before you can test or use your newly fine-tuned model, it’s important to understand the costs associated with deploying it.
Provisioned Throughput
In the context of model serving, provisioned throughput refers to the pre-allocated capacity to handle a specific inference throughput. This ensures that the serving infrastructure can manage the expected load without latency issues, guaranteeing predictable performance for real-time inference. However, it may incur higher costs if the provisioned capacity is not fully utilized.
The rates for custom models are the same as their base models. You can either purchase provisioned throughput with a commitment or without a commitment. Purchasing without a commitment means that you will be billed hourly, while purchasing with a commitment means that you’ll purchase compute for 1–6 months. Check the pricing table for a clear overview of the prices per model.
Cost Considerations
You might think that only offering provisioned throughput is an easy money grab by AWS. However, keep in mind that a custom model can only be used by you. AWS cannot quickly swap out the weights of a base model they offer through an API for a single request from you. That would be dramatic for the performance of their offering, so they need to spin up infrastructure that runs your custom model. Hence, offering custom models through provisioned throughput does make sense.
This, of course, comes with the implication that Bedrock fine-tuning may not be cost-effective for applications with very low throughput, as you will essentially pay a lot of money to host infrastructure that isn’t optimally used. Therefore, we would recommend you take a look at Sagemaker’s offerings. Philipp Schmid, Technical Lead at Hugging Face, has an excellent blogpost on fine-tuning on Sagemaker.
Deploying Our Custom Model
Once you have purchased provisioned throughput for your custom model, your model will be automatically deployed. You can check the Bedrock UI for status updates. Once deployed, you can invoke your custom model by sending an HTTP request to the API or by using a client library, such as Python. Remember to monitor your model’s usage and manage your provisioned throughput accordingly. If you are purchasing provisioned throughput without a commitment, make sure to shut down your instances when you are not using your models to avoid unexpectedly high cloud bills.
Let’s Do Some Hands on Testing
After some hyper parameter tuning and a couple of training runs we saw some promising results in our metrics, which means it’s time for some real world testing. After all, numbers tell you a lot, but testing how good an LLM actually works for your use case means that you’ll need some human evaluation. After purchasing provisioned throughput, our model is deployed and becomes available to interact with. To help us in our testing efforts we created a small streamlit UI:
import json
import os
import boto3
import streamlit as st
# Title of the app
st.title("Code Generator")
# Input text area for the user to paste their code snippet
task = st.text_area("Enter your task below:", key="task")
aws_profile = os.environ.get("AWS_PROFILE")
provisioned_model_arn = os.environ.get("MODEL_ARN")
session = boto3.Session(profile_name=aws_profile)
boto3_bedrock = session.client("bedrock-runtime")
# Button to send the code snippet to the server
if st.button("Generate code"):
accept = "application/json"
contentType = "application/json"
body = json.dumps({
"prompt": task,
"temperature": 0.1,
})
try:
response = boto3_bedrock.invoke_model(
body=body,
modelId=provisioned_model_arn,
accept=accept,
contentType=contentType
)
response_body = json.loads(response.get("body").read().decode("utf-8"))
generated_code = response_body.get("generations")[0].get("text")
st.code(generated_code)
except Exception as exception:
st.exception(exception)The app contains a text area where we can write our prompt, in our case we will ask it to generate code to solve a given problem. Once you click the submit button, this prompt is then sent to our custom model using the Python Bedrock client. The client itself is straightforward to use, you provide a request body which contains the prompt and optionally some model parameters, the id of your model in the form of the ARN string. Once the model returns its output, it is parsed and displayed in a code field for evaluation.
Conclusion
In this blog post, we explored the process of fine-tuning Large Language Models (LLMs) on AWS Bedrock. We were initially drawn to Bedrock’s low barrier to entry, which allows you to build custom models with minimal setup. By preparing a dataset in a predefined format and storing it on an S3 bucket, you can launch a fine-tuning job that uses your dataset to fine-tune a preconfigured model. Upon completion, you receive a detailed report with training and validation metrics stored on a configured S3 bucket.
Once you are satisfied with the metrics, you can purchase provisioned throughput to deploy your model and start using it. However, it’s important to note that the requirement for provisioned throughput makes Bedrock fine-tuning less suitable for smaller use cases. For such scenarios, Amazon Sagemaker might be a more cost-effective option.
Despite these considerations, AWS Bedrock shows great promise as part of AWS’s generative AI offerings. The core fundamentals are well-documented and implemented, making it a robust choice for larger-scale applications. We look forward to seeing new models being added to the service and its availability expanding to more regions.
메타데이터
- post_id
- e13a19320805
- slug
- unlocking-custom-large-language-models-using-bedrock-fine-tuning-e13a19320805
- url
- https://blog.ml6.eu/unlocking-custom-large-language-models-using-bedrock-fine-tuning-e13a19320805
- canonical_url
- https://blog.ml6.eu/unlocking-custom-large-language-models-using-bedrock-fine-tuning-e13a19320805
- author_url
- https://medium.com/@jasper.van.den.bossche
- status
- ok
- fetched_at
- 2026-06-10 08:17:25