Linux Server Hardening Guide: Securing SSH with Fail2Ban, UFW, and iptables
Introduction
Linux Server Hardening Guide: Securing SSH with Fail2Ban, UFW, and iptables

Introduction
Linux hardening is the process of strengthening the Linux operating system to make it more secure against threats and attacks, whether external or internal. The goal is to reduce the attack surface by disabling unnecessary services, configuring access permissions, and enforcing strict security policies. In this guide, we will focus on securing the SSH service as an example.
Requirements (Initial Preparation)
- Operating System: Make sure you have installed Ubuntu Server (latest version), either on a local machine/VM or a production server.
- Access Rights: You need a user account with sudo/root privileges or physical/remote access to the server (with SSH enabled).
- Components to be used:
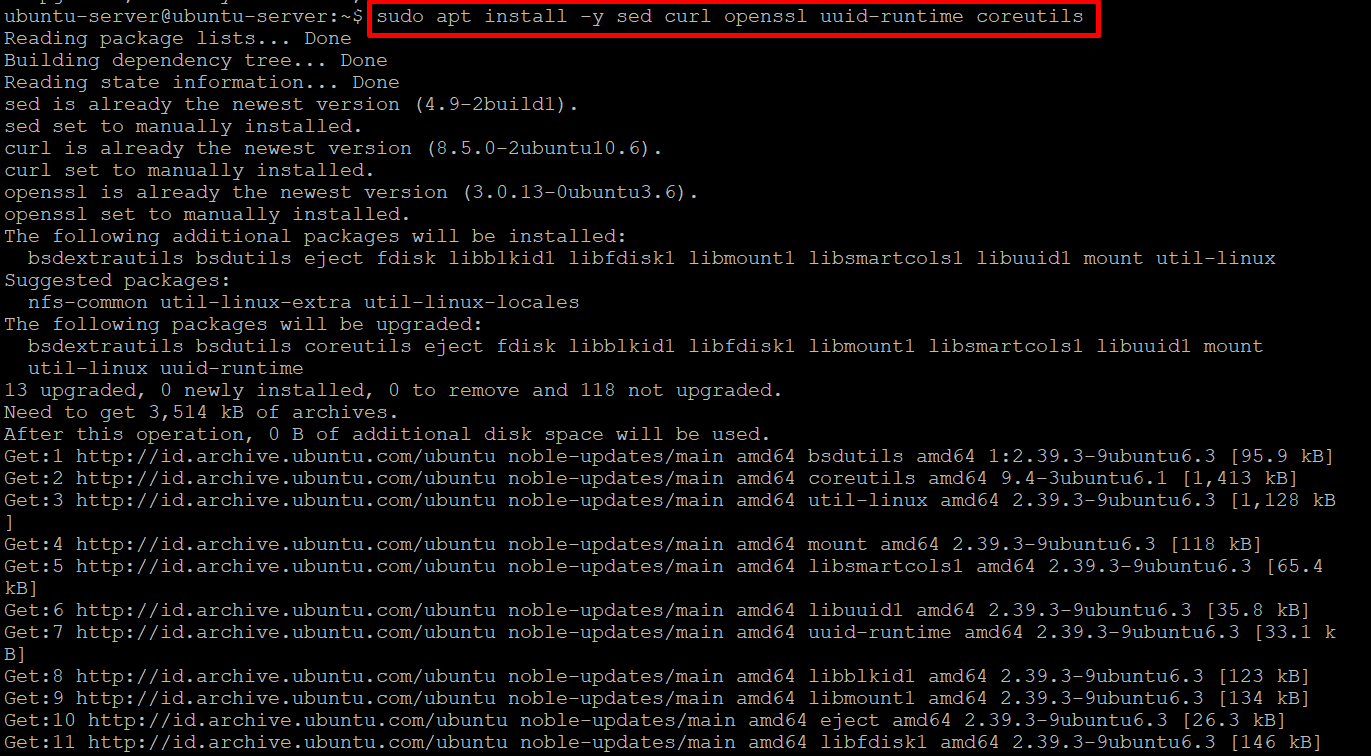
openssh-server:sudo apt install openssh-serverufw:sudo apt install ufwiptables:sudo apt install iptablesfail2ban:sudo apt install fail2baniptables-persistent:sudo apt install iptables-persistent
Note: Make sure all the components above are installed. In the next steps, we will proceed with the configuration.
Hardening SSH Configuration
Edit the SSH Configuration File:
sudo nano /etc/ssh/sshd_configRecommended SSH Configuration Settings:
Port 2121                   # Change the default port 22
PermitRootLogin no          # Disable root login
PasswordAuthentication no   # Use key-based authentication
MaxAuthTries 3              # Limit login attempts
LoginGraceTime 30s          # Time allowed for login before disconnect
Restart SSH:
sudo systemctl restart sshUsing SSH Key for Authentication On the client side (e.g., your PC or laptop):
ssh-keygen -t rsa -b 4096
ssh-copy-id -p 2200 yourusername@yourserver_ip

Using Termius for SSH Key Authentication

Copy the Public Key and Paste it into the authorized_keys File in .ssh/
Make Sure Password Authentication Is Disabled.
UFW Firewall Configuration
Install and Enable UFW:
sudo apt install ufw
sudo ufw default deny incoming
sudo ufw default allow outgoing
sudo ufw allow 2121/tcp     # Open the changed SSH port
sudo ufw enable
sudo ufw status verbose
Using iptables (Optional but Powerful)
sudo iptables -A INPUT -p tcp --dport 2200 -m conntrack --ctstate NEW,ESTABLISHED -j ACCEPT
sudo iptables -A OUTPUT -p tcp --sport 2121 -m conntrack --ctstate ESTABLISHED -j ACCEPT
sudo iptables -A INPUT -m conntrack --ctstate ESTABLISHED,RELATED -j ACCEPT
sudo iptables -P INPUT DROP
sudo iptables -P FORWARD DROP
sudo iptables -P OUTPUT ACCEPT
sudo iptables -L -v -n --line-numbers (check all rules that have been created)

-A INPUT: Append a rule to the INPUT chain (handles incoming packets).
-j ACCEPT: Jump to ACCEPT target (allow the packet).
-p tcp: Specify the TCP protocol.
--dport: Destination port (the port the packet is targeting).
-m conntrack: Use the connection tracking module to track connection states.
--ctstate: Match packets based on their connection state (e.g., NEW, ESTABLISHED).
-P: Set the default policy for a chain (e.g., ACCEPT, DROP).
Save iptables Rules to Make Them Persistent
sudo apt install iptables-persistent
sudo netfilter-persistent save
Fail2Ban Installation and Configuration
Install Fail2Ban:
sudo apt install fail2banLocal Jail Configuration for Fail2Ban
sudo cp /etc/fail2ban/jail.conf /etc/fail2ban/jail.local
sudo nano /etc/fail2ban/jail.local
Example SSH Configuration in jail.conf
[sshd]
enabled = true
port    = 2121
filter  = sshd
logpath = /var/log/auth.log
maxretry = 3
bantime = 600
findtime = 300
Restart Fail2Ban:
sudo systemctl restart fail2ban
sudo fail2ban-client status sshd
Checklist Hardening
| Step                        | Status |
| --------------------------- | ------ |
| Change default SSH port     | ✅     |
| Disable root login          | ✅     |
| Use SSH key authentication  | ✅     |
| UFW enabled and configured  | ✅     |
| iptables enabled (optional) | ✅     |
| Fail2Ban configured         | ✅     |
Testing
After completing all the configurations, here’s how you can test your hardened Linux server setup

file log /var/log/auth.log
You see login attempts using the root user from your local PC IP, and the connection is immediately closed due to reaching the maximum login attempts.
To monitor incoming attacks via Fail2Ban, you can do the following:
sudo fail2ban-client status sshd
sudo tail -f /var/log/fail2ban.log
Thank you for reading this article. I hope the hardening steps shared here help improve the security of your Linux server, especially in defending against SSH brute-force attacks.
I also want to express my gratitude to the open-source community and the official documentation of projects like Fail2Ban, UFW, and iptables, which serve as important foundations in maintaining system security.
If you have any feedback, improvements, or similar experiences, please feel free to share them in the comments or contact me directly. Let’s continue learning and sharing for stronger and more resilient systems.
References:
- https://linux.die.net/man/5/sshd_config
- https://www.fail2ban.org
- https://help.ubuntu.com/community/UFW
IDNBootcampCyber #LinuxSecurity #ServerHardening #Cybersecurity
메타데이터
- post_id
- e17907adc1a7
- slug
- linux-server-hardening-guide-securing-ssh-with-fail2ban-ufw-and-iptables-e17907adc1a7
- url
- https://medium.com/@h3des/linux-server-hardening-guide-securing-ssh-with-fail2ban-ufw-and-iptables-e17907adc1a7
- canonical_url
- https://medium.com/@h3des/linux-server-hardening-guide-securing-ssh-with-fail2ban-ufw-and-iptables-e17907adc1a7
- author_url
- https://medium.com/@h3des
- status
- ok
- fetched_at
- 2026-06-10 08:17:25