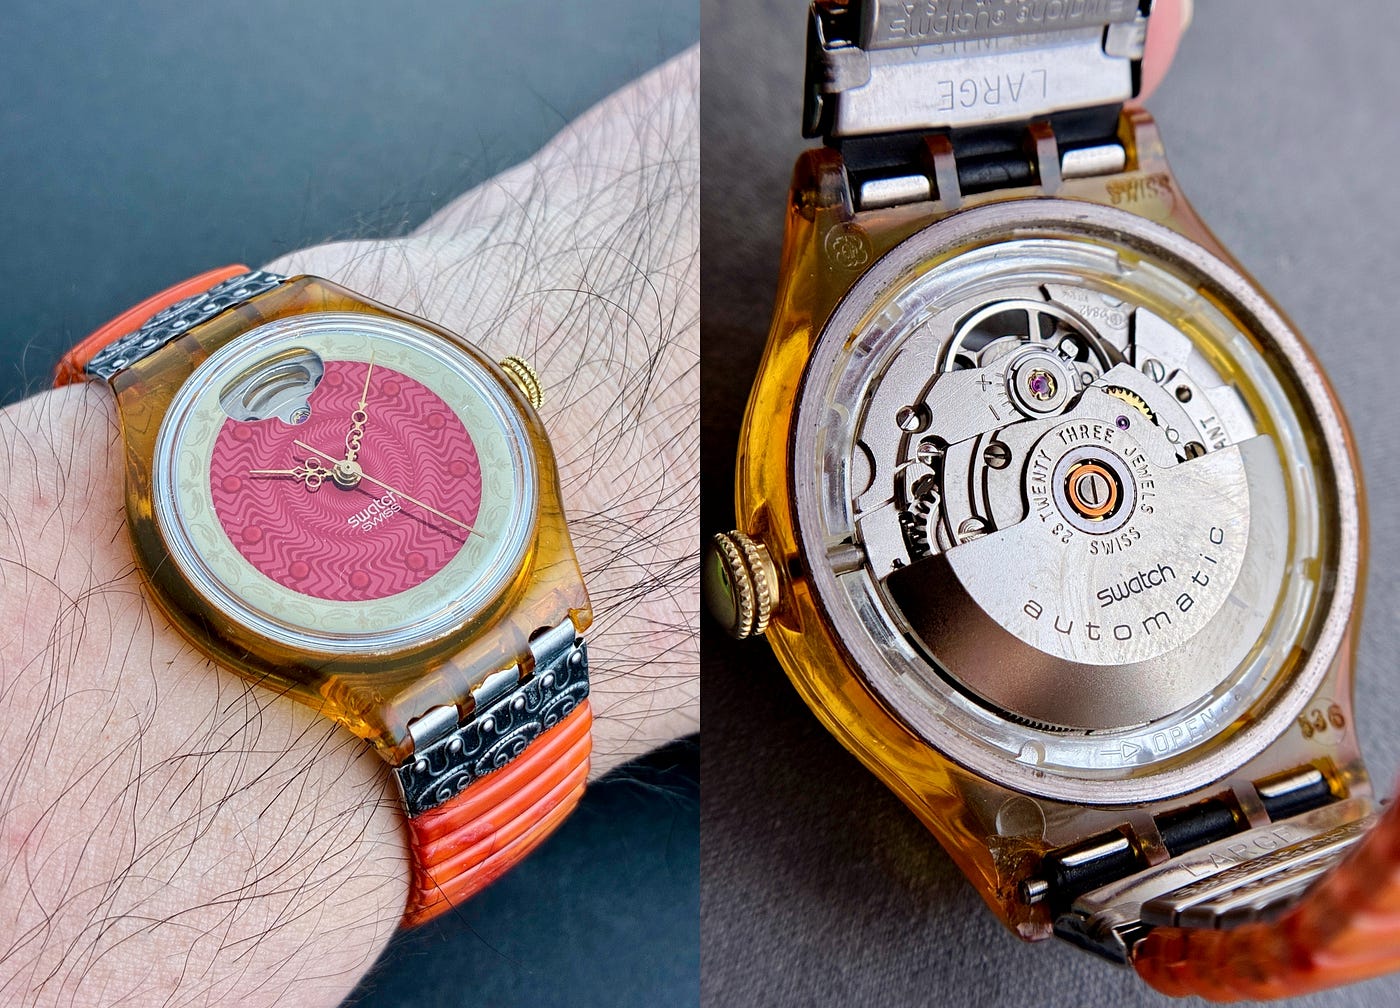
Disassembe the Seiko NH36 (4R36) Movement: the Rugged and Efficient Budget Wonder
What’s inside this popular movement, and where all the jewels actually are?
Disassembe the Seiko NH36 (4R36) Movement: the Rugged and Efficient Budget Wonder
What’s inside this popular movement, and where all the jewels actually are?
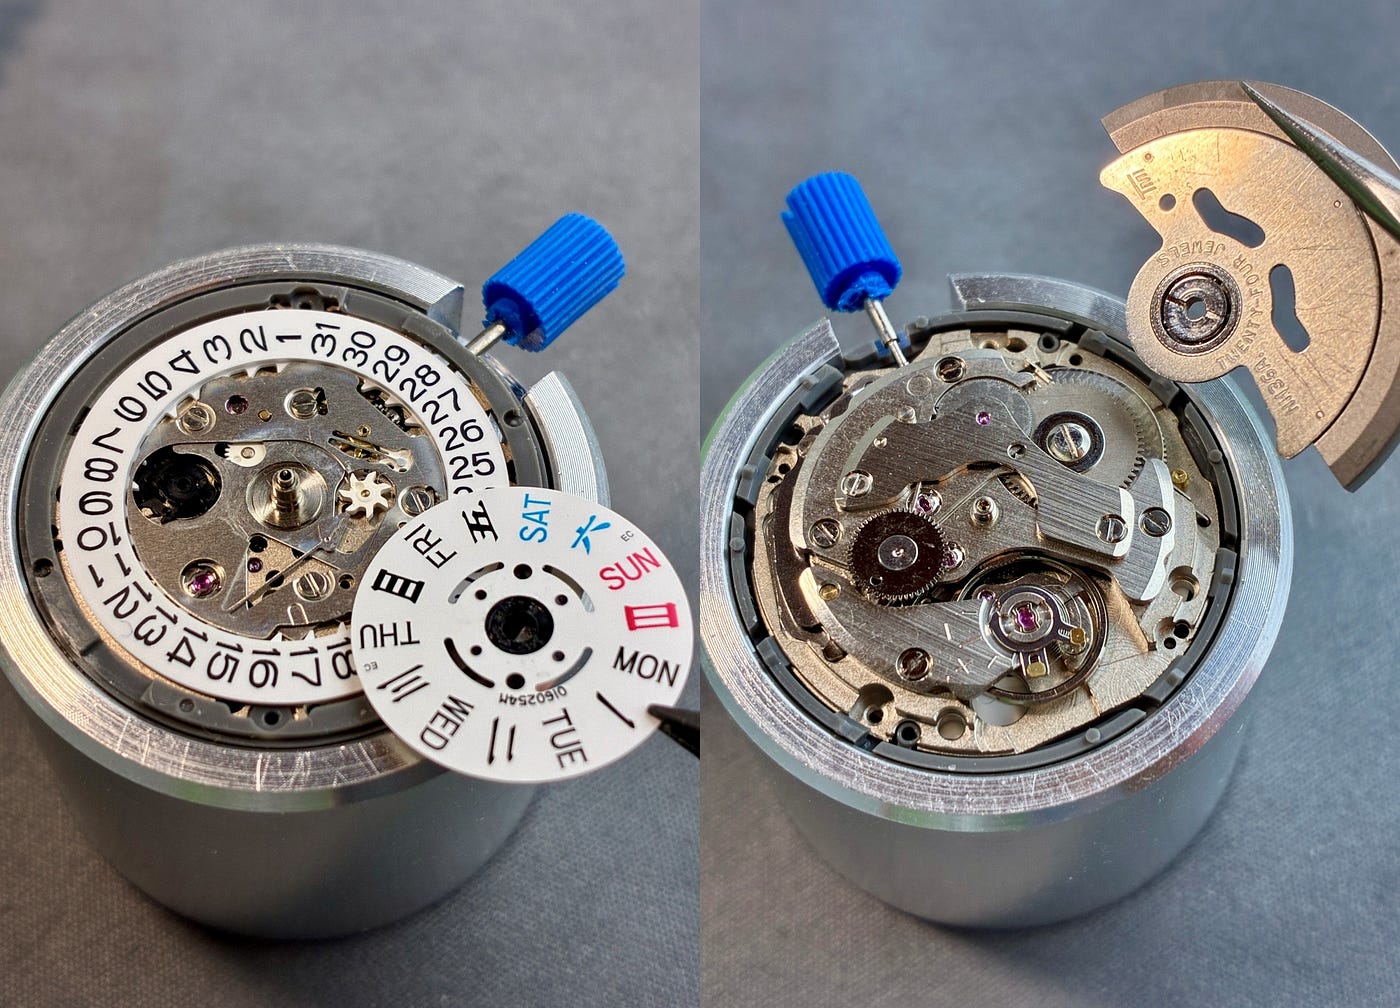
Today, we are going to disassemble a NH36 movement made by TMI (Time Module Inc.), a Hong Kong-based subsidiary of Seiko to produce movements for third parties. NH35/36 is basically the TMI version of Seiko 4R35/36, commonly used in entry-level Seiko watches including Seiko 5, Seiko Presage and various Seiko divers. This movement copy I’m using here was purchased about a year ago for practicing disassembly.
The movement measures 27.40 mm in width, 5.32 mm in height, beats in 21,600 vibrations per hour (3 Hz) and has power reserve of “more than 41 hours” and static accuracy of -20 to +40 seconds per day (stated in the technical guide). The fact that NH35/36 performs slightly better on paper than 4R35/36 is interesting — and that tells you comparing mechanical movements by their official specifications is not as enlightening as people may think.
Seiko 4R and 6R series are both derived from 7S series (1995), which in turn was based on Daini Seikosha’s 70 or 7000 series (1969). I have detailed the evolution and changes between these versions in this article.
[embed]
NH3x family includes:
- NH35 — date only
- NH36 — day/date
- NH34 — date and center GMT (24-hour) hand
- NH37 — date and small 24-hour hand at 11 o’clock
- NH38 — open balance wheel at 9 o’clock
- NH39 — open balance wheel at 9 o’clock and small 24-hour hand at 11 o’clock
Disassembly
The movement comes with a plastic movement holder, which has holes for installing the dial. We will keep the holder on the movement during this process, as we do not need to clean the base plate.

In the traditional Seiko movements, there are crowns positioned in either 3 or 4 o’clock positions. The actual difference are the date (and day) dials have to be the correct version to align to the 3 o’clock day/date windows.
However, started with the 70 and 7S movements, the “4 o’clock” is in fact 3.8 o’clock — the two crown positions align to two slots on the same day/date dial. What you really need is a dial with the correct legs, which go into the holes around the holder; the third party Seiko dials usually come with two sets of legs for choosing (you snap the wrong ones with side cutters).
Flip to the gear side, we will take the rotor off first. The rotor is printed with TMI logo.

To release the crown and stem, press the end of the setting lever near the stem (with a little dimple in it). But we do not need to do this here as the movement is already in the open.


Remove the rotor, which has the integrated ball bearing around the axis.

We can see the stark, industrial-styled parts underneath the rotor.

Back to the dial side, pry up the c-clip that holds the day dial on the hour wheel.

Remove the day dial, which is made of paper with a plastic wheel beneath it. As ridiculous as some people may think, it reduces the weight thus the resistance and required energy of the calendar work.

Here we see the first outer layer of the calendar work.

Remove the date dial cover.

In the early 7S movements and 6R15/4R15, there is a special phillips screw on the date dial cover designed for Seiko S-921 screwdriver, possibly for deterring non-Seiko technicians to service the movements. Later 7S/4R/6R versions no longer have it.
The date dial cover also has the day dial jumper/spring, as well as one of the wheels for day/date quick-set mechanism.

This is what it looks like under the date dial cover.

Take the date dial off with care, which is made of plastic instead of metal of the 70 series.

Then the date jumper plate, which also serves as the cover plate for the time setting wheels and calendar work.

The closeup for part of the keyless work and calendar work.

There are three parts consisting of the clutch wheels:
- The one closest to the minute wheel is for time setting, which would be pushed toward the minute wheel by the yoke (at the gear train side) when the crown is pulled to the third (furthest) position.
- The second one normally connecting to the first clutch wheel is for manual winding, which connects to the barrel via a series of wheels on the gear train side. It turns when the crown is at the first position.
- The third one, sits separated from the other two, connects to a series of wheels that goes around the keyless work (some of them are under the horizontal plate above it, then to the left of the clutches). The golden wheel under the date dial cover sits directly above the clutches, connecting the floating white plastic wheel on the right. This is the quick-set mechanism — it only turns when the crown is in the second position.

When the crown is in the second position (quick-setting), the floating wheel turns toward either the date dial or the day corrector wheel (the other white plastic wheel with fixed axis, which turns the day dial), depending on the turning direction of the crown. Despite using plastic parts, this is a simple and effective design.
So why does the quick-set wheels have to go around the keyless work?
In the 7S movement, the keyless work is quite straight-forward. The winding clutch here was originally designed for the quick-set, which connects to the golden wheel on the date dial cover. However, Seiko movement designs in the past never considered or incorporated manual winding, so the quick-set wheels have to move out of the way. A compromise to make when you want to modify upon an older design.
Remove the time setting and quick-set wheels. The black plastic day/date driving wheel is also something to handle with care.

Finally, pull up the cannon pinion from the center wheel.

The dial side is now fully stripped.

Flip to the gear train side, first remove the small bridge for holding down the second reduction wheel.
This bridge does not exist on the 7S movement, which effectively add the upper pivot jewel for the second reduction, corresponding to the lower pivot jewel added on the main bridge.

The magic lever (under the first reduction wheel connecting the rotor) would turn the second reduction wheel from both direction, which in turn winds the mainspring via the ratchet wheel.

If we remove the second reduction wheel, you can see two more small wheels under it. These are the manual winding wheels — the one closer to the second reduction wheel is a sliding wheel with a spring. The other one is connected to the crown wheel on the other side via the same axis.

You may also notice the bar-like click between the ratchet wheel and the barrel. As the second reduction wheel being removed, we can turn the ratchet wheel in the winding direction a bit with a screwdriver, pull up the click, and carefully turn the screwdriver in reverse to release the mainspring power. (We cannot do this before, as the magic lever is effectively another click on the second reduction wheel.)
Remove the ratchet wheel and second reduction wheel.

I also decided to remove the balance complete first.


Take the main bridge (barrel and gear train bridge) off.

The magic lever is pinned on the back of the main bridge with a c-clip. The best way to remove it is to hold it down with your tweezers and push it with a bigger flat head screwdriver from the side.
There is a small cover plate for the crown wheel as well, although the crown wheel and other manual winding wheels are riveted on the bridge and cannot be removed.

Separate the magic lever and first reduction wheel.

There is a jewel beneath the crown wheel. As the crown wheel is not removable, there is a small hole on it for oiling.

The technical guide also indicated that you should oil the jewel from the opening:

Another angle of the crown wheel jewel.

The gear train and keyless work is revealed. (Pardon for the dirty barrel surface; the movement has been disassembled and re-assembled once.)

Closeup to part of the gear train, with the center wheel, escape wheel and pallet fork left in place.
Like most Seiko movements, this is a true directly-driven centered second architecture, with the center wheel (which drives the minute/hour wheel) and fourth wheel overlapping each other.

Here’s another shot of the gear train.

Remove some of the gear train and the click. (The click is hold down by the side of the main bridge so it does not need screws.)

Remove the pallet fork with its bridge. (Notice that the pallet fork is skeletonized, unlike the solid ones in regular 7S or 4R movements.)

Finally we turn our focus to the keyless work, which is on the gear side hence the final part to be disassembled.

After removing the yoke spring, which is also the cover plate for the setting lever, the yoke and the second hacking lever.

You can see the second hacking lever, which is a long lever with a cylinder end under the yoke; when the crown is pulled to the third position, this hacking lever (going through under the balance wheel bridge) would move outward by the setting lever. The cylinder would touch the balance and stop the gear train.
Now remove the keyless work.

Thus the movement is fully disassembled.


The jewels count:
- Balance wheel — 5 (1 roller jewel and 4 on two Diashock anti-shock)
- Pallet fork — 2
- Pallet fork pivots — 2
- Escapement wheel pivots — 3 (one Diafix on main bridge)
- Fourth wheel pivot — 1 (main bridge)
- Third wheel pivots — 3 (one Diafix on main bridge)
- Center wheel pivots — 2 (one shared with the fourth wheel)
- Barrel/arbor pivot — 1 (base plate)
- Second reduction wheel pivots — 2
- First reduction wheel and magic lever pivots — 2 (one on base plate)
- Crown wheel — 1
That’s 24.
This is the same as the jewels listed in 6R15C/D, 6R3x and 6R5x movements. (7S and 4R manuals never provide this information.)

The earlier 6R15A/B have 23 jewels —minus one for barrel/arbor pivot. The 4R35A/B are often stated to have 23 jewels as well, but it seems that they do have the barrel jewel in the technical guide, and they also have the opening on the crown wheel. So I believe 4R35A/B are indeed 24 jewels despite branded otherwise.
The barrel/arbor pivot jewel is an important upgrade, as many vintage movements (after decades of use) showed wear around that pivot, which may cause the barrel to rub against the bridge or base plate with excess end-shake or side-shake, reducing the power reserve with more resistance.
The 7S26s are always stated to have 21 jewels — although it’s a bit questionable for the earlier A/B models.
7S calibres do not have jewels for the second reduction wheel, and no crown wheel either (no manual winding). Only the 7S26C (2011) has the barrel/arbor pivot jewel on the base plate. As far as I can tell from various videos — and from one of the 7S26B I’ve disassembled once — there are no functional jewels in the calendar work or anywhere else. So 7S26A/B are very likely 20 jewels and 7S26C has 21.
4R35B is essentially 4R36A without the day dial and day corrector wheel and has a different hour wheel (no c-clip required).
Finally, rebuild the movement with most of the steps reversed.

Overall, the movement is very well designed and relatively easy to assemble, although the magic lever pinned on the back of the main bridge makes things a bit complicated.
This is the pinnacle of an entry-level mechanical movement made to be efficient and rugged in manufacturing, assembly and operating. The accuracy error can be easily regulated to within ±10 seconds per day, and with the upgraded mainspring, it becomes the 6R series for mid-range Seiko watches.

While installing the rotor, the hole on the first reduction wheel (with magic lever) and the edge of the rotor must aligh to the end pivot of the balance bridge. This is to ensure the rotor can drive the off-centered magic lever most efficiently from any angle.


메타데이터
- post_id
- ec141a8fda8a
- slug
- disassembe-the-seiko-nh36-4r36-movement-the-rugged-and-efficient-budget-wonder-ec141a8fda8a
- url
- https://medium.com/@alankrantas/disassembe-the-seiko-nh36-4r36-movement-the-rugged-and-efficient-budget-wonder-ec141a8fda8a
- canonical_url
- https://medium.com/@alankrantas/disassembe-the-seiko-nh36-4r36-movement-the-rugged-and-efficient-budget-wonder-ec141a8fda8a
- author_url
- https://medium.com/@alankrantas
- status
- ok
- fetched_at
- 2026-07-10 01:40:30