[Auth] How to use Zoho as an OIDC for gitea
Gitea and OIDC
[Auth] How to use Zoho as an OIDC for gitea

Gitea and OIDC
Using Zoho as an Identity provider, we authenticate user with zoho mail.
Step 1: Create email address in Zoho admin console
Using admin console, we can add users to our organization.
Zoho Mail Admin Console
Step 2: Create a client using zoho api console
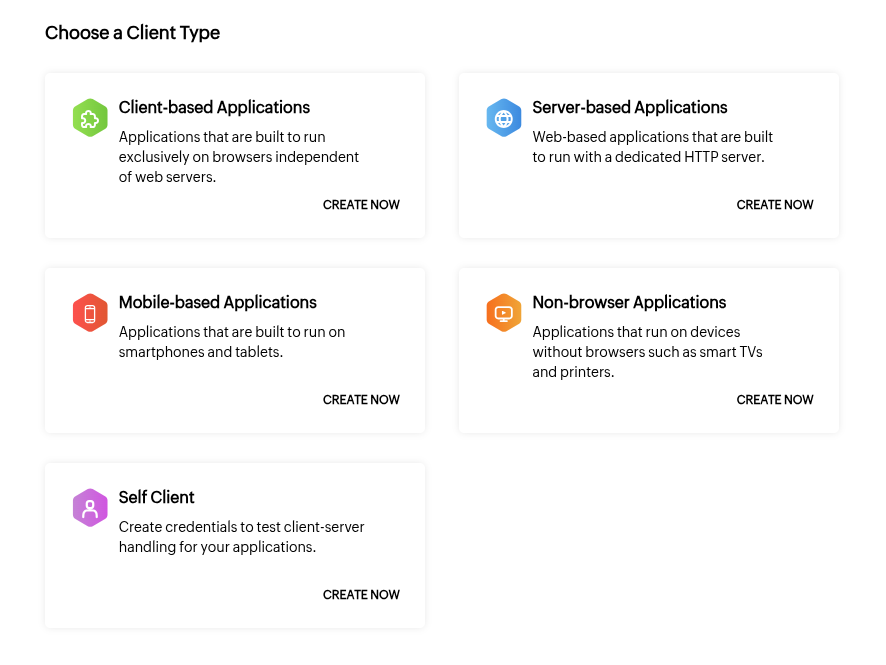
Zoho API Console
We have to choose server based app, because gitea is running as a server on a machine.
- Client Name: <For your reference, eg. gitcloud>
- Homepage URL: <Where app is running, eg. git.example.com>
- Authorized Redirect URL: Where the zoho will send the user after authentication (you will get it from app)
After creating this,
Zoho will give client ID and client secret for authentication.
And, in settings, we can use same client to authenticate from all the data center of Zoho across world.
Step 3: Enabling in gitea
- Login to your account.
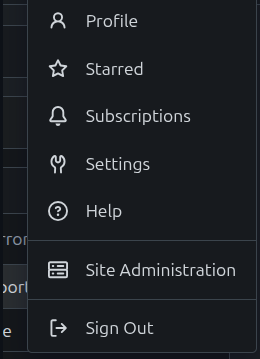
- Go to site administration.
- Choose Authentication sources under Identity and access.
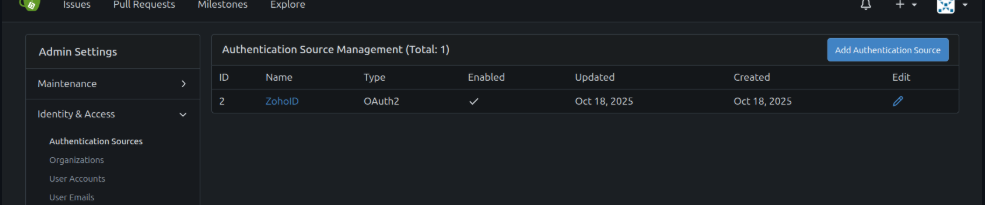
- Add authentication source on top right.
- Choose
OAuth2as authentication type. Authentication Namewill decide the Auth Uri for Step2. Give ZohoID. This name will also appear on Login screen, saying Login with ZohoID.- Oauth2 Provider, choose
OIDC(Open ID Connect). - Client ID and Client secret is already provided by Zoho, and fill them here.
- Open ID Discovery url is also provided by Zoho or all other OIDC providers, and it ends like this
.well-known/openid-configuration, so in our case, it would be[https://accounts.zoho.com/.well-known/openid-configuration.](https://accounts.zoho.com/.well-known/openid-configuration.) - Additional scopes will tell us, what information to capture from Zoho, like email, age, phone number, etc. For simplicity, email and name is good. (openid email profile)
- Required claim name, is email.
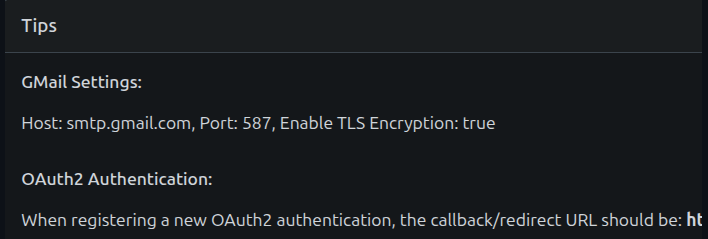
- In the bottom, it will also show the url for Oauth2, tat needs to be provided for redirect URI.
- Add it as authentication source.
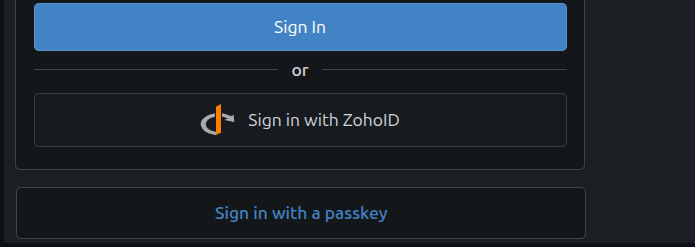
- Once saved, it is enabled by default in gitea and appear on login screen.
- Next, we need to disable the user registration, so that external users will not logged in.
- Login to gitea server using ssh.
- Update the config value with below values in
etc/gitea/app.inifile.
[service]
REGISTER_EMAIL_CONFIRM = false
ENABLE_NOTIFY_MAIL = false
DISABLE_REGISTRATION = false
ALLOW_ONLY_EXTERNAL_REGISTRATION = true # This should be enabled
ENABLE_CAPTCHA = false
REQUIRE_SIGNIN_VIEW = false
DEFAULT_KEEP_EMAIL_PRIVATE = false
DEFAULT_ALLOW_CREATE_ORGANIZATION = true
DEFAULT_ENABLE_TIMETRACKING = true
NO_REPLY_ADDRESS = noreply.localhost
Restart the gitea server, and we are done.
sudo systemctl restart gitea메타데이터
- post_id
- ed77efd8a58e
- slug
- auth-how-to-use-zoho-as-an-oidc-for-gitea-ed77efd8a58e
- url
- https://medium.com/@sarvsav/auth-how-to-use-zoho-as-an-oidc-for-gitea-ed77efd8a58e
- canonical_url
- https://medium.com/@sarvsav/auth-how-to-use-zoho-as-an-oidc-for-gitea-ed77efd8a58e
- author_url
- https://medium.com/@sarvsav
- status
- ok
- fetched_at
- 2026-06-15 20:49:13


