How a newbie did Autonomous Precision Landing in Gazebo Harmonic
As someone who didn’t knew anything about drone simulation to autonomous landing, Its really been a roller coaster ride. Honestly, I gave…
How a newbie did Autonomous Precision Landing in Gazebo Harmonic
As someone who didn’t knew anything about drone simulation to autonomous landing, Its really been a roller coaster ride. Honestly, I gave up at a point but then my friend pushed me to try once again and BOOOMMM!!! It worked.
“We are moving from drones being ‘piloted’ to drones being ‘tasked’.”
~ Lorenz Meier, Creator of PX4 and MAVLink
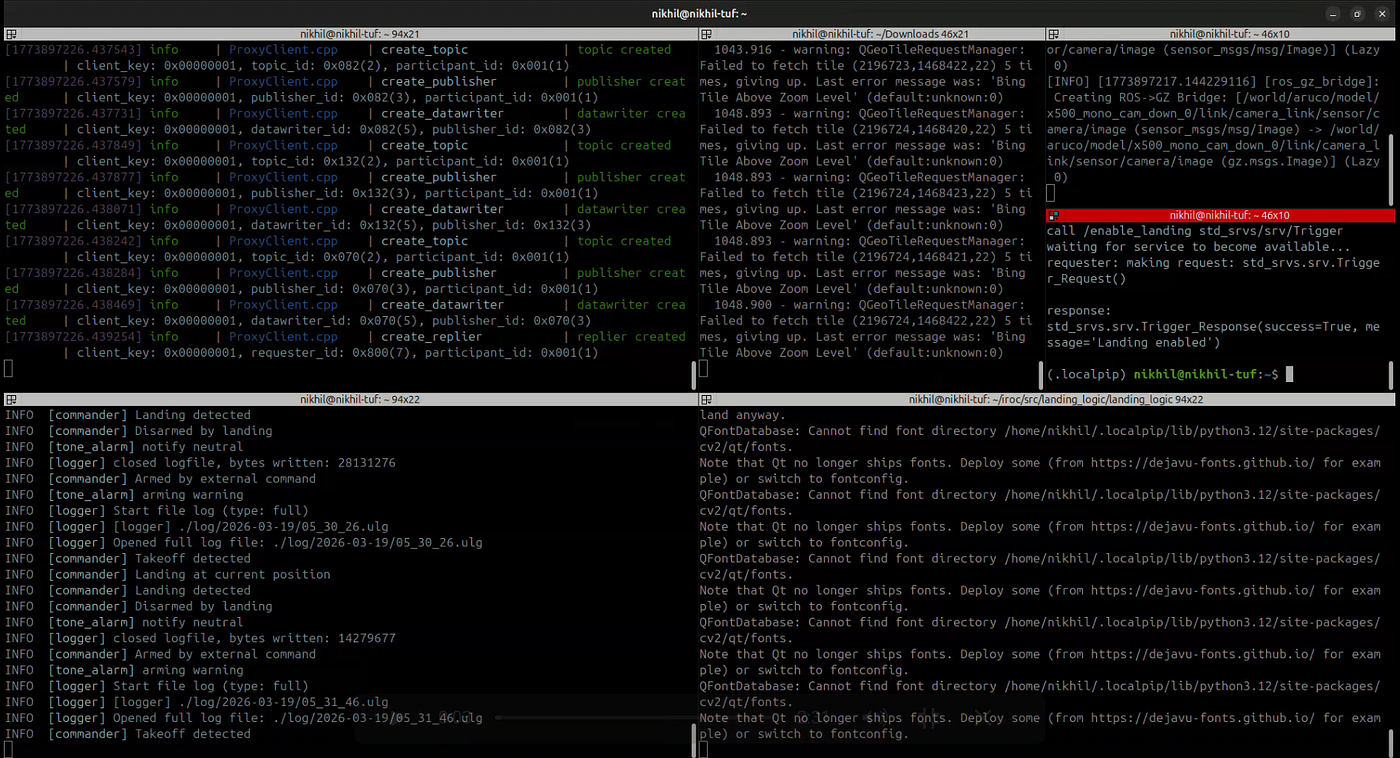
This is how my terminal looked like, but before that, let’s get the basics done about what I used-
1. Gazebo (GZ): The “Matrix” or Video Game
Gazebo is the Simulation Environment. It is a physics engine that pretends to be the real world. I here used the GZ Harmonic as it is compatible with Ubuntu 24.04 LTS (Noble).
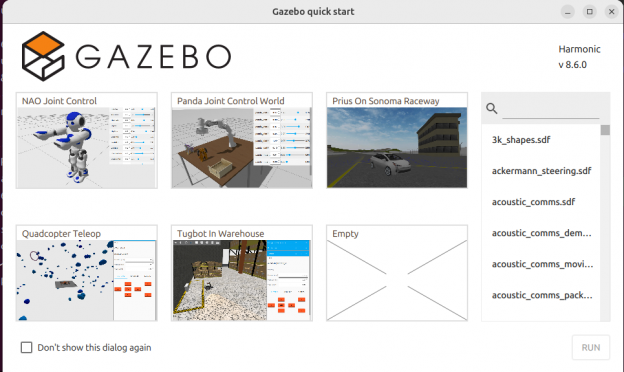
GZ Harmonic
2. PX4: The “Brain” or Pilot
PX4 is the Autopilot Flight Stack (the Firmware). It is the actual intelligence that knows how to fly. It takes high-level commands (like “Go East at 0.3 m/s”) and translates them into electrical signals for the motors.
PX4 Autopilot
3. QGroundControl (QGC): The “Dashboard” or Mission Control
QGroundControl is the Ground Control Station (GCS). It is the app you run on your laptop to talk to the drone while it’s flying. While our Python script is running the landing, you use QGC to make sure the drone is actually in the right mode (like Offboard or Land).
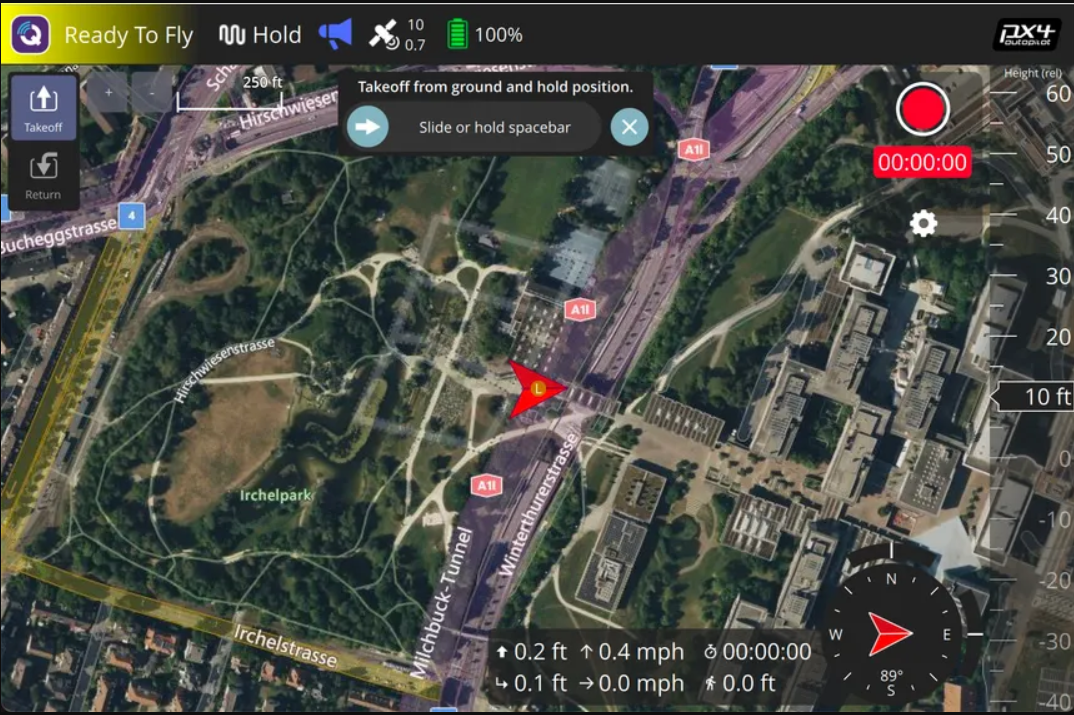
QGroundControl
Setup
- The OS: Ubuntu (likely 24.04) running ROS 2 Jazzy.
- The Pilot (PX4 Autopilot): This is the flight stack. It handles the “low-level” physics — keeping the drone level, managing the motors, and processing GPS/Gravity.
- The Translator (Micro-XRCE-DDS Agent): This is the bridge between the PX4 “Pilot” and the ROS 2 “Brain.” Without this, your Python code cannot send commands to the drone.
- The Engine (Gazebo Harmonic): This provides the physics (gravity, collisions) and the visuals (the red Mars dirt and the ArUco marker).
- The Drone Model (
x500_mono_cam_down): A quadcopter equipped with a downward-facing camera. - For Python, create a venv to avoid any future conflicts with system and your Python dependencies.
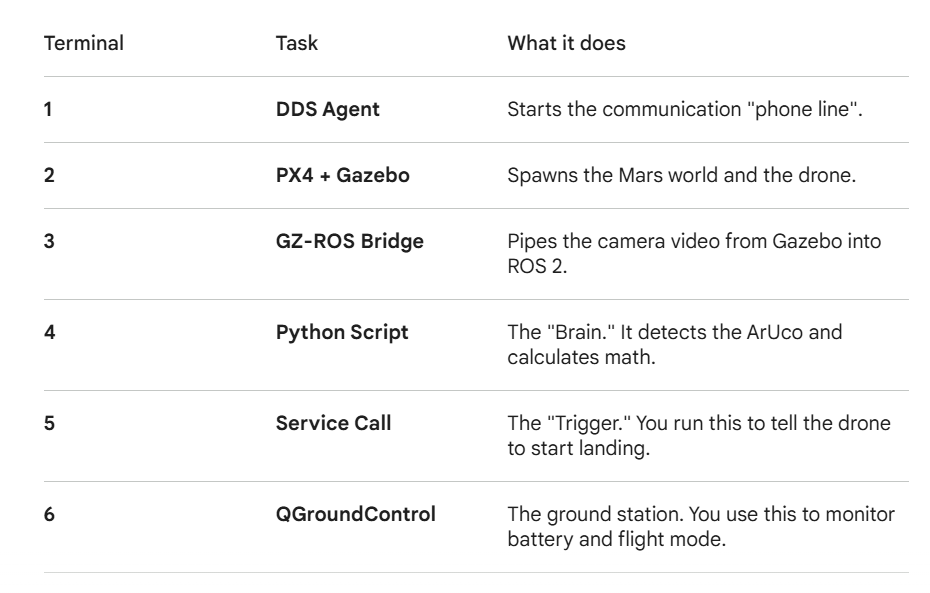
Phase 1: The Vision Loop (The “Eyes”)
Everything starts in the virtual Martian world.
- Gazebo renders the 3D scene. The camera on your
x500drone captures a raw video frame of the ArUco marker. - Terminal 3 (The Bridge) picks up that raw image and translates it into a ROS 2
sensor_msgs/Imagemessage. - Terminal 4 (Your Script) receives this image. It uses OpenCV to:
- Find the ArUco ID 53.
- Calculate the Pixel Offset (how many pixels away from the center of the screen the marker is).
- Convert those pixels into Meters using the marker’s known size.
Phase 2: The Handshake (The “Offboard” Mode)
Before the drone can move, it needs a “heartbeat.”
- Terminal 4 starts sending a constant stream of “Offboard Control” signals (20 times per second).
- PX4 receives these through the Micro-XRCE-DDS Agent (Terminal 1).
- Once you run the Service Call (Terminal 5), the script sends a
VehicleCommandto PX4 saying: "Stop following GPS, follow ME now." - The drone’s mode in QGroundControl (Terminal 6) switches to Offboard.
Phase 3: The Centering Dance (The “Correction”)
Now the math turns into motion.
- The script sees the marker is to the left .
- It calculates a Velocity Command: “Move left at 0.3 m/s.”
- It sends this as a
TrajectorySetpointto PX4. - PX4 tilts the drone’s rotors to move it physically in Gazebo.
- This repeats until the error is less than 0.10 m (your
CENTER_THRESHOLD_M).
Phase 4: The Step-Down (The “Descent”)
Once centered, the drone doesn’t just “drop” — it steps.
- The script sends a downward velocity ($-0.25$ m/s) for exactly 2 seconds.
- It then stops and enters RECENTERING mode. It checks the ArUco again (since the marker looks bigger now that the drone is closer).
- It repeats this “Center -> Descend -> Center” loop until it is very close to the ground.
Phase 5: The Final Touchdown (The “Handover”)
- When the ArUco marker fills enough of the screen (your
LAND_PERIMETER_RATIO), the script realizes it's too close to safely navigate itself. - It sends one last command to PX4:
NAV_LAND. - PX4 takes over, uses its landing sensors to detect the ground, slows down to a crawl, and touches the red Martian sand.
- The script sends a final Disarm command, and the props stop spinning.
Commands for each Terminal
Source ROS2 and enter Python venv for each terminal. My base directory was /iroc.
source /opt/ros/jazzy/setup.bash source ~/iroc/PX4-Autopilot/Tools/simulation/gz/setup_gz.bash
Terminal 1: The Nervous System (Micro-XRCE-DDS)
MicroXRCEAgent udp4 -p 8888
Terminal 2: The World & The Pilot (PX4 + Gazebo)
cd ~/iroc/PX4-Autopilot PX4_GZ_WORLD=aruco make px4_sitl gz_x500_mono_cam_down
Terminal 3: The Eyes (GZ-ROS Bridge)
ros2 run ros_gz_bridge parameter_bridge /world/aruco/model/x500_mono_cam_down_0/link/camera_link/sensor/camera/image@sensor_msgs/msg/Image@gz.msgs.Image
Terminal 4: The Brain (Python Script)
cd ~/path/to/your/script python3 aruco_land.py
Terminal 5: The Trigger (Service Call)
ros2 service call /enable_landing std_srvs/srv/Trigger {}
Terminal 6: The Ground Station (QGroundControl)
./QGroundControl.AppImage
Proof of Work
[embed]
메타데이터
- post_id
- ef0e1b4a2fe4
- slug
- how-a-newbie-did-autonomous-precision-landing-in-gazebo-harmonic-ef0e1b4a2fe4
- url
- https://medium.com/@homemnikhil/how-a-newbie-did-autonomous-precision-landing-in-gazebo-harmonic-ef0e1b4a2fe4
- canonical_url
- https://medium.com/@homemnikhil/how-a-newbie-did-autonomous-precision-landing-in-gazebo-harmonic-ef0e1b4a2fe4
- author_url
- https://medium.com/@homemnikhil
- status
- ok
- fetched_at
- 2026-06-21 07:44:09



