Dorico: your first song — for Finale users
For our first project, we’re going to create a score for “Mary had a Little Lamb.” In this first example, we’ll just make this a soprano…
Dorico: your first song — for Finale users
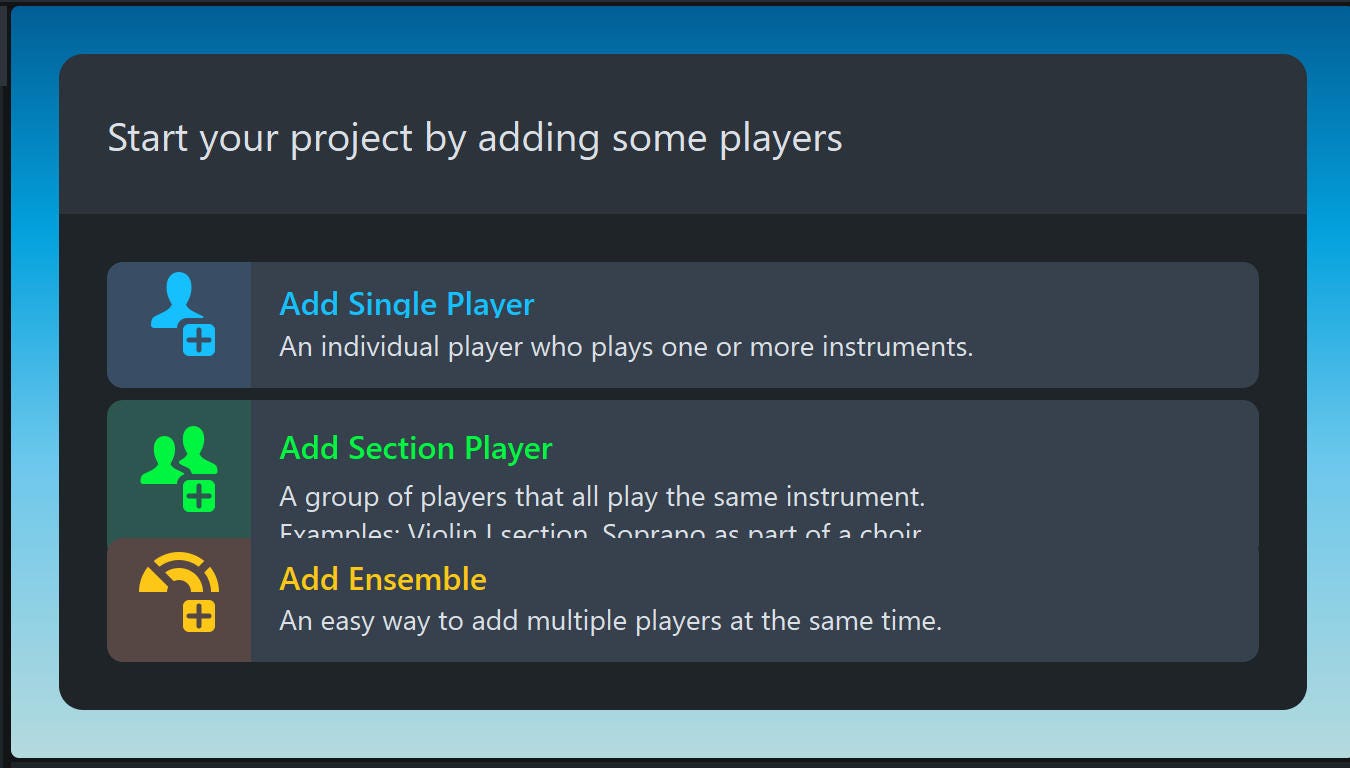
For our first project, we’re going to create a score for “Mary had a Little Lamb.” In this first example, we’ll just make this a soprano solo. We’ll deal with accompaniments and the like later. When we start Dorico, we get a screen showing a couple of actions and names of projects we’ve worked on recently.

Dorico top banner
Here we can click on Open Recent or Create New. If we Create New, we are given a choice of a lot of common templates. The closest one is Choir SSA unaccompanied. So, we chose that one.

Selecting the Choir SSA template.
The resulting empty score looks like this:

Empty score for solo SSA
Note that there are 5 mode buttons just under the title bar menus:

Mode buttons
- Use the Setup mode to define the number and names of the players (staves), and to create Flows (see below).
- Use the Write mode for writing and editing music.
- Use the Engrave mode for adjusting details of the final output.
- Use the Play mode to adjust the details of Playback
- Use the Print mode to print out (and save as PDFs) the score and its parts.
The dropdown next to the mode buttons selects which part of the score you want display. In these simple examples, there is only the one choice, but eventually you can select the names of parts you want to display (and edit).
Switch to Setup mode, where all 3 players are displayed. We delete the other two voices, by highlighting them and then pressing Delete.

Now, click on the Write mode button, and you will see an empty song on a single staff.

Soprano line with other to deleted.
Flows
In this examples, you see a label “Flow 1.” Each project can have a number of pieces of music associated with it, each in its own Flow. To see how you select Flows, click on the Setup mode button. You should see one or more Flows listed along the bottom, usually names Flow 1, Flow 2, and so forth. If you don’t see them, the central music display may be covering them. Try clicking on Ctrl/8 to uncover this bottom display.

You can create as many Flows as you need. Usually, you use them for varying versions of your project, or for various movements of the piece of music you are working on. To create a new flow, click on the little Flow +-button at the right of the flows. You can create a copy of the flow you are working on, or you can create an empty flow with a single measure in it.
Once a flow is created, you can scroll between them using the scroll bar at the bottom of the music display. You can also rename them in Setup mode by clicking on the name in the flow display list, or by selecting Info with Ctrl/I as we will see later below.
Another way to create a new piece
Start by creating a new flow. Click on the little Flow/+ symbol and then click on the new flow box to see what’s in it. You should have a one measure piece without a time or key signature:

Now, go back to Write mode. You can add a time signature by clicking on the ¾ icon in the right panel, and then selecting 4/4 from the display that slides out.

Selecting a 4/4 meter.
Then, click on the staff for the 4/4 to be inserted.

4/4 achieved.
The other way to select a time signature is using the Time popover. Click on the rest in the display and press Shift/T to bring it up.

Enter 4/4 and press Enter to add that time signature to the music.
Entering Music
You can enter music from a midi keyboard or by clicking in place, or by using the alphabetic keyboard. In any of these approaches, you have the choice of duration befo re pitch (the default) or pitch before duration (like Finale does). There are advantages to both entry modes, depending on the music.
For example, if you have a number of notes of the same duration in a row, then setting the duration once and pressing the pitch keys us faster. If you have music where the duration changes between almost every note, then pitch before duration makes more sense. You can switch between the modes by just typing “k” in either lower or upper case.
In the table below, we show how the left upper corner controls look in the three most common states.

Entering Write mode

Entering notes: duration, then pitch.

Entering notes: pitch, then duration (like Finale)
Now, let’s enter the tune for “Mary had a little lamb.” Since it has a lot of quarter notes, it is reasonable to use the default entry mode, where you select the duration (quarter note) by pressing the 6-key. Here are the first two measures: 6-key E D C D E E 7-key E, To begin entering notes, double click on the first measure and the Write cursor will appear. Be sure it is pointing to the first note in the measure.

We intentionally included several mistakes, so we can show how to fix them. Here is the whole tune entered:

Whole tune entered: there is a mistake, though.
You can make any note dotted by highlighting it and pressing the period character on your keyboard, or by clicking on the dotted note image in the left hand notes selection box. This dotted note feature is “sticky” and will remain turned on for future notes you enter. To turn it off, click anywhere on the staff.

Entry of dotted note.
Rests
In general, you don’t have to enter rests in Dorico. It fills in any empty part of a measure with the right number of rests. If you want a rest in the middle of a measure, just move the cursor to the right using the arrow keys. It will move for the distance selected by the current duration, and leave rests in the space you skipped over.
To make corrections, just position the cursor anywhere in the measure and enter the correct note or chord. This will overwrite whatever was already there.
Lyrics
Lyrics are really easy to enter in Dorico. Just click on the first note where lyrics should go and press Shift/L. This brings up the Lyrics popover, and you type the words right into it. If a word has multiple syllables that should go on successive notes, just press the hyphen character to terminate the syllable and Dorico will move on to the next note. If it is a one syllable word, terminate it with a space to move on.
So, we would start the lyrics with
Ma-ry had a lit-tle lamb,
Oh, but look. There is a measure missing:

There should be another measure of “little lamb” that got left out. We will have to put it back in.
Inserting a measure
To insert a measure, click on the location, where the measure it to go (in this case, the first note of measure 4) and press Shift/B to bring up the Bar popover.

Inserting a missing measure.
Then enter a “1” and press Enter to insert that measure.
Then fill in the 3 missing notes by double clicking in the empty bar to start inserting notes and then pressing 6-key E G 7-key G, and put in the missing lyrics.

Adding lyrics to missing measure.
Now, we can go ahead and enter the missing lyrics for the rest of the verse:
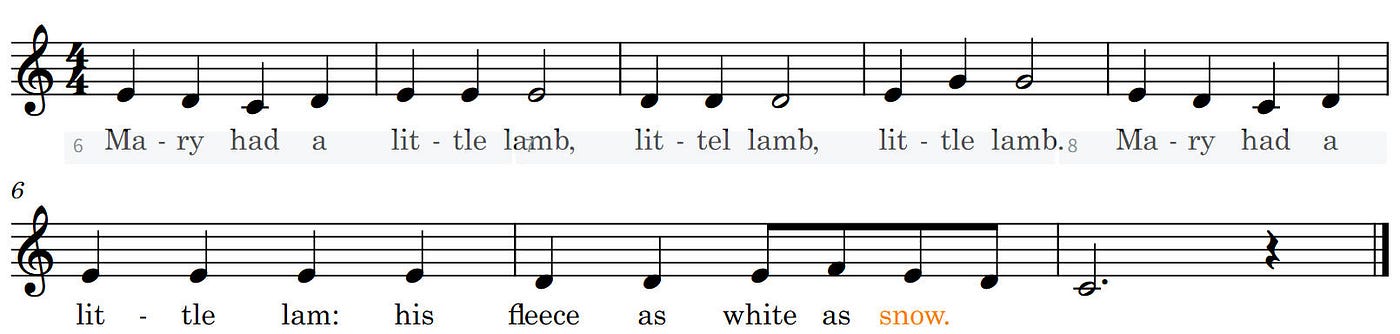
Misalign lyrics.
But, as you can see, that little melisma at the end has made the words misalign with the tune.
We could fix it by deleting the words and re-entering them, or we could just slide them over. So, we highlight the words “as snow.” But that highlights the notes, too. We don’t want to move those. So, we right click on “as” and select Filter/Lyrics/Line 1.

Setting the filter to only act on Line 1 of the lyrics.
Then, you can select “as snow” without highlighting the notes.
Then, press Alt/right arrow to shift “as snow.” over one note. And select “snow” and press Alt/right-arrow again to shift it one more place, as the lyrics are aligned! This lyrics shifting is much like you can do in Finale, so we show it here. However, deleting and retyping is just about as easy.

Shifted lyrics.
Fixing misspelled lyrics
We did misspell a couple of lyrics. You can edit the entire lyric on the screen by selecting any word in the lyric and right clicking to select Lyrics/edit line of lyrics.

Selecting Edite line of lyrics to bring up the text window for editing.
This brings up the lyric editing window:

The lyics editing window.
You can edit any words you like, but cannot create more lyrics, unfortunately.
We also ought to add slurs to those melisma syllables near the end:
Just click on the first note and press “S” to create a slur:

Add a slur.
You can drag the either end of the slur where you want it, but in this case it is correct.

Both slurs added.
Finally, we ought to change the title to the name of the song. Press Ctrl/I (for Information) and change it:

And here it is:

Review
We have used a number of popover and other key commands in this first example. Here they are in summary
Shift/B — edit number and properties of bars Ctrl/I — change the project’s title and information Ctrl/8 — show hide bottom info panel Shift/L — enter lyrics| Shift/T — enter a new time signature K — switch between entry modes S — enter slurs
We’ll deal with articulations in the next article and then deal with pairing of instruments in the score.
메타데이터
- post_id
- f4b01ef4a4ba
- slug
- dorico-your-first-song-for-finale-users-f4b01ef4a4ba
- url
- https://medium.com/@jimcooper-95211/dorico-your-first-song-for-finale-users-f4b01ef4a4ba
- canonical_url
- https://medium.com/@jimcooper-95211/dorico-your-first-song-for-finale-users-f4b01ef4a4ba
- author_url
- https://medium.com/@jimcooper-95211
- status
- ok
- fetched_at
- 2026-06-27 07:40:21