How I Delete Photos on My Mac Without Losing the Ones I Need
Deleting photos on a Mac sounds simple — until you accidentally remove something important or realize your storage is still full.
How I Delete Photos on My Mac Without Losing the Ones I Need
Deleting photos on a Mac sounds simple — until you accidentally remove something important or realize your storage is still full.
I’ve gone through the process of cleaning up thousands of photos, screenshots, downloads, and duplicate images on a Mac. Along the way, I learned that deleting photos isn’t just about hitting the Delete key. Different photo locations behave differently, and some files aren’t actually gone when I think they are.
If you’re trying to **delete photos on MacBook** to free up storage, organize your photo library, or prepare your Mac for a reset or sale, here’s what you need to know.
Who This Guide Is For
This guide is for Mac users who want to:
- Free up storage space
- Remove unwanted photos and screenshots
- Clean up a cluttered Photos library
- Permanently delete pictures from a Mac
- Recover photos that were deleted by mistake
The steps apply to both MacBook Air and MacBook Pro models.
Delete Individual Photos or Multiple Photos in the Photos App
Most photos stored on a Mac are managed through the Photos app.
Delete a Single Photo
- Open Photos.

- Select the album or folder that contains the image.

-
Find the photo you want to remove.
-
Control-click the photo.
-
Select Delete 1 Photo.

Delete Multiple Photos at Once
When I clean up a photo library, deleting images in batches saves a lot of time.
- Open Photos.
- Navigate to the album or folder you want to review.
- For non-adjacent photos, hold Command and select each image.
- For a continuous range of photos, click the first image, hold Shift, then click the last image.
- Control-click the selected photos.
- Choose Delete [number] Photos.
Delete an Entire Album
Sometimes the problem isn’t a few photos — it’s an entire album that’s no longer useful.
To remove an album:
-
Open Photos.
-
In the sidebar, go to My Albums.
-
Locate the album you want to remove.
-
Control-click the album.
-
Select Delete Album.
-
Confirm the deletion.
One thing worth noting: deleting an album doesn’t always mean deleting every photo inside it. Photos can still exist elsewhere in the library if they belong to other albums.
Delete All Photos in the Photos Library
When I’m starting over or preparing a Mac for transfer, deleting everything at once can be faster than sorting manually.
- Open Photos.
- Select Library from the sidebar.
- Press Command + A to select all photos.
- Control-click any selected image.
- Choose Delete Photos.
Before doing this, I recommend double-checking whether your photos are synced with iCloud. Deleting photos from a synced library can affect other Apple devices connected to the same account.
Delete Pictures Outside the Photos App
Not every image on a Mac lives in the Photos app.
Screenshots, downloaded images, exported files, and project assets are often stored in Finder folders instead.
To remove them:
- Open Finder.
- Navigate to the folder containing the images.
- Select one or more files.
- Control-click.
- Choose Move to Trash.
If you don’t know where a picture is stored, use Finder search or Spotlight to locate it by filename.
This is often where I find the biggest storage savings because forgotten downloads and screenshots can accumulate quickly.
How to Permanently Delete Photos From a Mac
A common misconception is that deleted photos disappear immediately.
In most cases, they don’t.
Photos removed from the Photos app are moved to Recently Deleted, while files removed through Finder are placed in Trash.
To permanently remove them:
Empty Recently Deleted
- Open Photos.
- Select Recently Deleted.
- Click Delete All.
- Confirm the action.
Empty Trash
- Click the Trash icon in the Dock.
- Select Empty Trash.
- Confirm the deletion.
Photos in the Recently Deleted album are automatically removed after 30 days, but manually emptying it frees storage immediately.
Managing Duplicate Photos
One issue I repeatedly encounter during storage cleanups is duplicate photos.
Recent versions of macOS include a Duplicates album inside the Photos app, making it easier to identify and merge duplicate images.
Before deleting large numbers of photos, it’s worth checking this section first. You may recover significant storage space without risking the loss of unique images.
When I Accidentally Delete a Photo
Mistakes happen, especially when cleaning up thousands of files.
The recovery method depends on how the photo was deleted.
Recover Photos From Recently Deleted
If the image still exists in the Recently Deleted album:
- Open Photos.
- Select Recently Deleted.
- Choose the photo.
- Click Recover.
Recover Photos From Trash
If the file was deleted through Finder:
- Open Trash.
- Locate the image.
- Control-click it.
- Select Put Back.
The file returns to its original location.
Recover Photos From Time Machine
I use Time Machine. Recovery is often straightforward.
I can browse previous backups and restore deleted photos from an earlier version of your Mac.
This is usually the safest recovery option because it restores the original file rather than attempting to reconstruct deleted data.
Recover Permanently Deleted Photos
If the photo has been removed from Recently Deleted, emptied from Trash, and isn’t available in a backup, recovery becomes much more difficult.
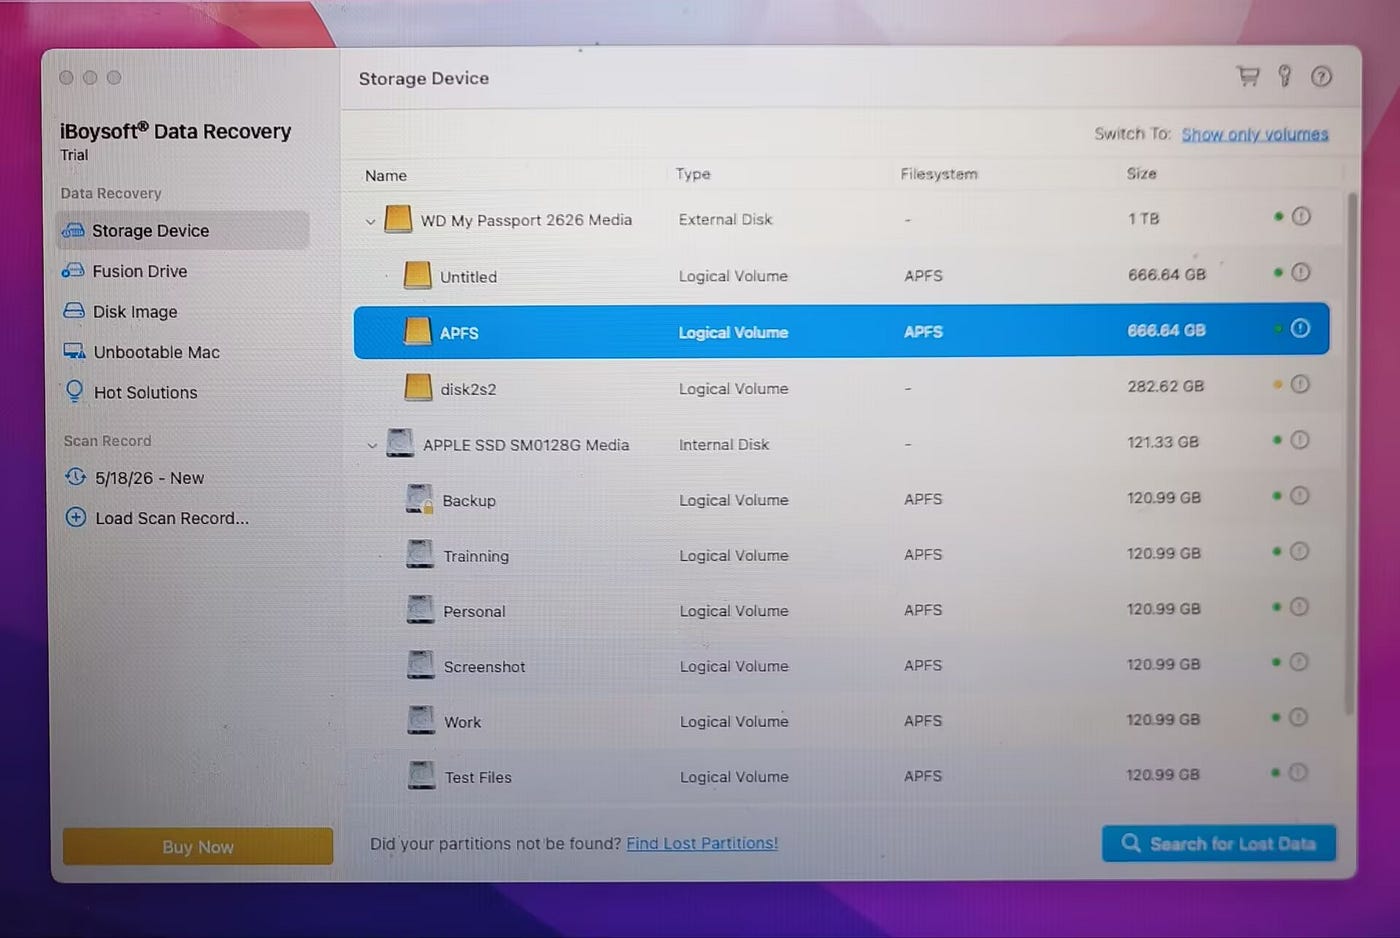
At that point, data recovery software may help, but success depends on whether the deleted data has been overwritten by new files.
The sooner recovery is attempted, the better the chances.
My Cleanup Process
When I need to reclaim storage on a Mac, I usually follow this order:
- Remove unnecessary screenshots and downloads.
- Check for duplicate photos.
- Delete unwanted images from the Photos library.
- Review Recently Deleted.
- Empty Trash.
- Verify important photos are backed up.
This process helps me free up space while reducing the risk of deleting something I later need.
Final Thoughts
Deleting photos on a Mac is easy. Deleting them safely is what requires a bit more attention.
Understanding the difference between Photos, Recently Deleted, Finder, and Trash can prevent accidental data loss and make storage management much more effective.
If you’re cleaning up your Mac for more space, start with the files you no longer need, verify your backups, and only then permanently remove them.
메타데이터
- post_id
- f5333cfb47a9
- slug
- how-i-delete-photos-on-my-mac-without-losing-the-ones-i-need-f5333cfb47a9
- url
- https://medium.com/@ae5385/how-i-delete-photos-on-my-mac-without-losing-the-ones-i-need-f5333cfb47a9
- canonical_url
- https://medium.com/@ae5385/how-i-delete-photos-on-my-mac-without-losing-the-ones-i-need-f5333cfb47a9
- author_url
- https://medium.com/@ae5385
- status
- ok
- fetched_at
- 2026-07-09 20:10:33