Chipy Mentorship Blog Post #2
Since September, I have made a lot of progress! You can check out my last blog post here for more information about my project.
Chipy Mentorship Blog Post #2
Since September, I have made a lot of progress! You can check out my last blog post here for more information about my project.
Raspberry Pi Troubleshooting:
Although I had a functioning Raspberry Pi when writing my last blog post in September, there were plenty of issues to solve during this month. My initial setup consisted of my Laptop, an Ethernet cord + adapter, and using a VNC server. Using these, I could connect to my Pi via a local host connection and eliminate the need for an HDMI cord, Monitor / TV, keyboard, and mouse. However, sometimes the Pi was unable to connect to my laptop, would disconnect without warning, or fail to connect to WiFi, which created many setbacks. At one point, the micro SD card for my Pi became corrupted, which forced me to purge the card and reinstall everything all over again.
After that catastrophe, I finally decided to set up the Pi without VNC, using an old TV, keyboard, and mouse I found in my house. Occasionally, I will use either VNC or Putty (a way to access the terminal of a Raspberry Pi via Ethernet) on my laptop with my TV setup, but only when I need to transfer large blocks of code from my laptop to the terminal.
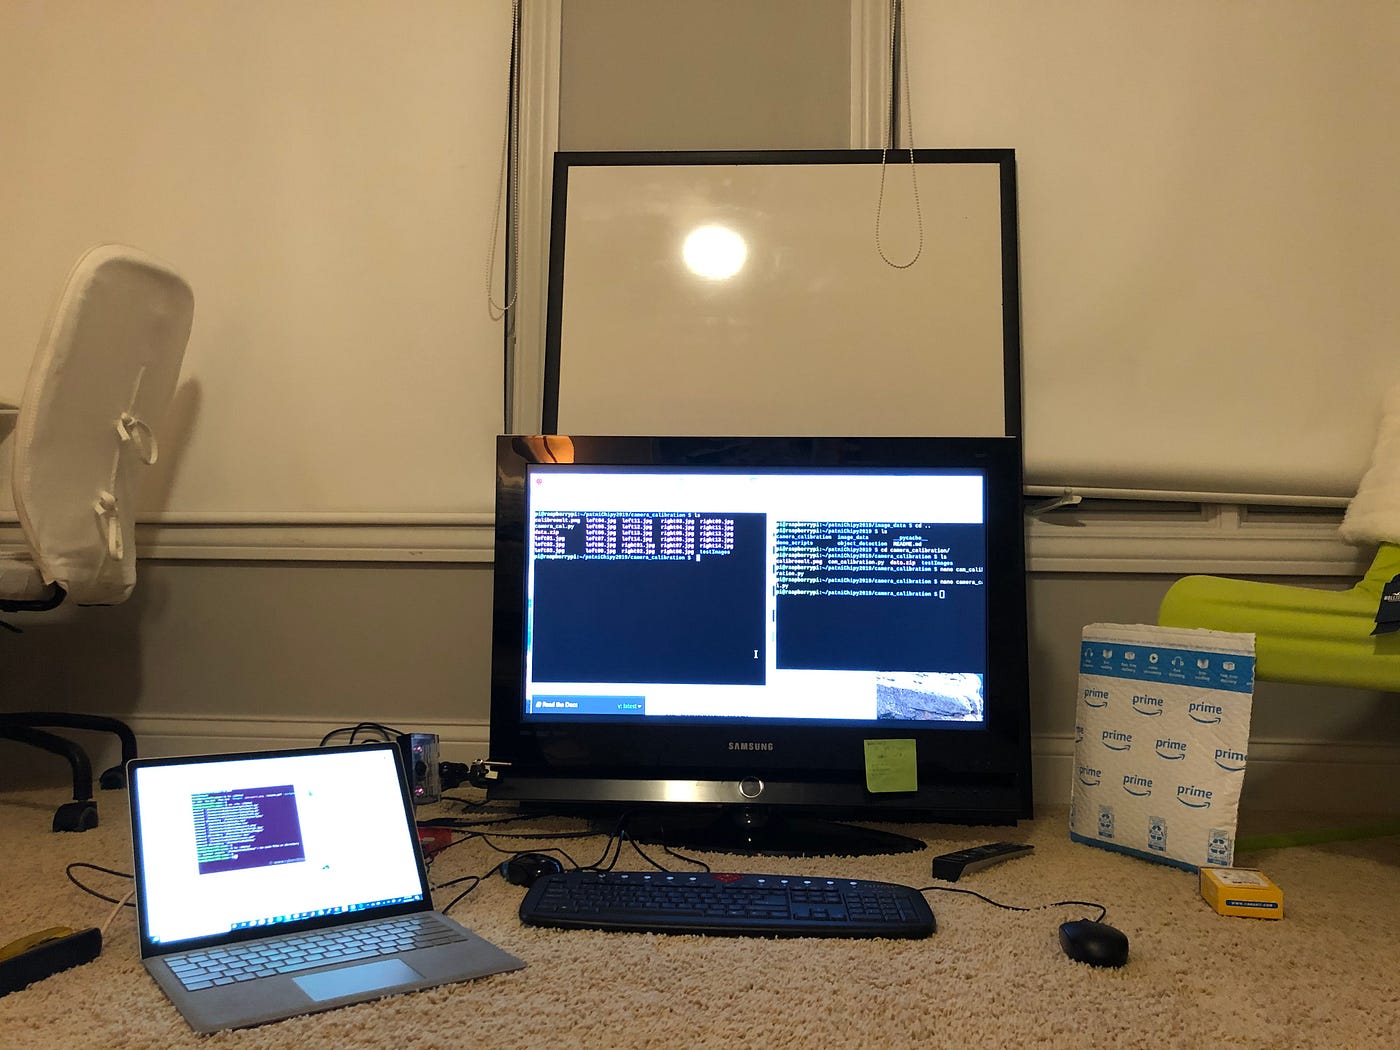
New Setup
Capturing Images + Data Logging:
In order to begin working on my project for the mentorship, the very first step I needed to complete was capturing images. Over Google Hangouts, my mentor, BinBin He, introduced me to the basics of using a Pi camera. He also showed me how to apply data logging to my project, specifically when capturing images. I learned that as we further explore visual mapping, it would be beneficial to keep track of the images in a standard, organized way so that if any problems arise, we can figure out when they happen and what the issue affects.
In my code, I use the datetime class to record each time an image has been snapped. From there, the formatting functions of the logger class in Python are implemented, naming the images the exact time they were taken. One issue — which BinBin quickly helped me find — was importing the datetime class. In an earlier file I named datetime, I tried to import the datetime class, but since the name of the file and the class I was trying to import were both called datetime, it wouldn’t work. However, once resolved, the program worked with no issues:

takePhoto.py
Open CV:
One really useful tool that BinBin showed me was OpenCV, which is a computer vision and machine learning library. It’s really useful for recognizing what’s in an image, stitching together images, and extracting 3D models based on a given image (exactly what I need!).
I installed Open CV using a set of Bash Commands I got from my brother, which made the process super easy.
Camera Calibration:
Another issue that BinBin brought to my attention was that the camera needed to be calibrated. Without being calibrated, a normal image taken from my camera looks like this:
As you can see, the photos are slightly distorted in that they appear curved. In order to resolve this issue, Open CV has a really cool program that calibrates any camera and removes curvature. You can find a full link to it here.


The program essentially asks for images with a chessboard in it and uses the black and white squares to determine how to remove the curvature. Since the chess board squares are obviously supposed to have straight lines but don’t in the given image, the program analyzes the amount by which the camera has curved the lines, and then returns a new image without the curvature.
Object Detection:
In order to create my map of field elements and game pieces, it is necessary that my project is able to identify where the field pieces actually are, and how the images it sees compares to a model of the FRC field. To do this, a program called YOLO Object Detection uses Open CV to figure out if there are objects in a given and image and what they are. The program boxes what it believes to be an object in the frame, and then labels it (human, car, chair etc) and displays the probability that it is what the computer says it is.

As you can see here, the program has identified some cars, trucks, and people in this image and determined the probability that they are actually those objects. This will be especially useful when trying to determine field elements / game pieces in the camera’s view for my project.
Next Big Step:
The next major program that BinBin and I will be working on is field mapping and figuring out how to use Open CV’s capabilities to construct 3D models from 2D images, and compare those models to those of field to determine our position on the field.
That’s all for now. You can check out my GitHub repository for more! I’ll post another update in November! Thanks :))
메타데이터
- post_id
- f721f2dd40c
- slug
- chipy-mentorship-blog-post-2-f721f2dd40c
- url
- https://medium.com/@mariapatni02/chipy-mentorship-blog-post-2-f721f2dd40c
- canonical_url
- https://medium.com/@mariapatni02/chipy-mentorship-blog-post-2-f721f2dd40c
- author_url
- https://medium.com/@mariapatni02
- status
- ok
- fetched_at
- 2026-07-29 11:31:38
