Flutter Stateful Widget Lifecycle: A Complete Guide
My Early Confusion About Flutter (And Why This One Concept Changed Everything)
Flutter Stateful Widget Lifecycle: A Complete Guide
Flutter Widget Lifecycle: Explained Simply Like a Pro Begginer Guide
👋 My Early Confusion About Flutter (And Why This One Concept Changed Everything)
When I started learning Flutter, everything felt smooth at first.
Creating the UI? Easy. Running the app? No issues. But the moment I started using StatefulWidget and adding logic like timers or controllers… things got weird.
My code wasn’t behaving as I expected. Sometimes the screen didn’t update. Sometimes my controller gave errors.
That’s when I realized I was missing one very important concept: The Flutter Stateful Widget Lifecycle.
And once I understood that, everything started making sense.
If you don’t know how to build your first Flutter app, then here is my first article on Flutter’s startup kick: How I created my first Flutter app.
🧠 But What is Stateful Widget Lifecycle in Flutter?
Imagine you’re organizing an event.
There’s a setup phase, a running phase, and a cleanup phase. Right?
Widgets in Flutter are kind of like that.
Flutter widgets go through different stages from creation to destruction — and each stage has its own purpose.
📱 The Stateful Widget Lifecycle of a Flutter App (From the Top)
Before diving into widgets, let’s look at how a Flutter app starts:
**main()** — This is the entry point.**runApp(MyApp())** — Tells Flutter to start your app.**MyApp** — Usually aStatelessWidgetThat sets upMaterialApp.**home:** — The first screen or widget that is shown.
That’s the basic app lifecycle.
Now let’s get into the real heart of the topic.
🧩 StatelessWidget vs StatefulWidget — Quick Recap
- StatelessWidget: Can’t change once built. Used for UI that doesn’t update.
- StatefulWidget: Can hold state and update the UI when data changes.
If you’re building anything that changes, like a button, input, animation, or API call, you’ll likely use StatefulWidget.
🔄 The Lifecycle of a StatefulWidget (Real Example)
Here’s what happens behind the scenes:
@override
void initState() {
  // Called when widget is first created
}

@override
void didChangeDependencies() {
  // Called when widget is first inserted into the widget tree
}

@override
Widget build(BuildContext context) {
  // Builds the widget every time setState() is called
}

@override
void didUpdateWidget(covariant MyWidget oldWidget) {
  // Called when parent widget updates and needs to rebuild
}

@override
void dispose() {
  // Called when widget is removed permanently
}
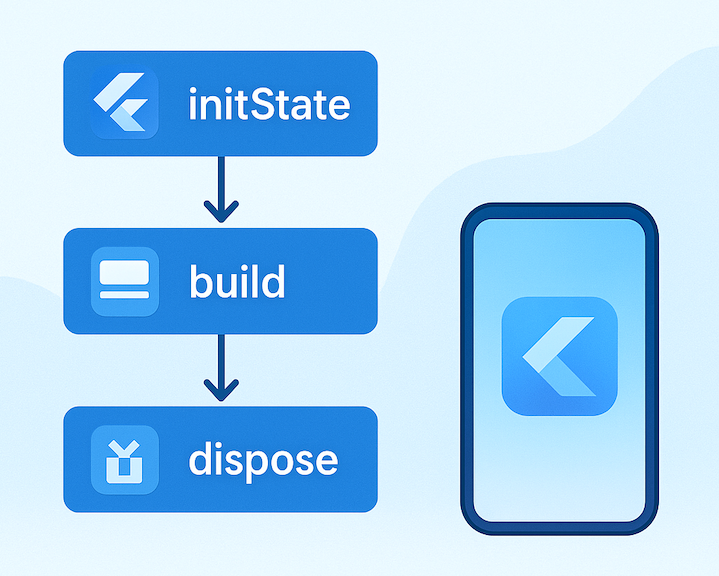
📊 Widget Lifecycle Chart (Simple & Visual)

Understanding the flutter stateful widget lifecycle through the visual image
🧪 My First Bug Because I Didn’t Know This
I once added a TextEditingController but forgot to dispose of it. The app crashed randomly.
Why?
Because I didn’t clean it up in dispose() — something every Flutter dev should do.
@override
void dispose() {
  myController.dispose(); // Don't forget!
  super.dispose();
}
That’s when I started respecting the lifecycle methods. 🙏
🔍 Real Beginner Use-Case
Let’s say you’re building a screen that fetches user data from an API. You want it to happen only once when the screen loads.
You might think of doing this in build() — but that’s wrong!
build() can be called multiple times. Instead, do this:
@override
void initState() {
  super.initState();
  fetchUserData(); // Perfect place
}
This makes sure the API is only called once, not again and again.
💬 Tips for Beginners (From My Experience)
- ✅ Use
initState()for one-time tasks (fetching data, initializing controllers) - 🔄 Use
setState()Only when you want to refresh the UI - ❌ Never use async/await directly in
initState()(Use a separate function) - 🧹 Always clean up controllers or animations in
dispose() - 🧠 Remember:
build()can be called multiple times — keep it pure
🎓 Final Words from a Mobile App Developer (That’s Me)
I’ve been developing apps for 7.5+ years. Flutter is a beautiful framework, but only when you understand the rules.
Once I understood how widgets live and die, I started writing cleaner, smarter, and bug-free code.
And I want the same for you, whether you’re:
- a student exploring mobile dev,
- a developer switching careers,
- or an intern trying to build cool stuff.
Learning the lifecycle will save you time, pain, and confusion.
👇 What’s Next?
Follow me here on Medium — I’ll be writing more articles like:
- How I Structure My Flutter Projects
- Top 5 Mistakes Flutter Beginners Make
- Building Real-World Flutter Apps (With Code)
Let’s grow together. One widget at a time. 💙
메타데이터
- post_id
- f90c0d3fa59f
- slug
- flutter-widget-lifecycle-the-concept-that-made-me-a-better-developer-f90c0d3fa59f
- url
- https://medium.com/@tiger.chirag/flutter-widget-lifecycle-the-concept-that-made-me-a-better-developer-f90c0d3fa59f
- canonical_url
- https://medium.com/@tiger.chirag/flutter-widget-lifecycle-the-concept-that-made-me-a-better-developer-f90c0d3fa59f
- author_url
- https://medium.com/@tiger.chirag
- status
- ok
- fetched_at
- 2026-07-07 21:40:51






