Step-by-Step Guidance to Implement a Three Node Cluster Replica Set in MongoDB.
I hope you have a solid understanding of what a Replica Set MongoDB Cluster is, if not please check out my first article about…
Step-by-Step Guidance to Implement a Three Node Cluster Replica Set in MongoDB.
I hope you have a solid understanding of what a Replica Set MongoDB Cluster is, if not please check out my first article about understanding a replica set in a MongoDB Cluster.
[embed]Understanding What is Replica Set in MongoDB Cluster. What is MongoDB Replication?medium.com
Step 01: Plan the Replica Set Cluster.
Before going to the implementation, it is better to have a clear understanding of our requirements. We should have an idea about how many nodes(servers or VMs) we need for the replica set and what are the system specifications of those nodes. Here we are going to build a three-node replica set MongoDB cluster.
Step 02: Setting up the Environment.
Here I will guide you how to implement this in three EC2 instances in AWS. It will follow the similar process for three VMs provided by a Provider.
Setup EC2 Instances
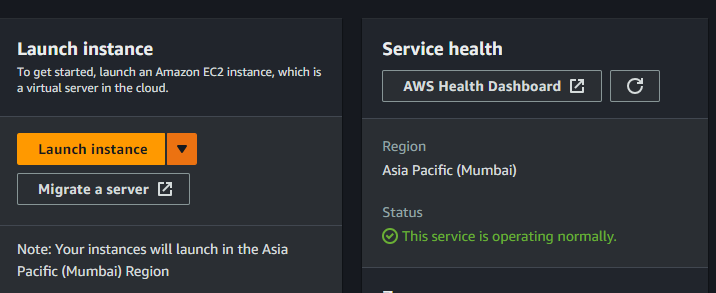
First log into the AWS console and search EC2 instances and click it. Then click the launch instance button.
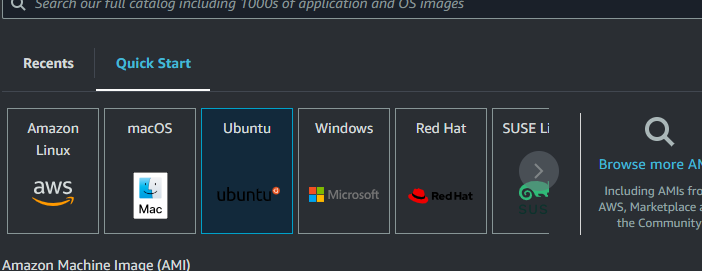
Then give all the minimal configurations and select OS as Ubuntu.
Simalar to that I have created three EC2 instances named repl1, repl2 and repl3.

Now launch these 3 instances in AWS by clicking the connect button or you can use putty or any other method to launch these machines.
NOTE:
If you are provided some login credentials for VMs then you can use putty or a software like Termius to log into those machines. But remember all those VMs should be in the Same Virtual private cloud (VPC), Simply all the VMs should be in the same network.
Step 03: Install MongoDB.
Now after setting up VMs, we have to install MongoDB on those three Machines. For that please visit the MongoDB official website and install it for Ubuntu.
Refer this link: Install MongoDB Community Edition on Ubuntu — MongoDB Manual
Step 04: Configuring the Replica Set.
First make sure your MongoDB instances are stopped running in all instances by entering this command:
sudo systemctl stop mongodThen find the private IP addresses of all three VMs by typing this command:
ip addrFor example I have these IP addresses for three VMs:
VM 1 : 172.30.7.21
VM 2 : 172.30.7.22
VM 3 : 172.30.7.23
Now we need to enable MongoDB replication and edit the bindIp on all three machines. For that please enter below command in all three machines:
sudo nano /etc/mongod.confNow I’m going to name our replica set name as “rs1” and in the file editor please modify “network interfaces” and “replication” portions like this:
# mongod.conf

# for documentation of all options, see:
#   http://docs.mongodb.org/manual/reference/configuration-options/

# Where and how to store data.
storage:
  dbPath: /var/lib/mongodb
#  engine:
#  wiredTiger:

# where to write logging data.
systemLog:
  destination: file
  logAppend: true
  path: /var/log/mongodb/mongod.log

# network interfaces
net:
  port: 27017
  bindIp: 0.0.0.0

# how the process runs
processManagement:
  timeZoneInfo: /usr/share/zoneinfo

#security:

#operationProfiling:

replication:
 replSetName: "rs1"

#sharding:

## Enterprise-Only Options:

#auditLog:
After modifying the file press CTRL+O then Enter button and finally CTRL+X to save & close the editor.
Now you have configured MongoDB successfully and now start the MongoDB again in all three machines by running this command:
sudo systemctl start mongodNow select one of the VMs to configure the replica set. In that machine type this command:
mongoshThen it will display an interface like this in the terminal.
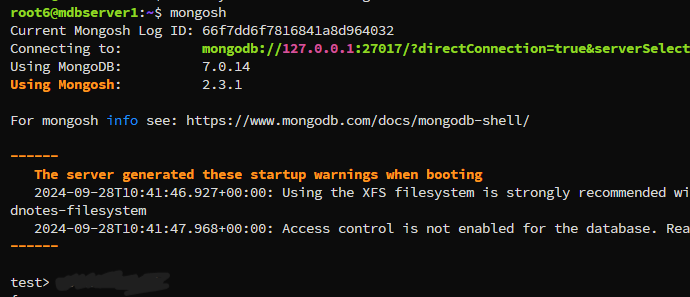
Here you can initiate the replicaset in two ways, they are:
First Option:
Just type initiate() command and after that add other member nodes to the replica set.
Initializing the replica set:
rs.initiate()Adding other members by entering their IP addresses:
rs.add("172.30.7.22")As above please add other two members to the replica set and check the status.
rs.status()It will display a output like this:
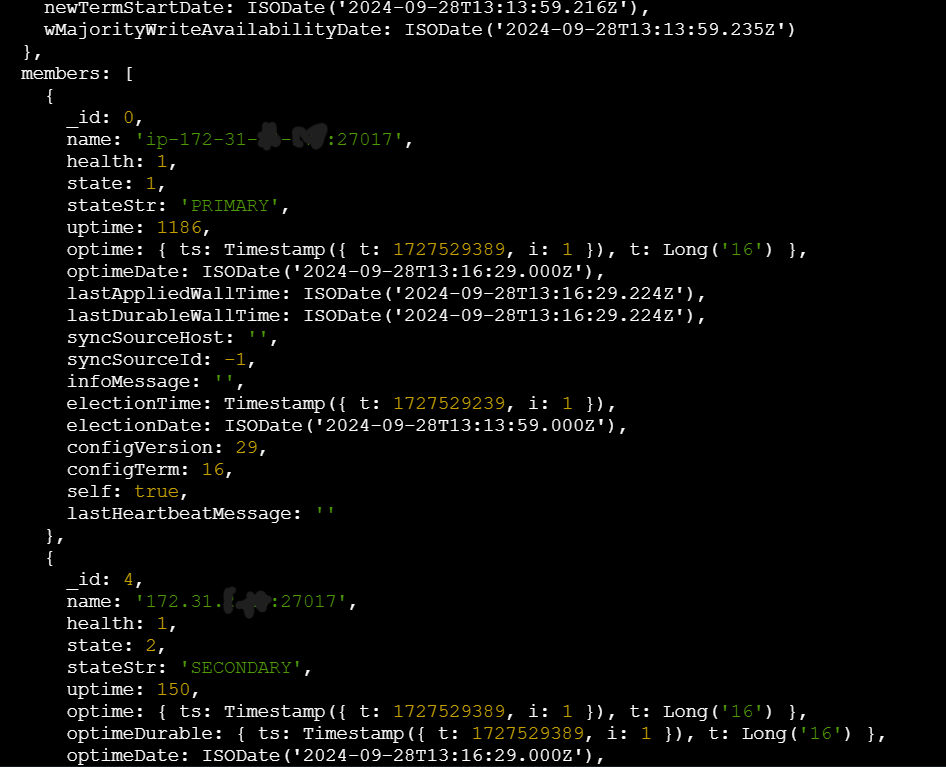
if you want to remove a member use this command:
rs.remove("172.30.7.22:27017")Second Option:
The second option is when you are initializing, you can specify all the members and their MongoDB running ports at the same time.
rs.initiate(
  {
    _id: "rs1",
    members: [
      { _id: 0, host: "172.30.7.21:27017" },
      { _id: 1, host: "172.30.7.22:27017" },
      { _id: 2, host: "172.30.7.23:27017" }
    ]
  }
)
Now we have successfully created our replica set. Now you can see that this node automatically become the primary node. You can see that by checking the status and also from the terminal prompt.
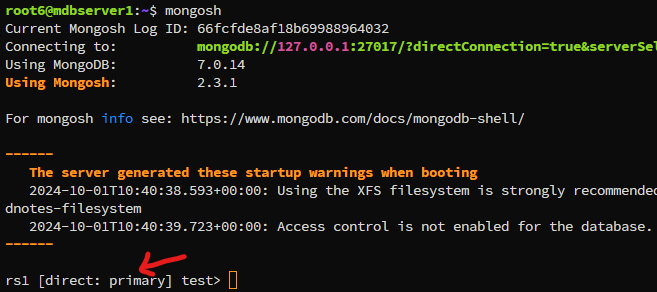
Now login to another node and type mongosh. Then you can see they are secondary.
Now if you want to check this replica set is working correctly, you can check it by shutting down the primary node by stoping the MongoDB server or shutting down that machine.
Now you can log into another node and you can see one of the other nodes become the primary node. If you can experience this you have configured the replica set correctly.
Note:
To function the replica set correctly we need atleaset two working nodes. If two nodes fails in a three node replica set, it will not work correctly because to hold a election, it requires minimum two nodes. To over come this problem we can setup another arbitrary node only to face the election and it will never be a primary node.
Step 05: Define the Connection String
Here we can define this connection string by adding all the IP addresses along with their MongoDB running port number and finally add the name of the replica set. It will looks like this:
mongodb://172.30.7.21:27017,172.30.7.21:27017,172.30.7.21:27017/?replicaSet=rs1Here Client application is communicating with only the primary node. So, it is trying to connect to the first IP address and if it fails then it will try to connect to the next IP address. By doing like that it will connect with the primary node. This is is how the connection string woks. Keep in mind, to use this connection string like this… you should have to run your client application in this same network, Because we cannot connect to this replica set from outside from this network.
This is the end of the step by step tutorial on how to Implement a Three Node Cluster Replica Set in MongoDB. Hope could Understood it and should be able to build you own MongoDB Cluster.
메타데이터
- post_id
- f97ca92ef855
- slug
- step-by-step-guidance-to-implement-a-three-node-cluster-replica-set-in-mongodb-f97ca92ef855
- url
- https://medium.com/@supunjayaweera3/step-by-step-guidance-to-implement-a-three-node-cluster-replica-set-in-mongodb-f97ca92ef855
- canonical_url
- https://medium.com/@supunjayaweera3/step-by-step-guidance-to-implement-a-three-node-cluster-replica-set-in-mongodb-f97ca92ef855
- author_url
- https://medium.com/@supunjayaweera3
- status
- ok
- fetched_at
- 2026-06-21 20:33:08